Here you will see examples of projects that we have worked on in Art One. Art One, is a course available to 8th graders at the middle school level for high school credit. They are in the class for an entire school year instead of the standard semester. We focus on the state standards while growing our technique in the different art mediums, all with a strong focus on personal choice and individuality. So far the students have really impressed with the talent and hard-working attitude in this group of students.
On this page you will see a more in depth description of the individual projects we have worked on. If you would like to see all examples from a project hop on over to the online art show section and click on "Art One Student Show".
On this page you will see a more in depth description of the individual projects we have worked on. If you would like to see all examples from a project hop on over to the online art show section and click on "Art One Student Show".
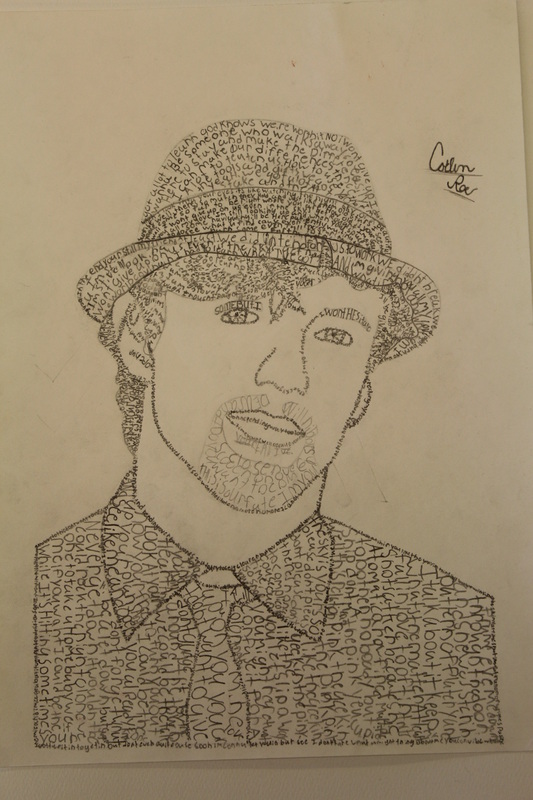
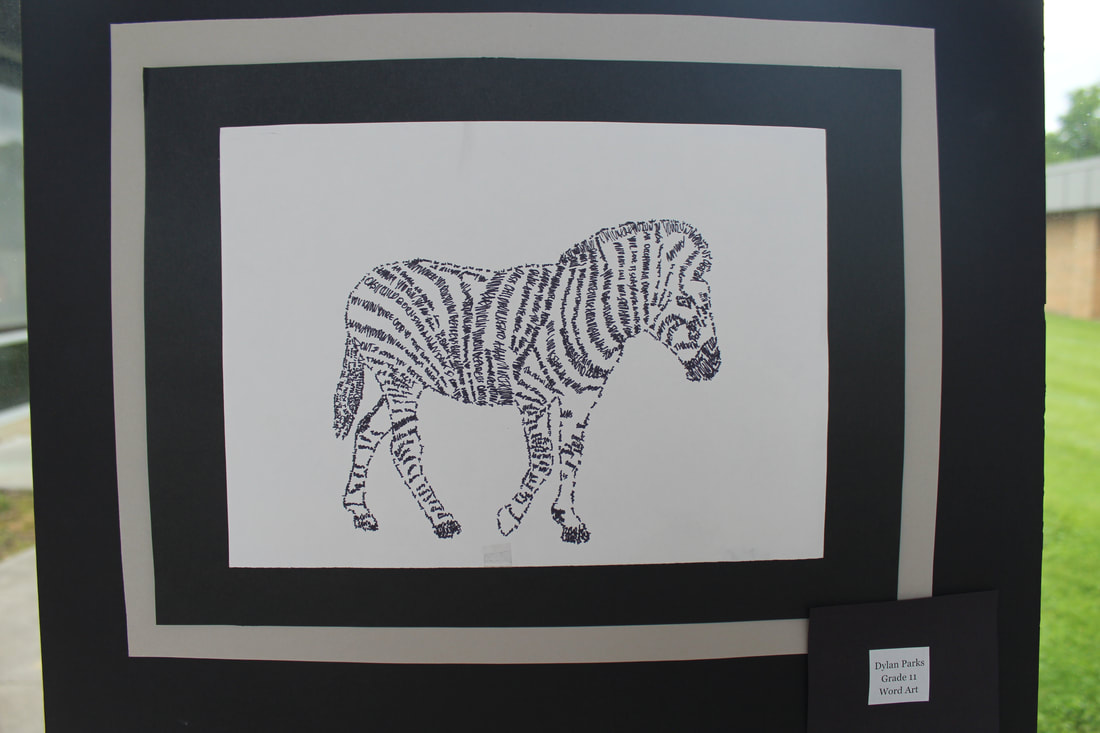
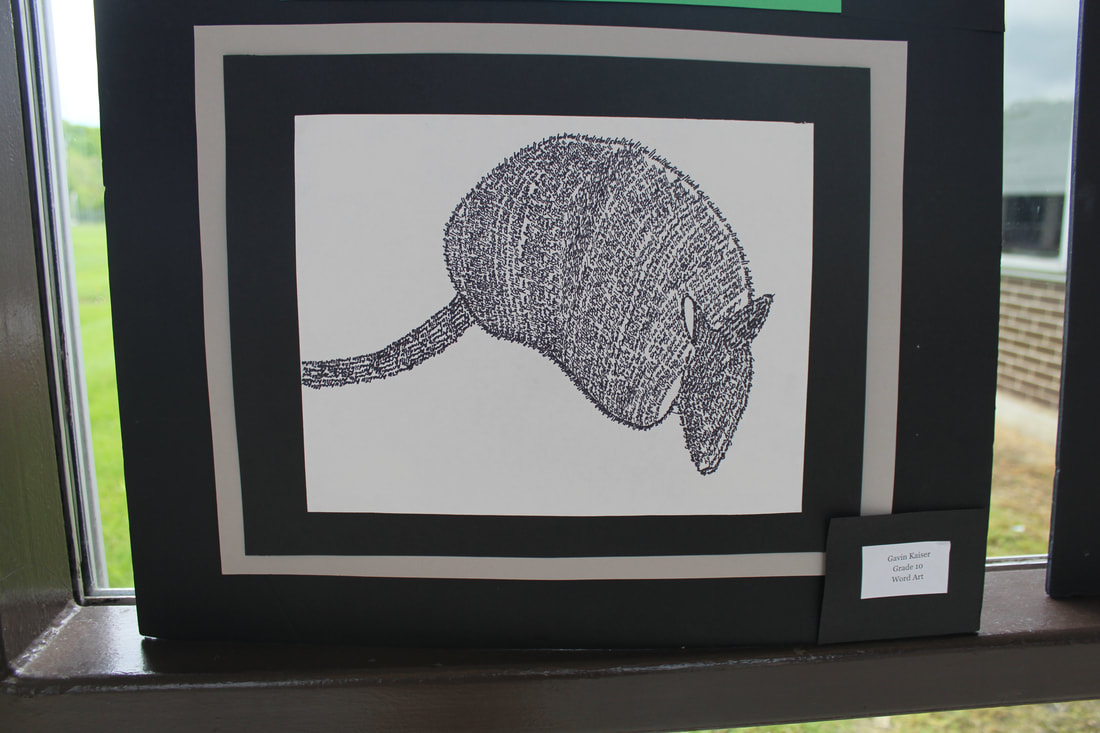
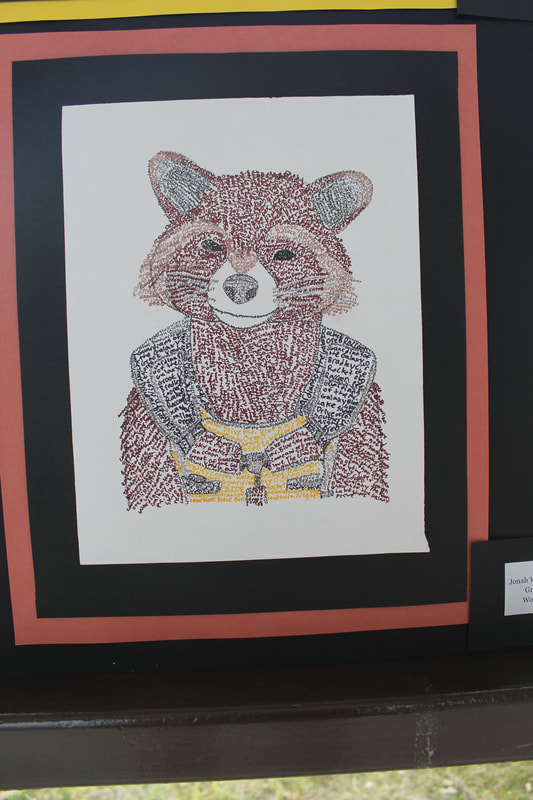
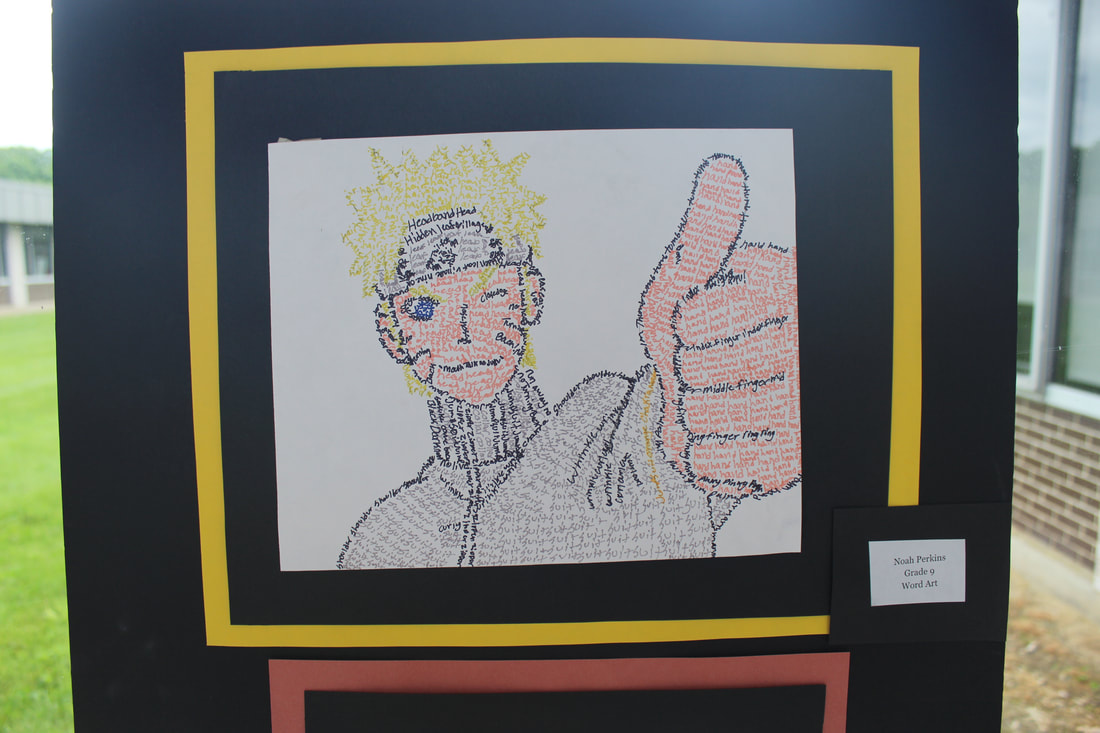
word art Examples
|
|
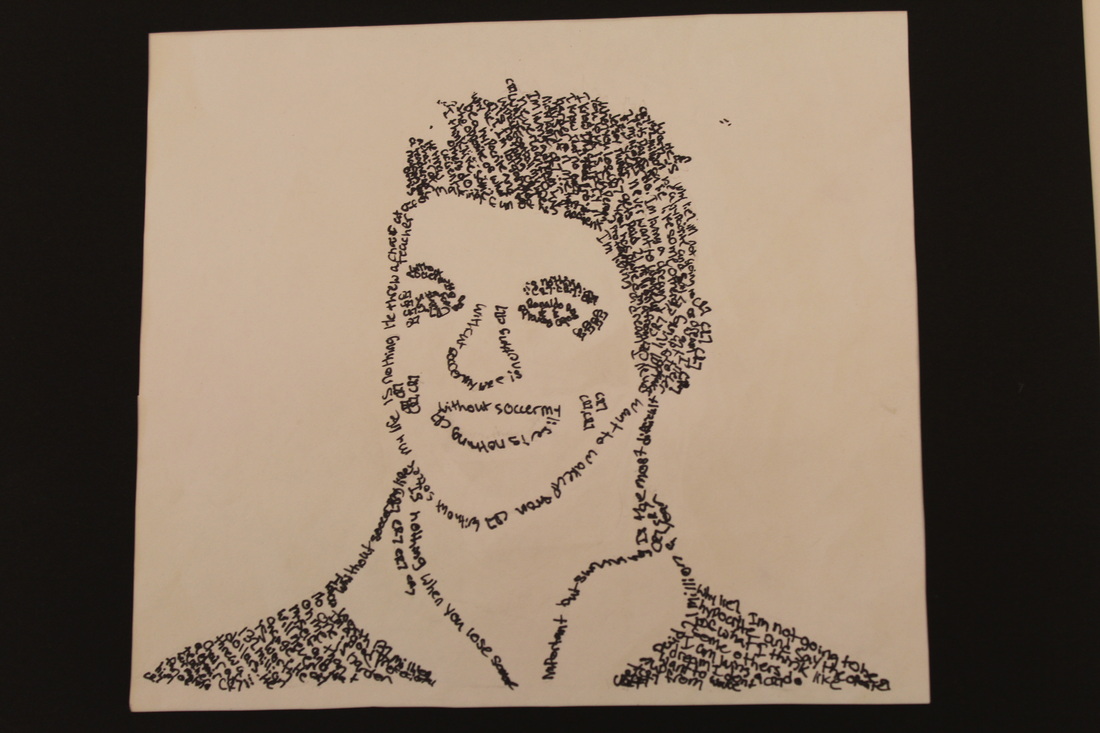
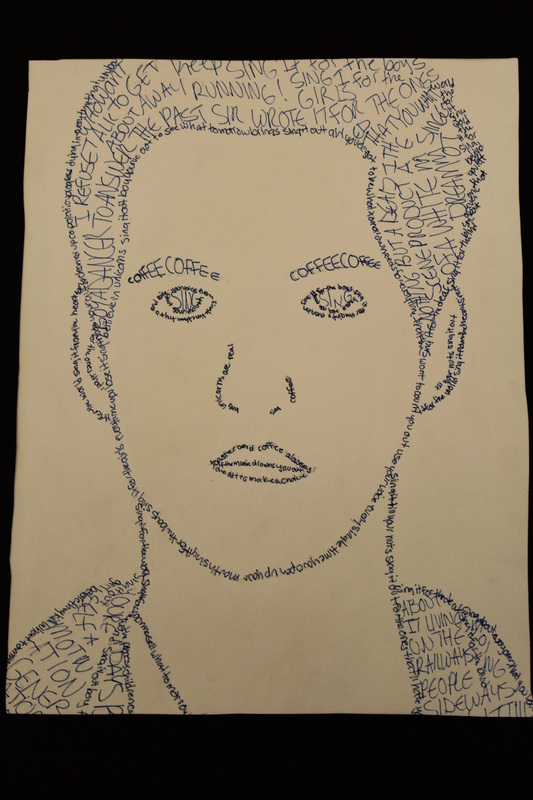
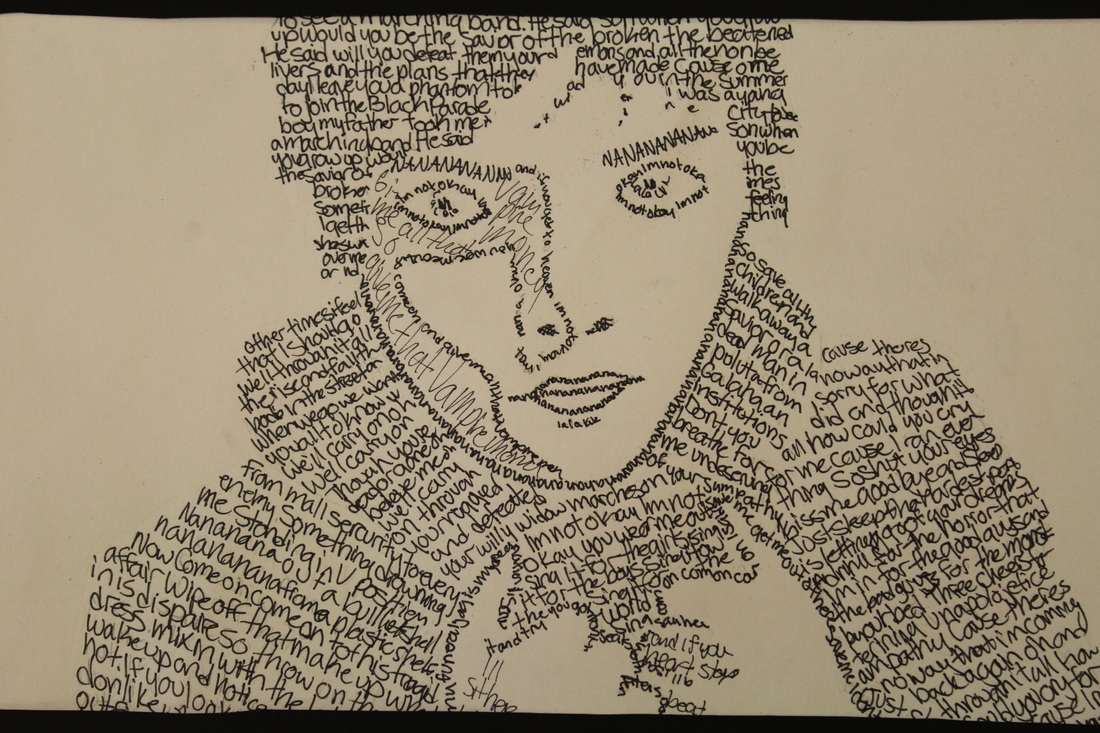
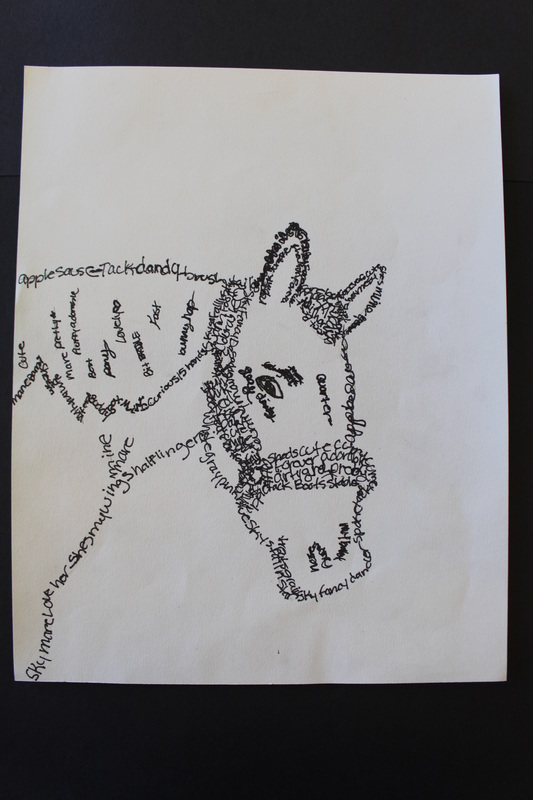
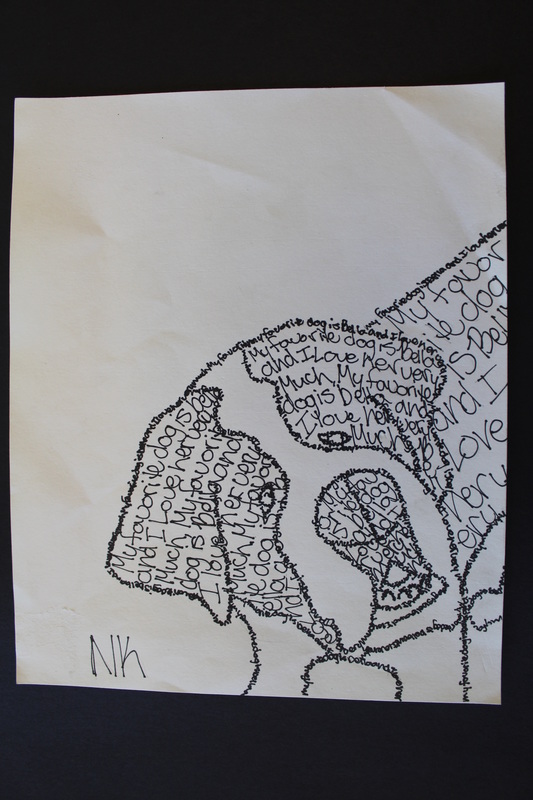
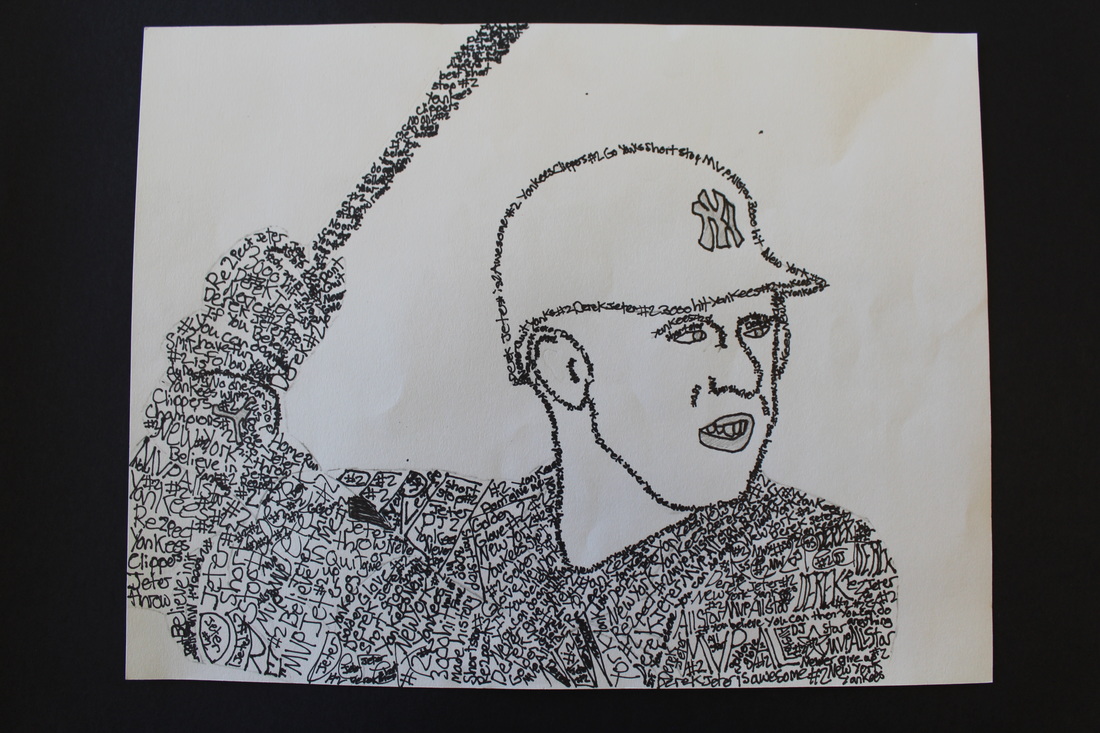
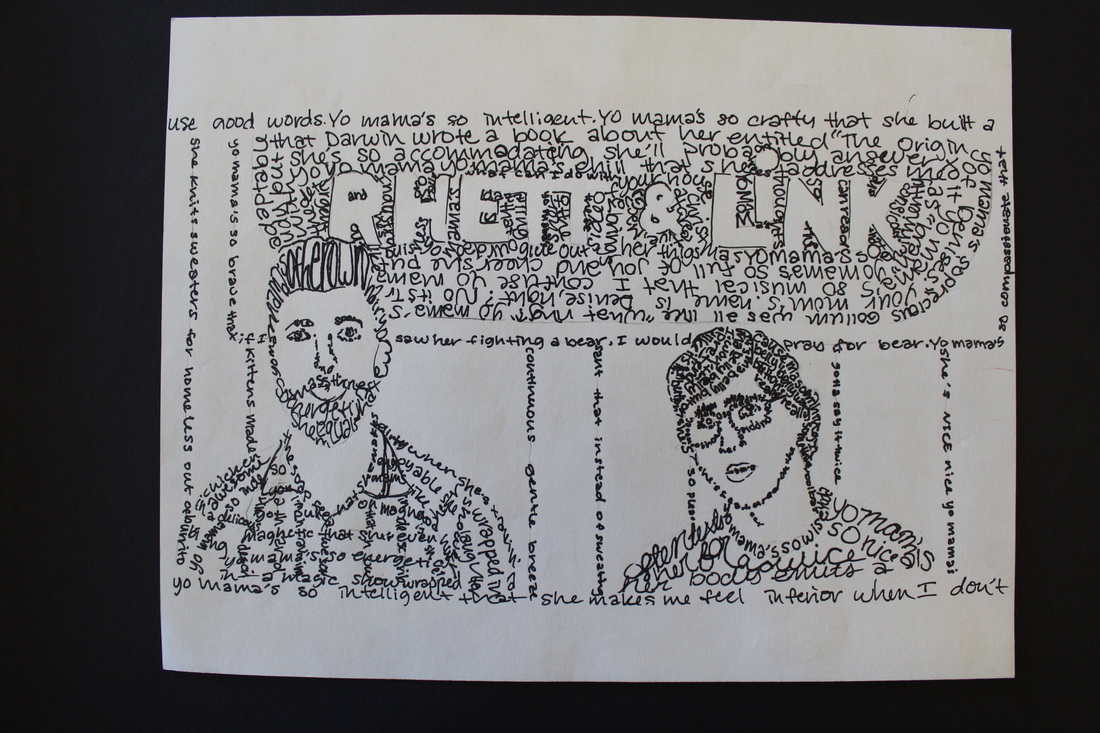
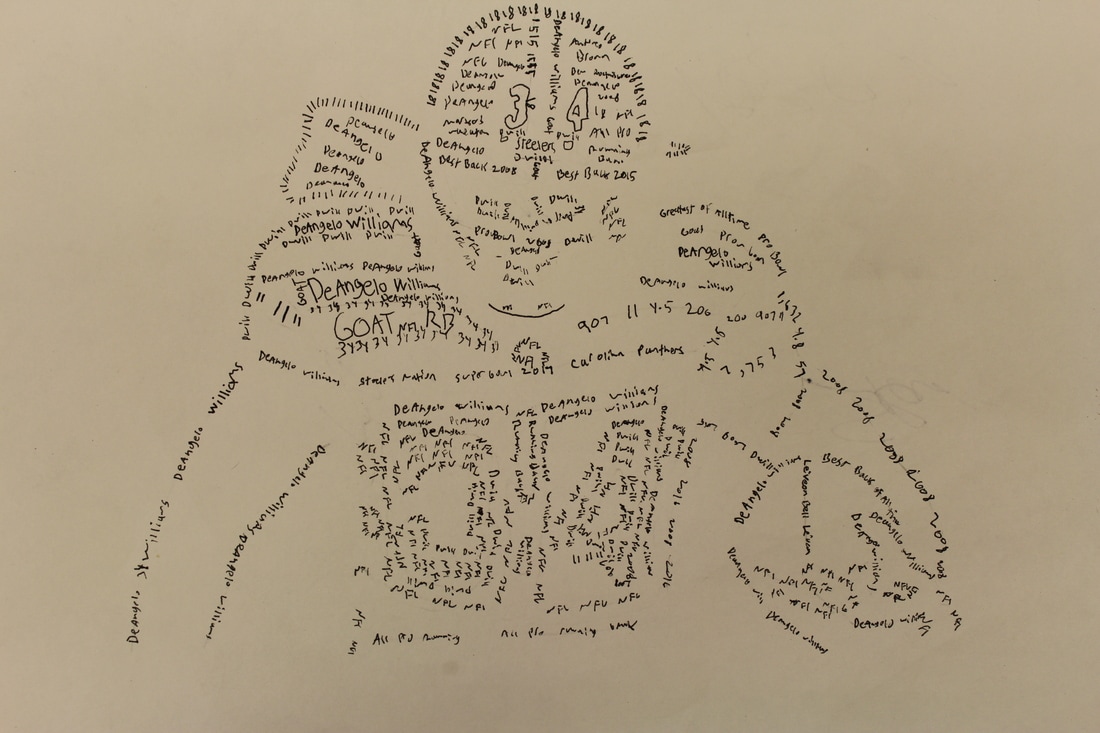
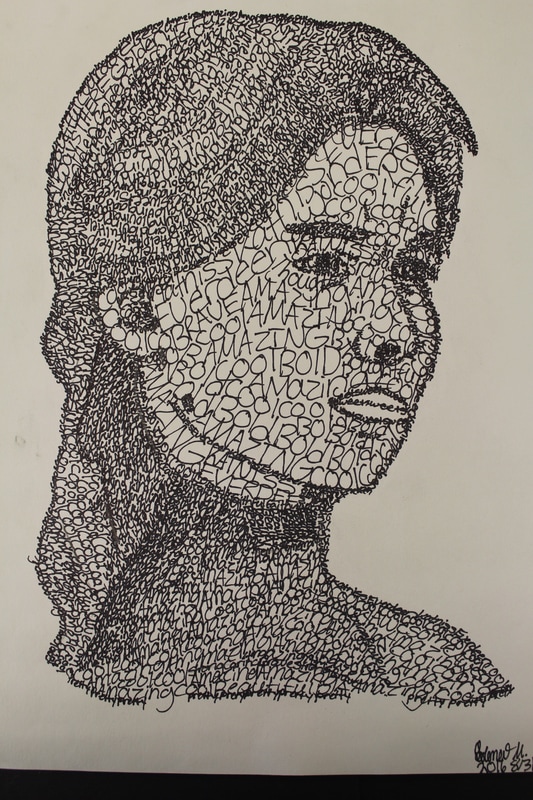
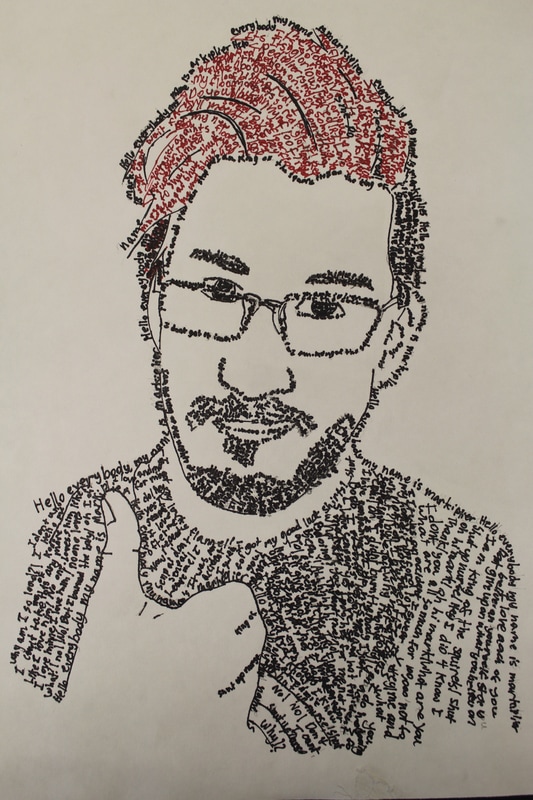
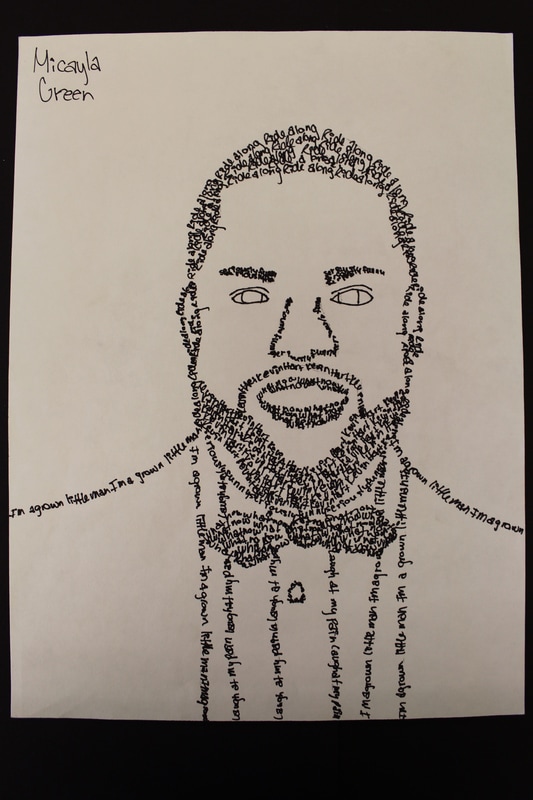
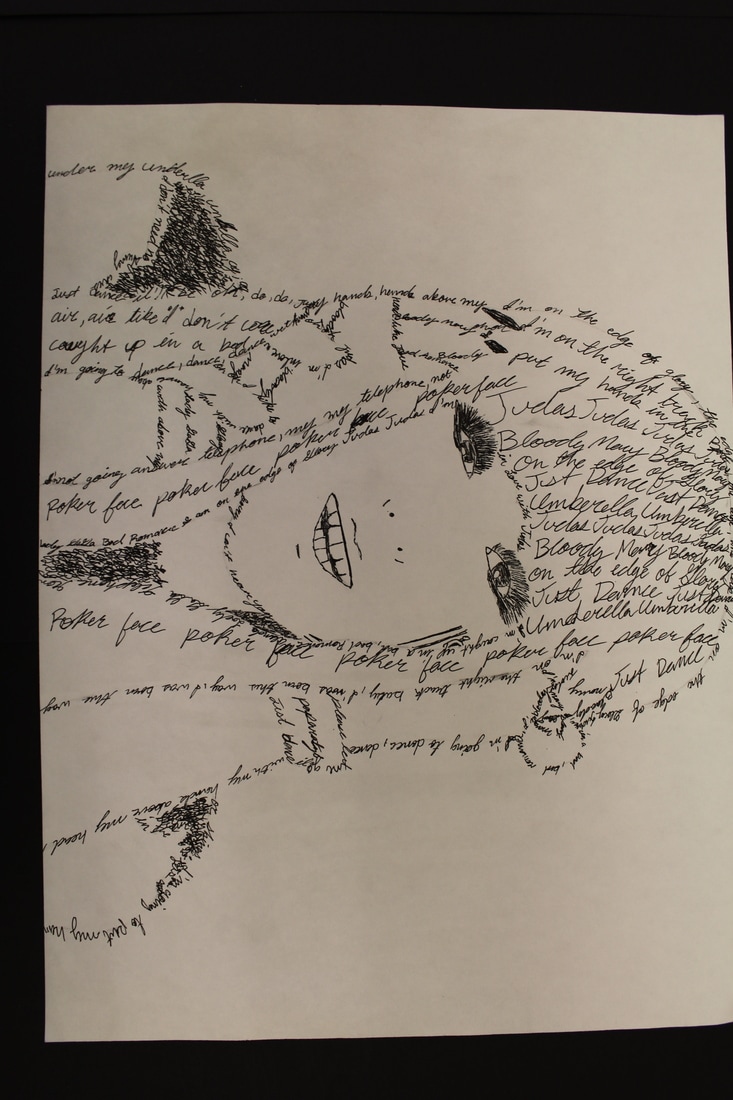
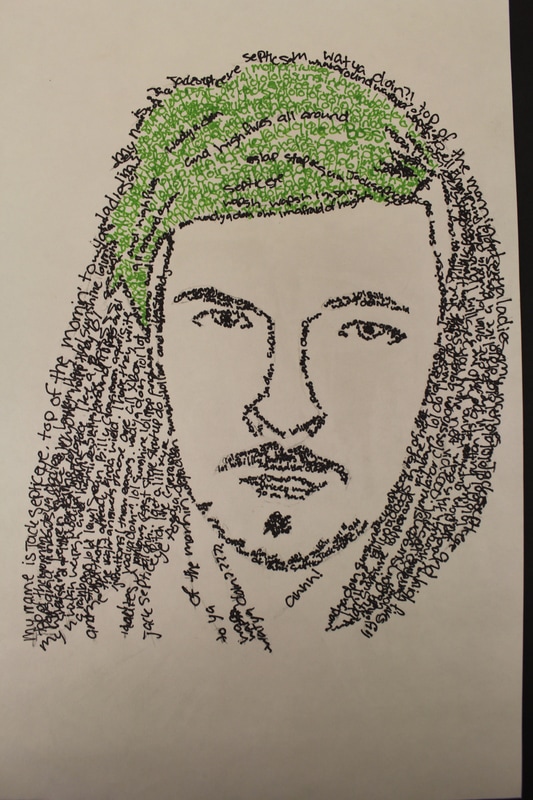
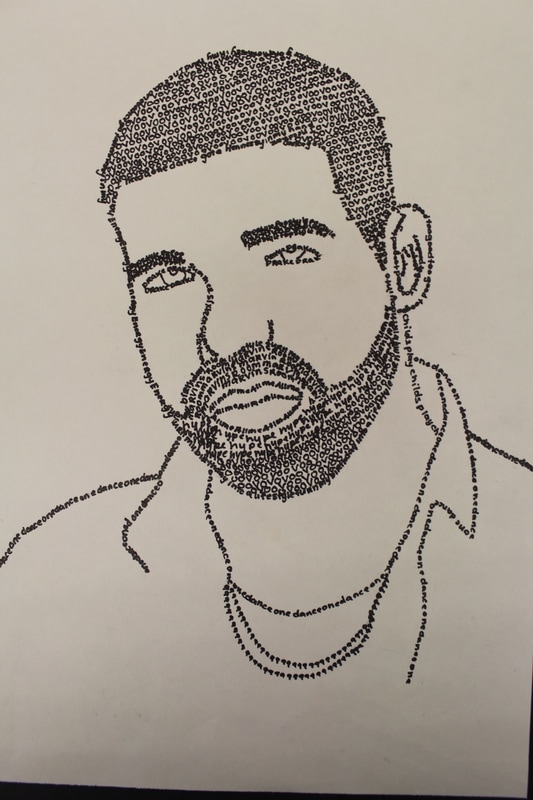
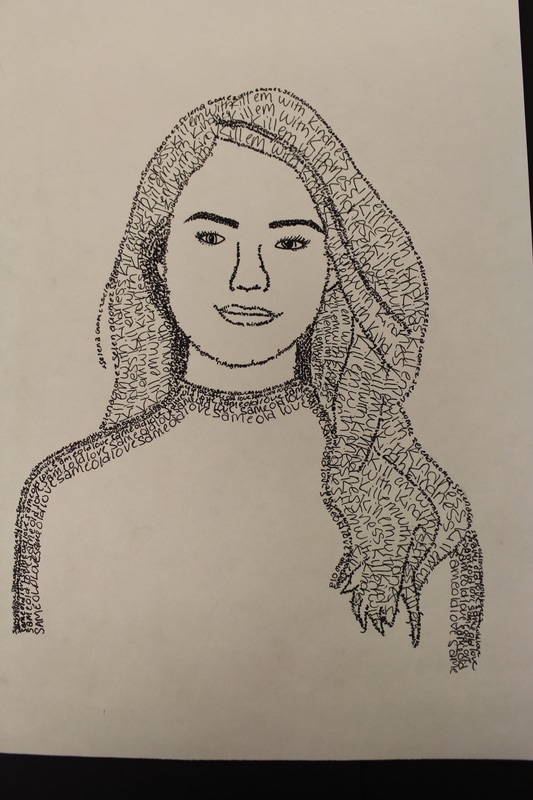
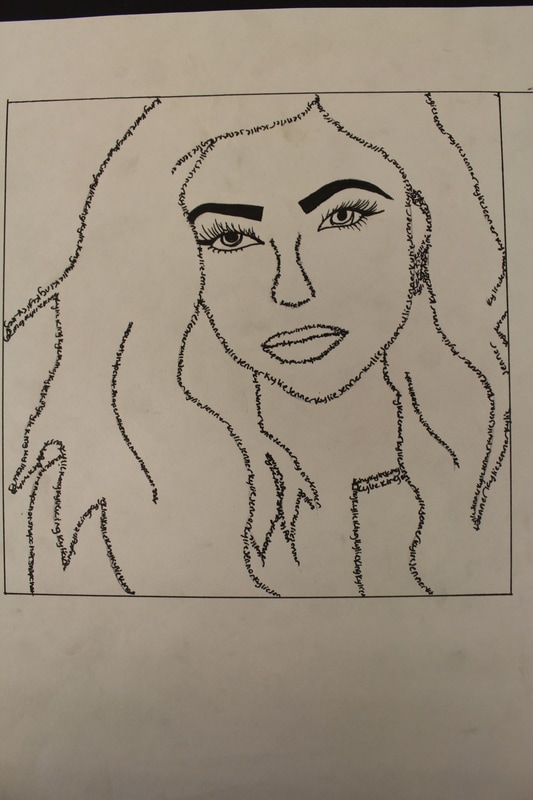
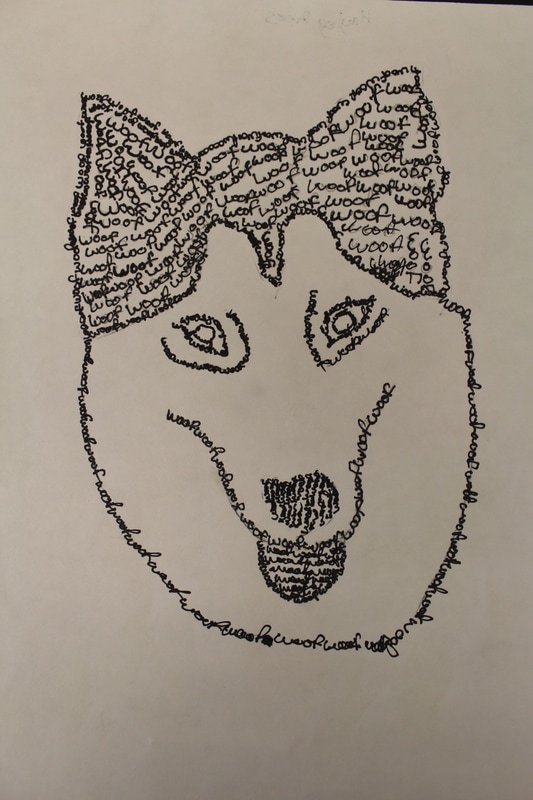
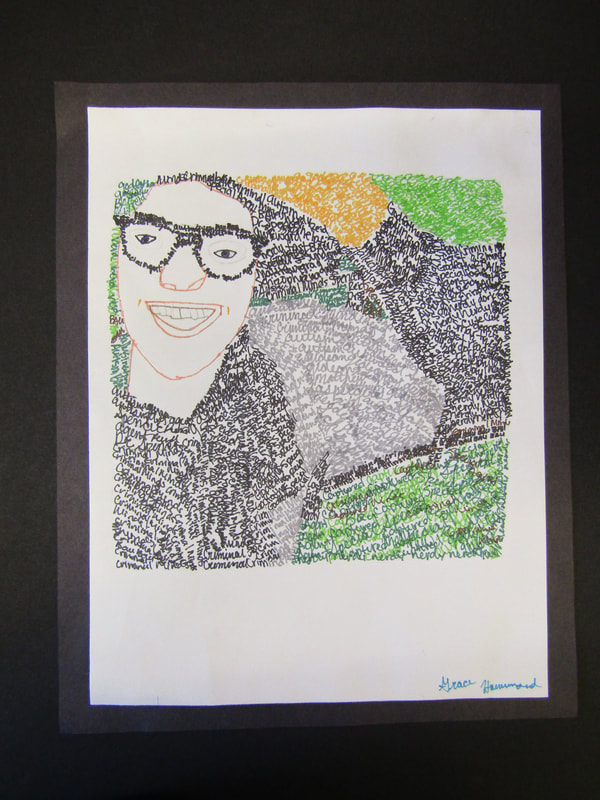
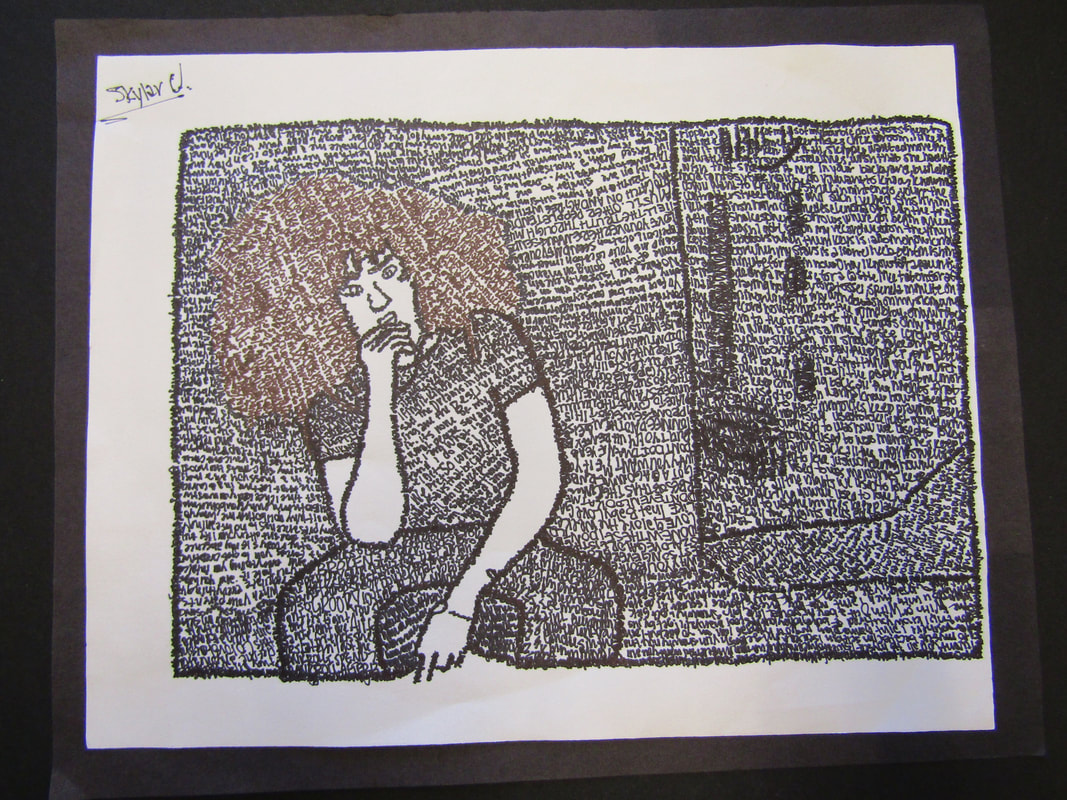
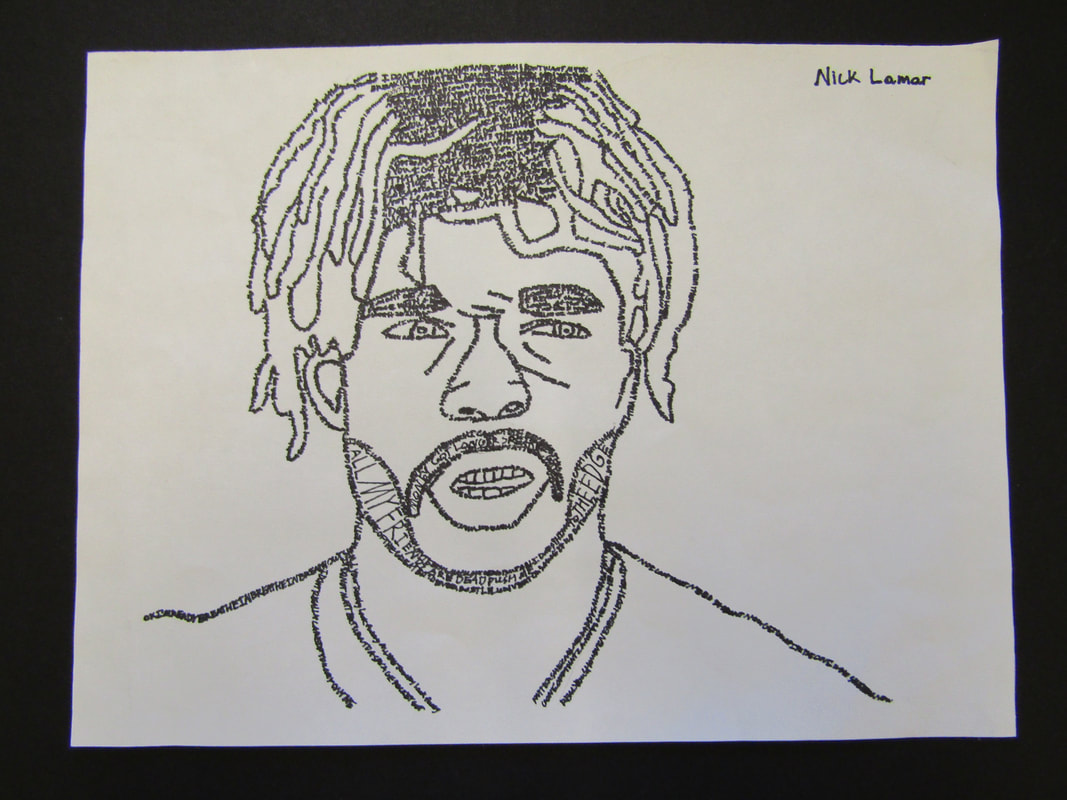
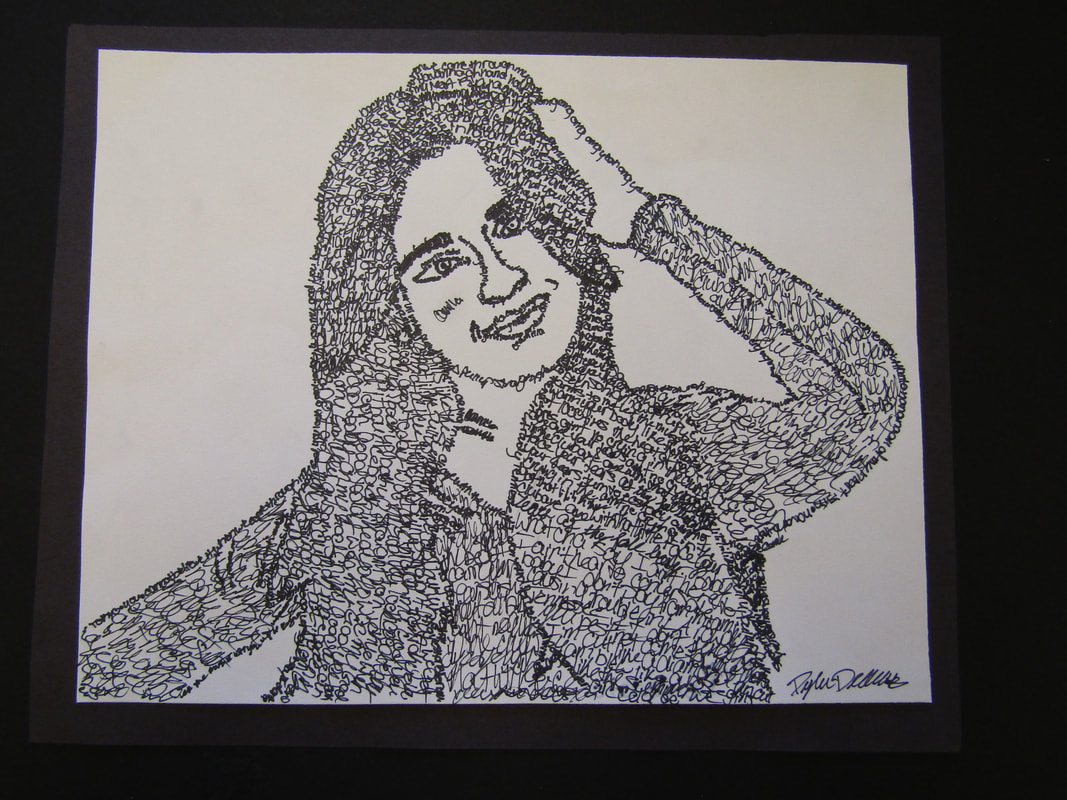
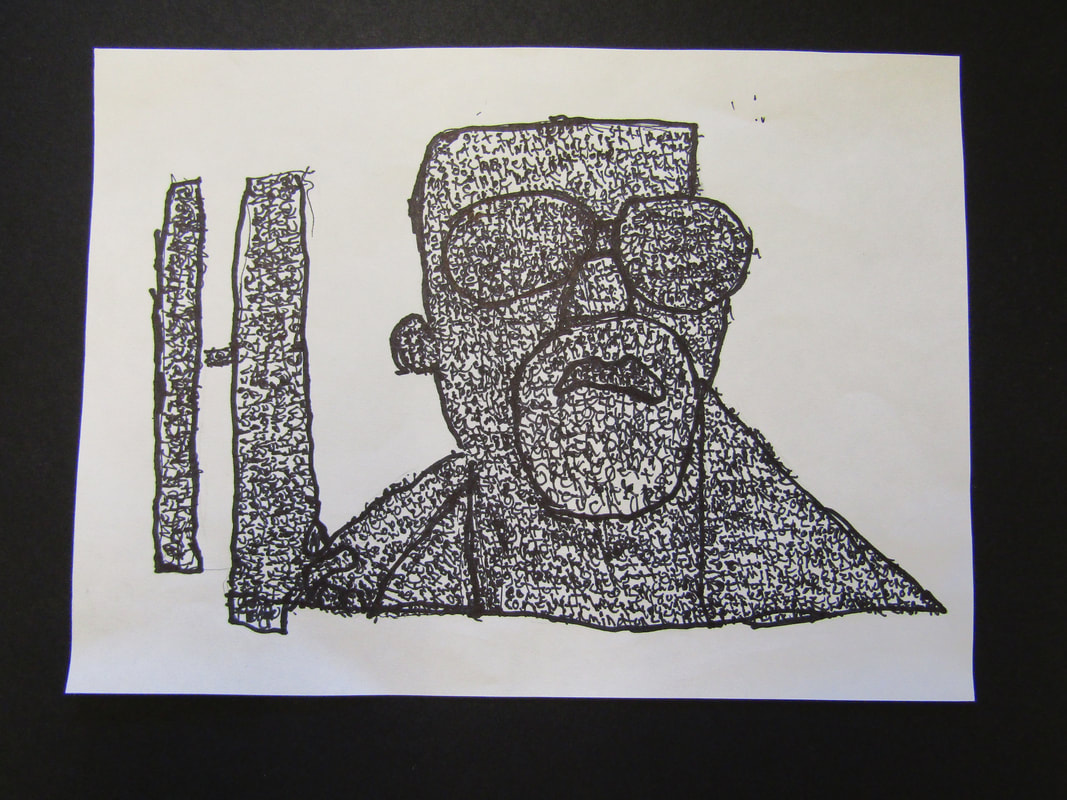
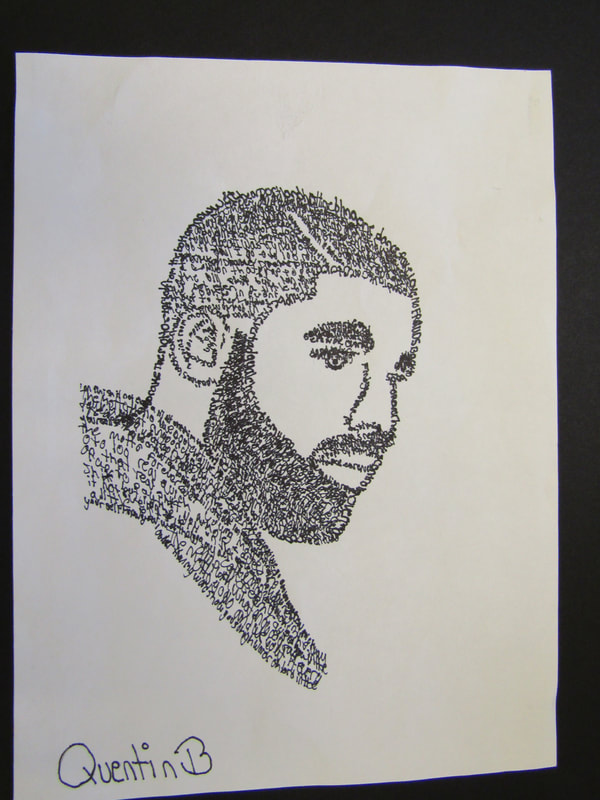
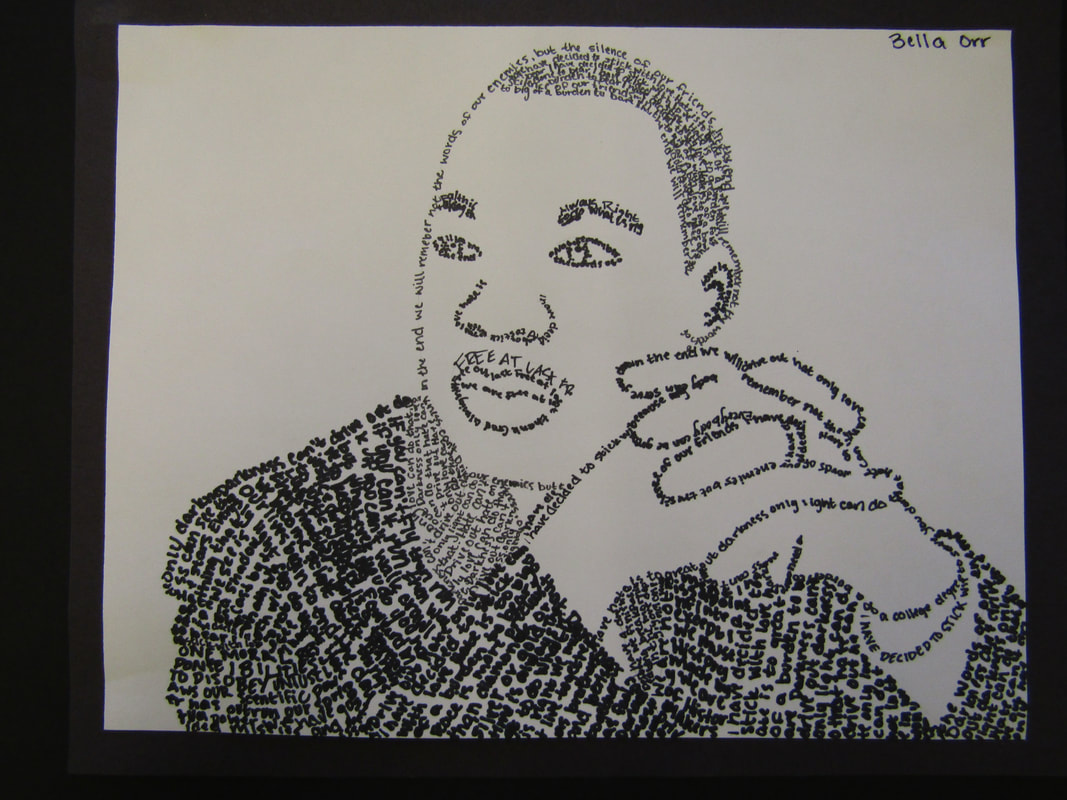
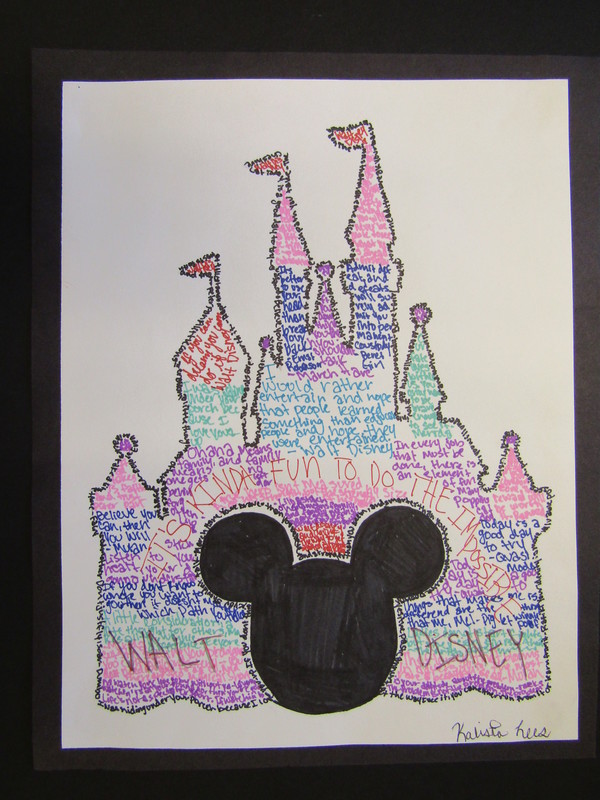
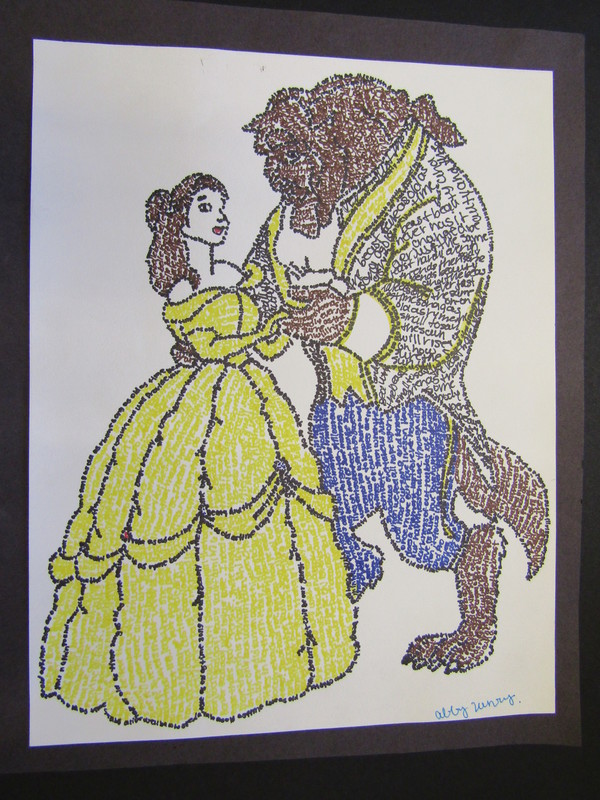
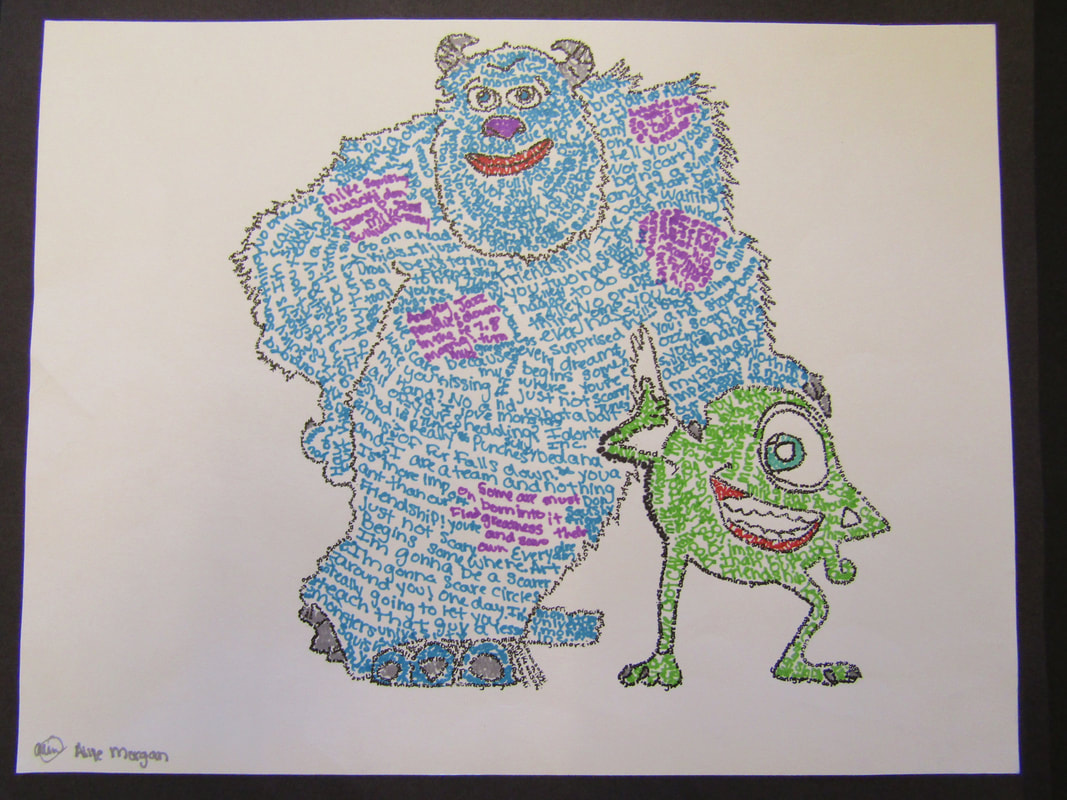
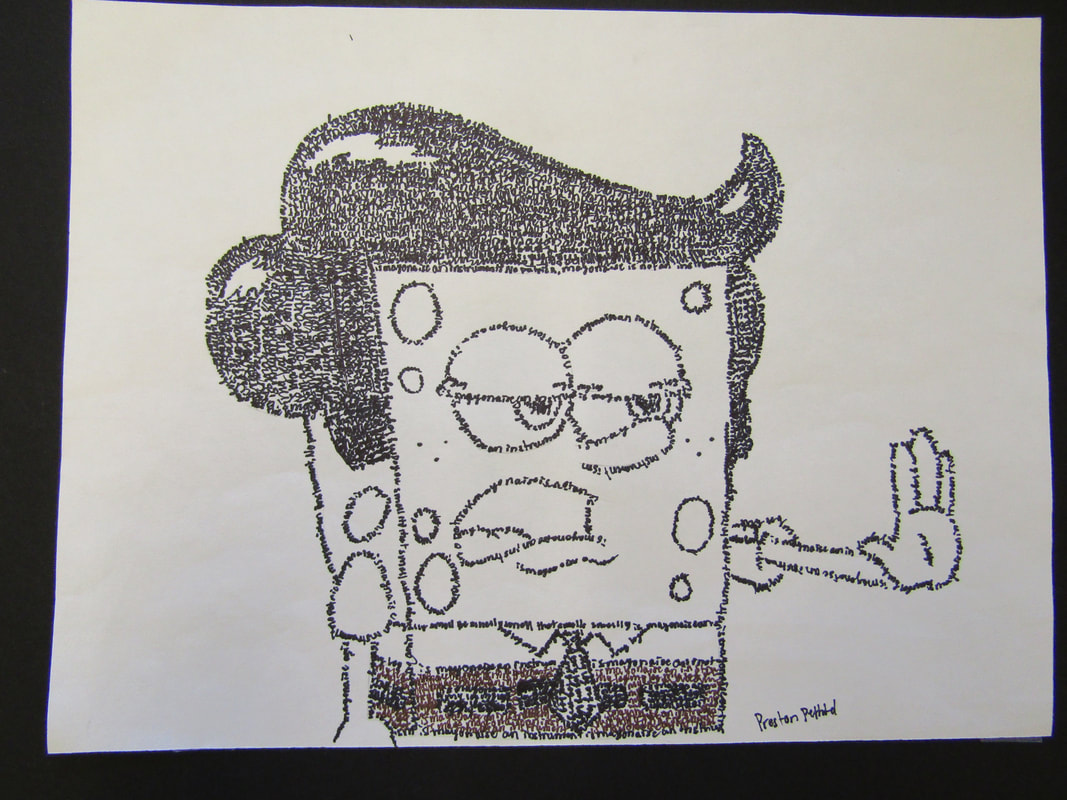
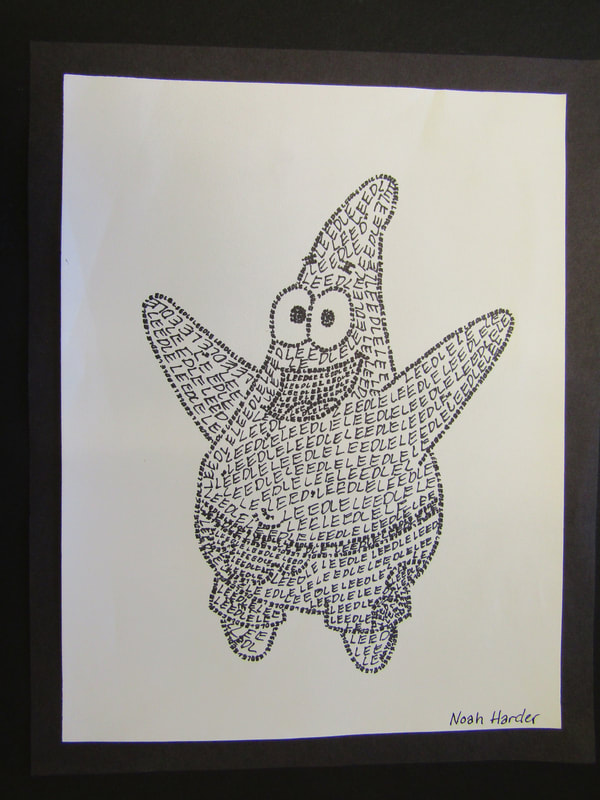
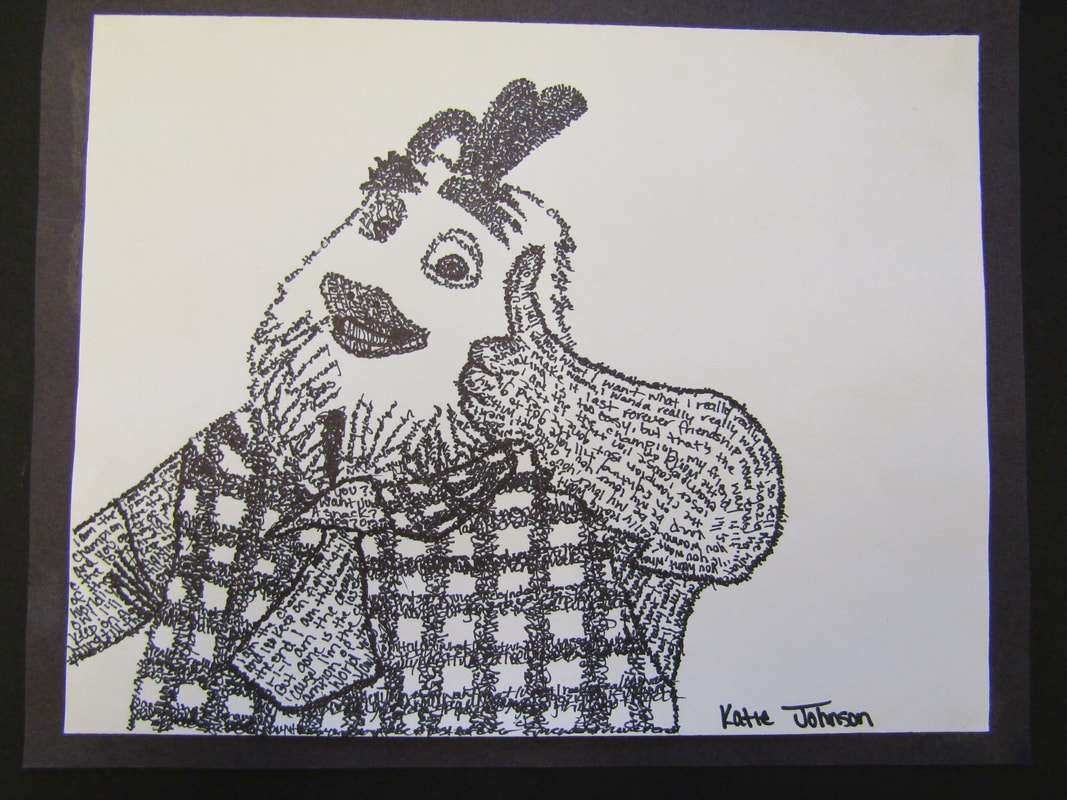
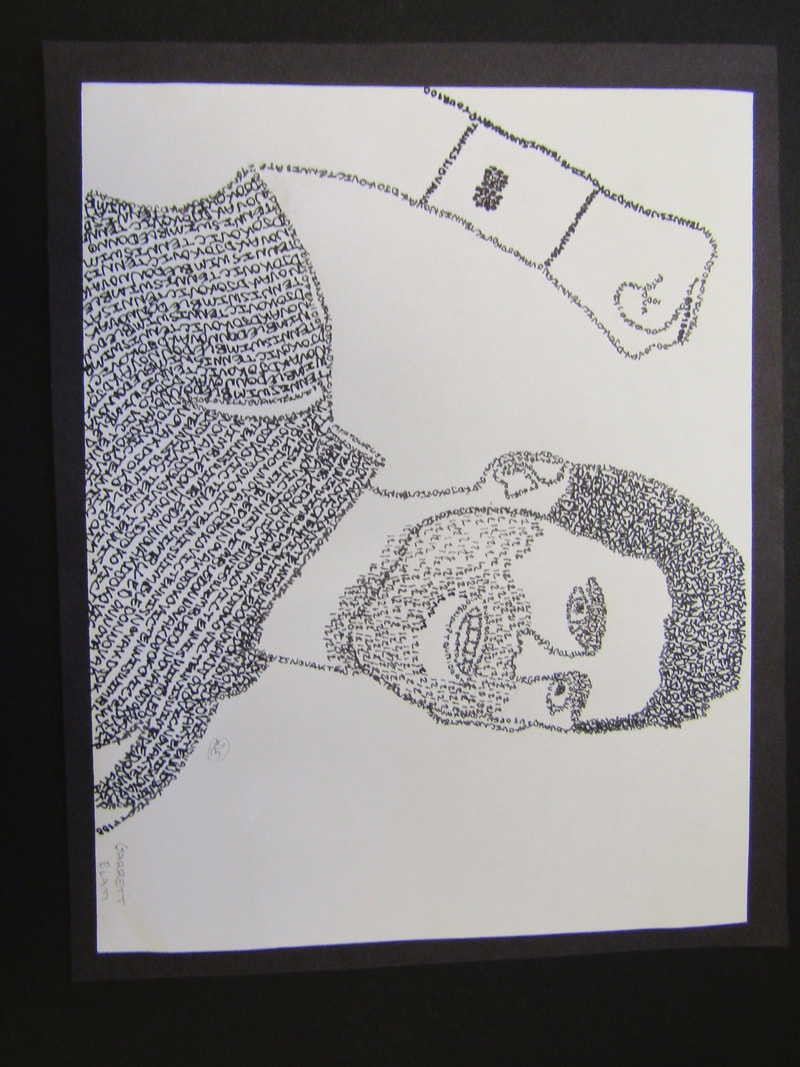
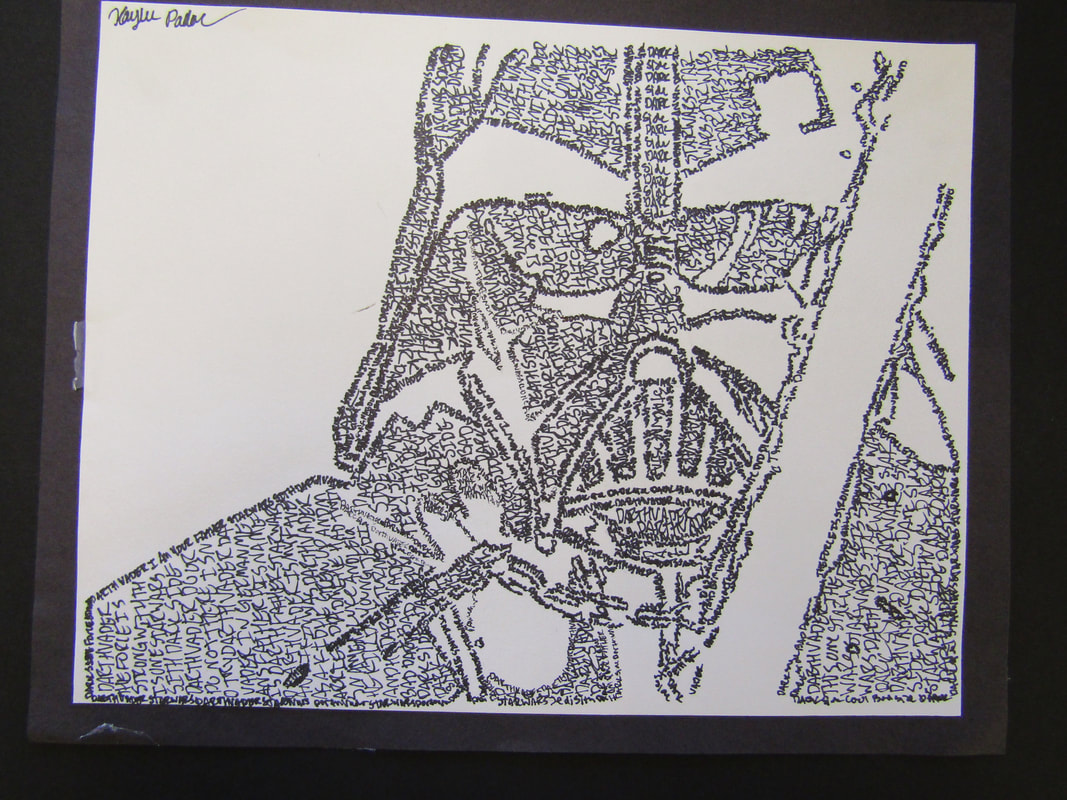
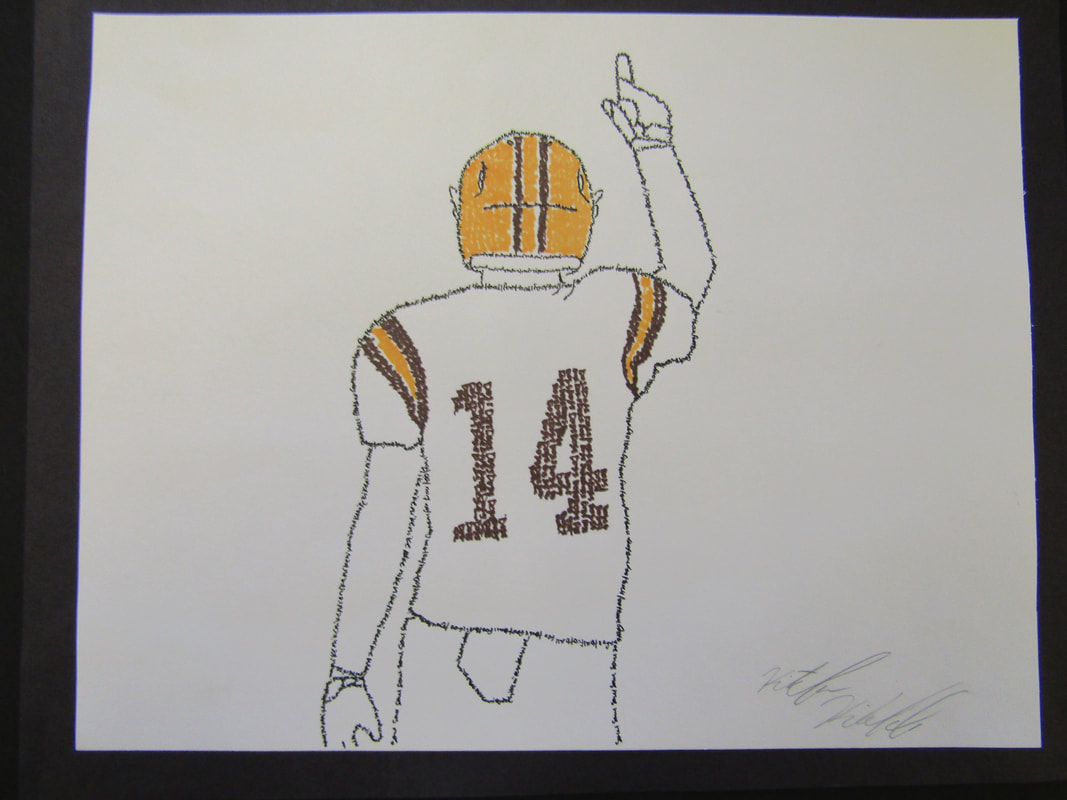
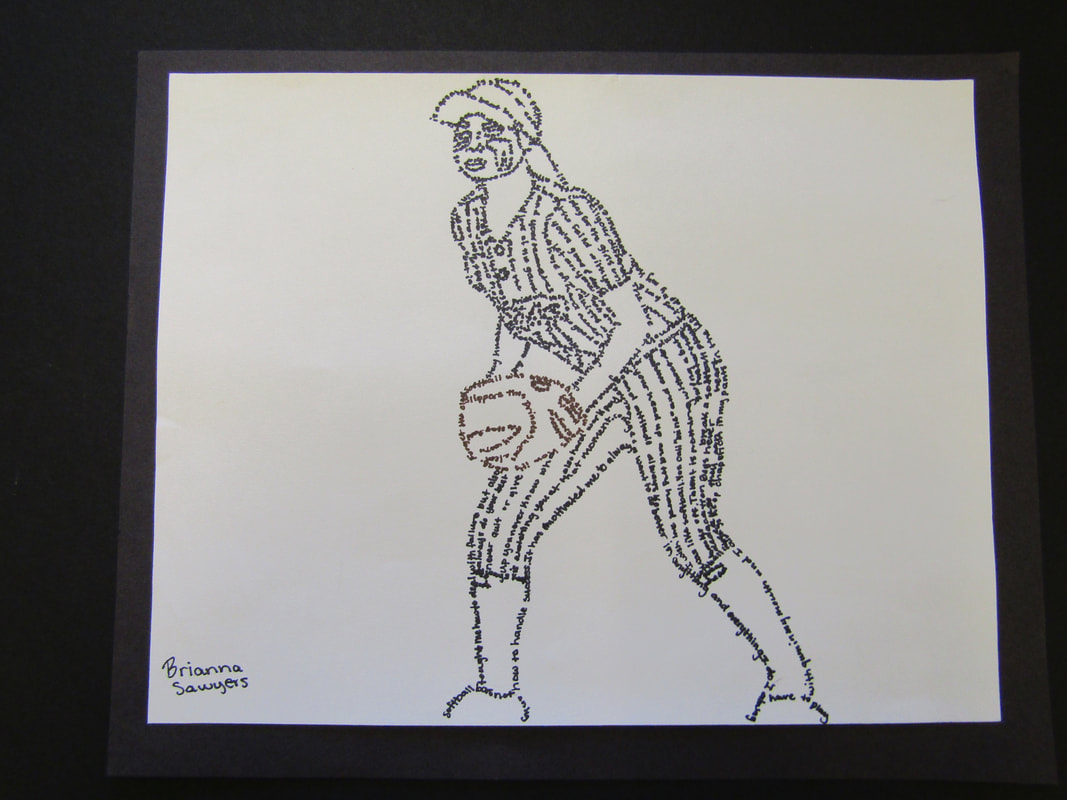
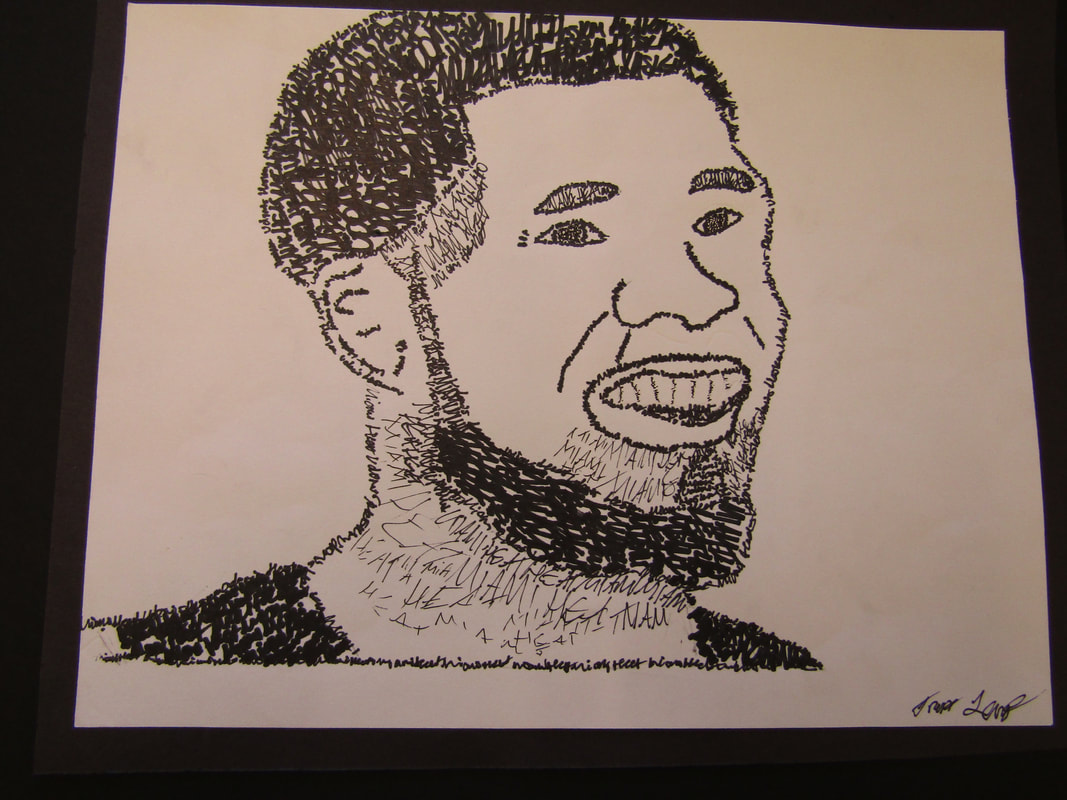
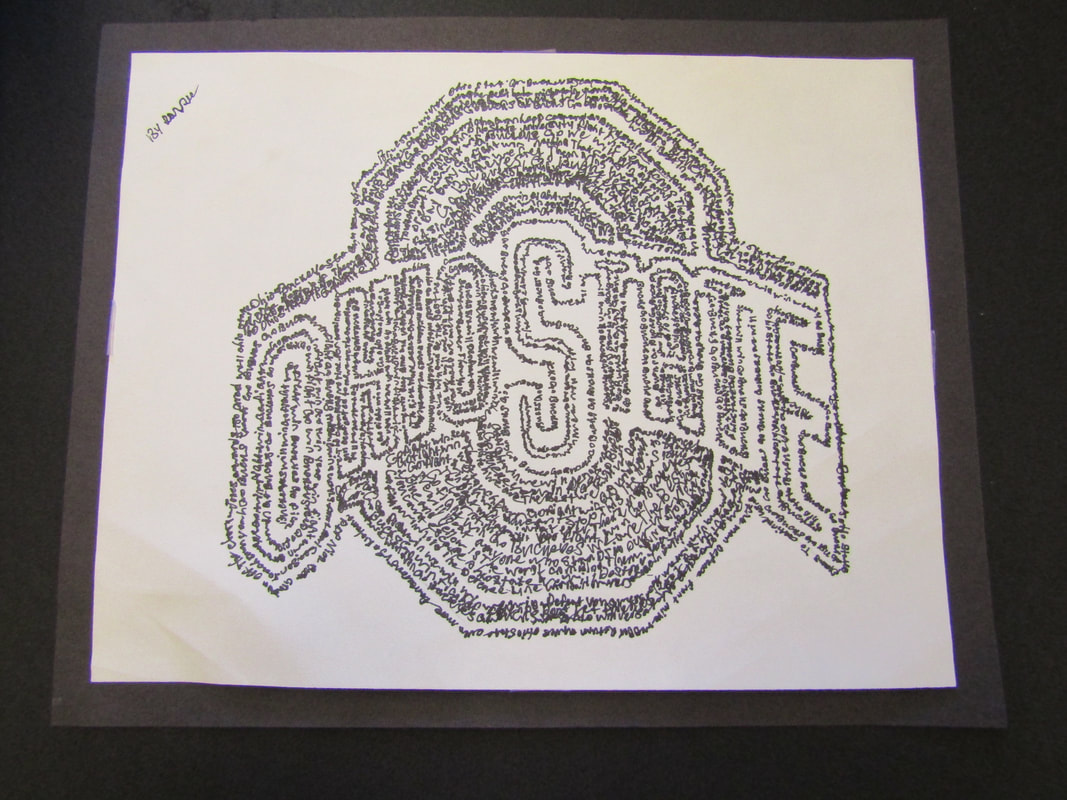
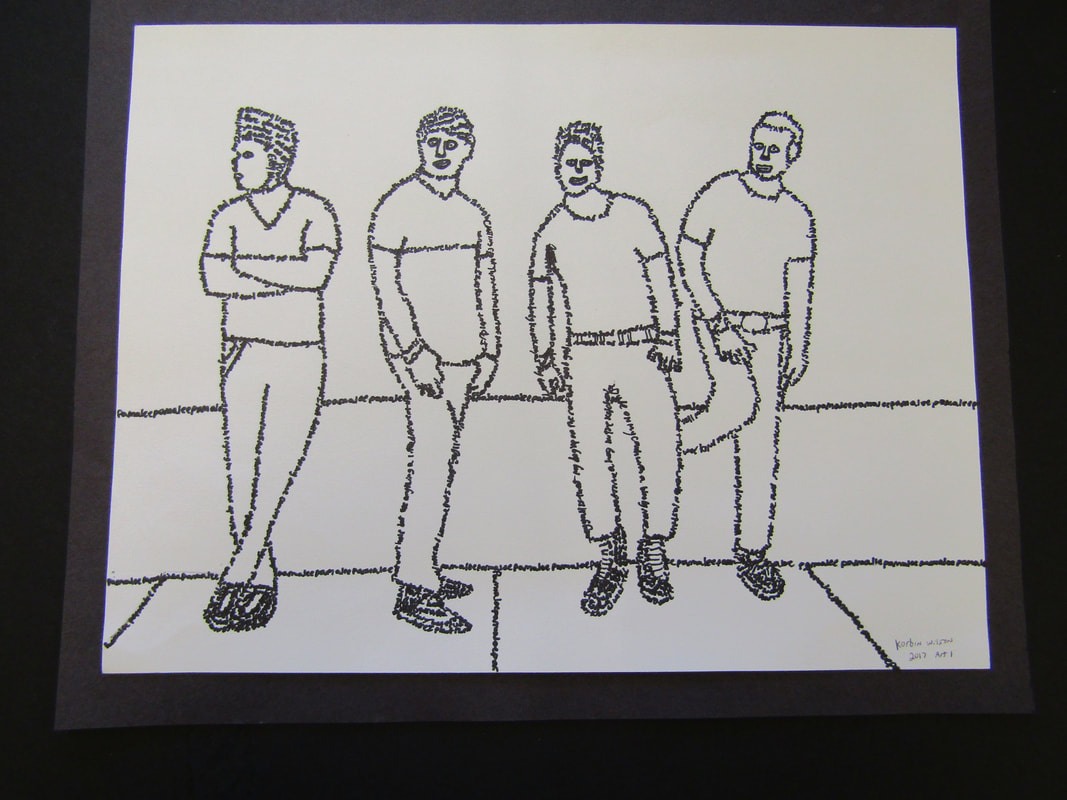
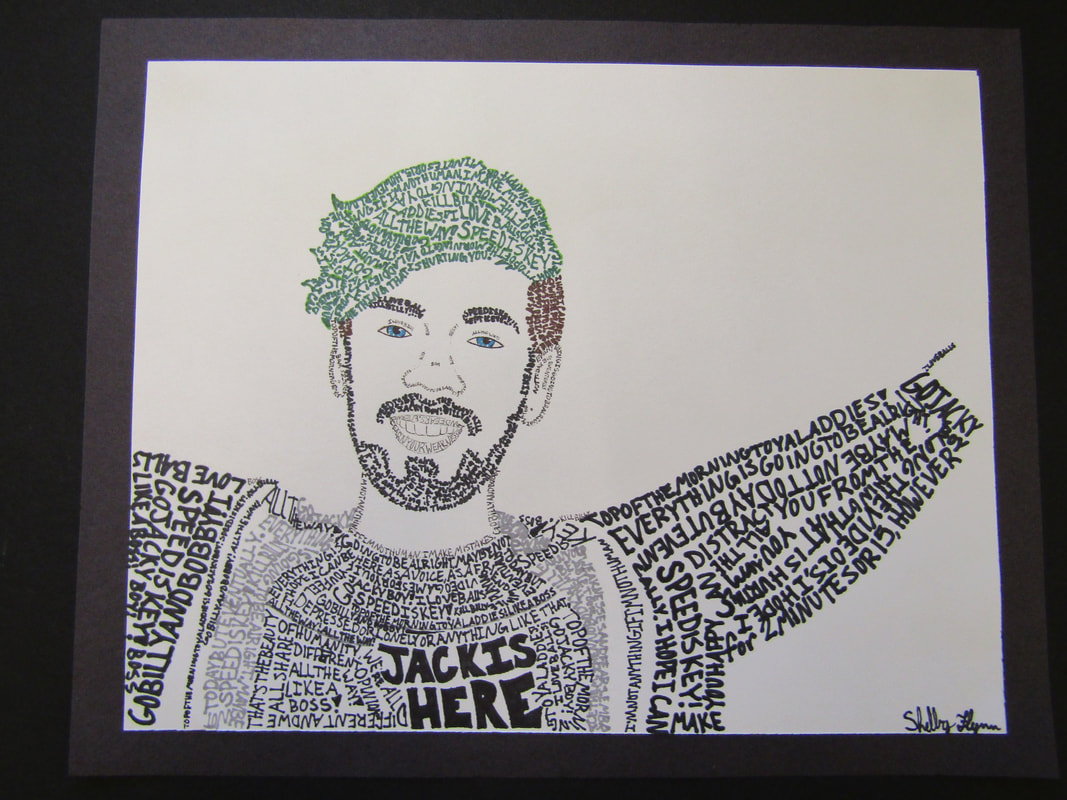
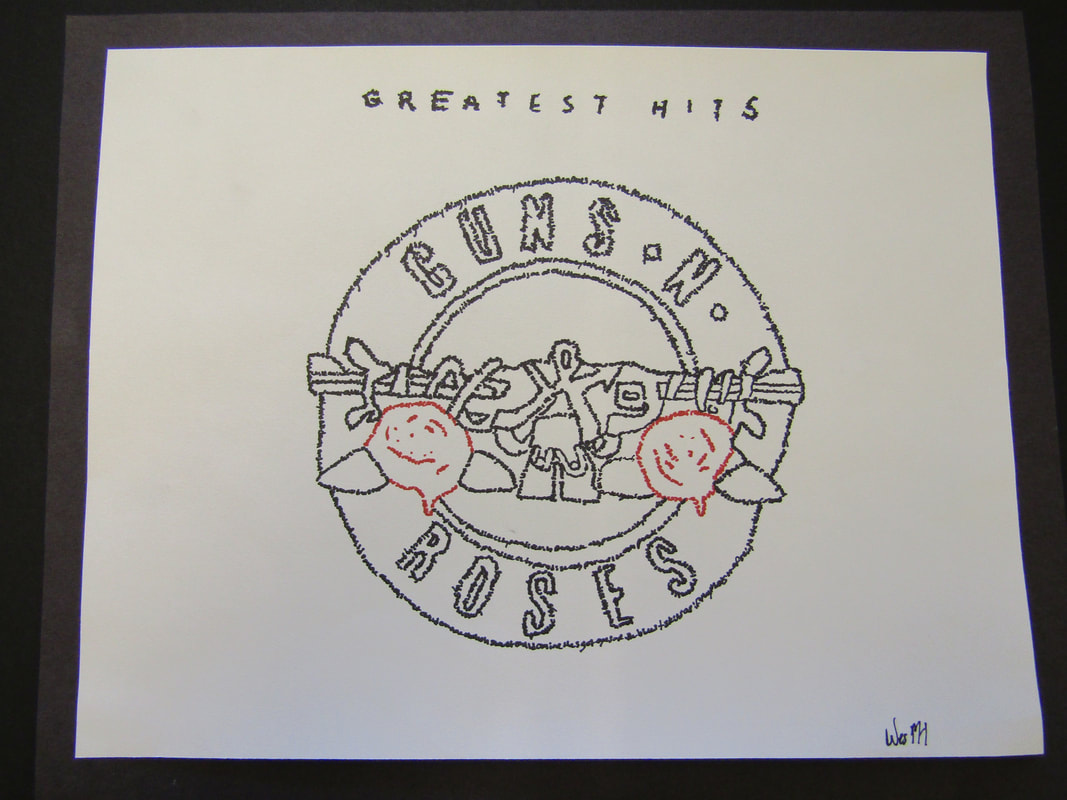
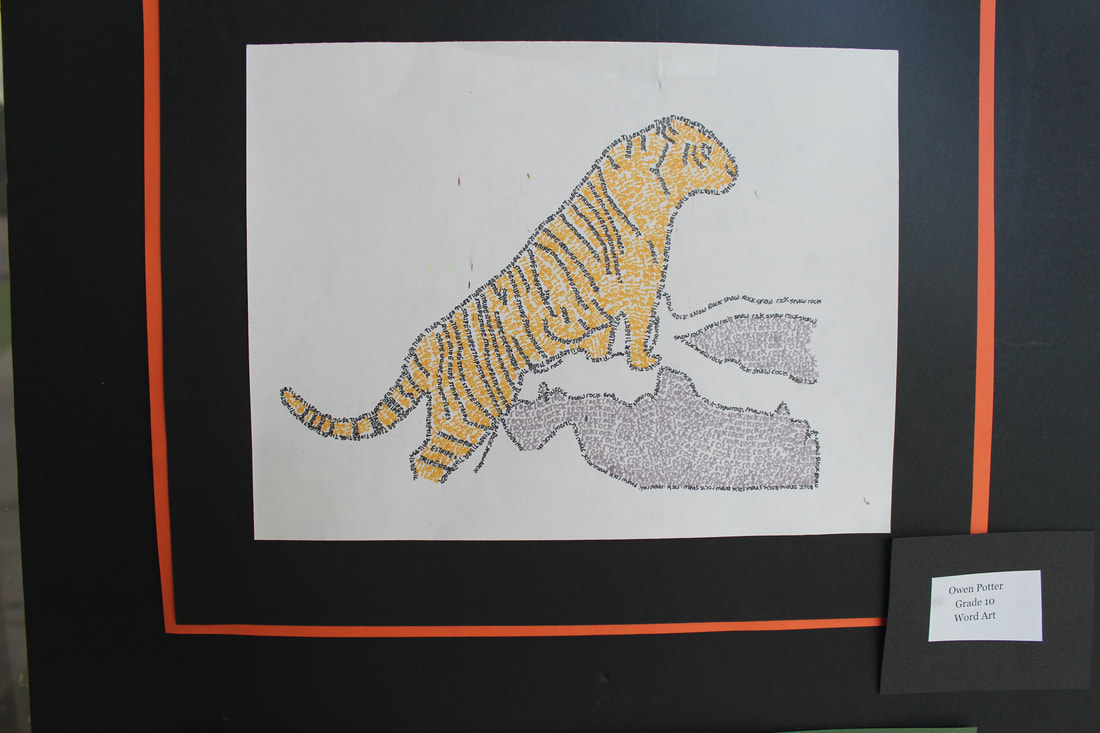
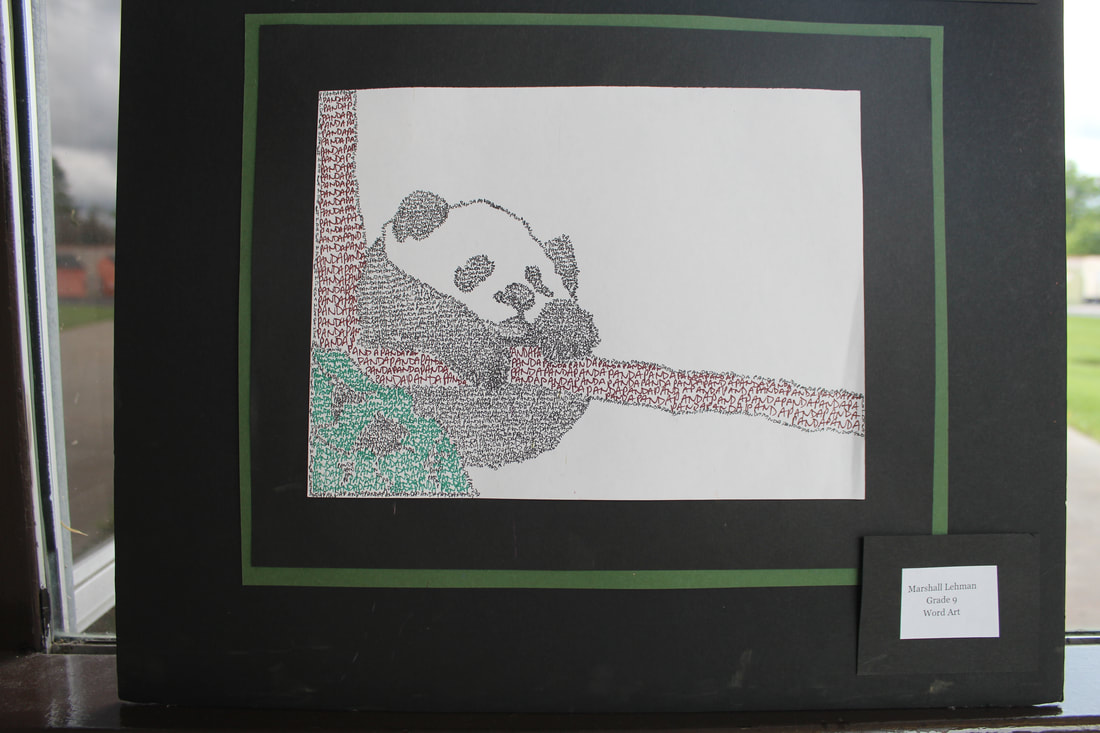
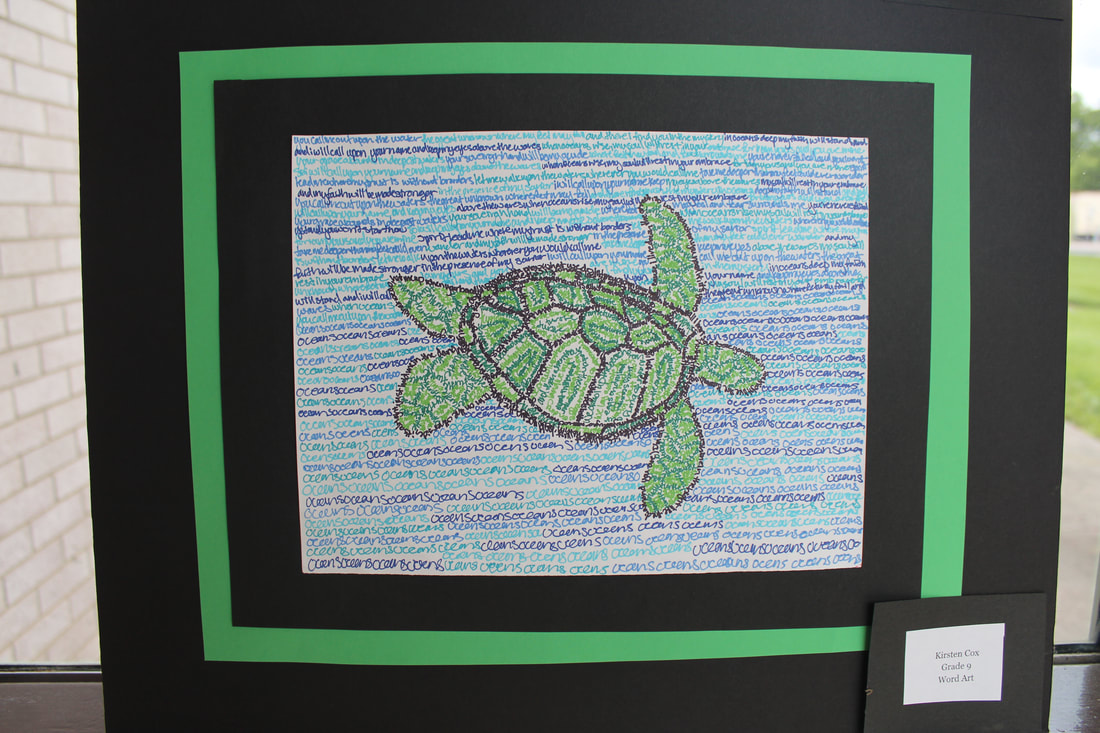
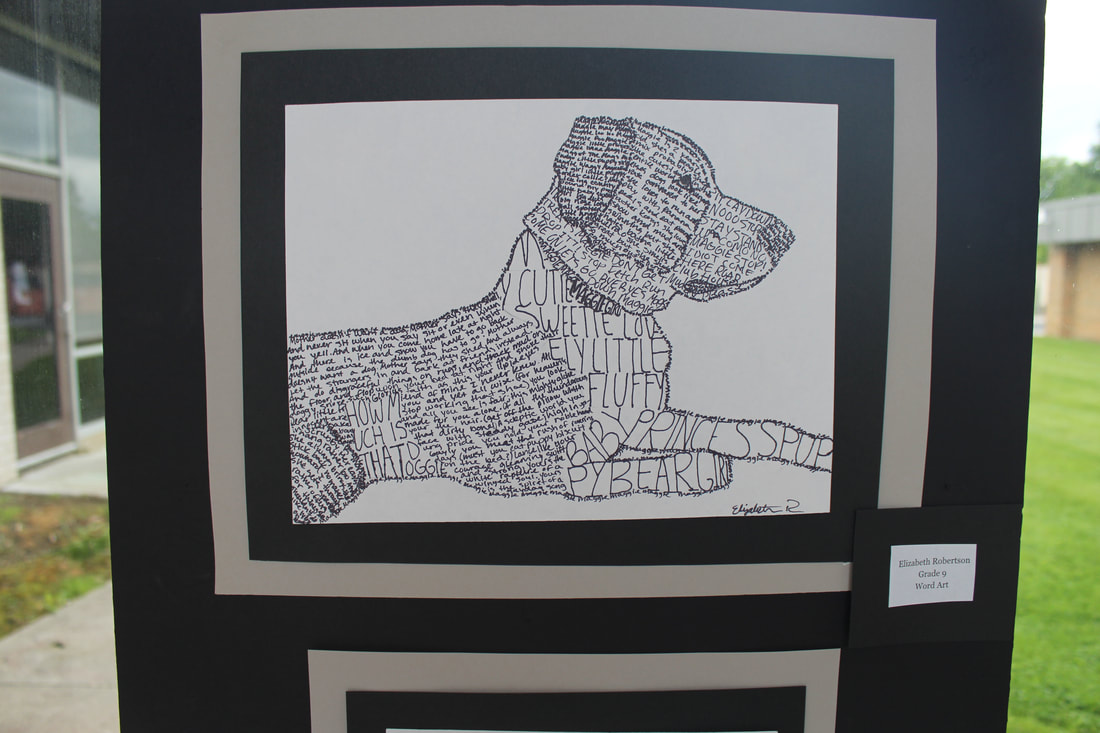
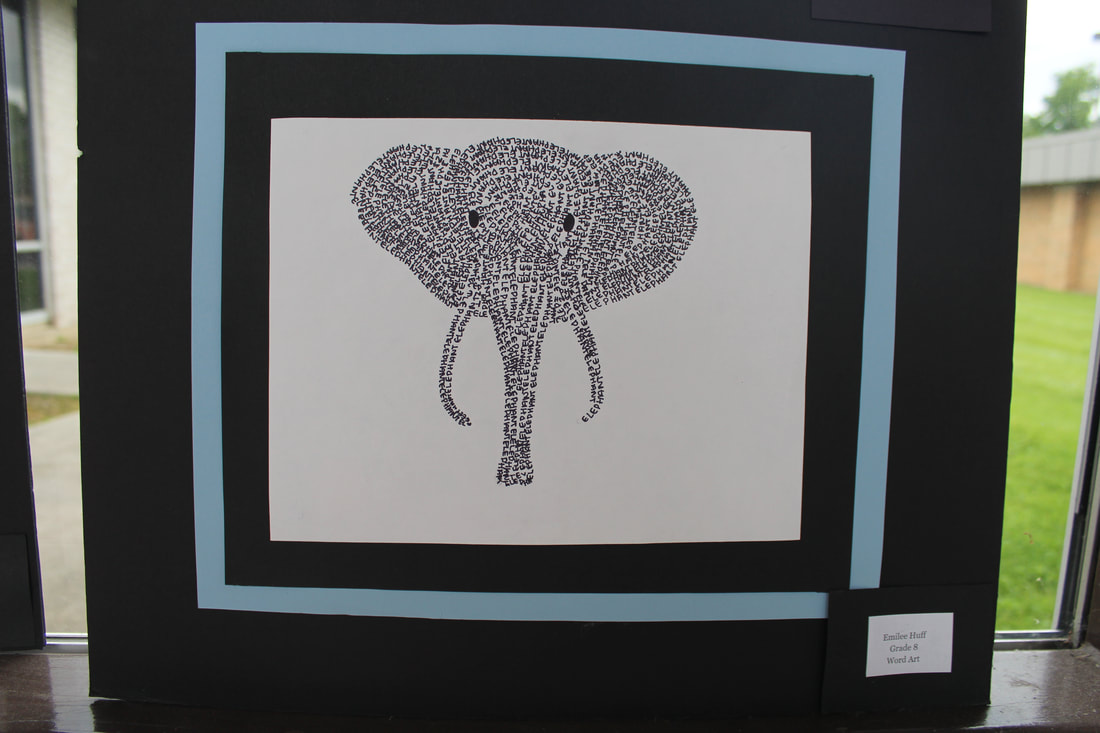
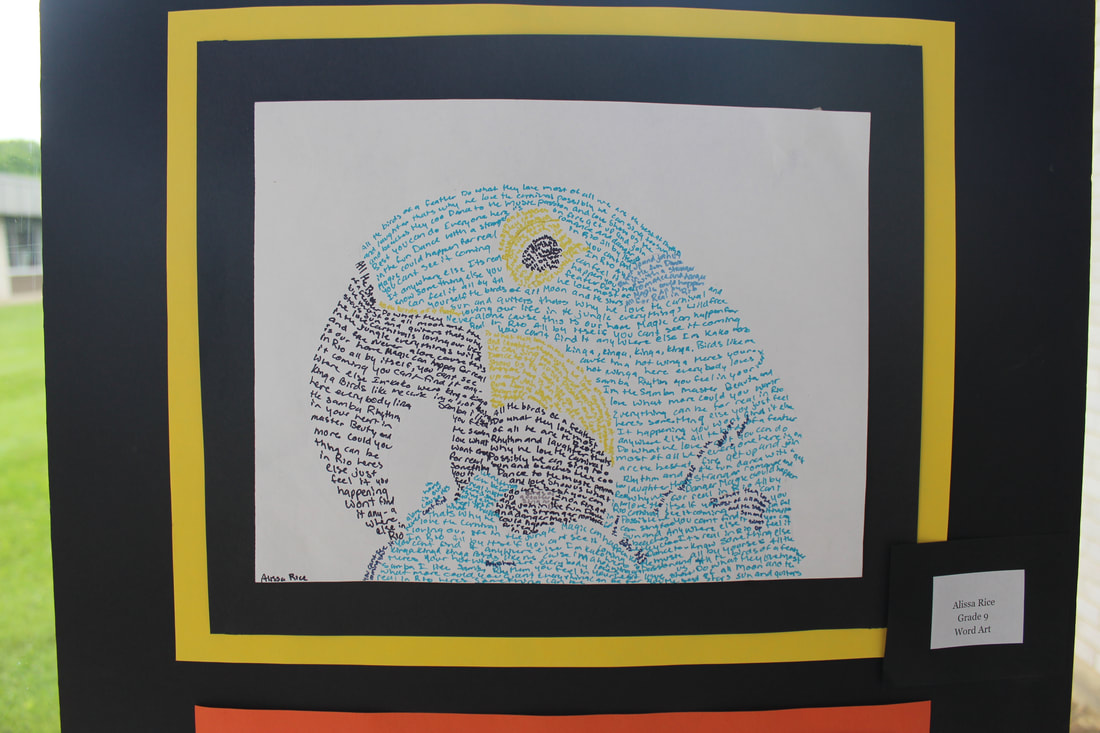
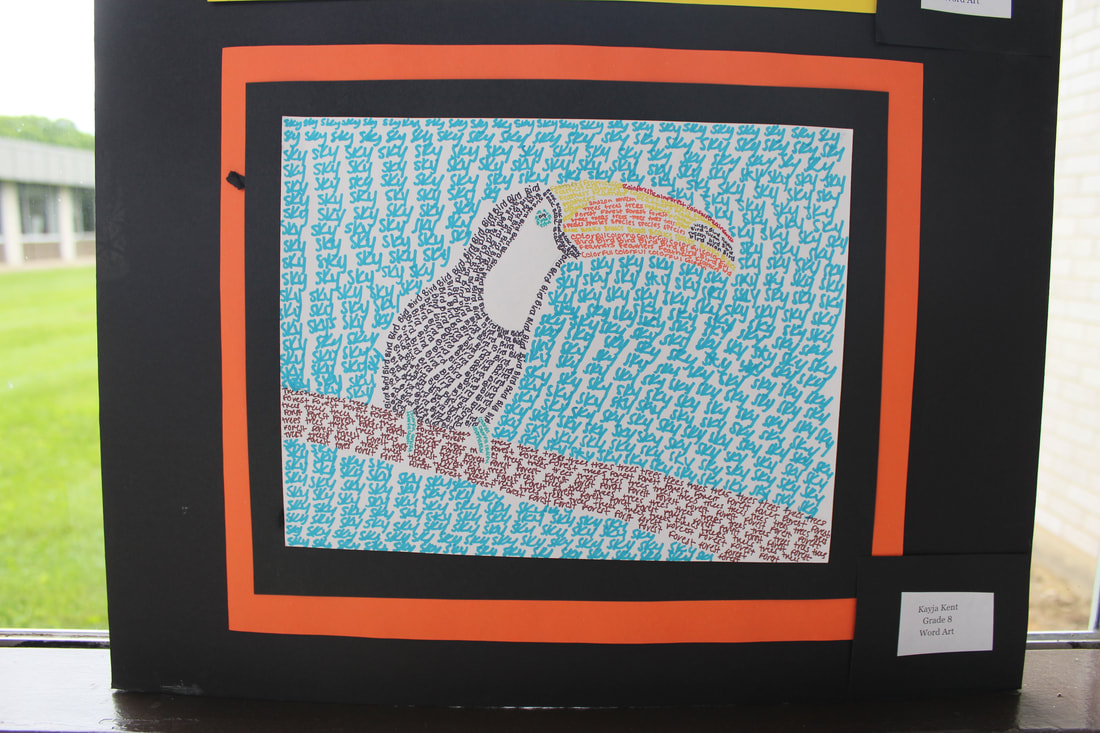
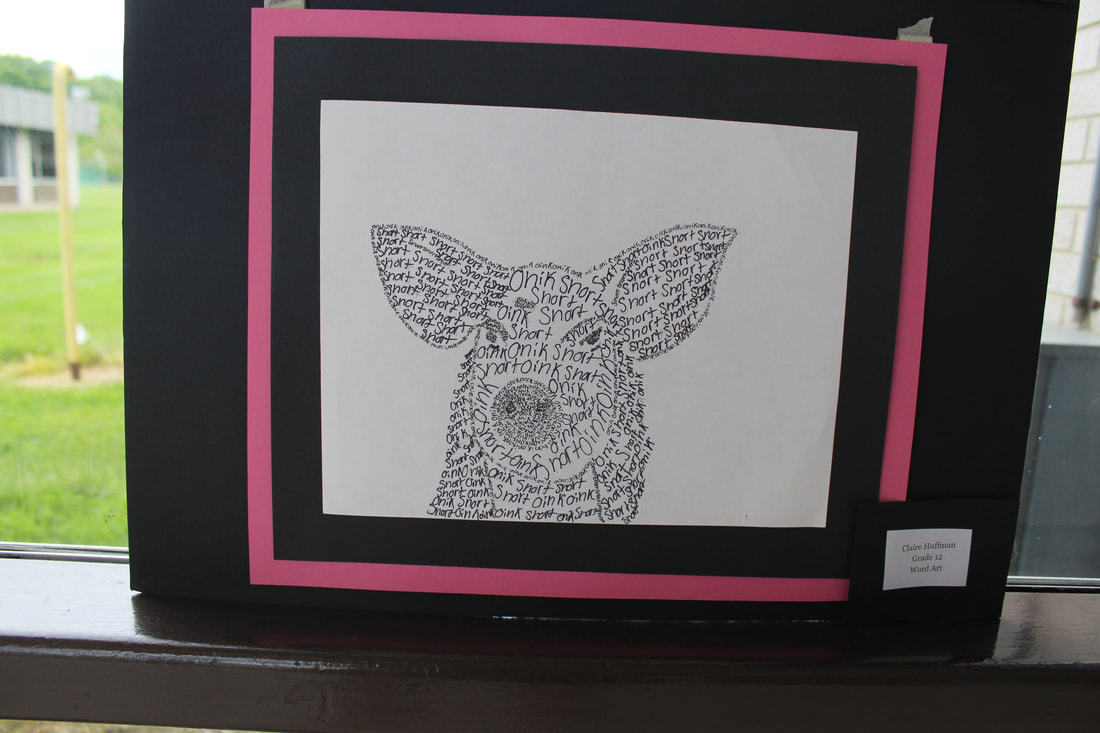
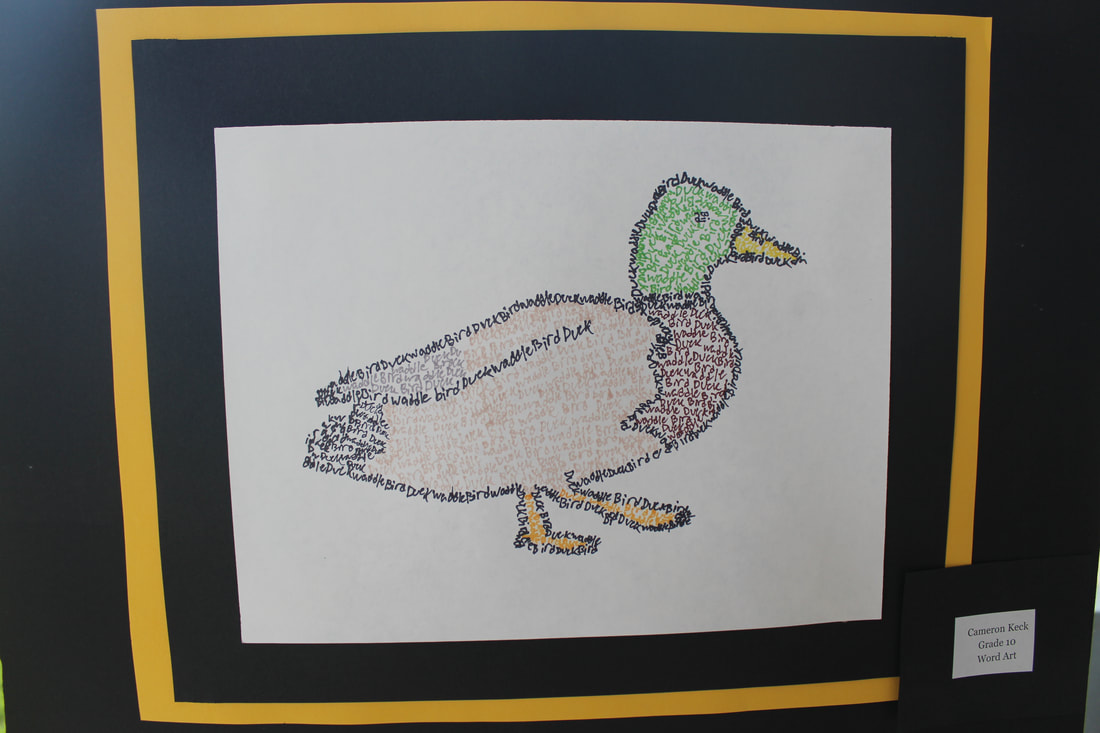
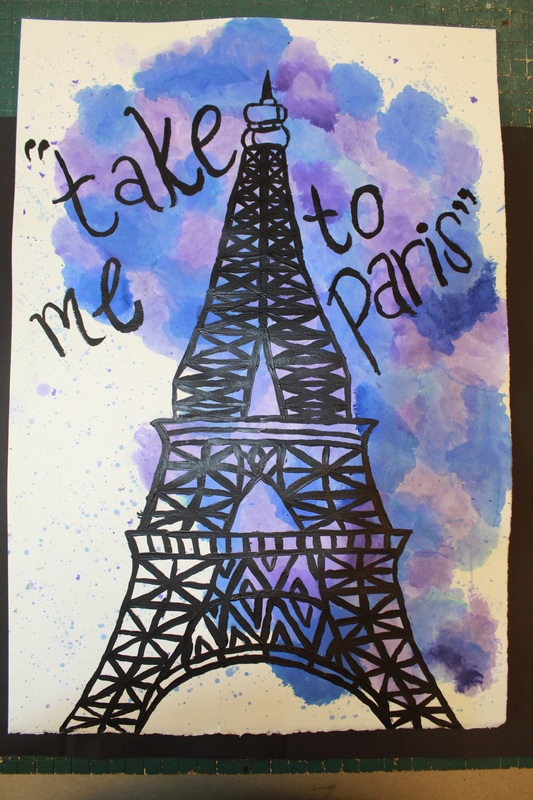
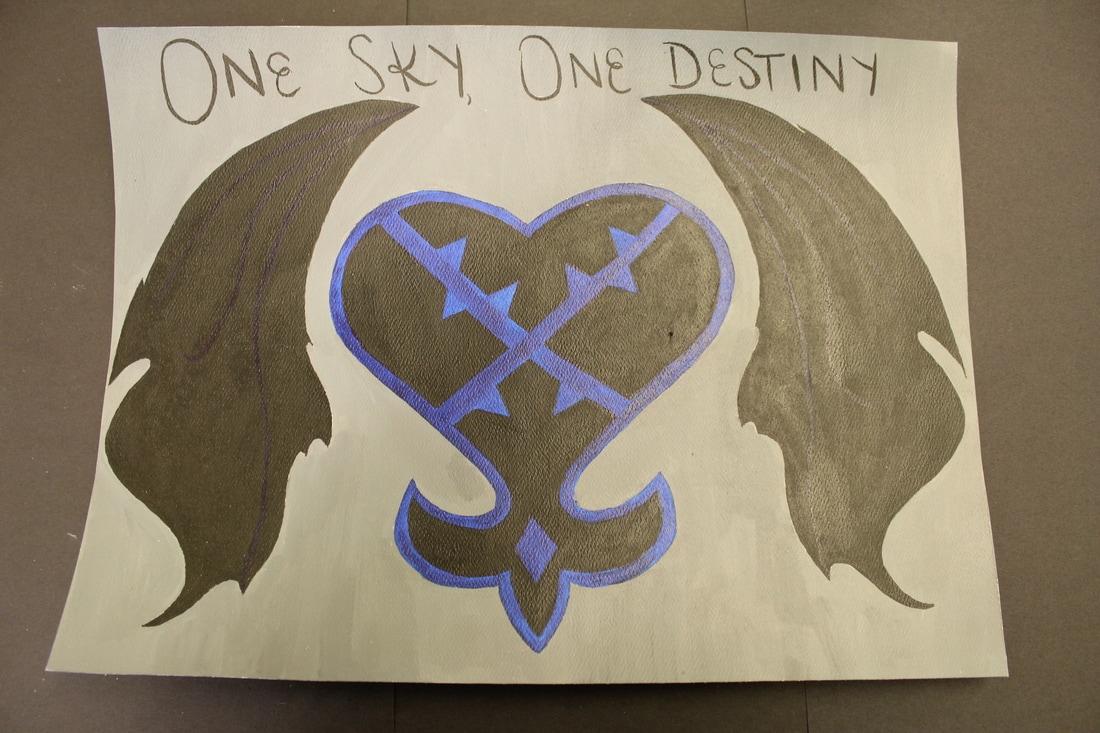
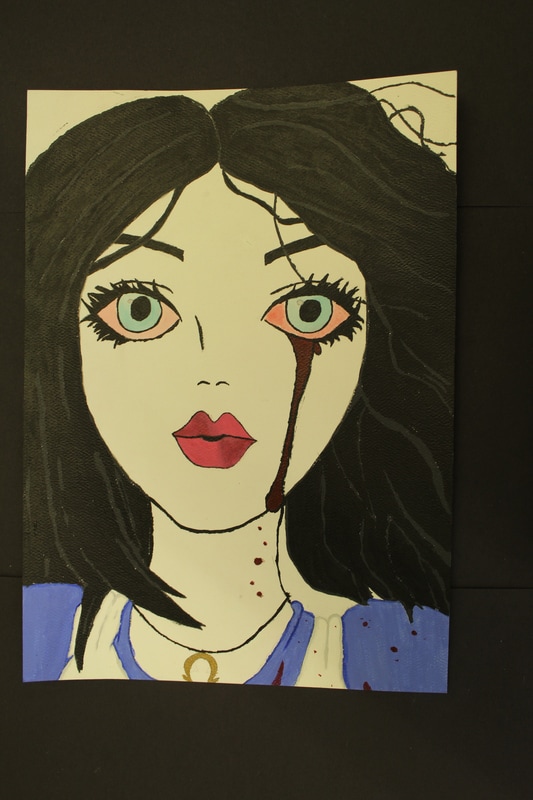
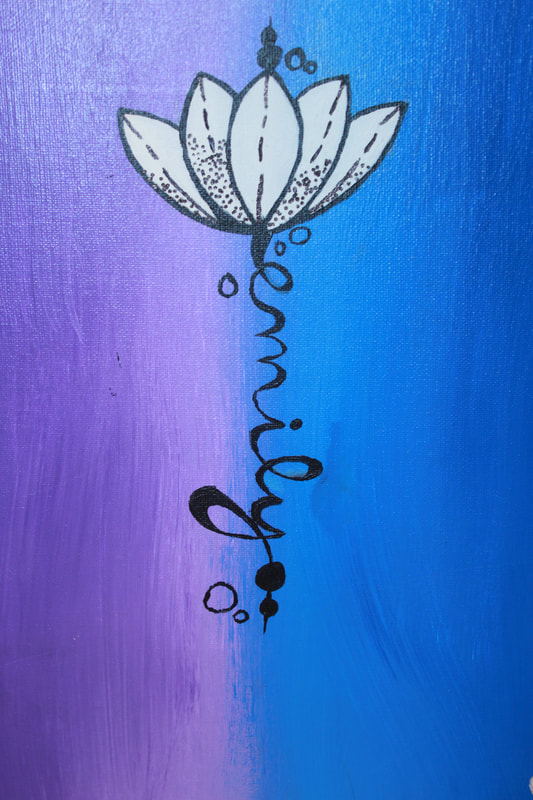
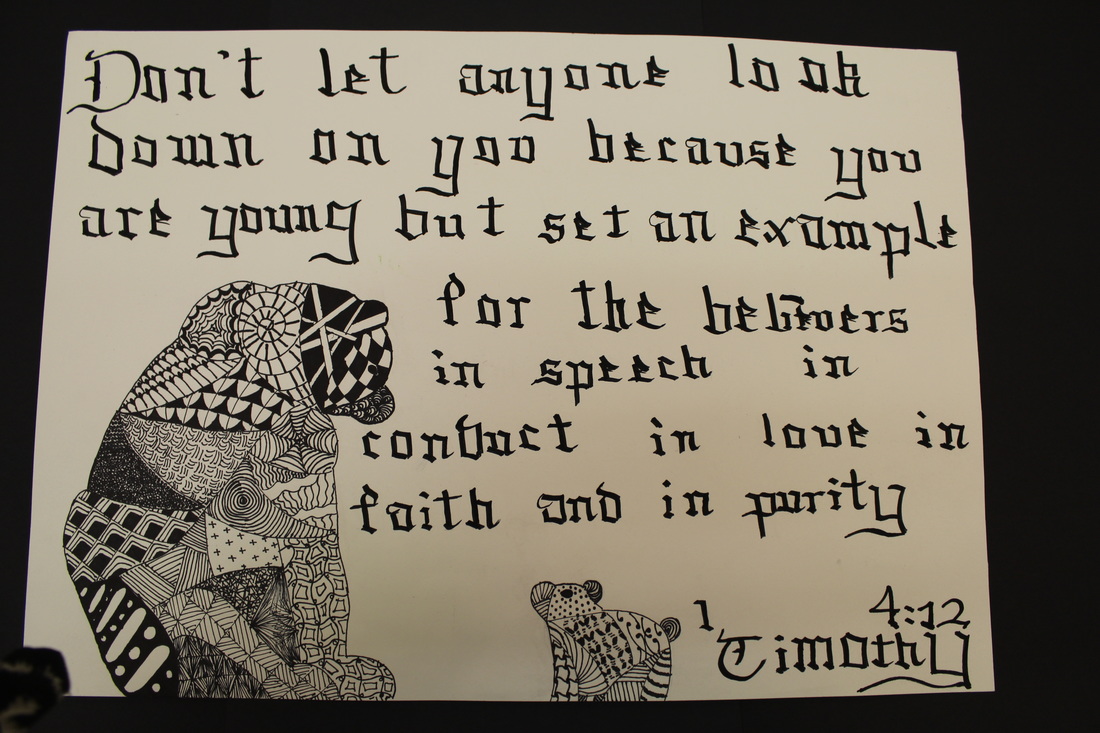
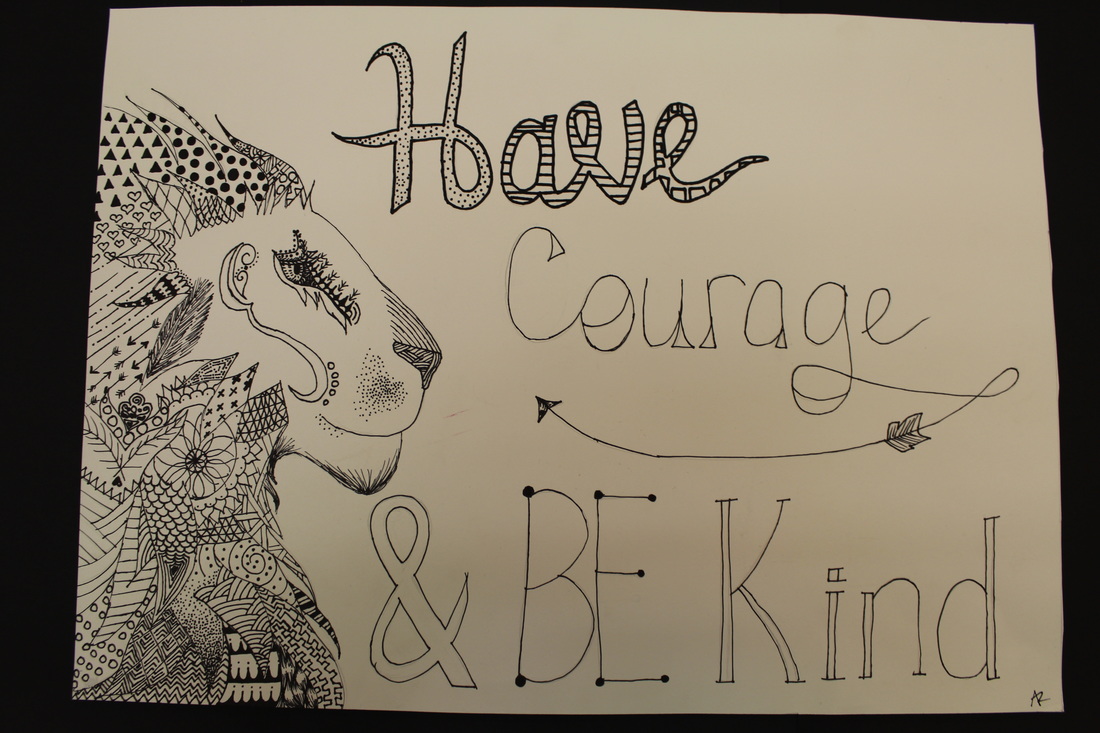
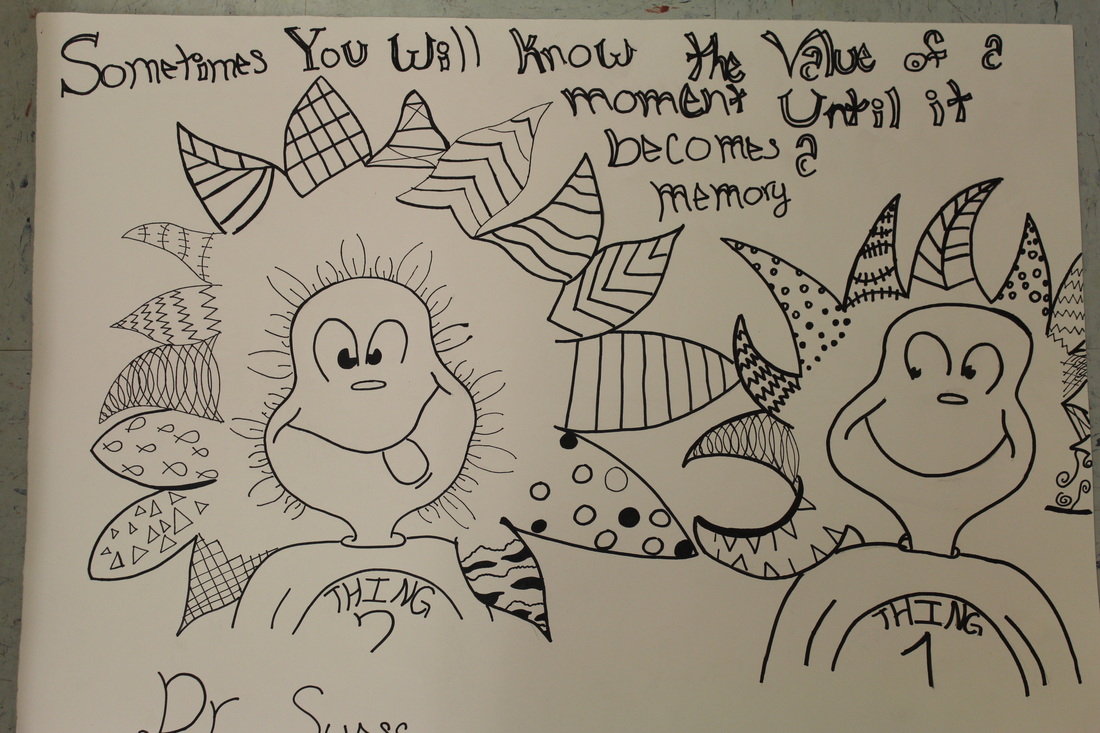
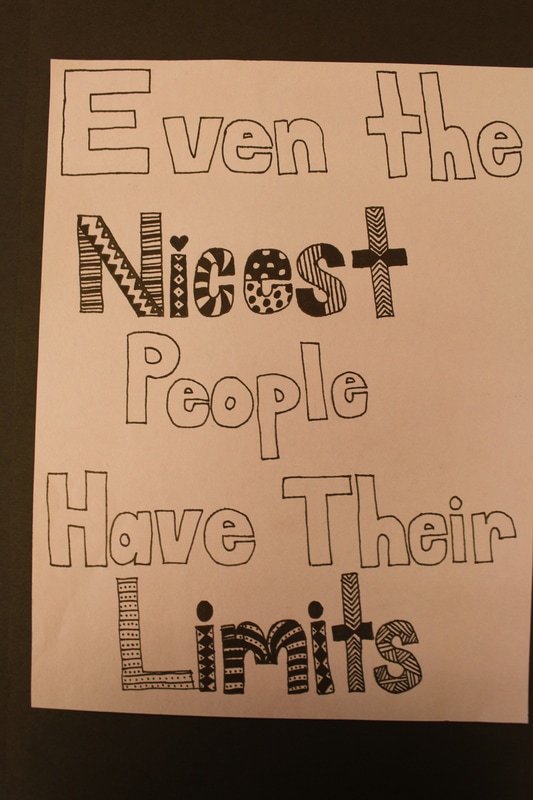
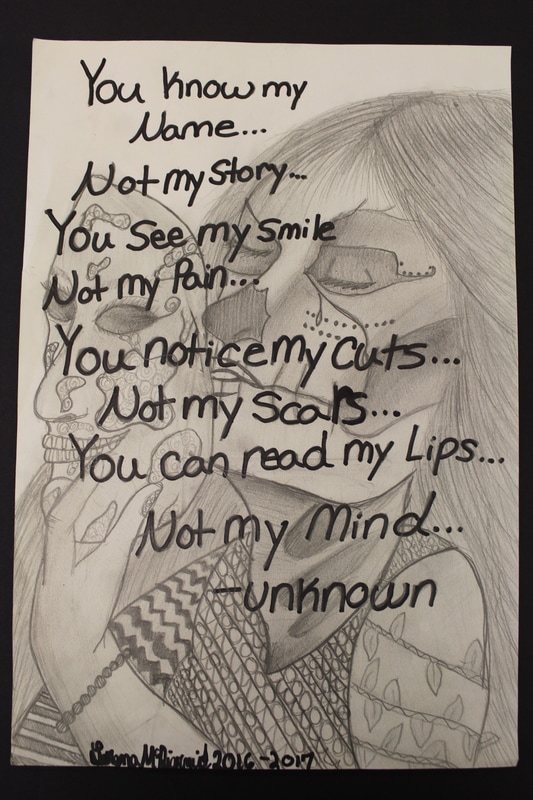
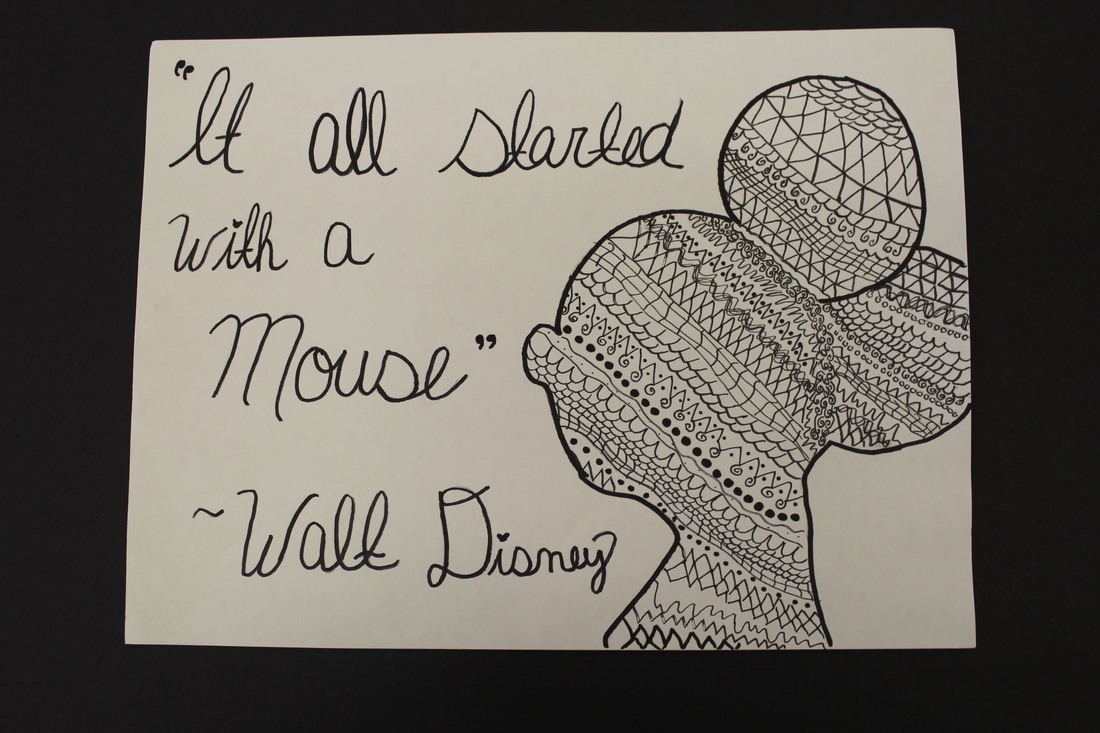
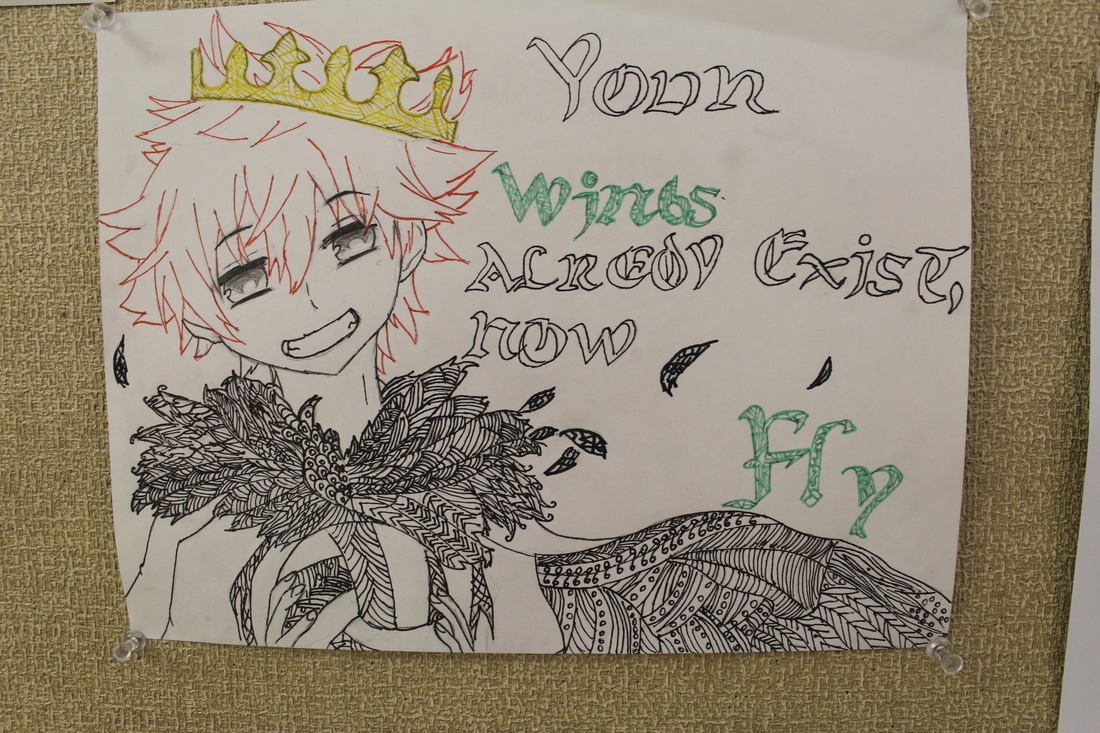
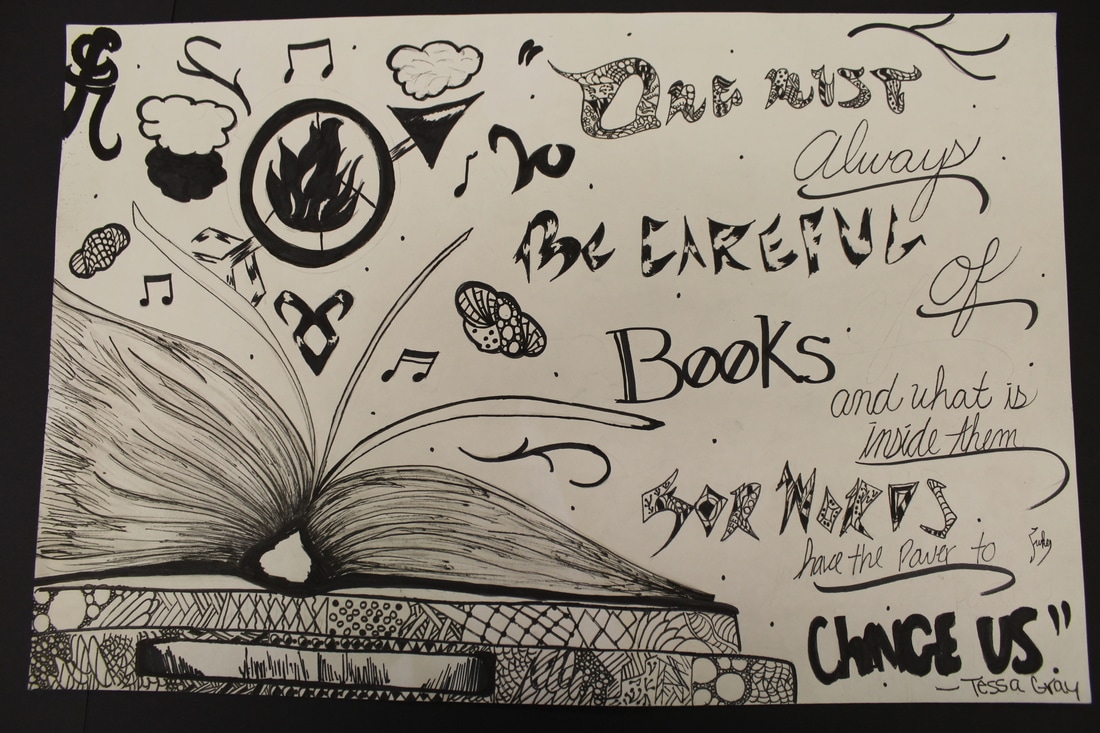
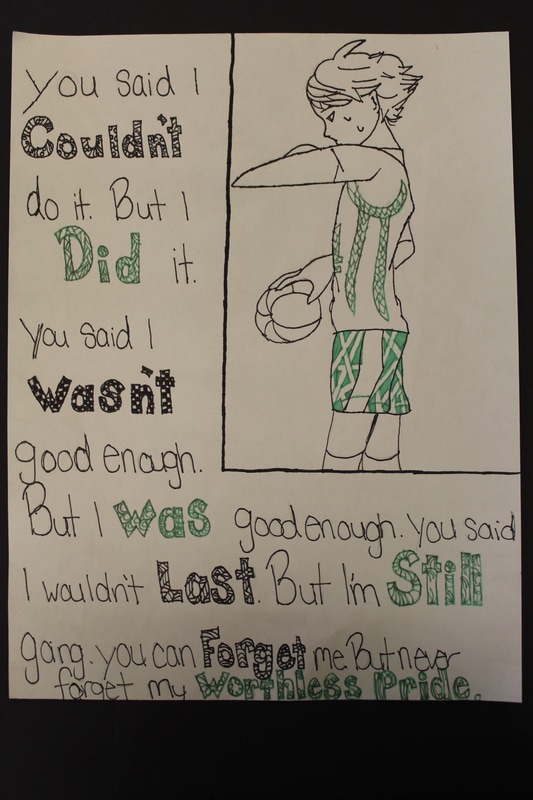
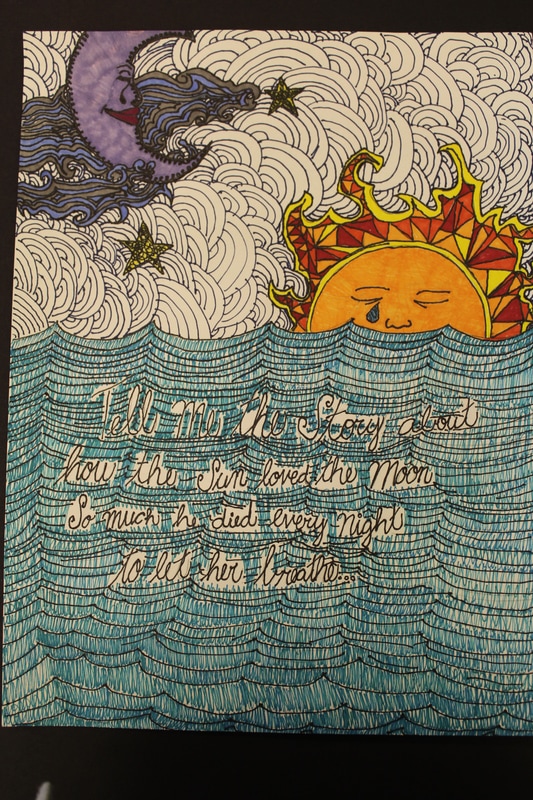
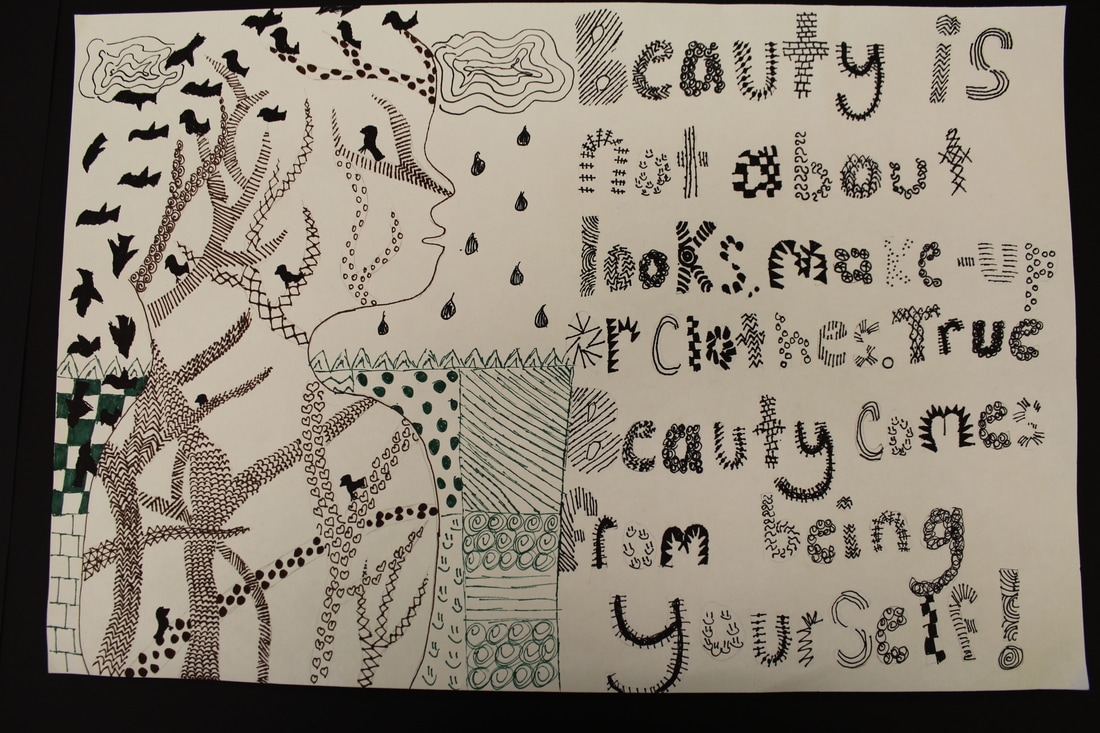
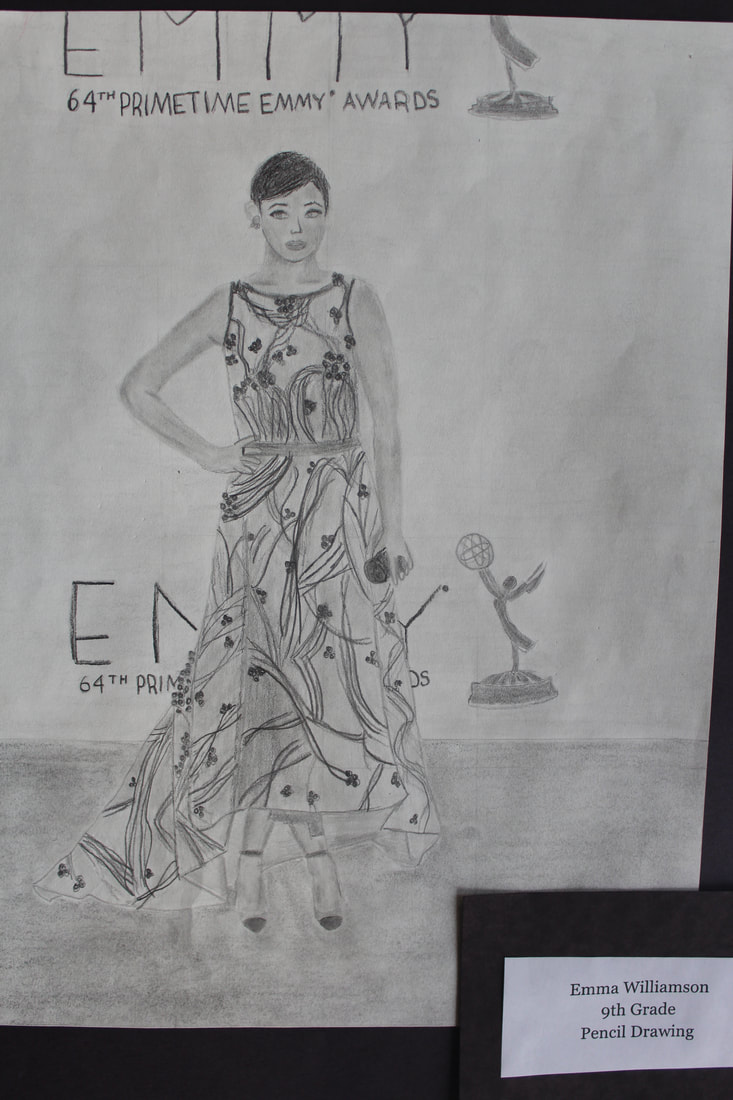
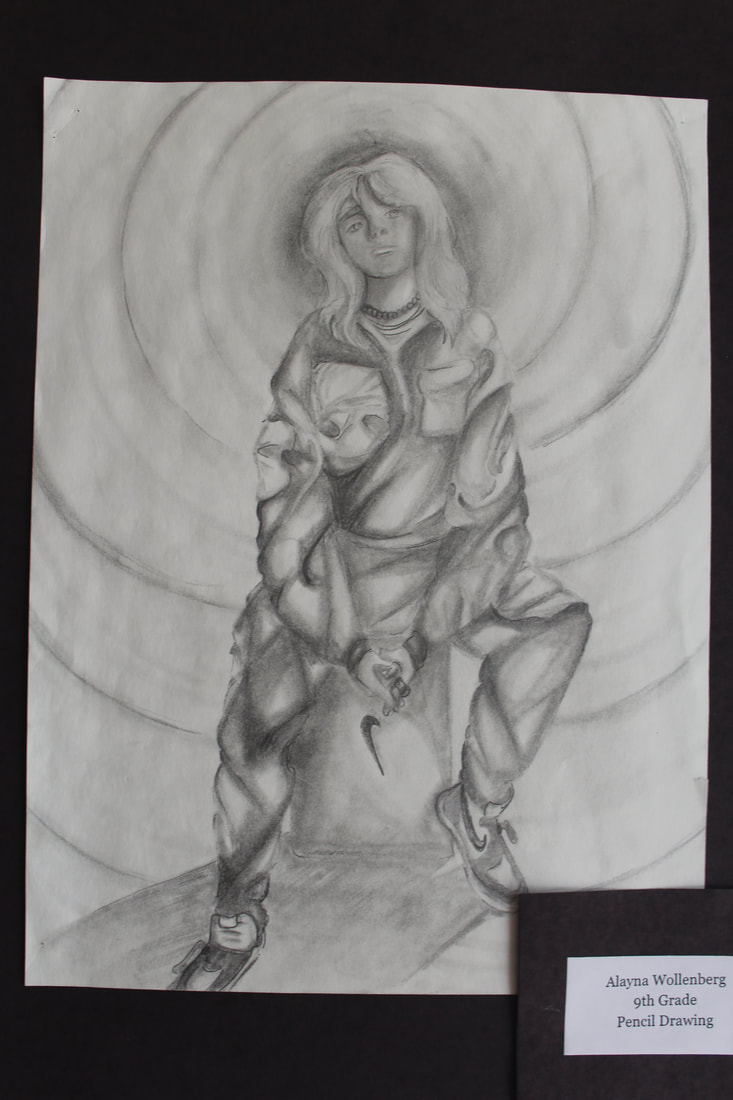
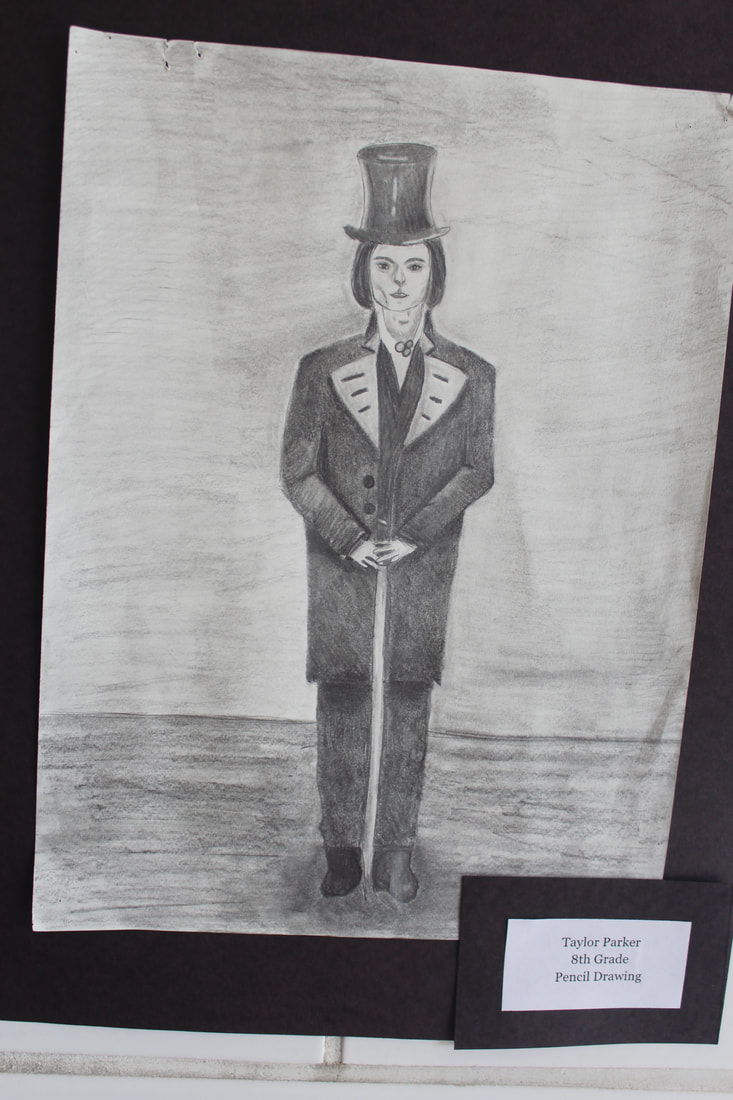
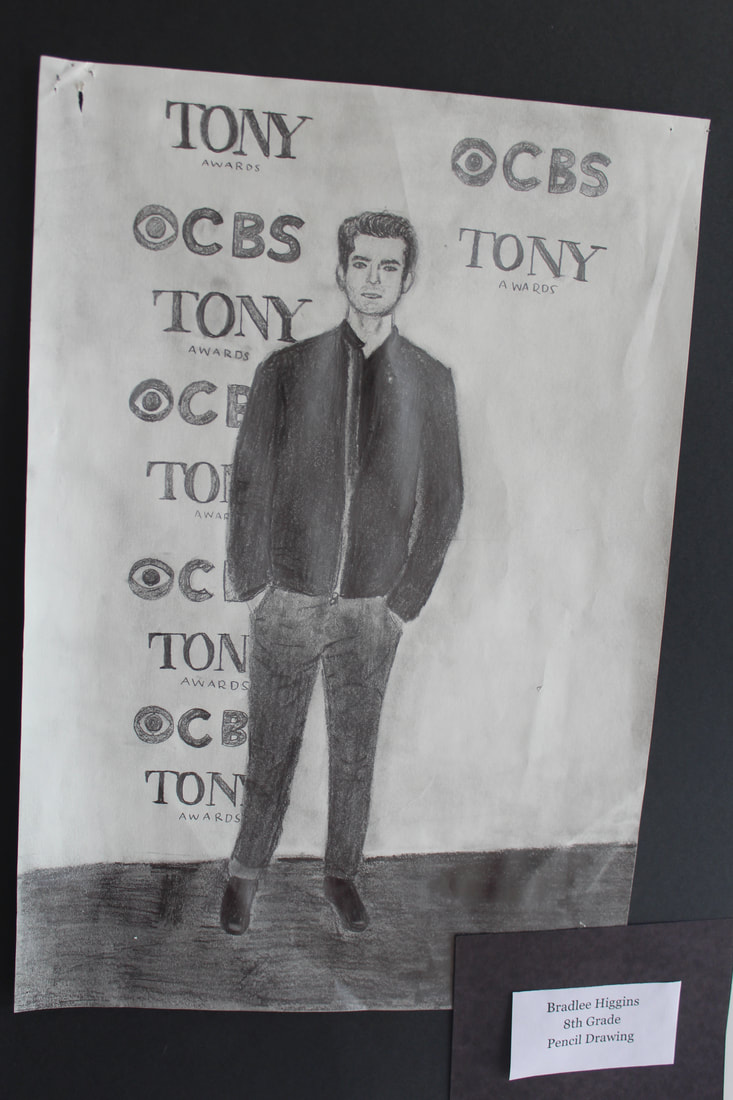
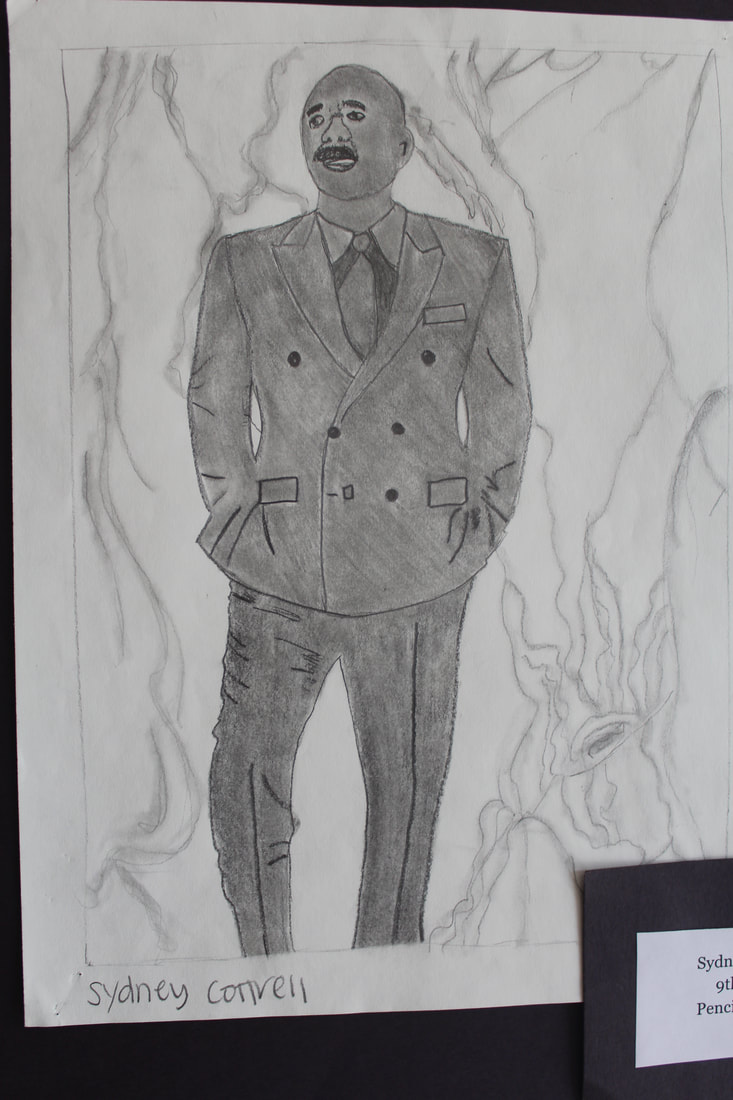
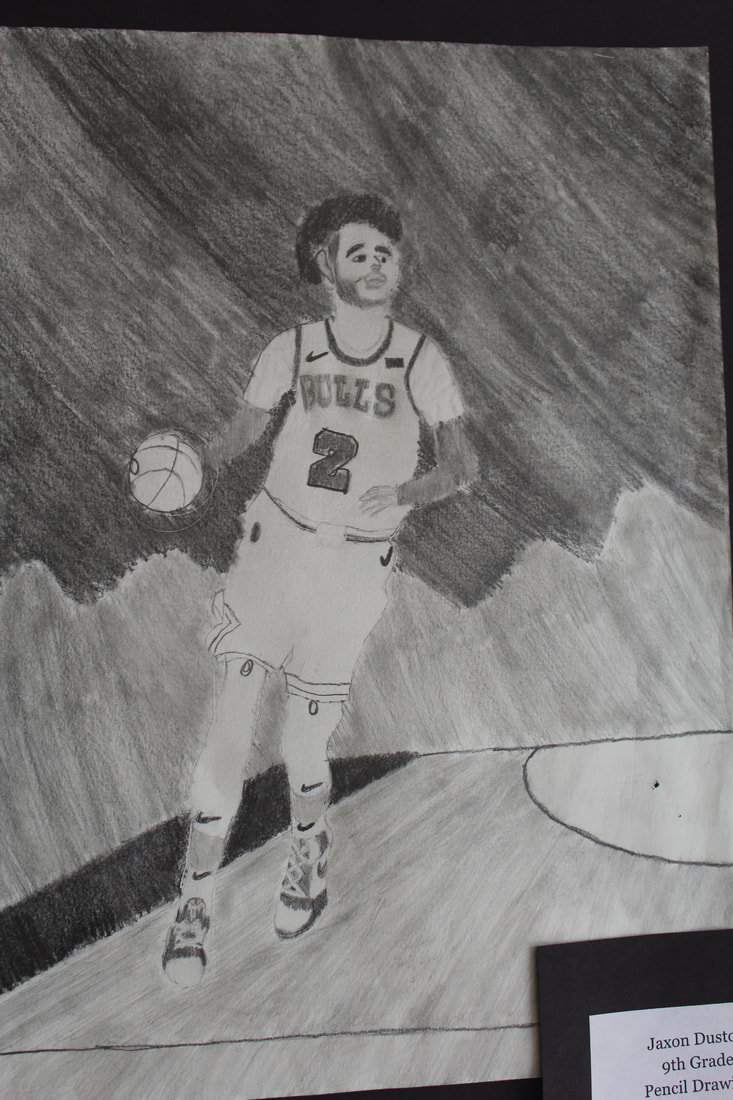
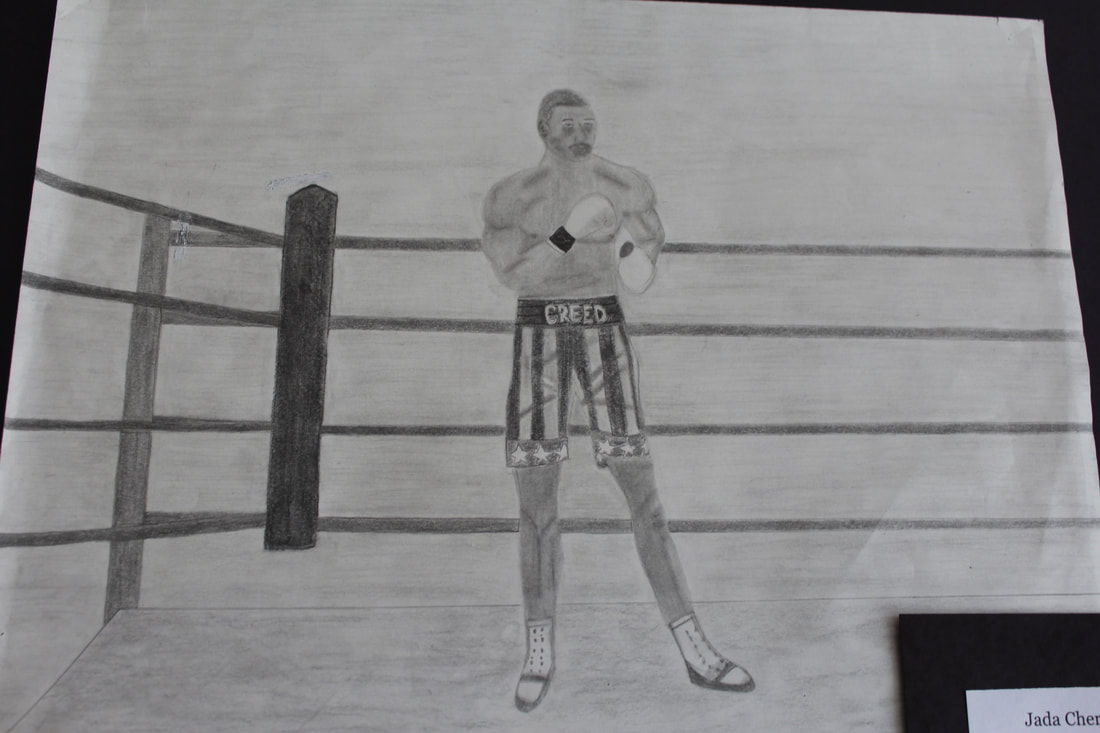
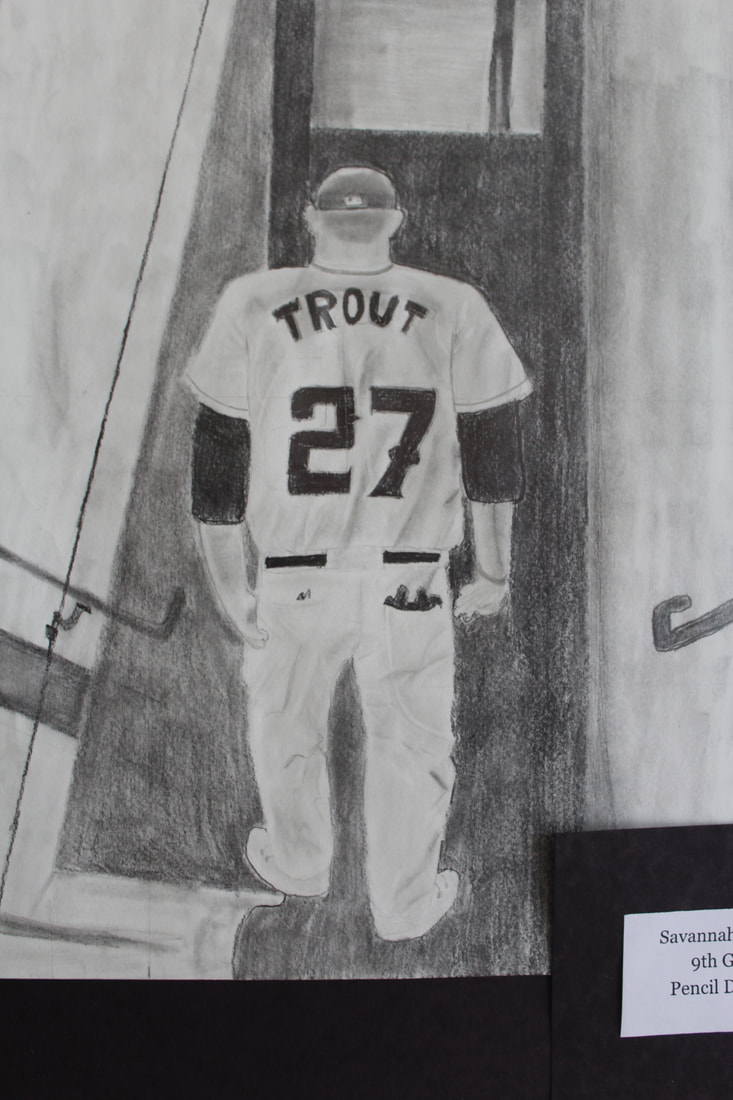
Students first task as an art one student each year is to choose a celebrity or person that they really admire and do a word art drawing. Word art is a drawing done completely out of words. Students spend time drawing out the general shapes of the person's face with a pencil then they go back and make the lines out of words with sharpies and pens. They turn out awesome! This project is one of my favorites that we do each year. I am always excited to start a new project with the new art one students each year.
|


Art One Object Studies
|
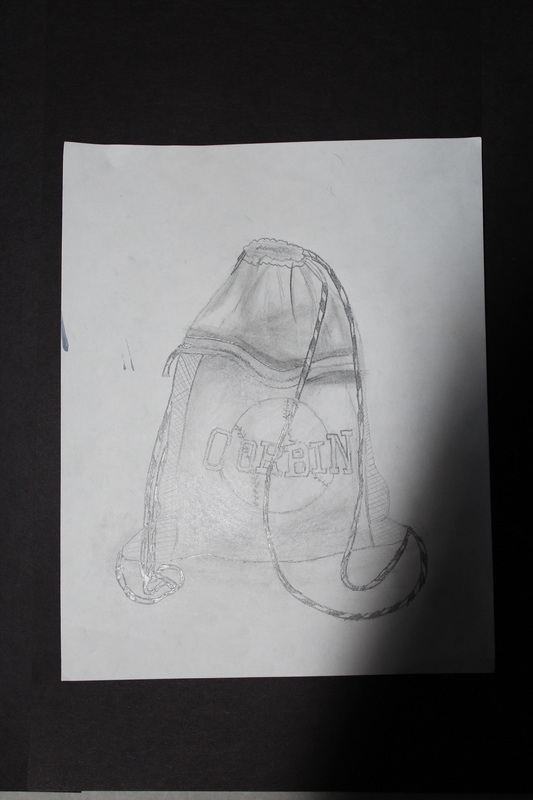
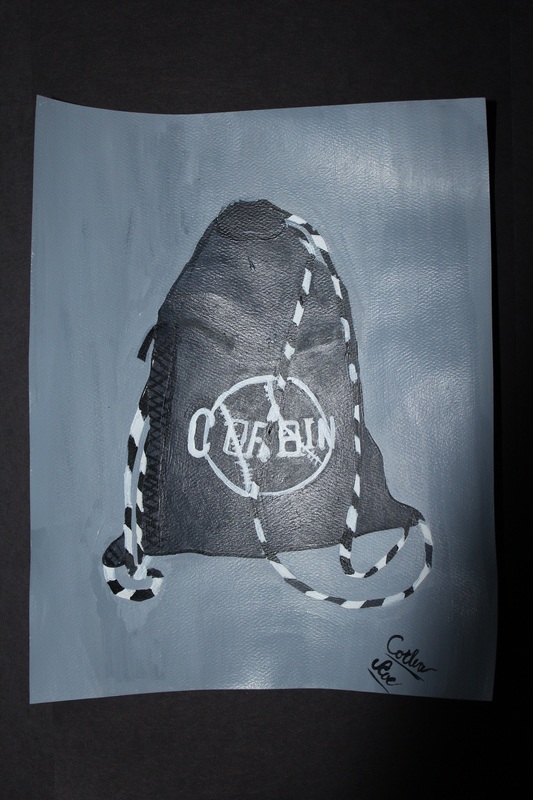
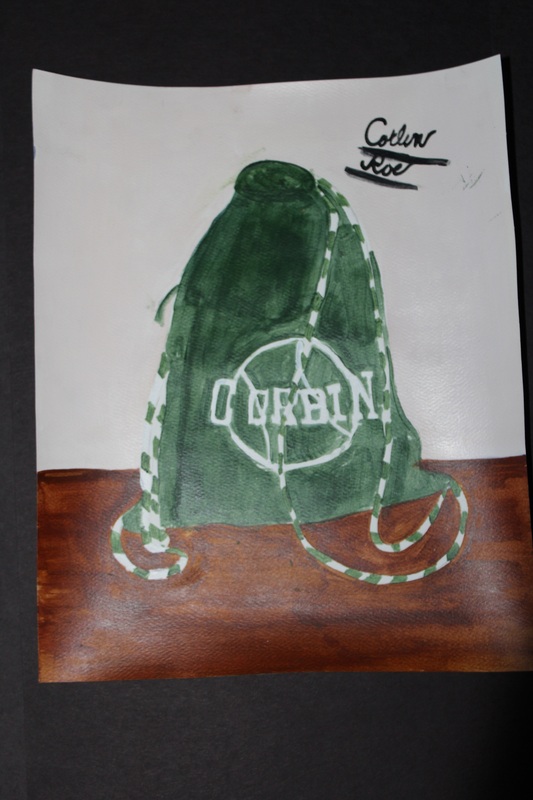
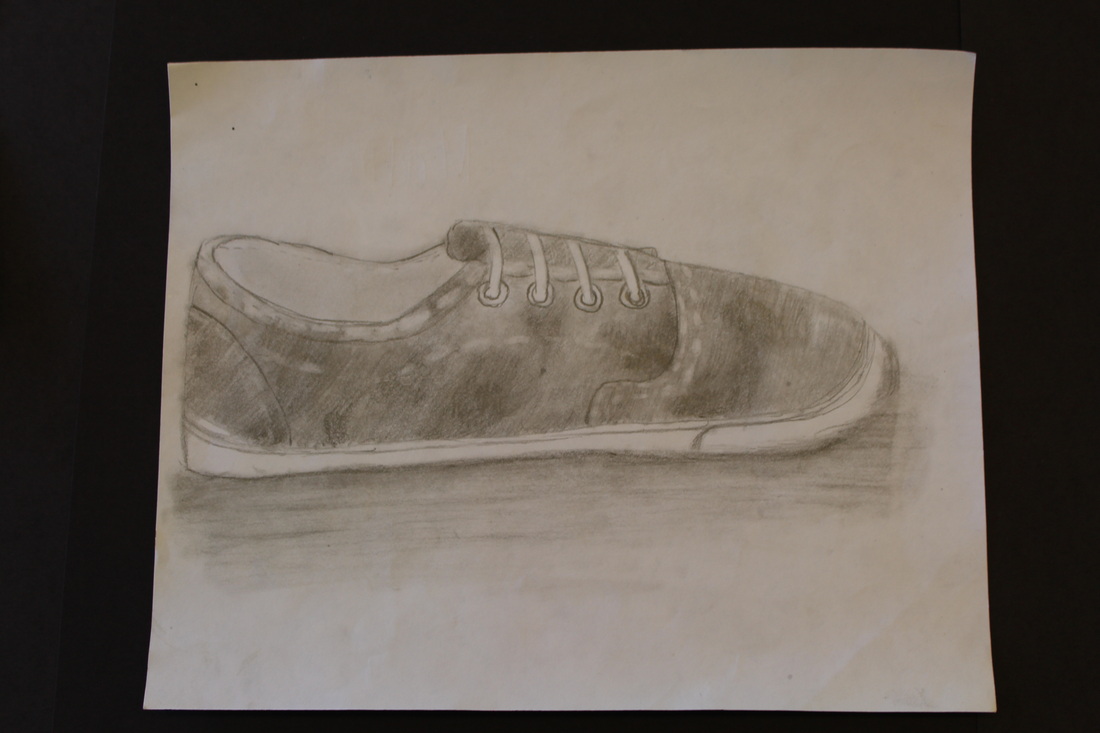
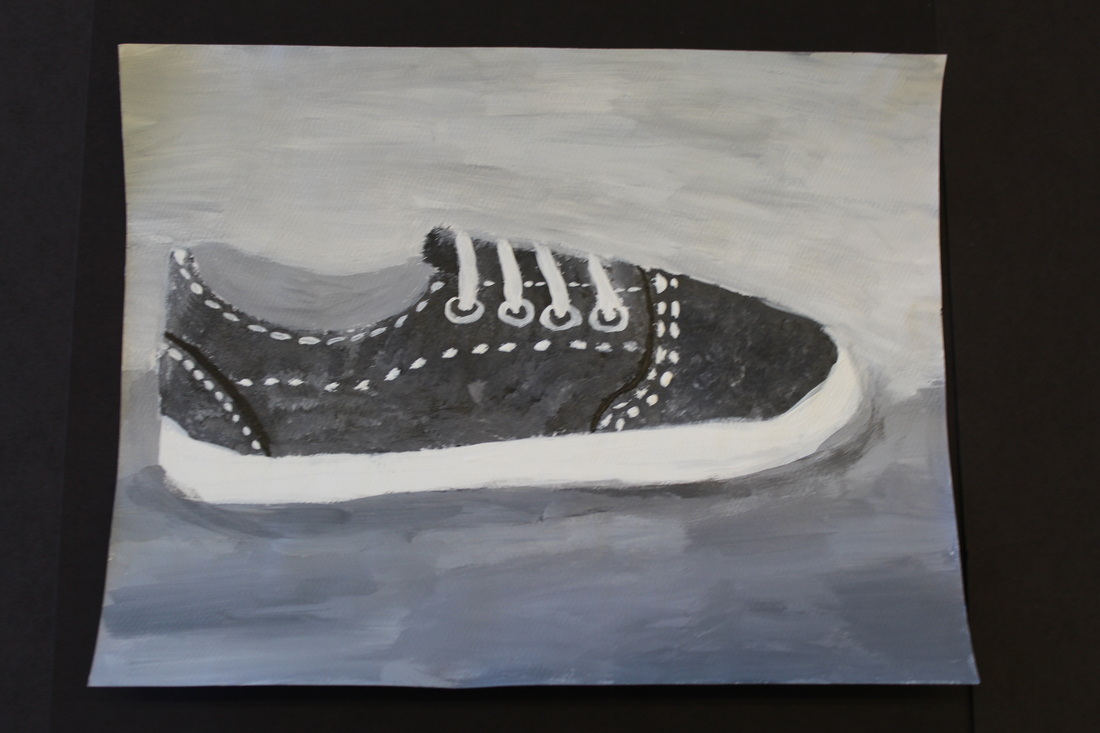
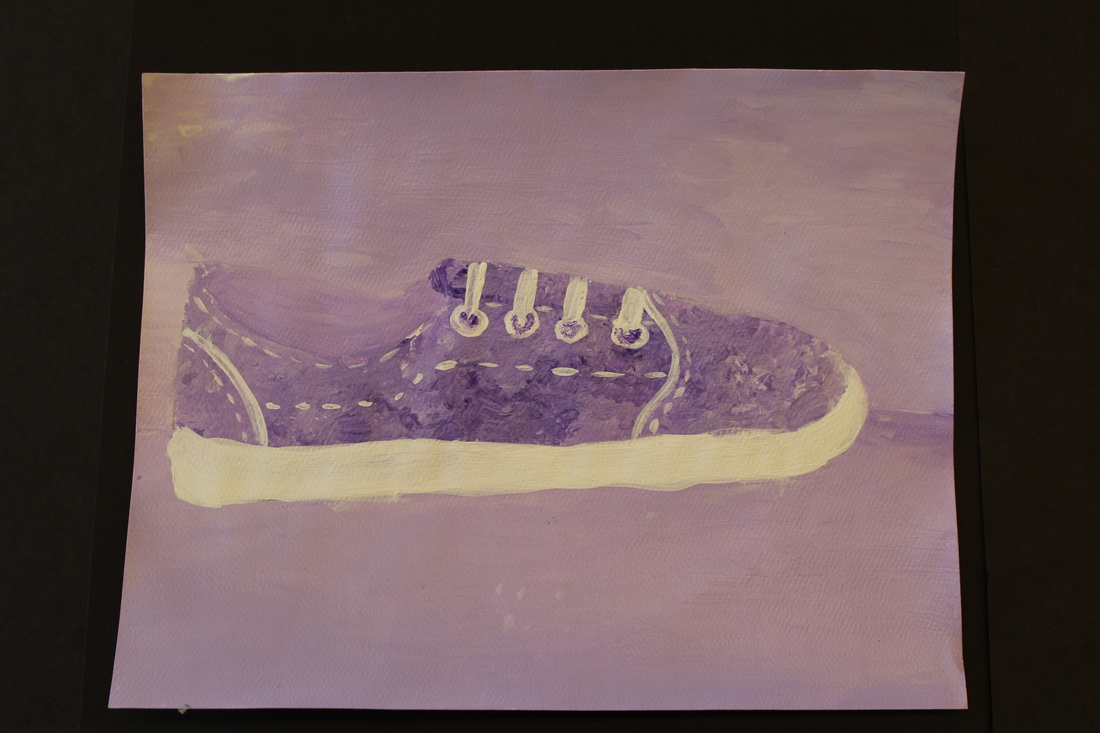
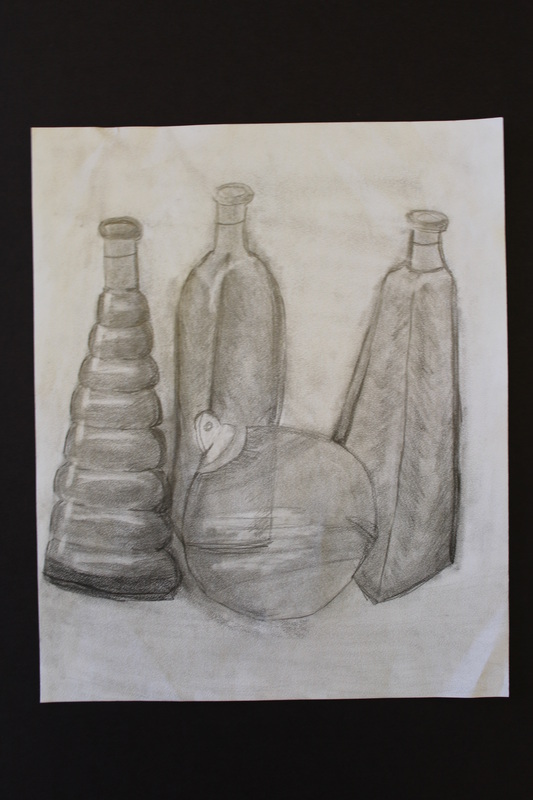
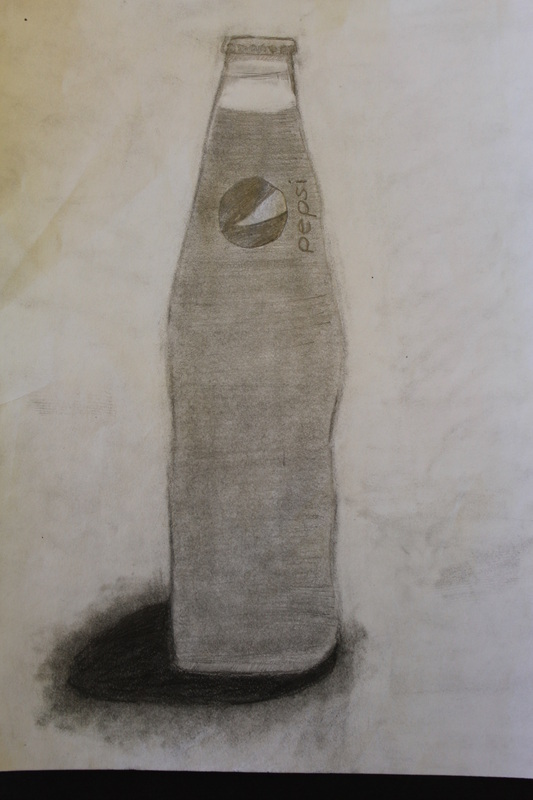
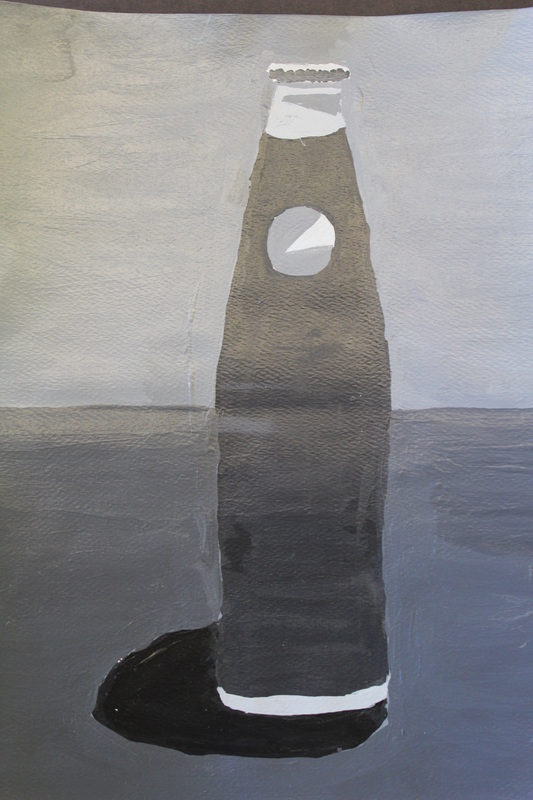
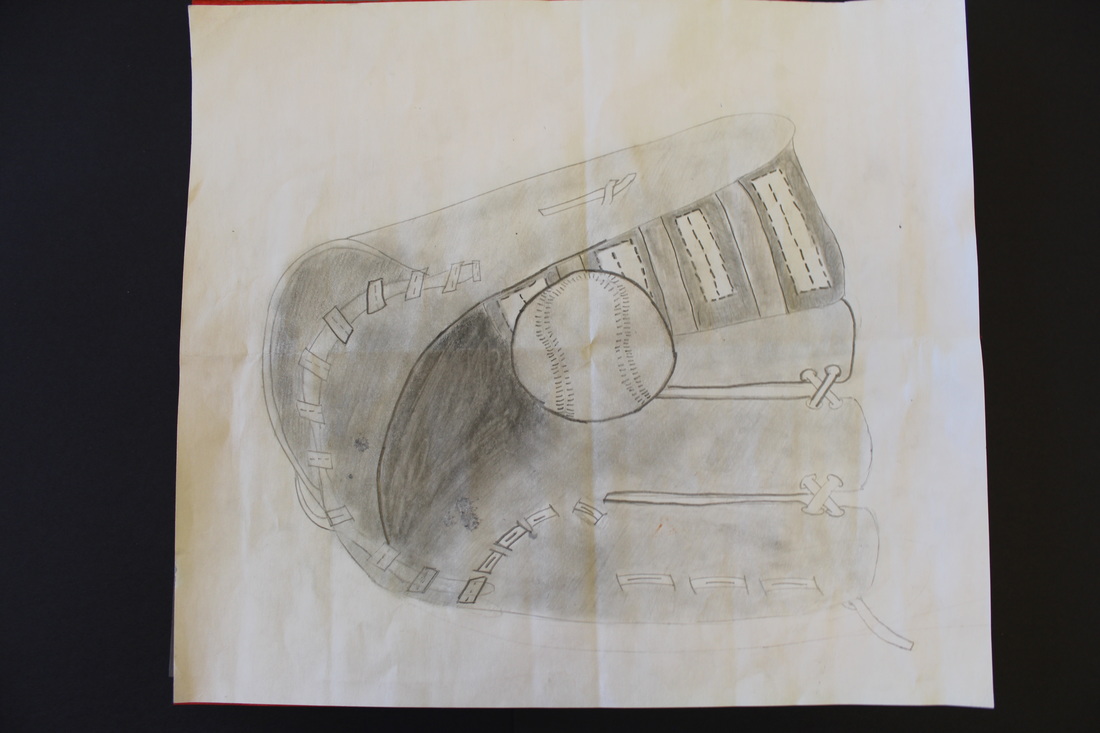
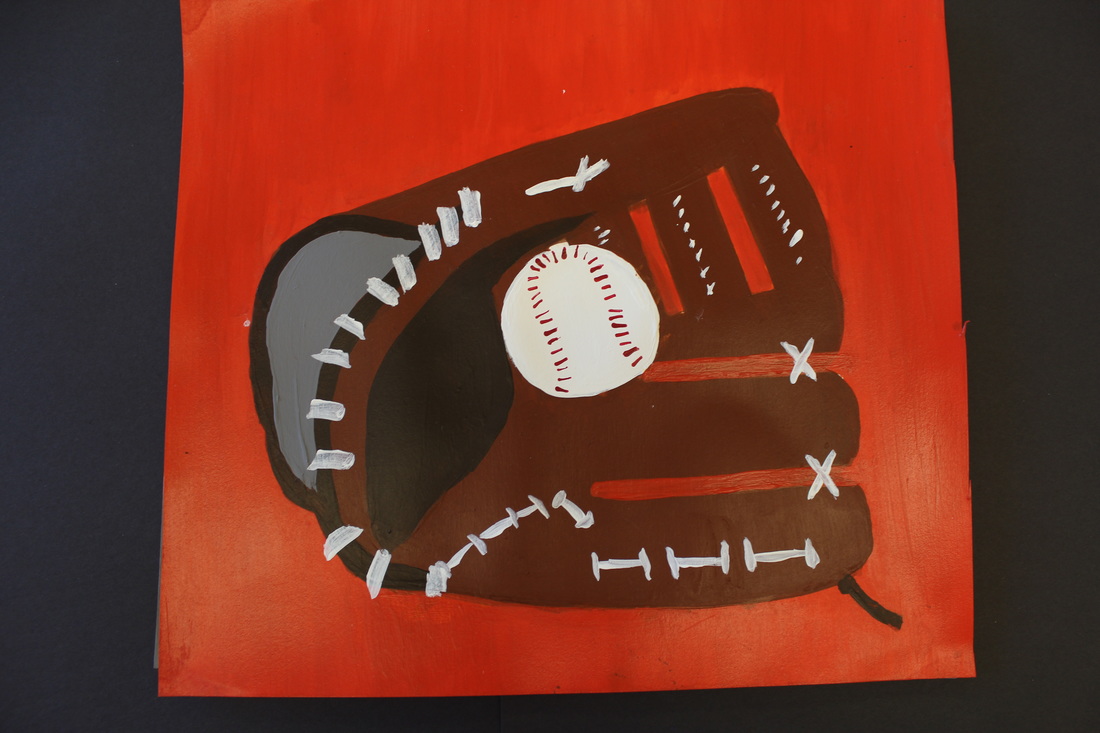
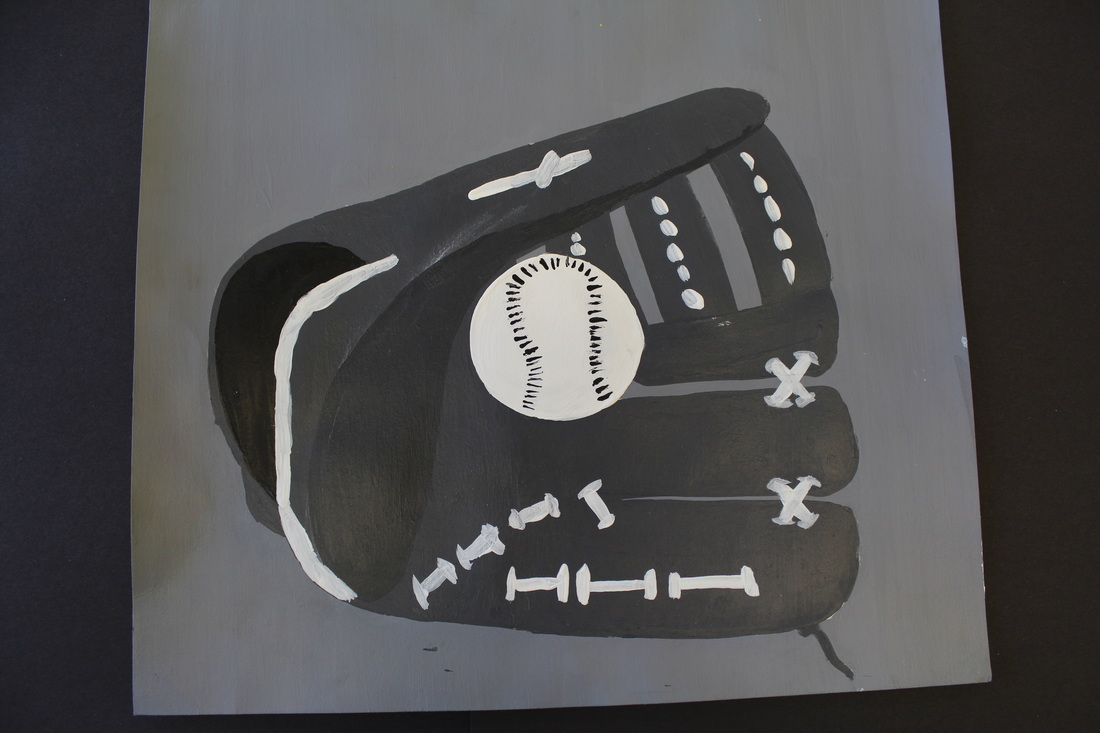
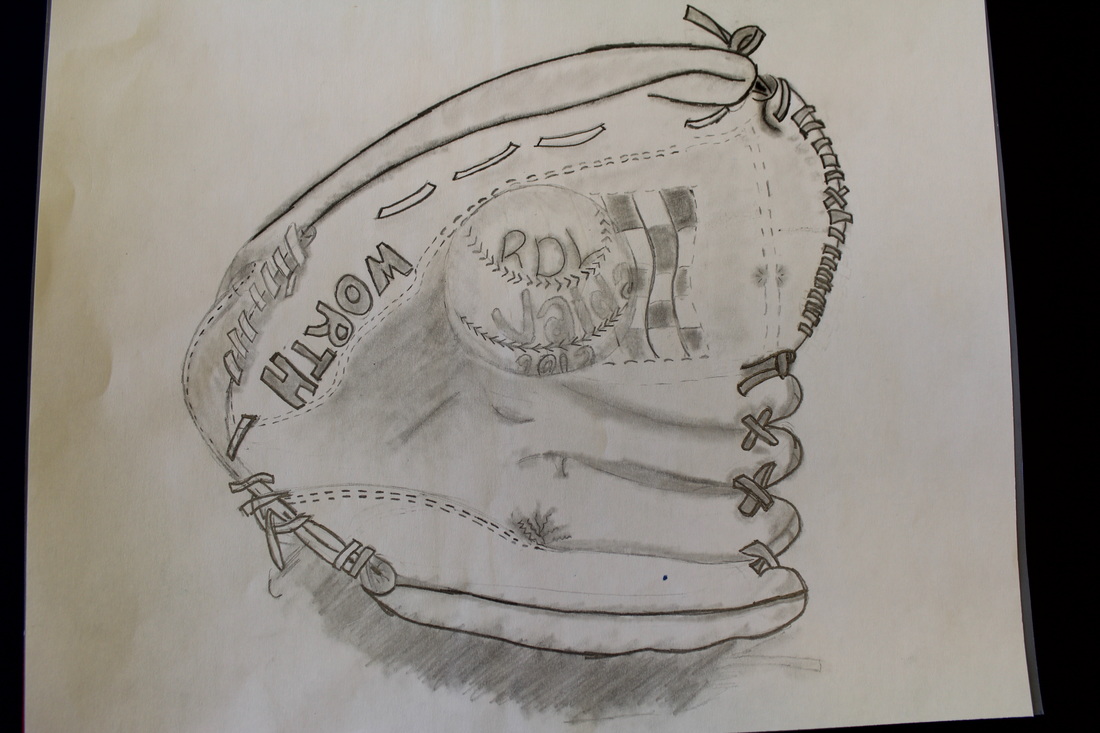
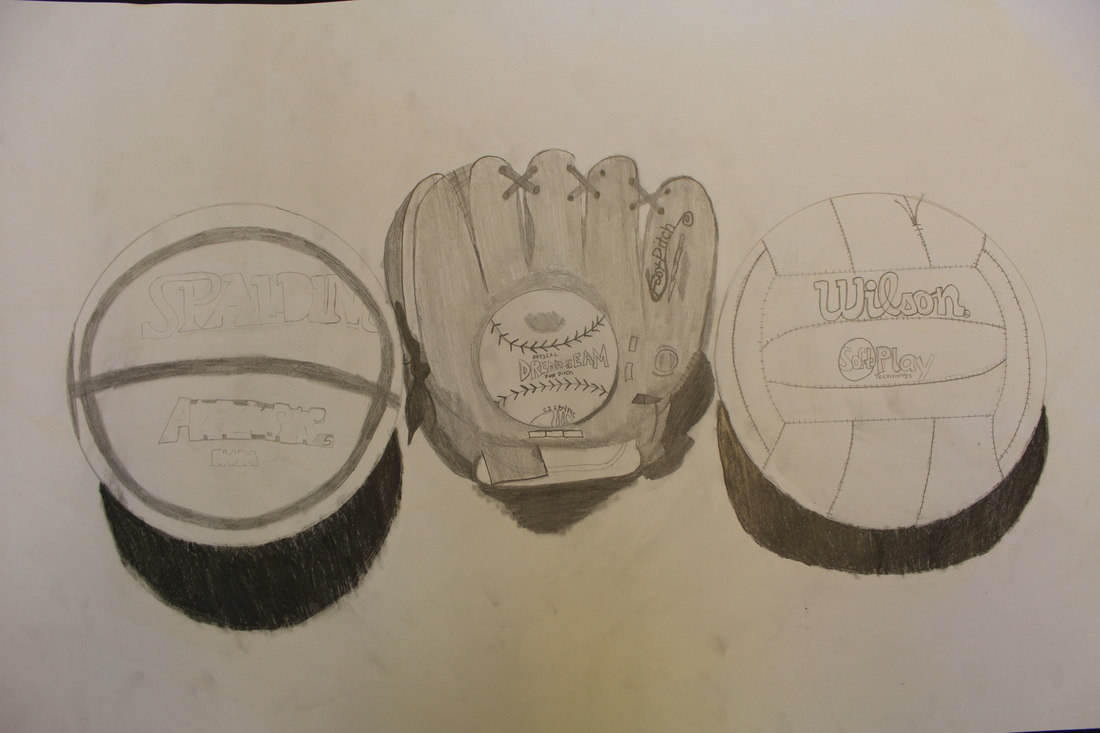
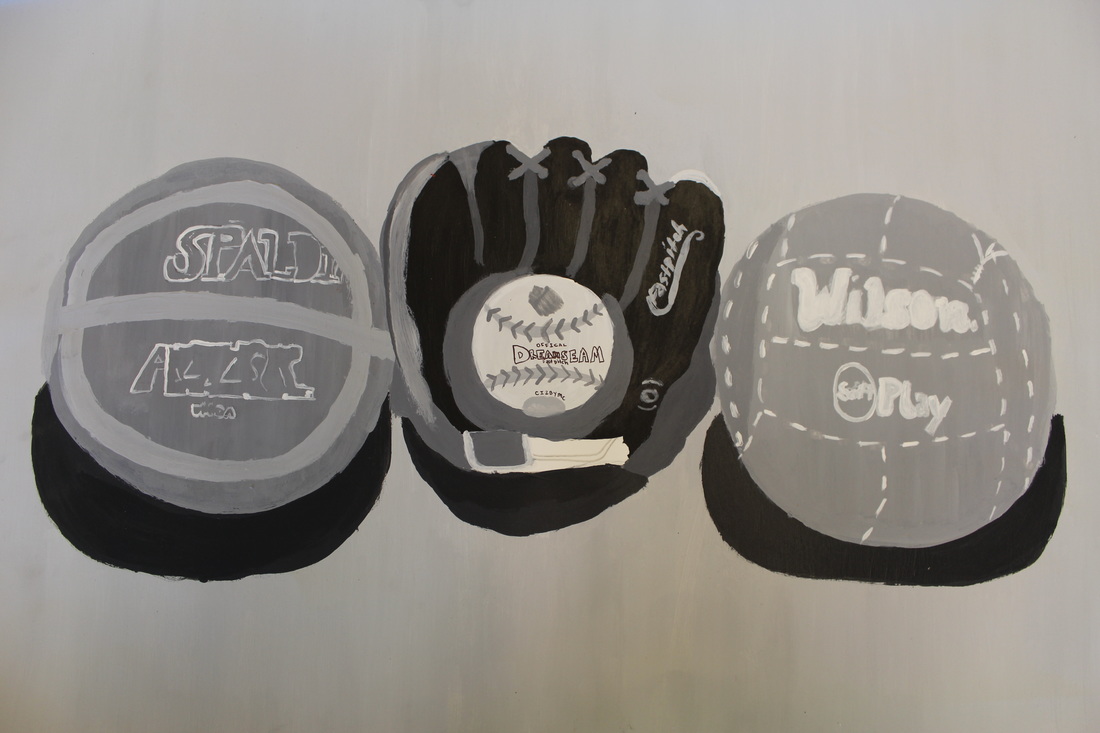
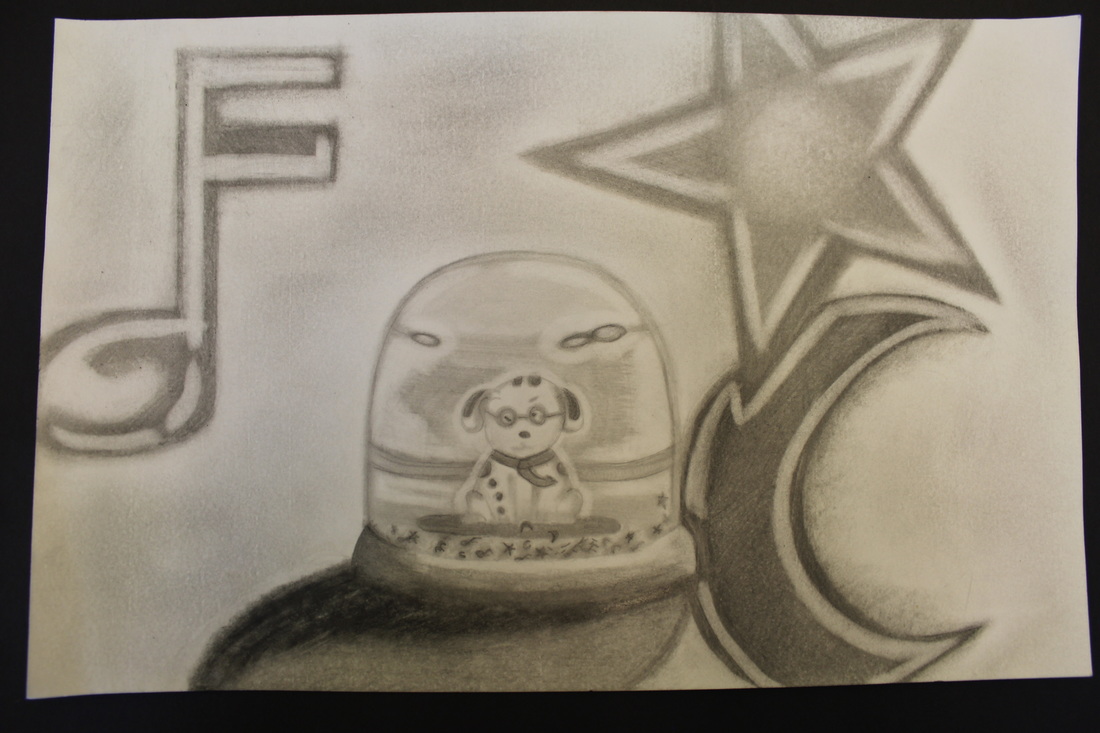
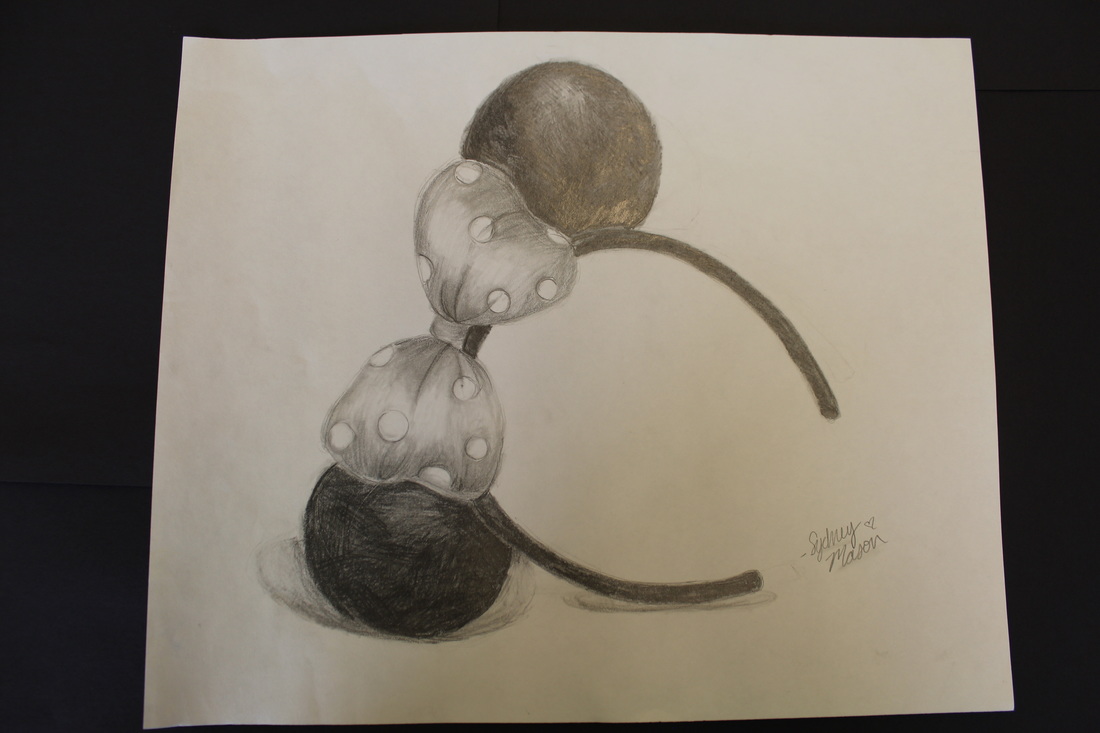
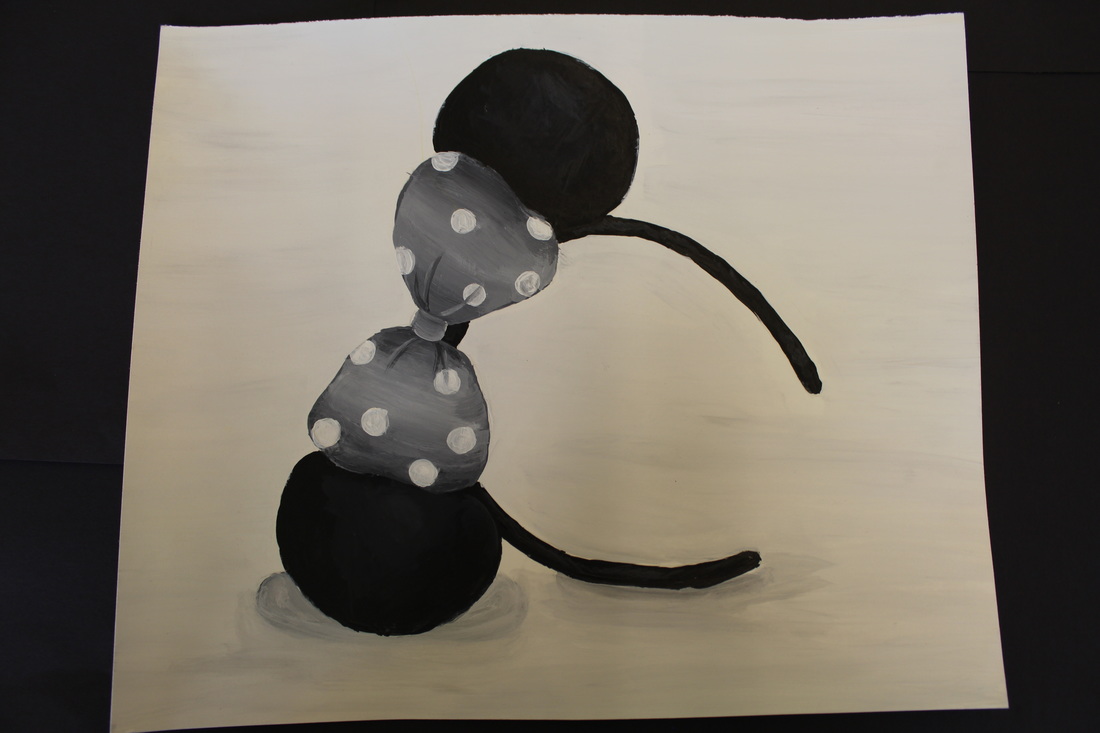
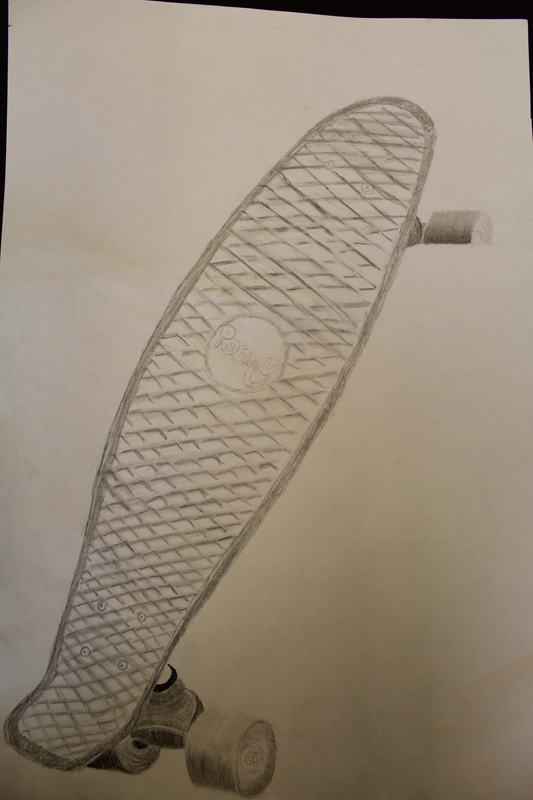
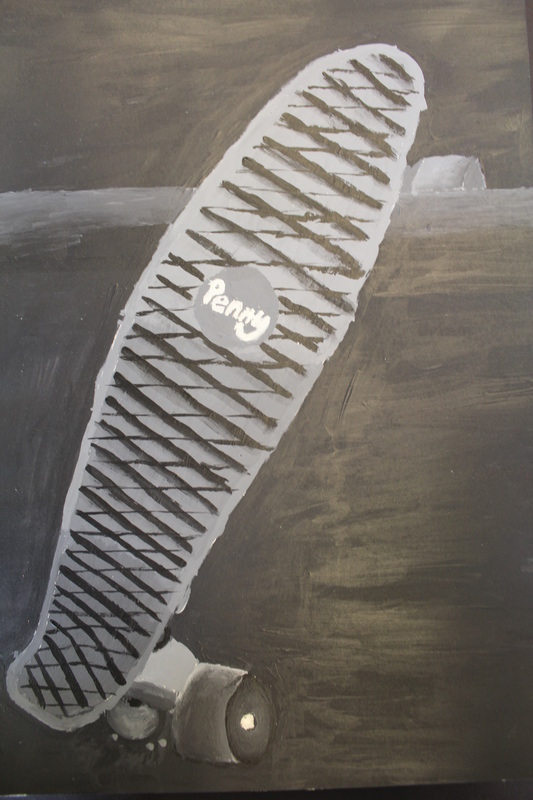
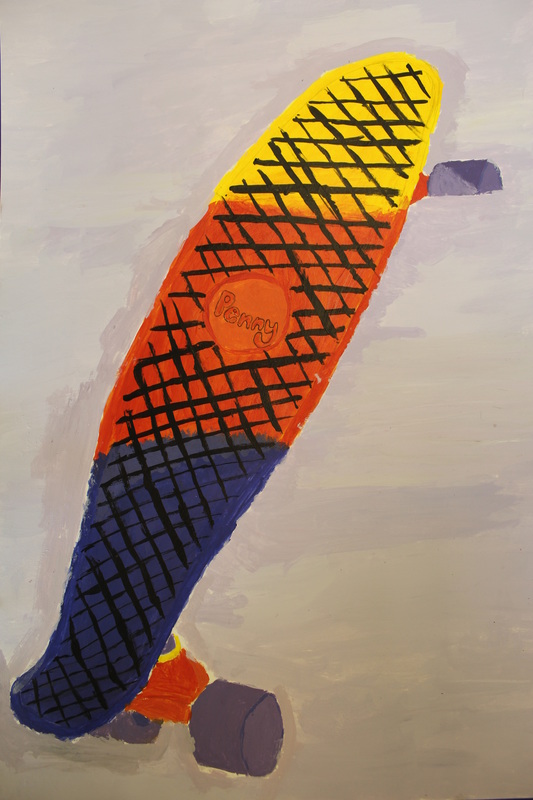
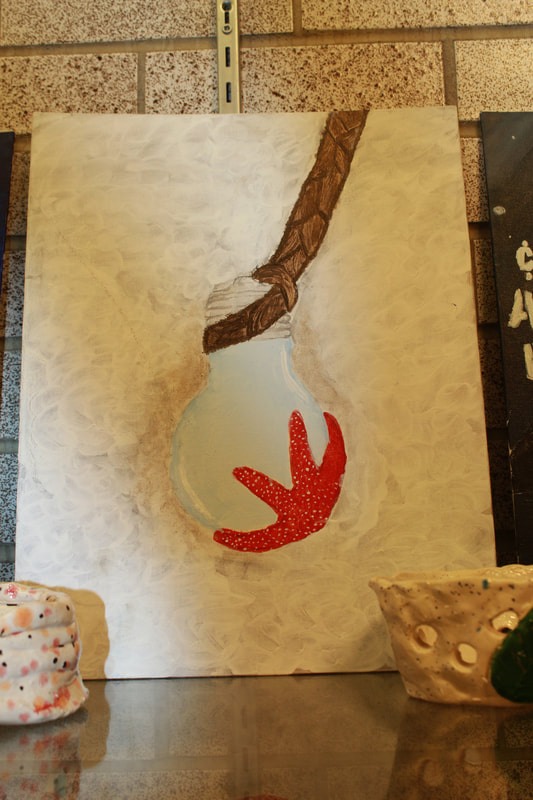
For this project students select an object that has personal meaning. For some it was a special perfume they like to wear, for others it was a piece of sports memorabilia and for some it was a pair of their favorite shoes. Some students neglected to bring in an object and got the choice of anything in the art room to draw. Students were told to pick an object that was interesting because they would be working with it for a very long time. Their first task was to work on a value drawing of their object. The focus was to have areas of light and dark making the object look realistic, and focusing on details. We worked really hard on shading for about a week. After that students took their drawing and transferred it to watercolor paper that they would be able to paint on. Students then worked on a painting that would resemble the value drawing with black and white paint. This taught students how to make tints and shades with paint. Finally students worked on a full color drawing to be realistic representation of the object and what it really looks like in real life. Overall I think the project turned out really great and it was a great way for students to learn more technical skills that are a quintessential part of painting and drawing. It was a great way to link into our next project as well.
|
|

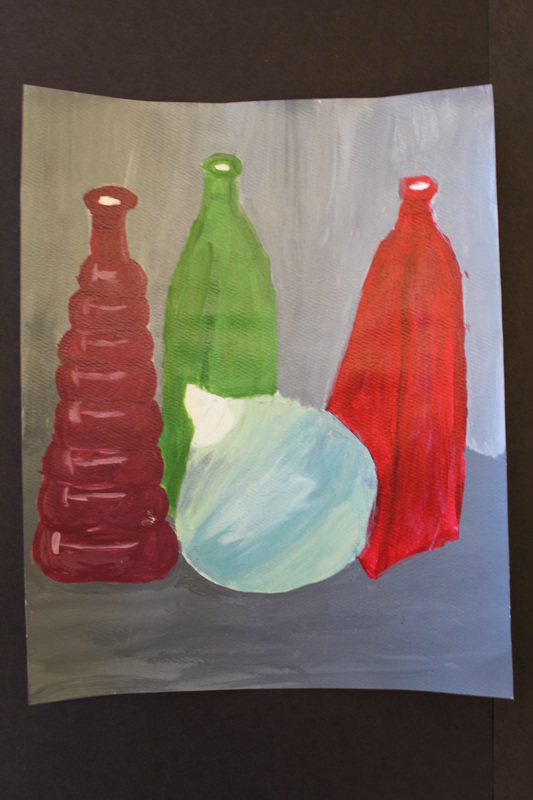


Art one personal choice paintings
|
|
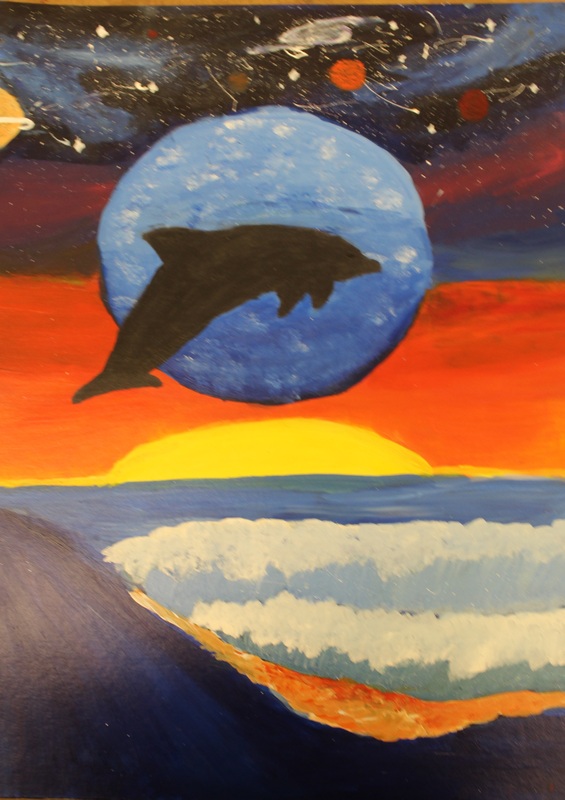
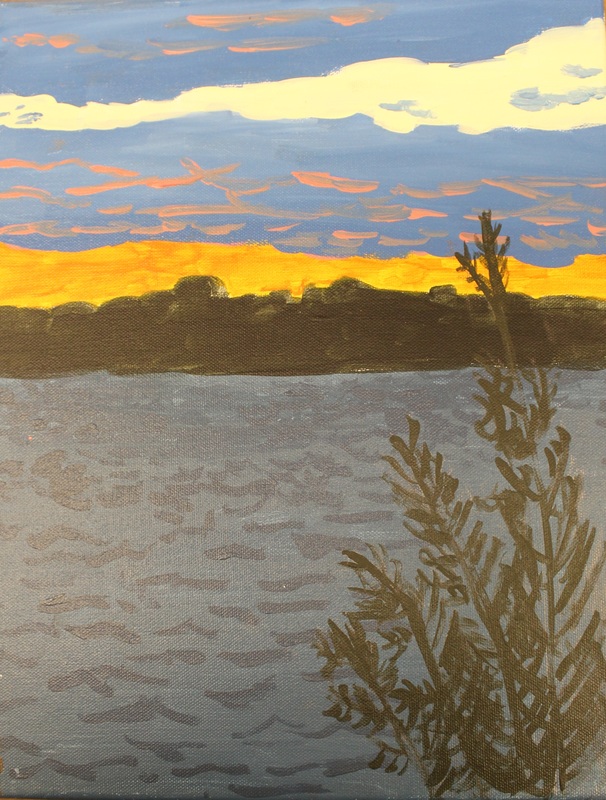
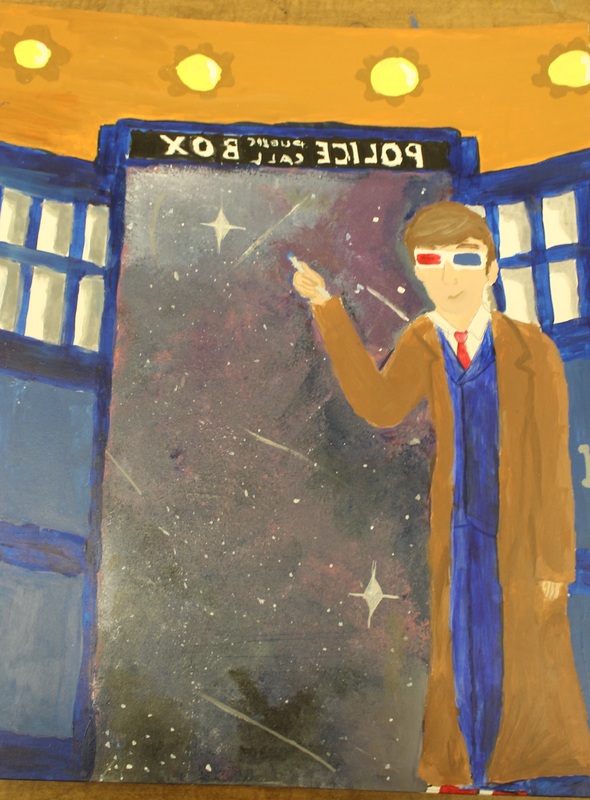
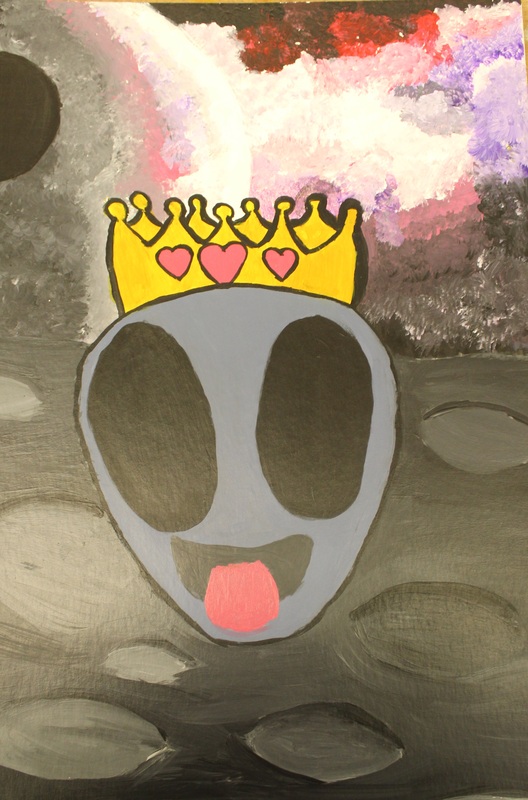
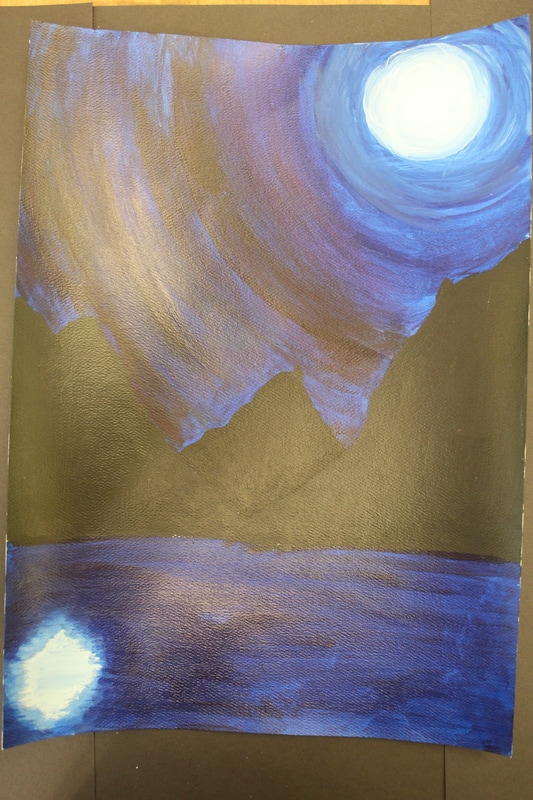
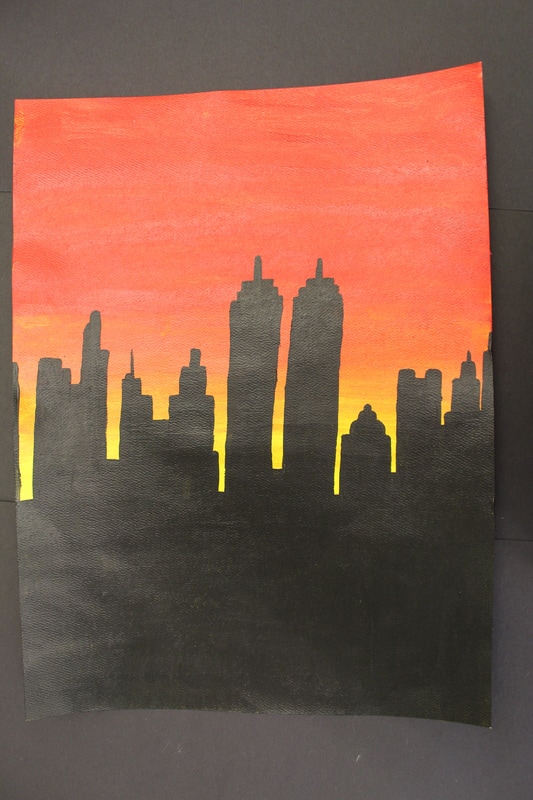
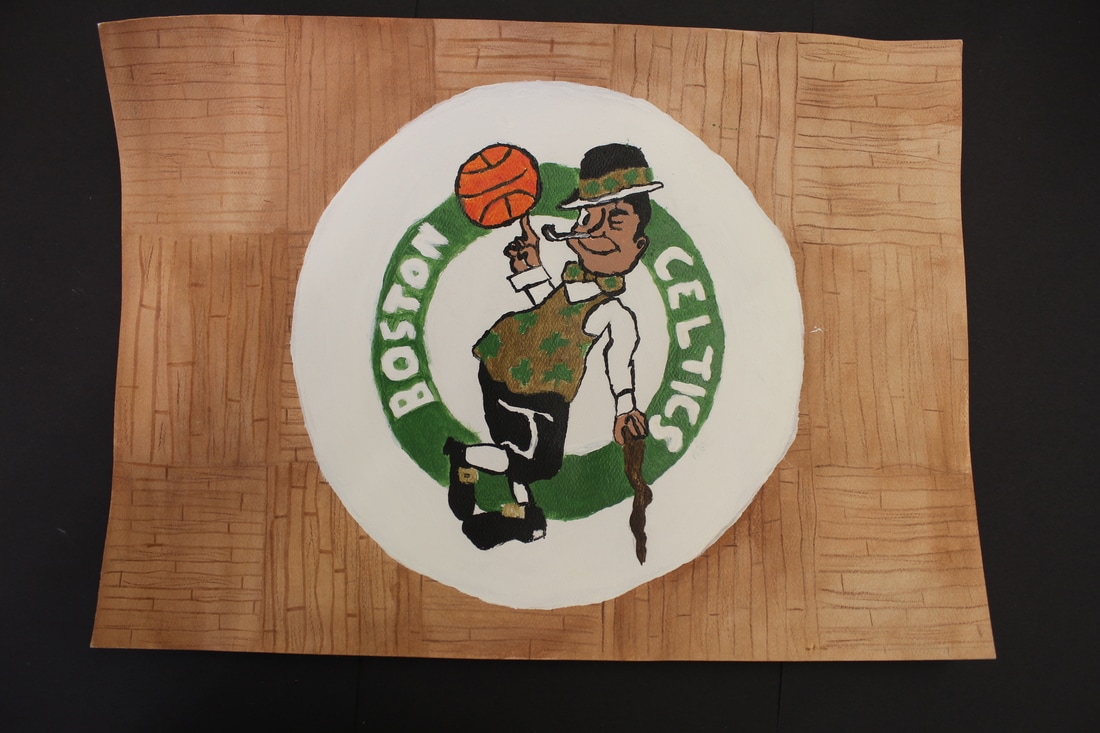
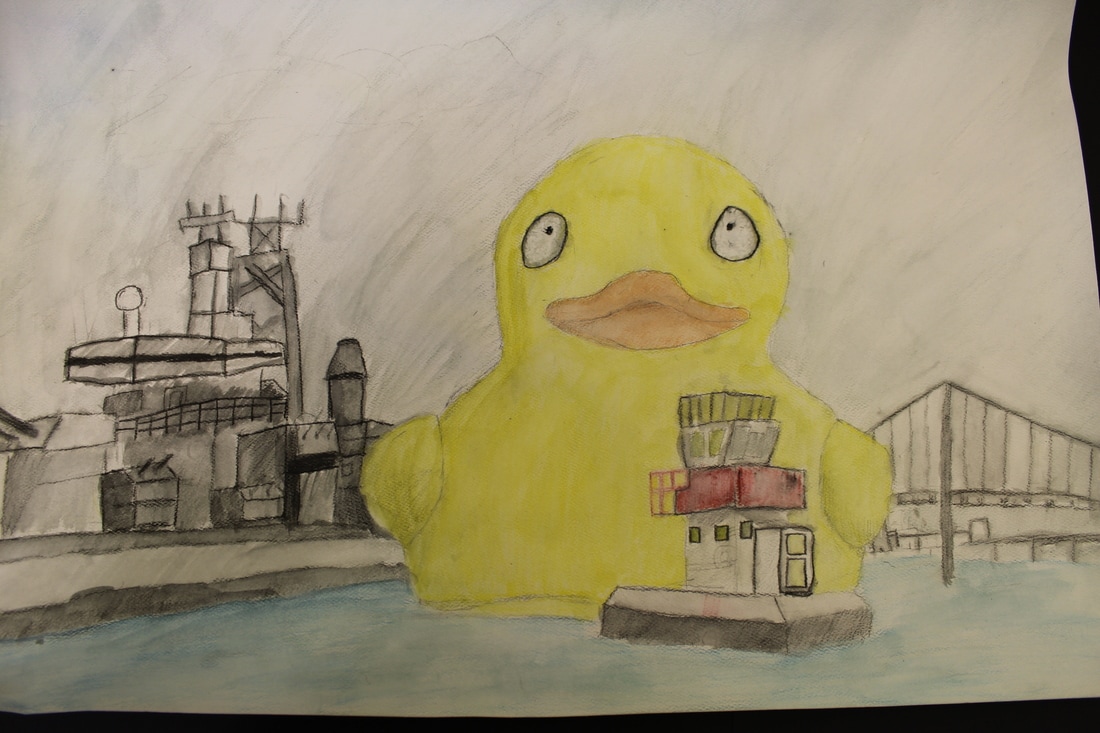
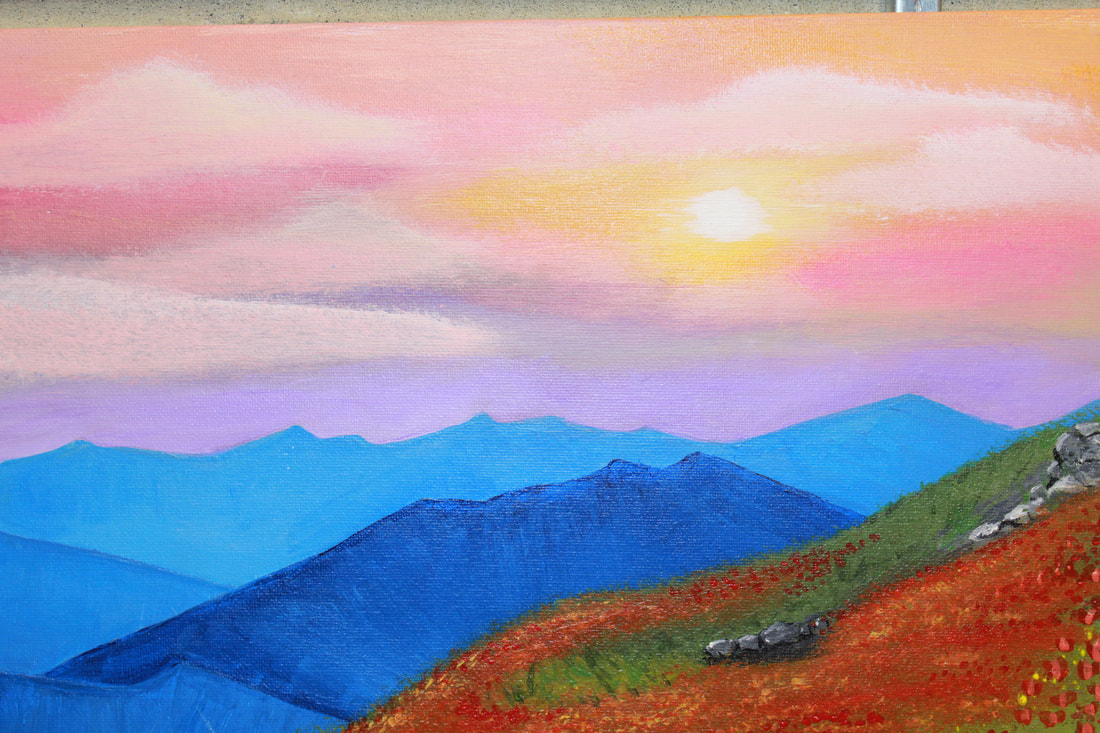
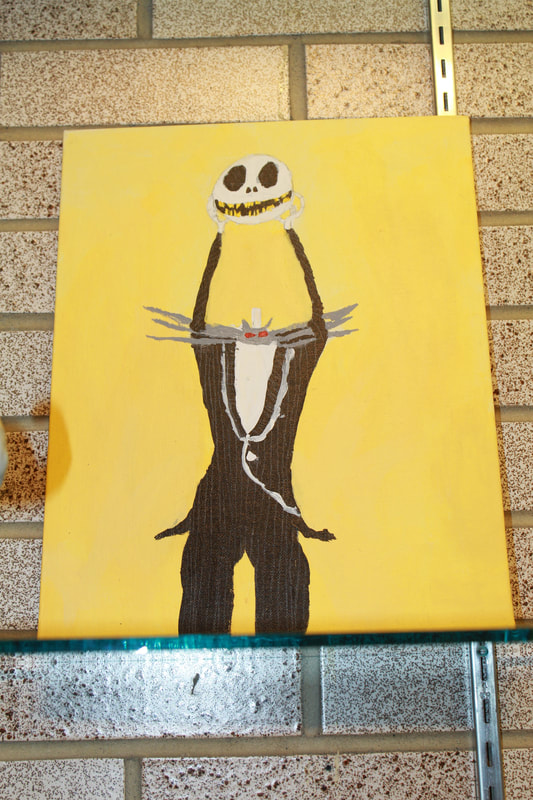
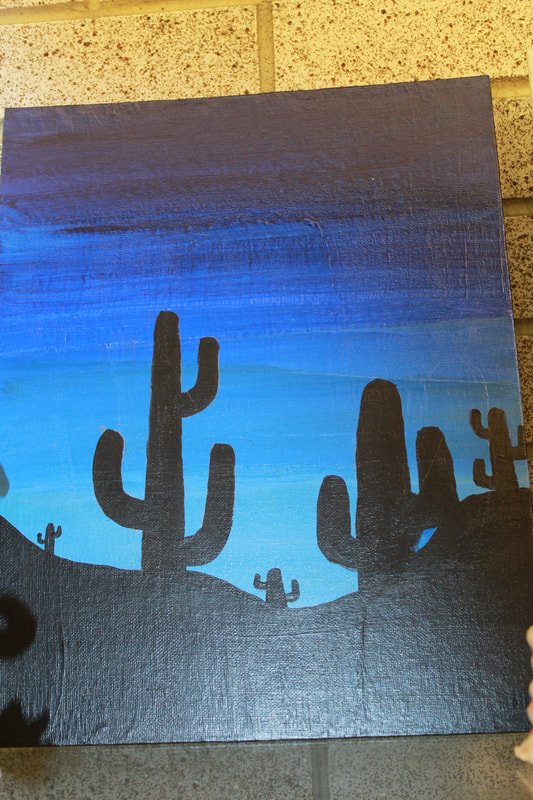
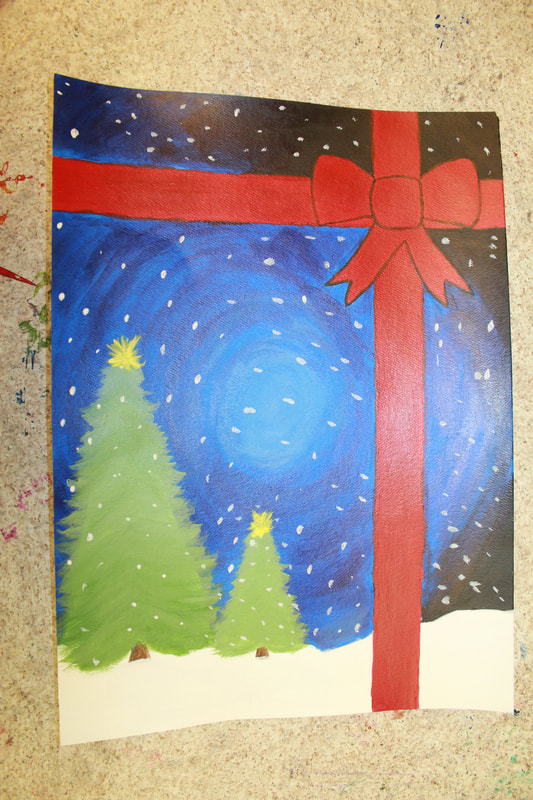
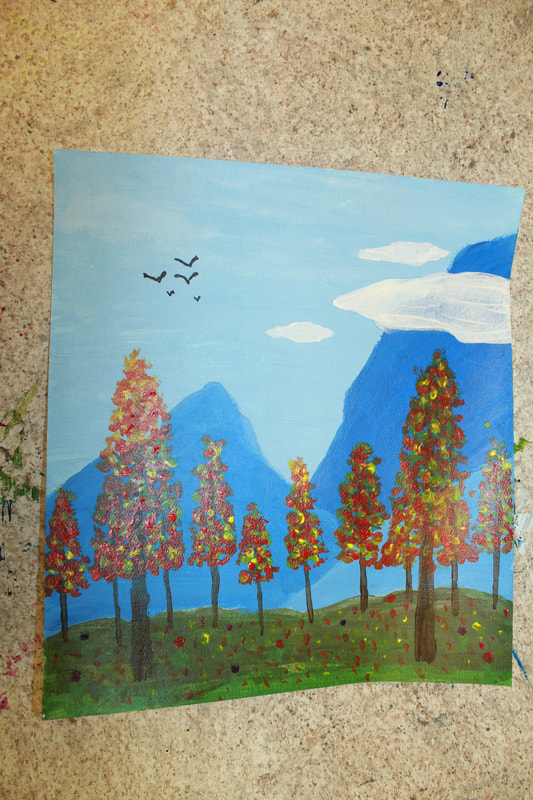
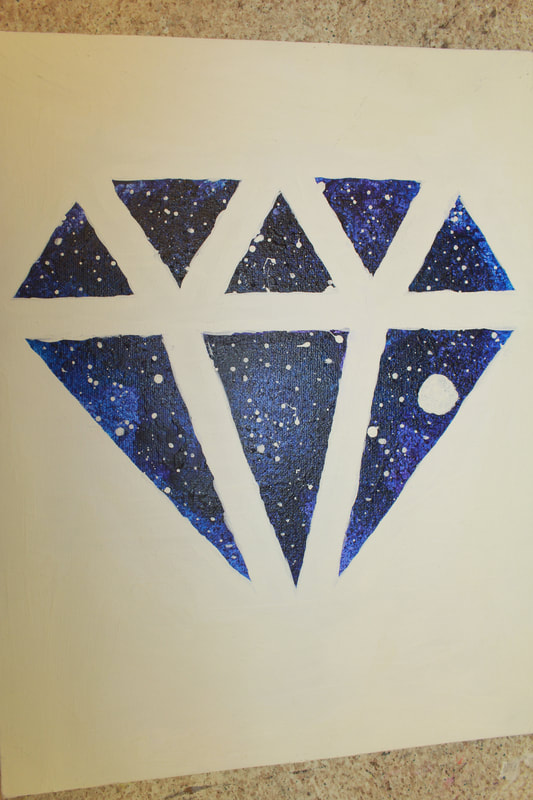
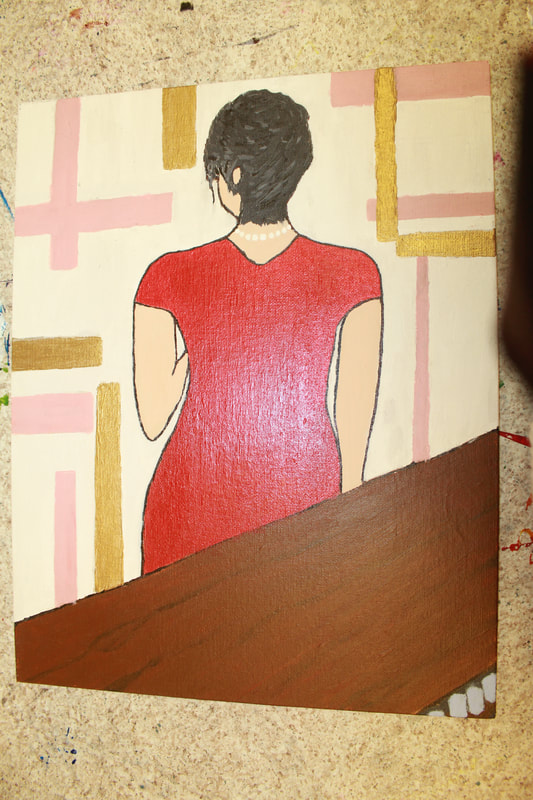
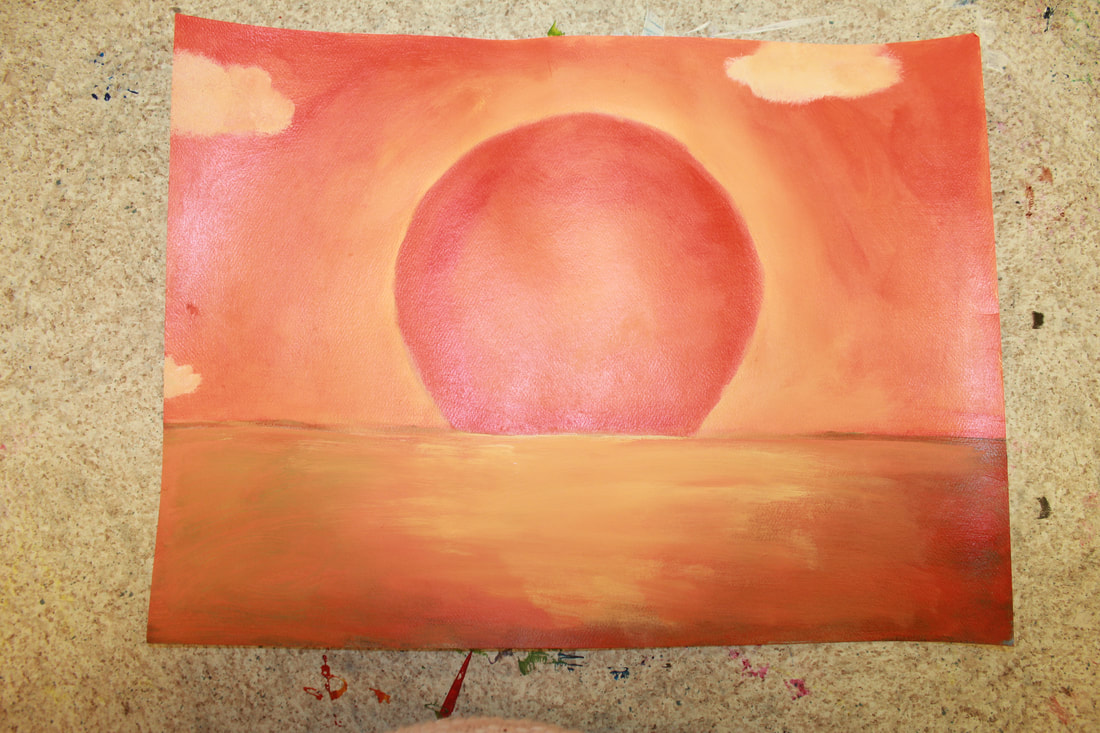
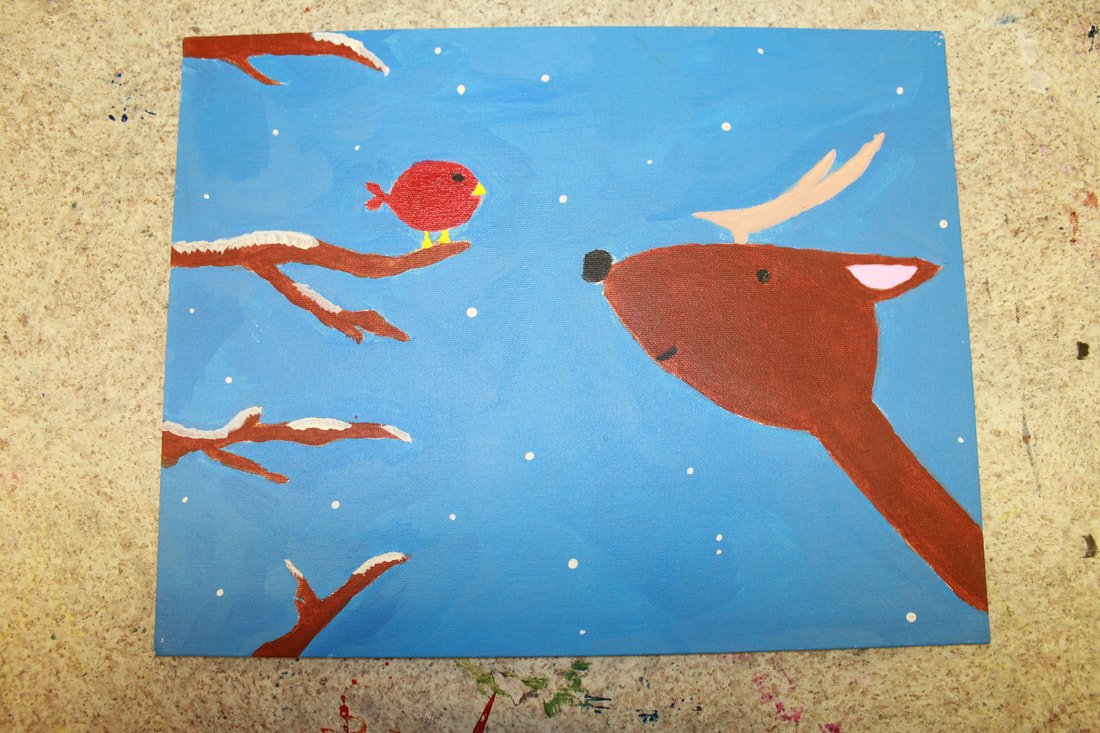
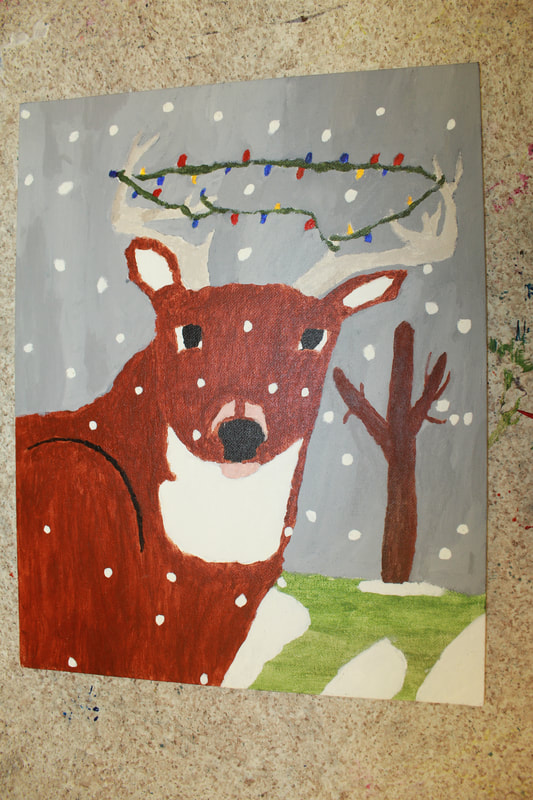
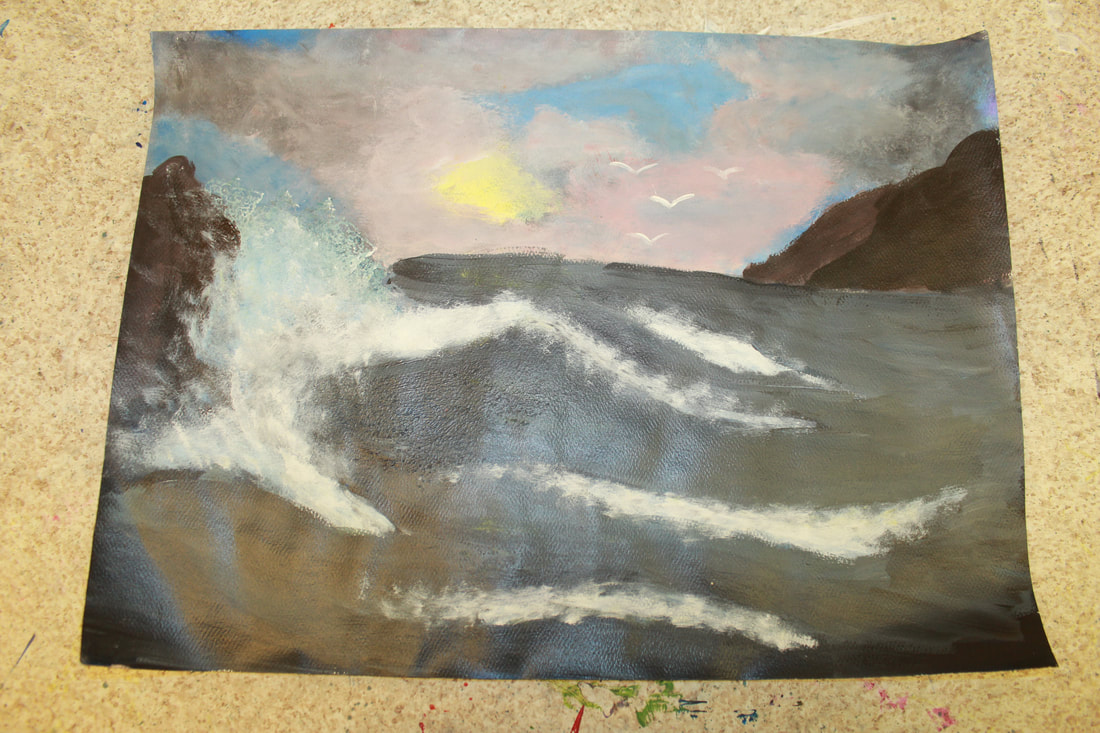
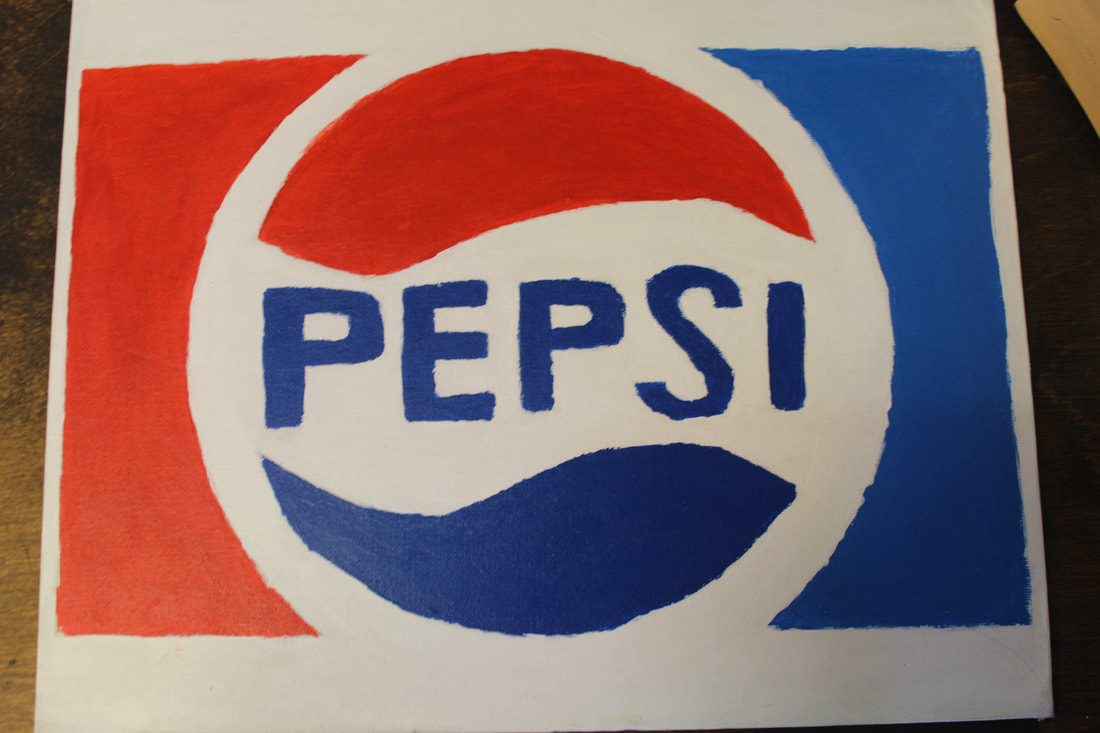
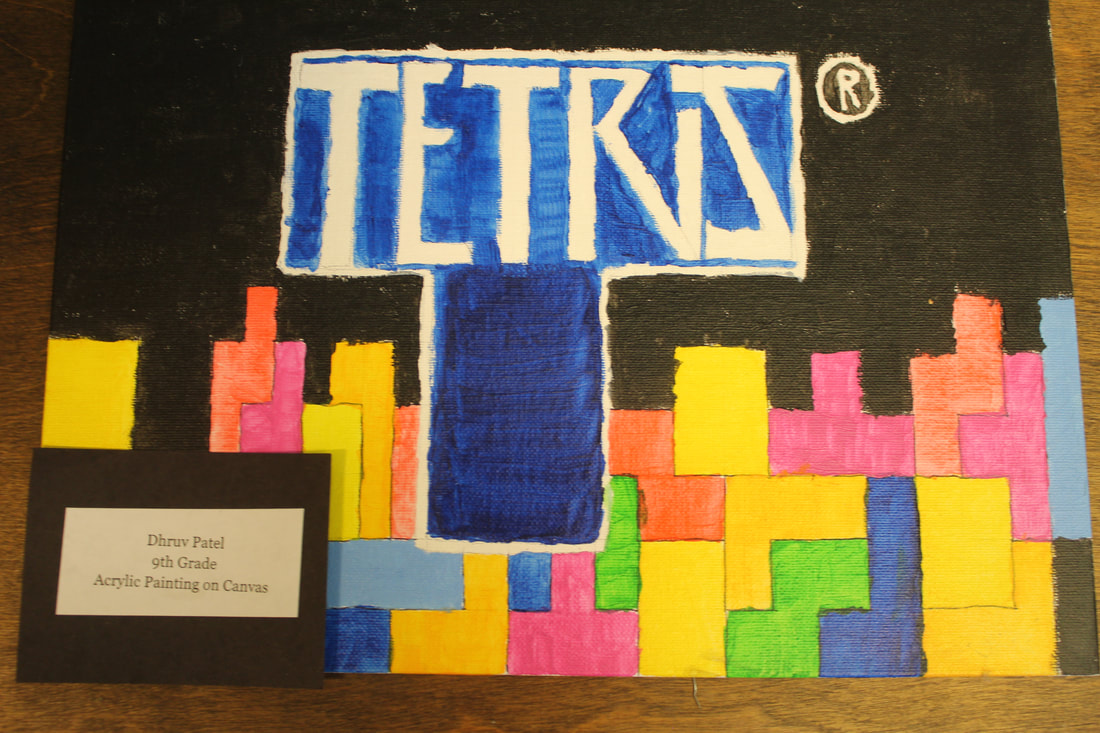
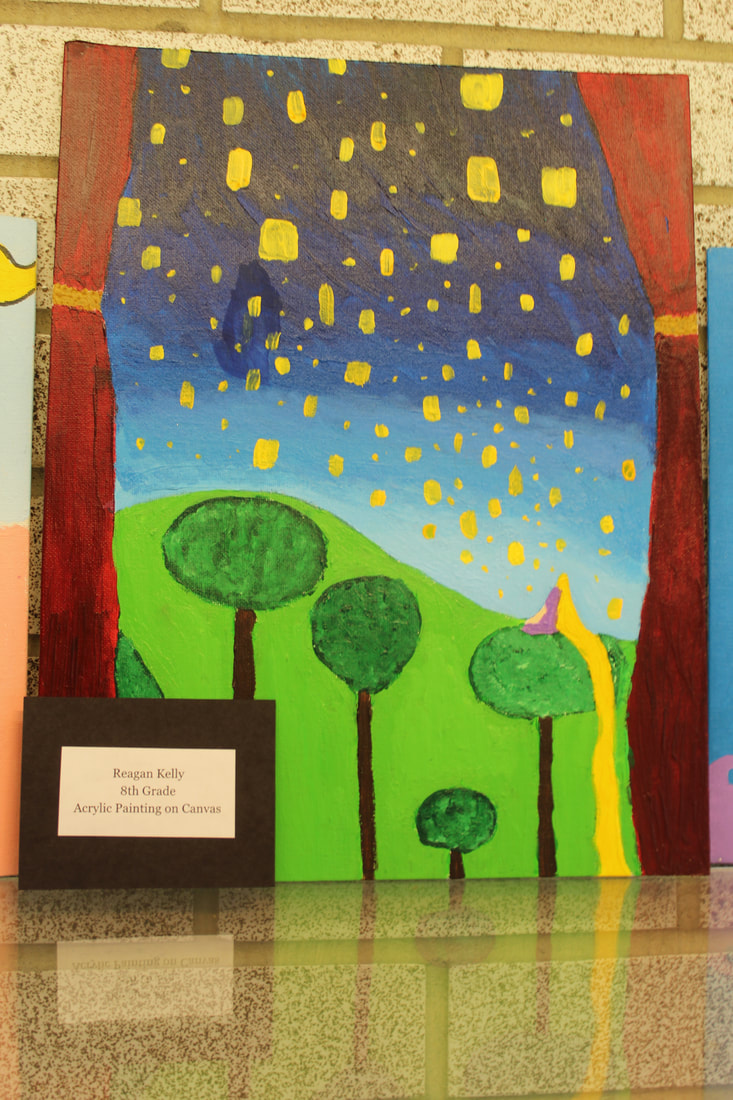
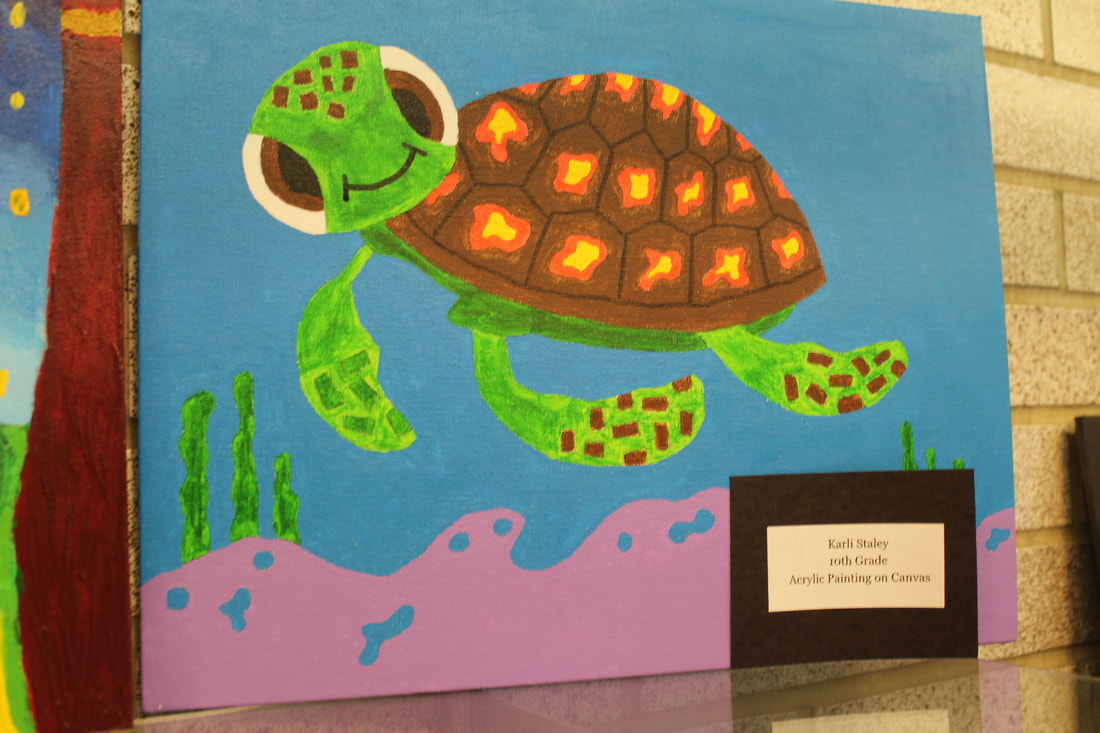
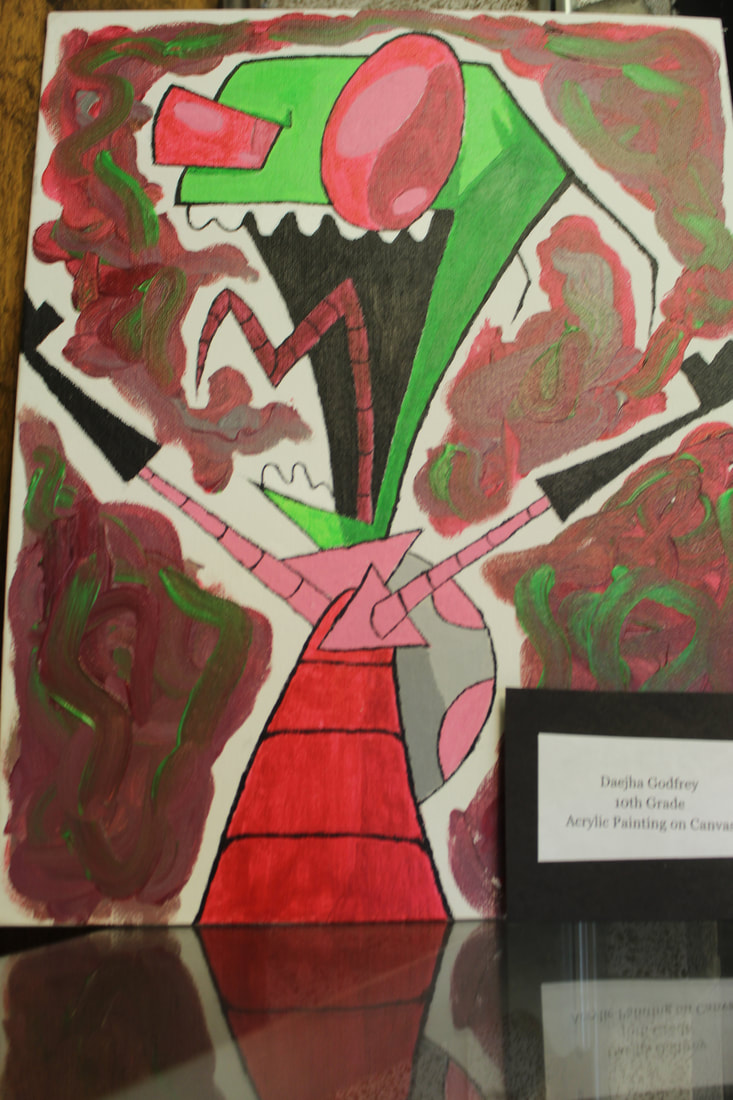
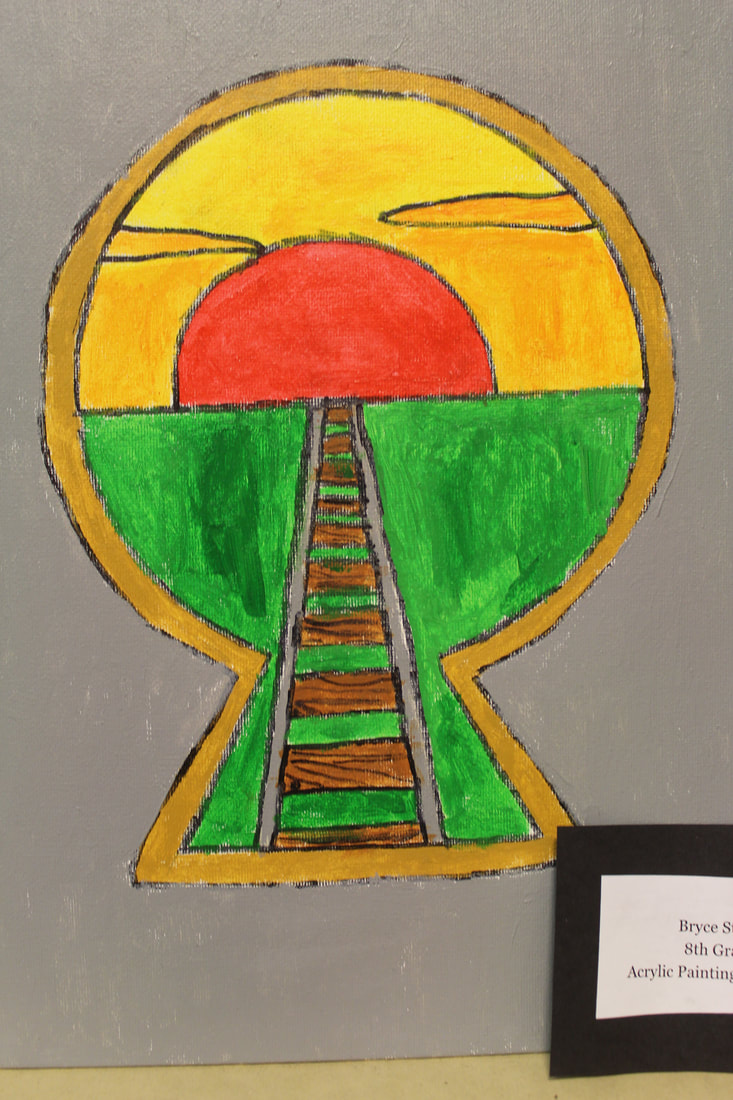
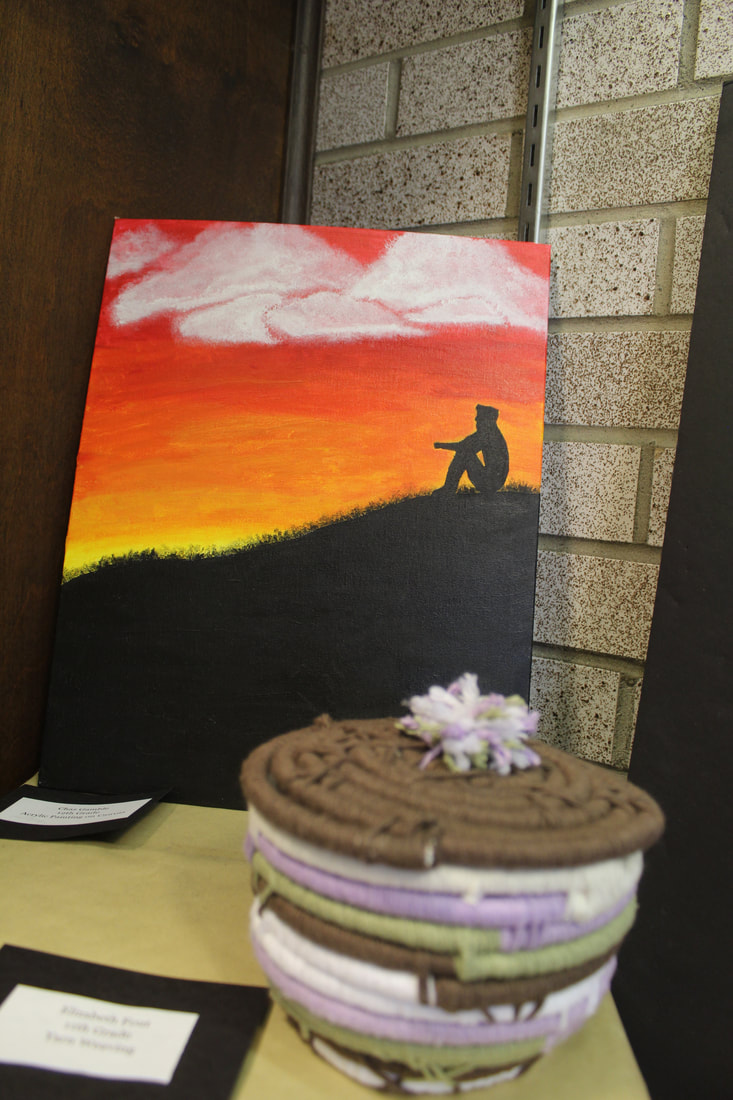
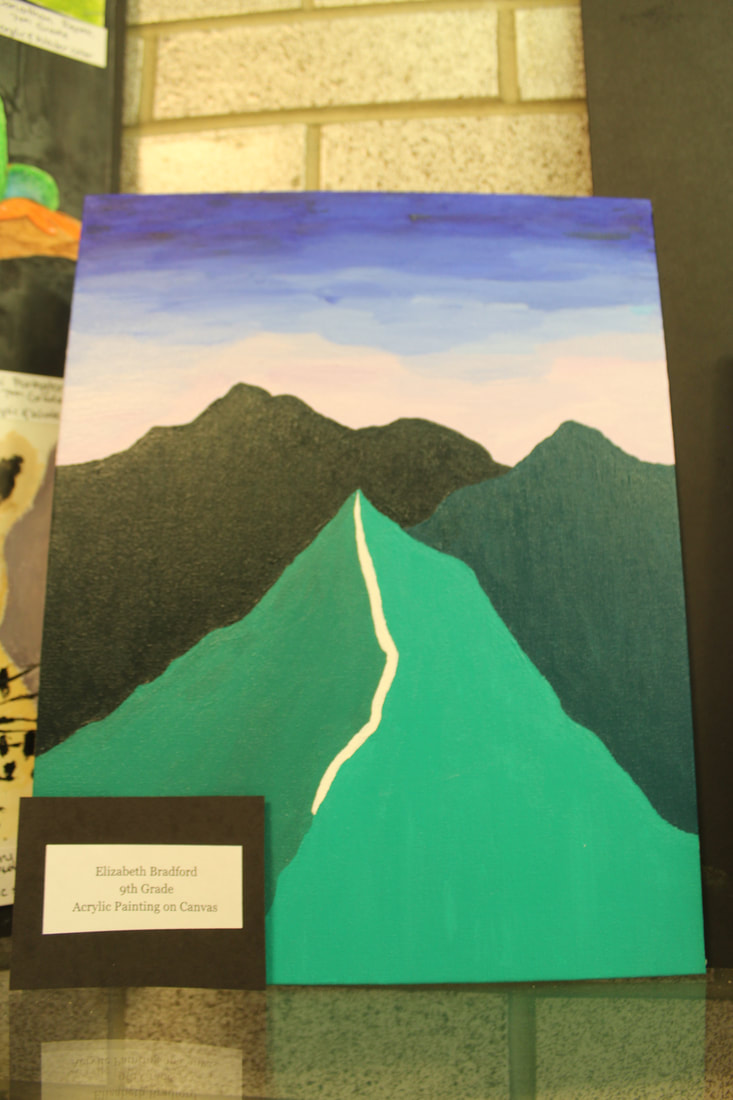
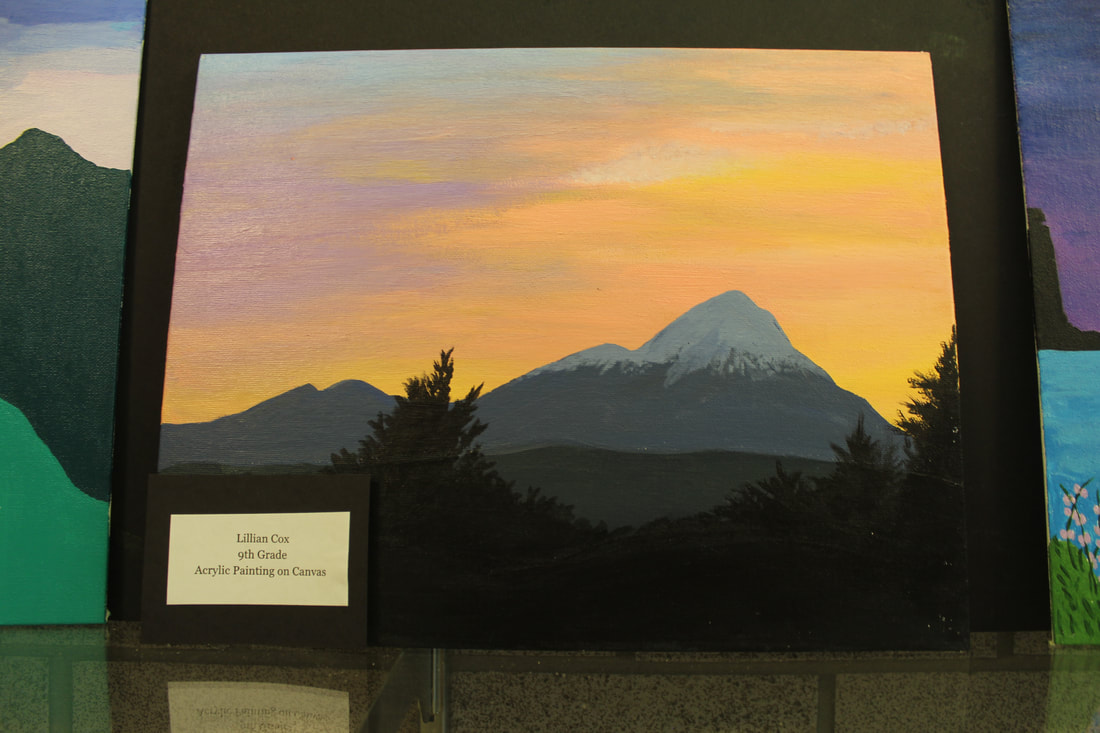
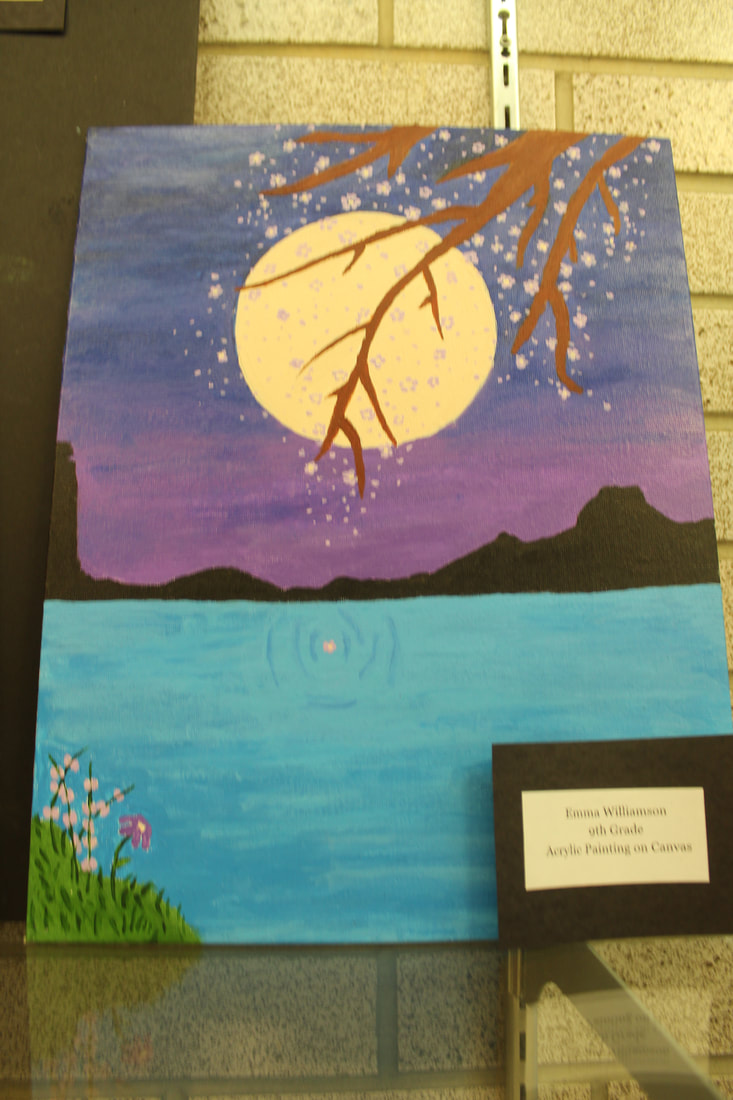
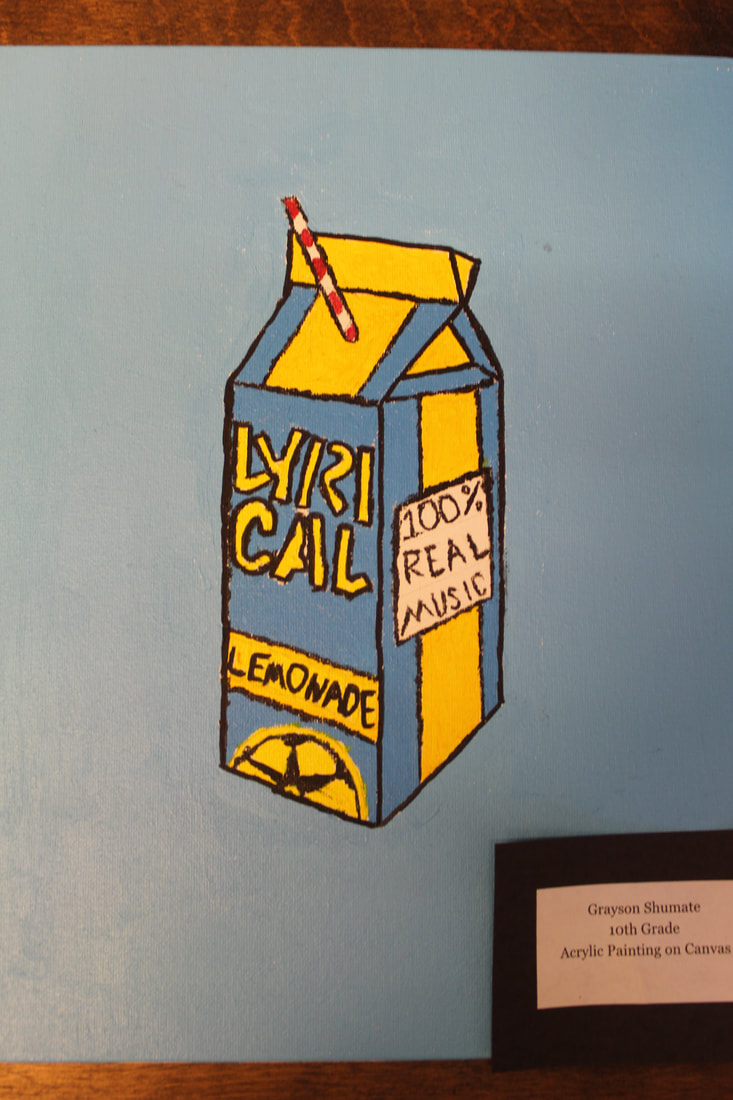
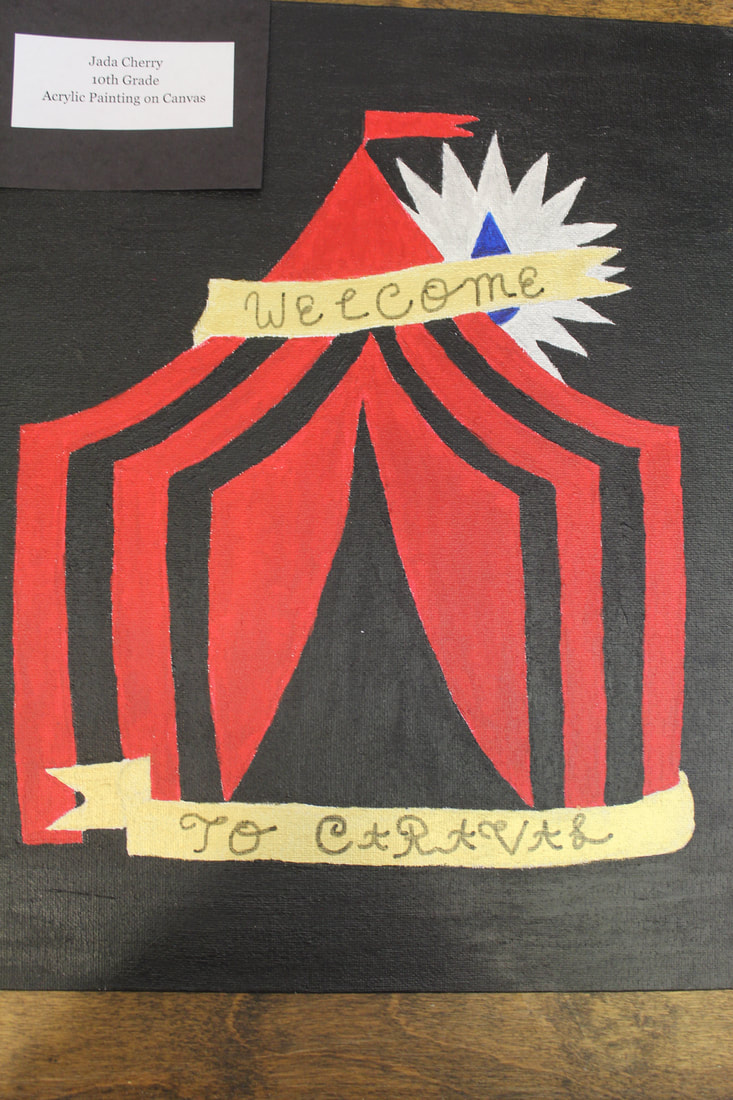
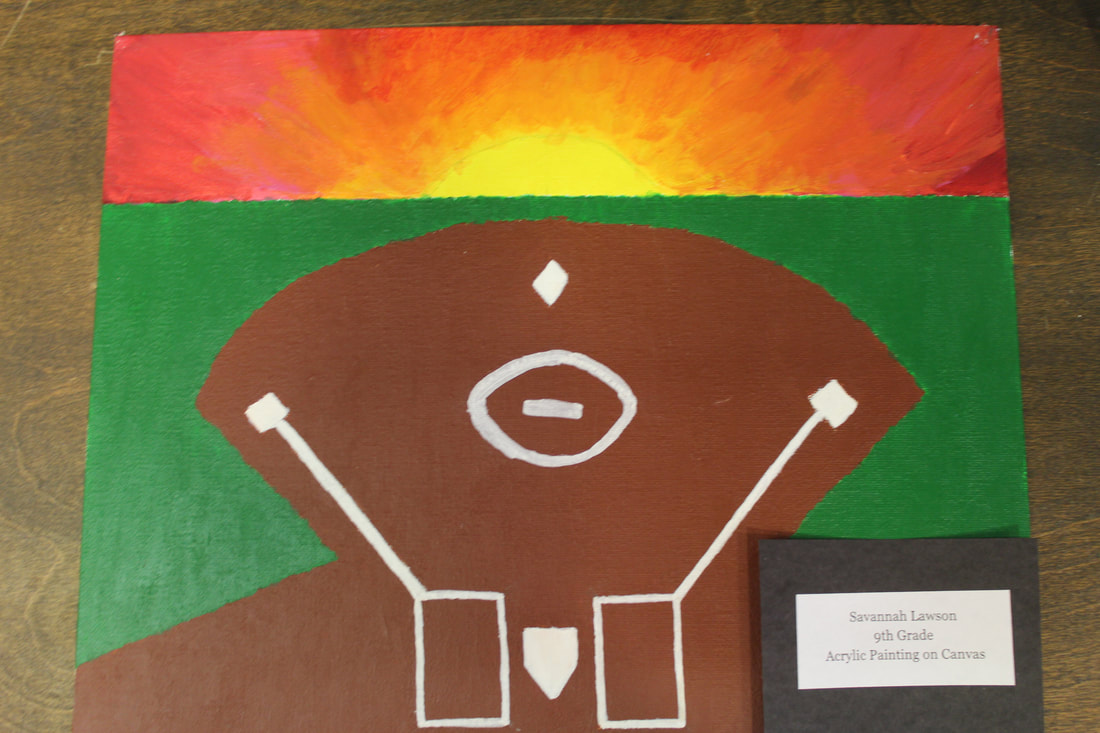
To build on the skills we had learned with the object study, students moved onto a personal choice painting. We spent a day talking about what makes a painting interesting, trying to bring in some of those elements of art and principles of design that students really have to be familiar with in elementary-high school art. We talked about creating unity, a focal point, balance, and an overall interesting design that involved color and showed off drawing skills. We worked on a class example on a chalk board by choosing a theme and then took turns adding things to the chalk board. I took those opportunities to talk about overlapping objects, drawing realistically, and adding details. It really seemed to help students get a visual representation of an example of the goal for the project. From there students chose their theme and drew out their design on a piece of mat board (a much more affordable alternative to canvases when it is donated to you by a local frame shop). Students then chose colors and painted their painting. As we worked students were able to ask questions about specific techniques and how to achieve mixing of certain colors. Students seemed to really love this project because it was so open ended. They were really in control of their own learning and the subject of their painting.
|
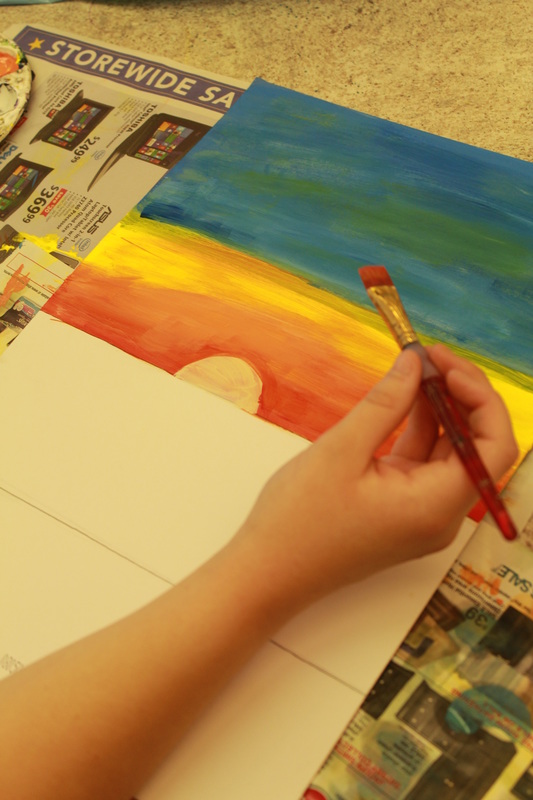
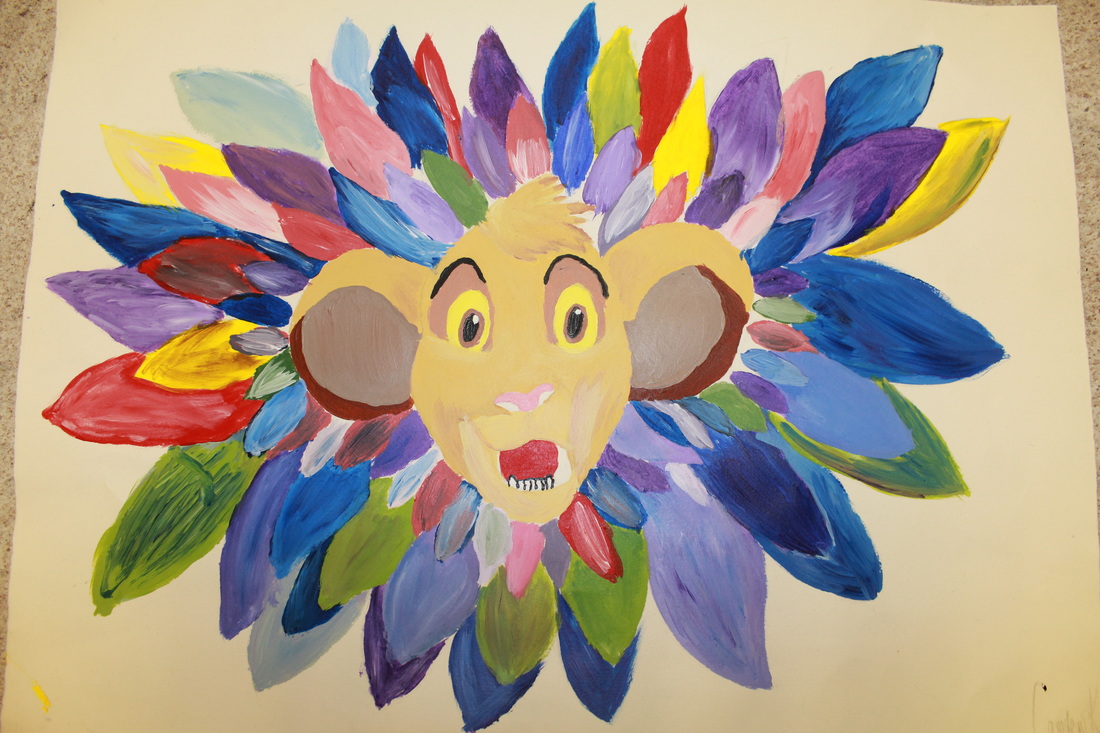
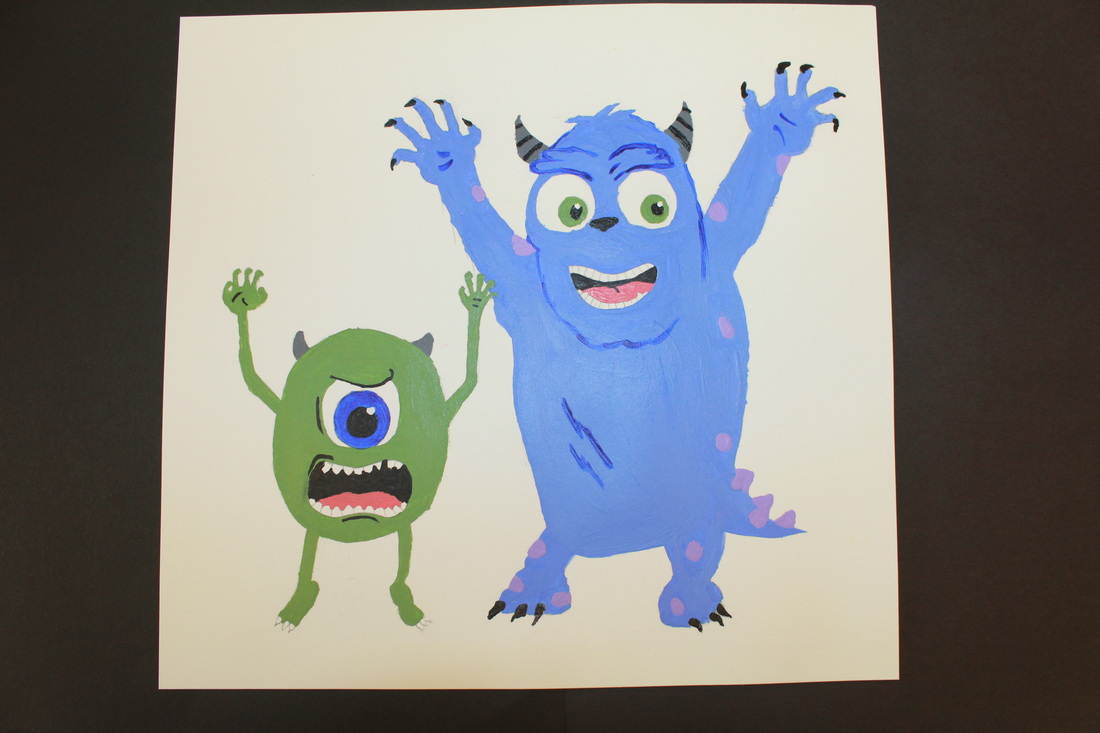
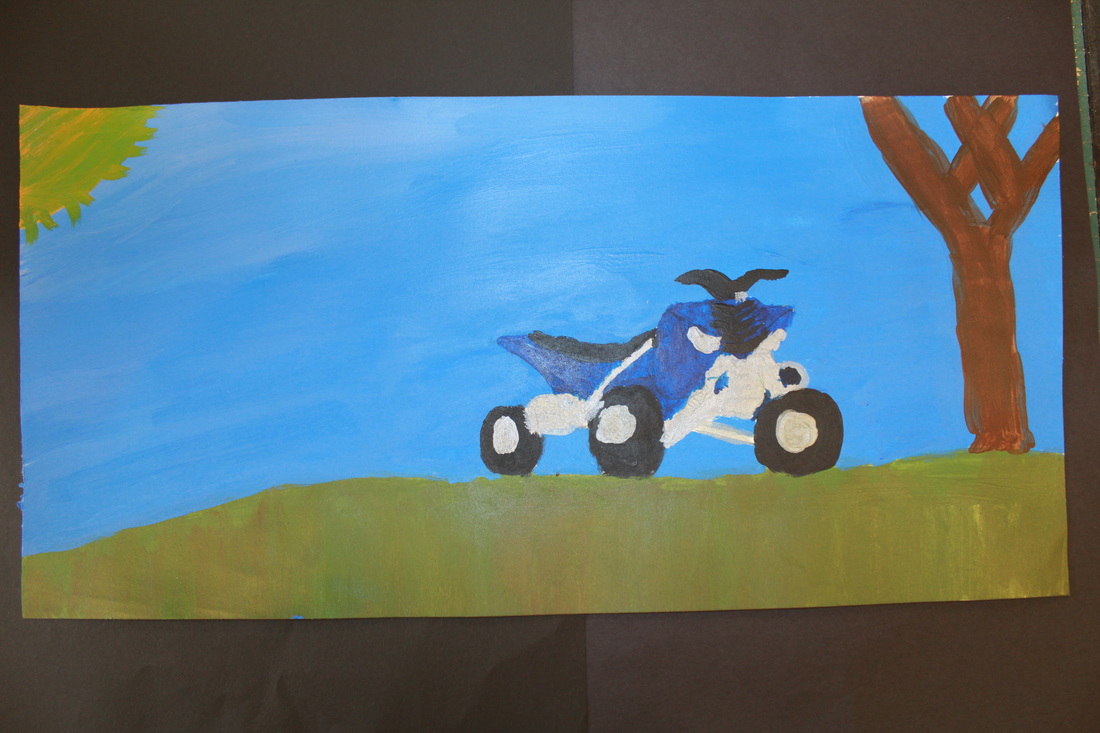

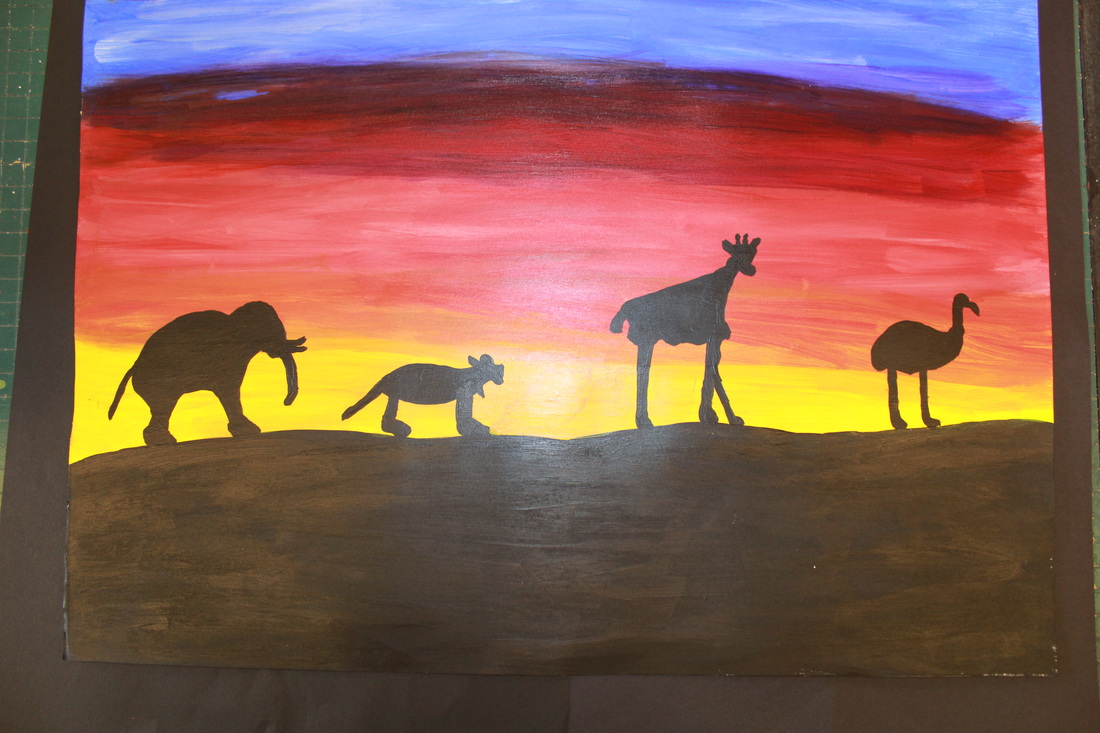


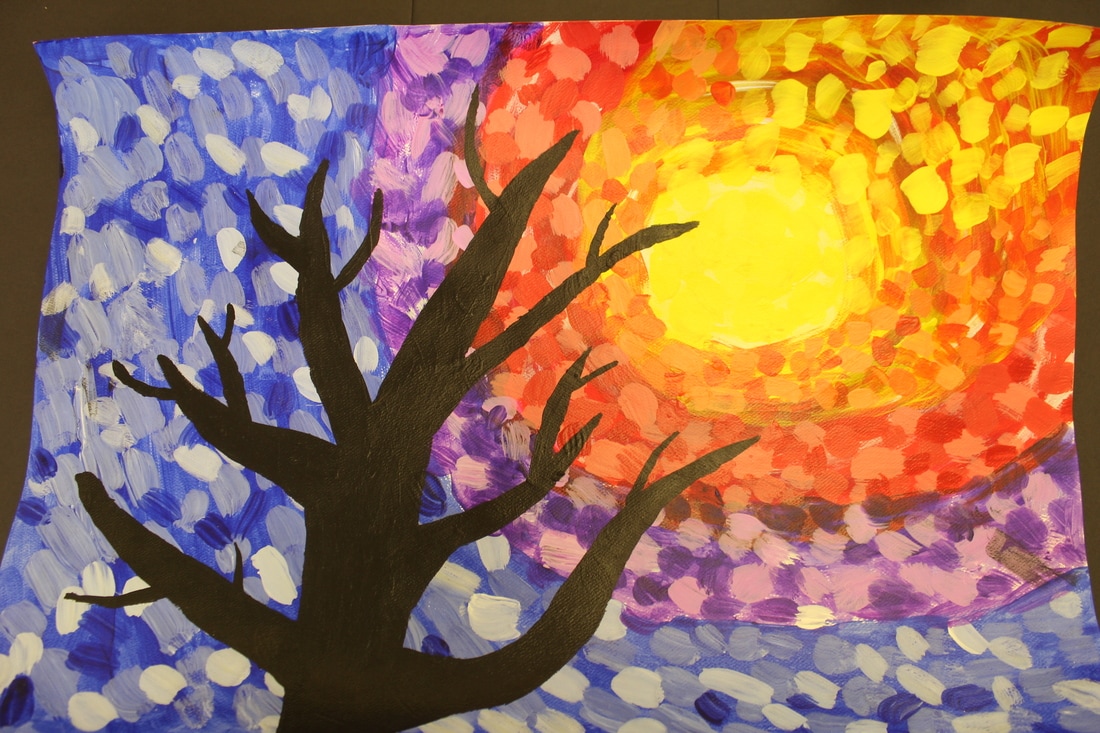
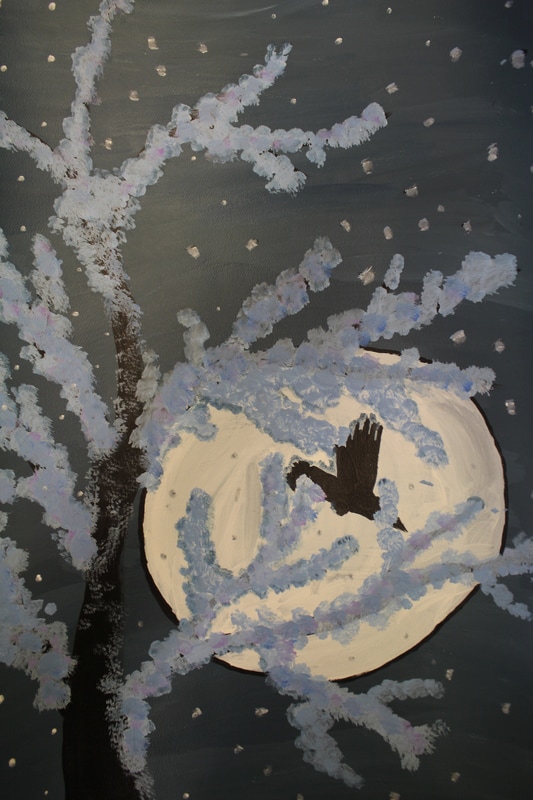


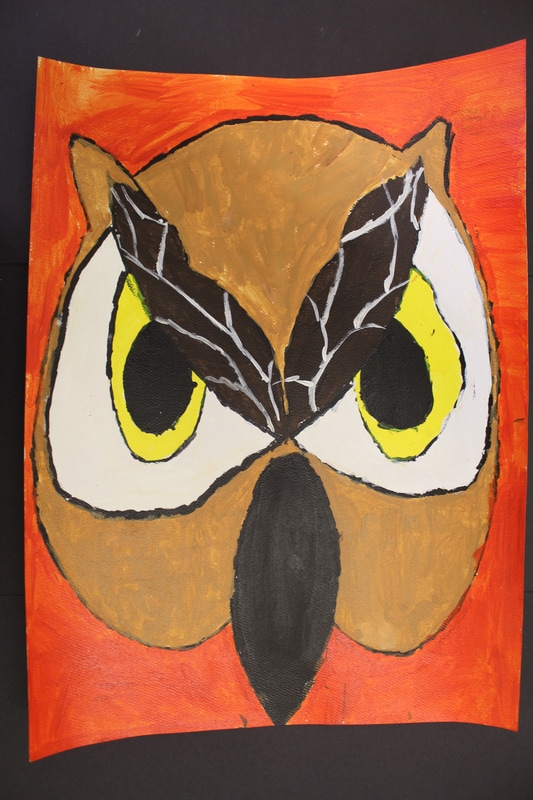
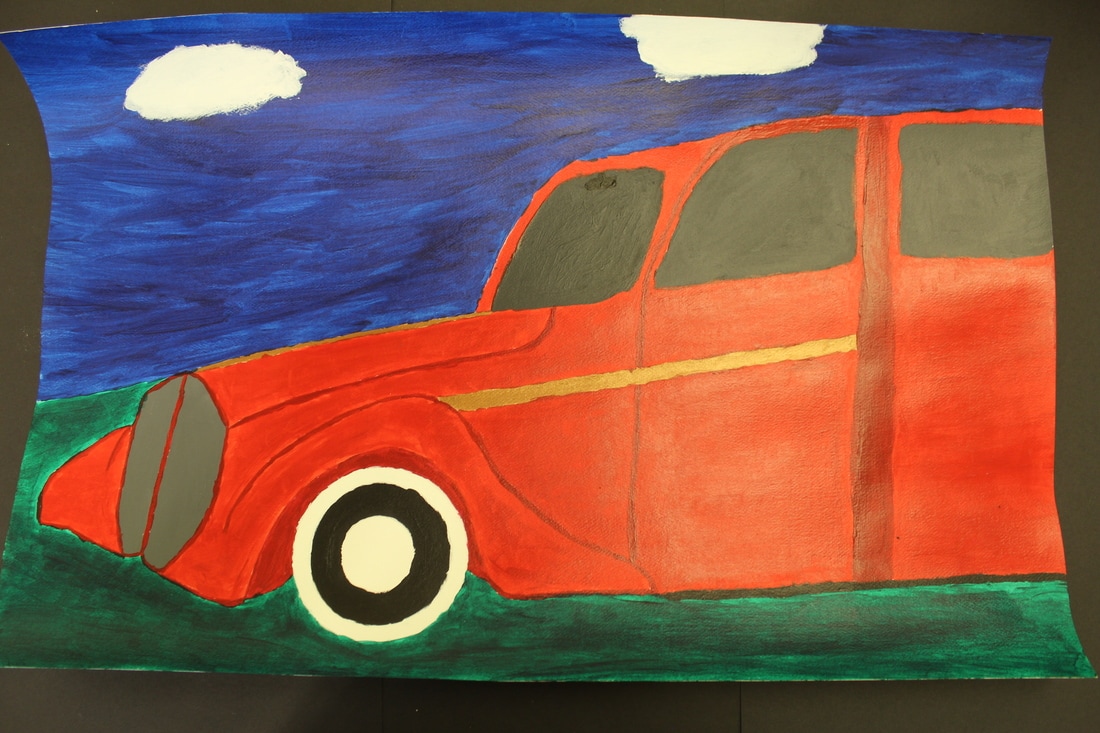
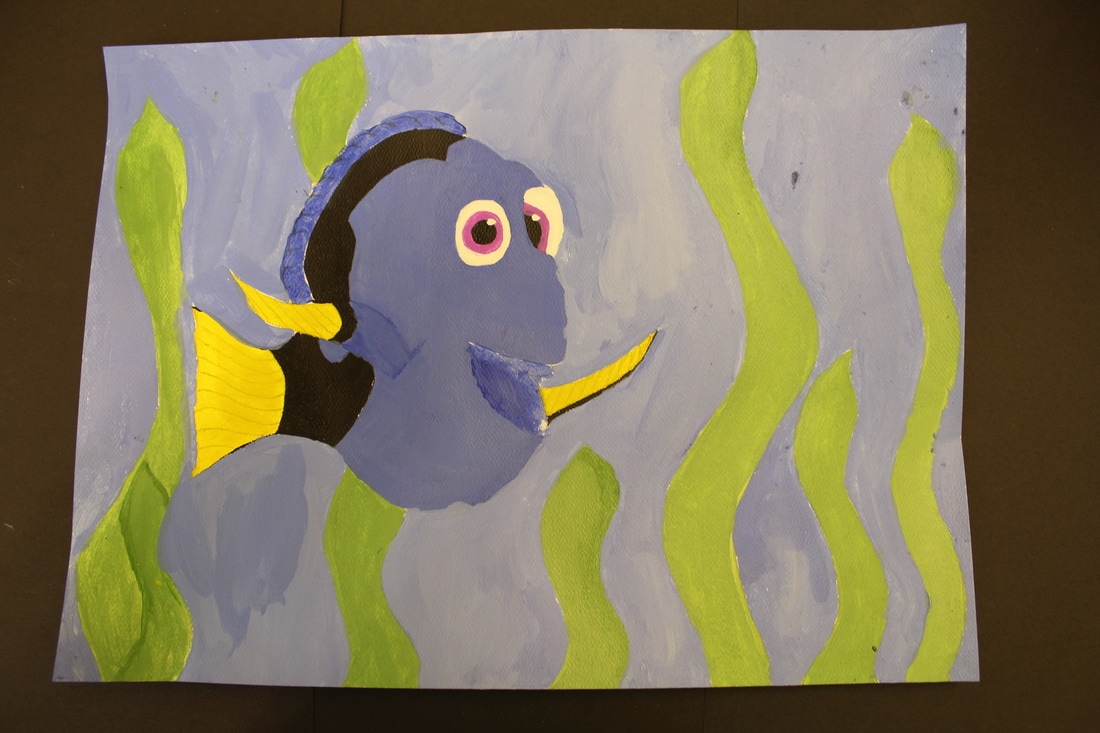
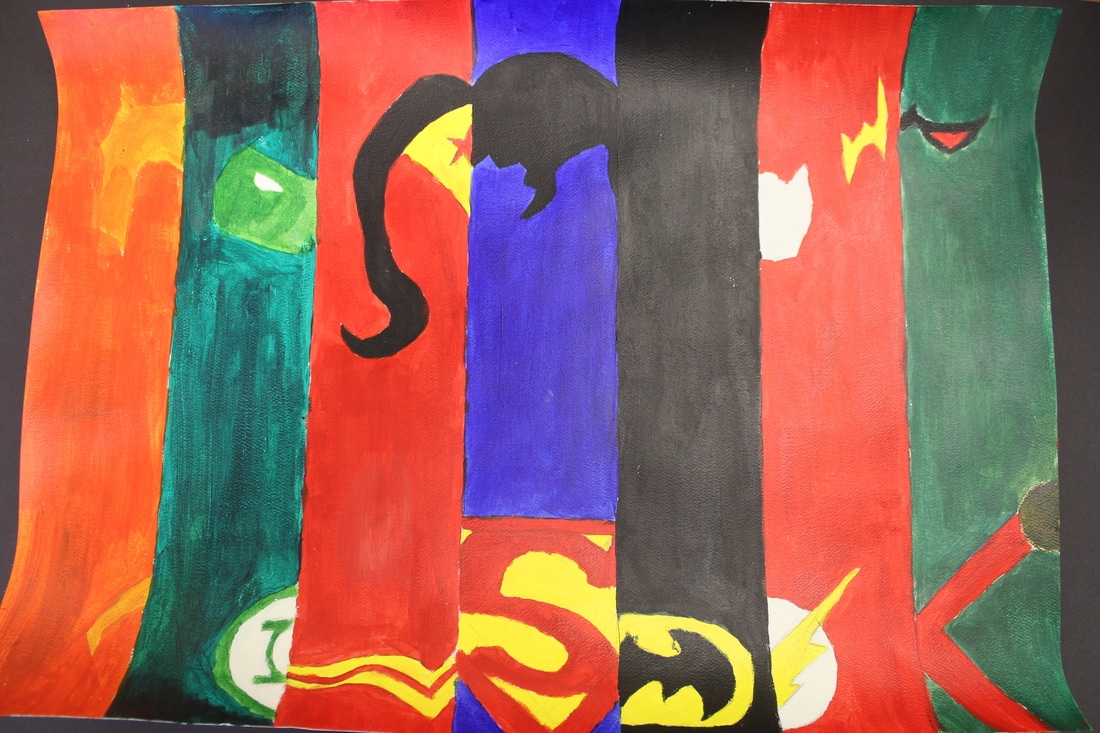
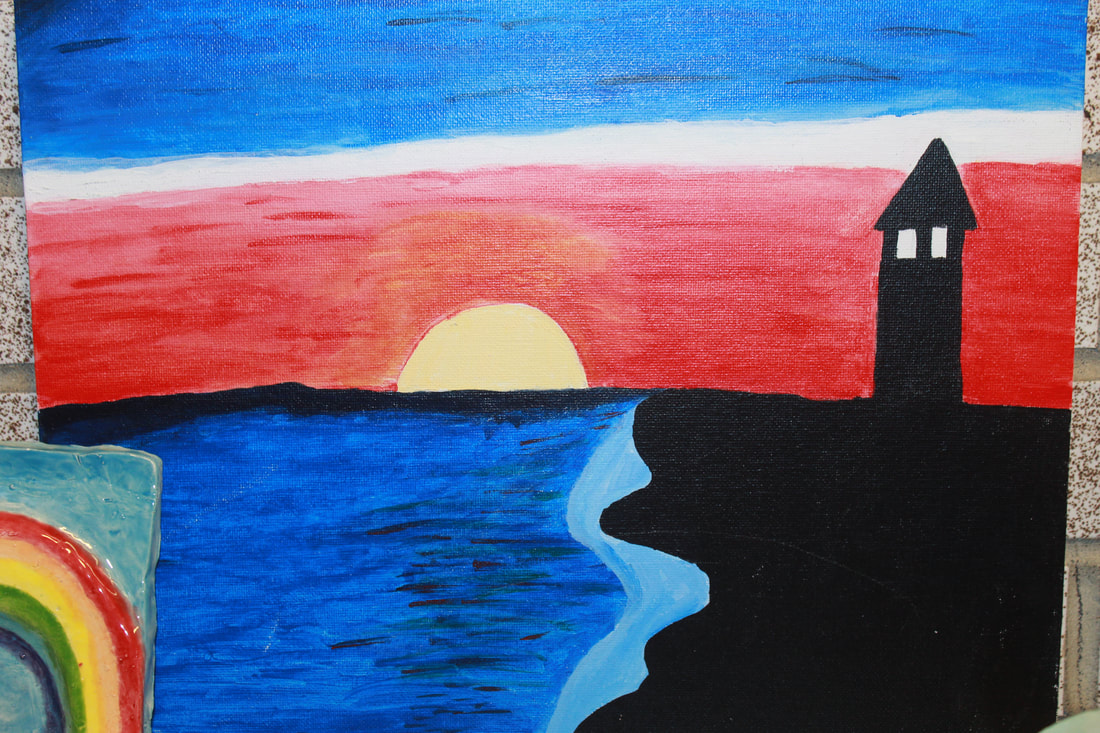

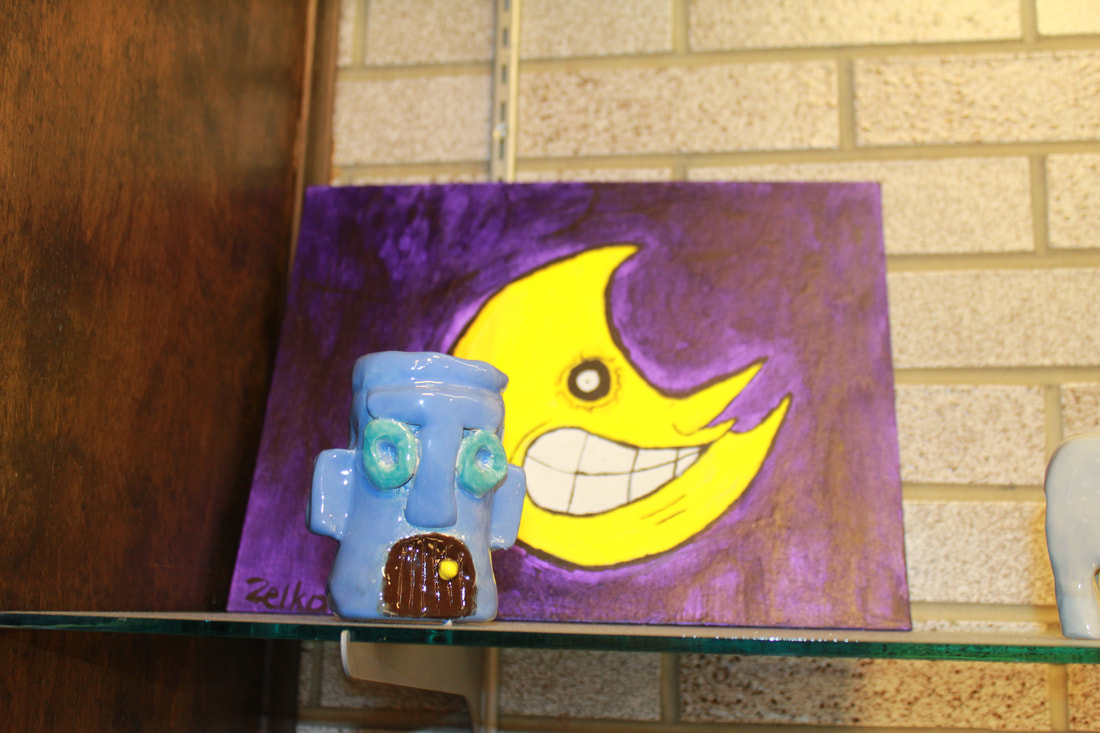

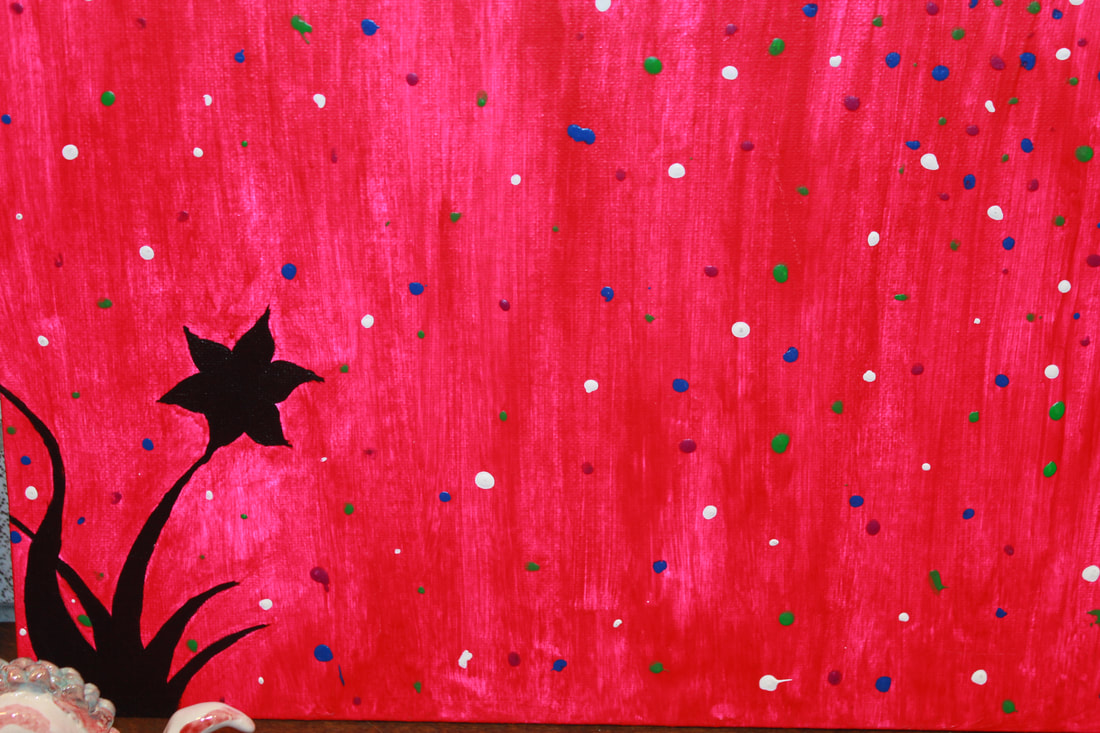
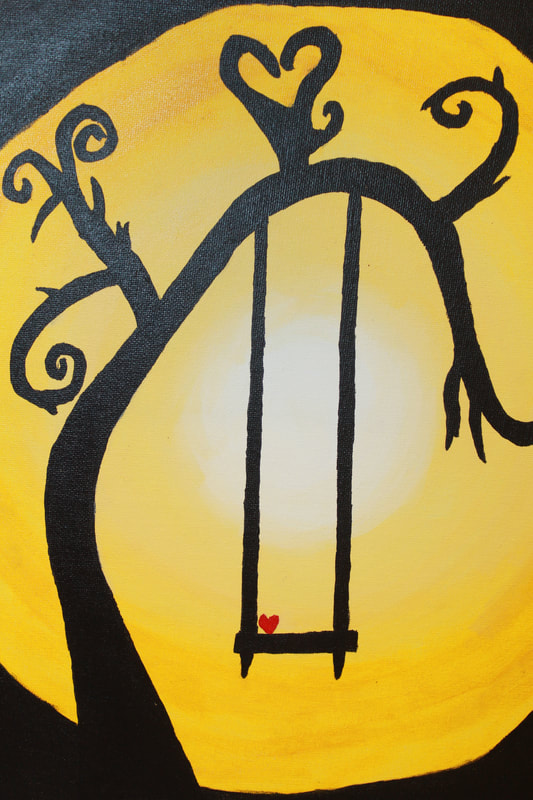
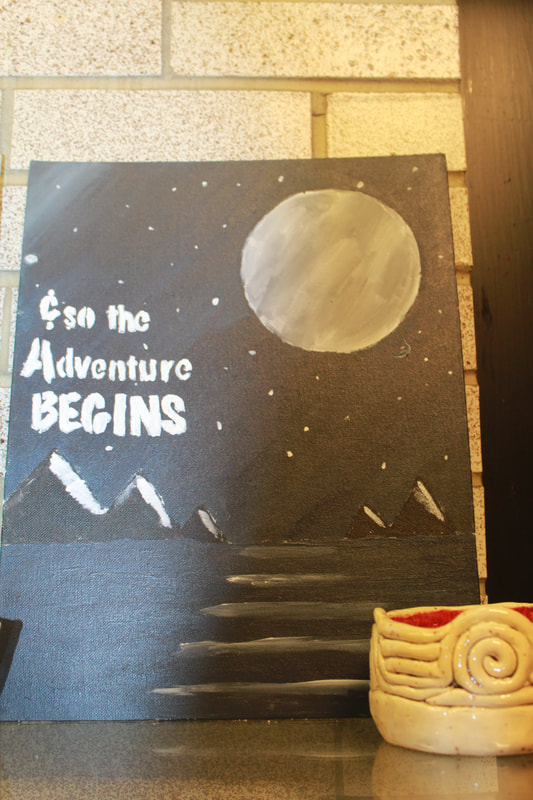
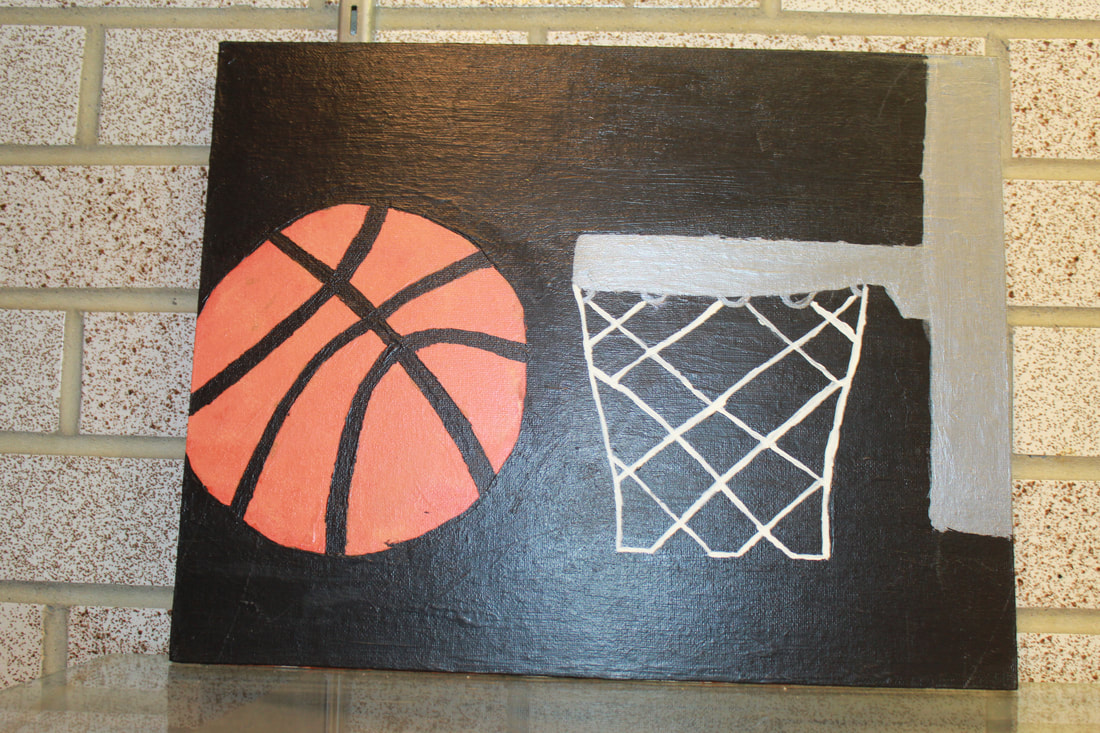
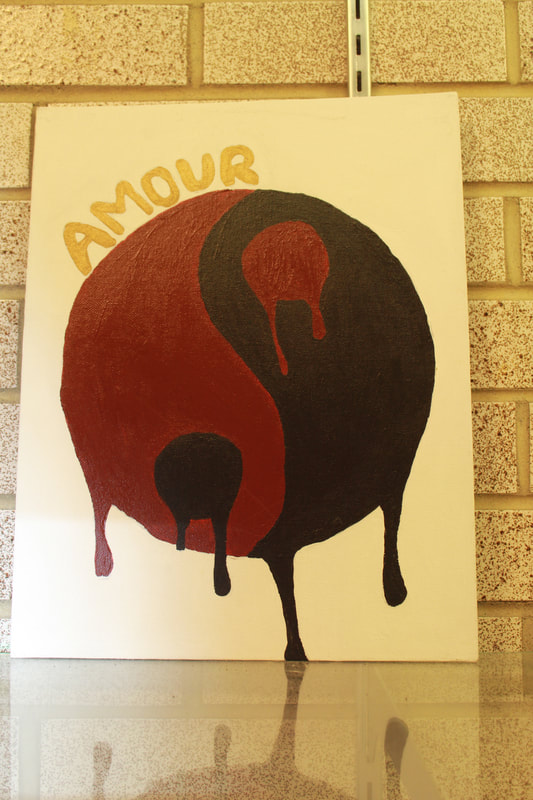

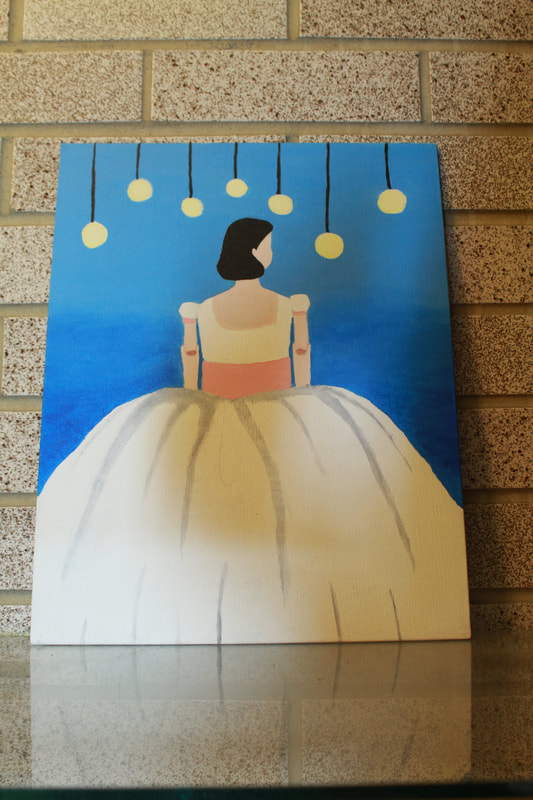


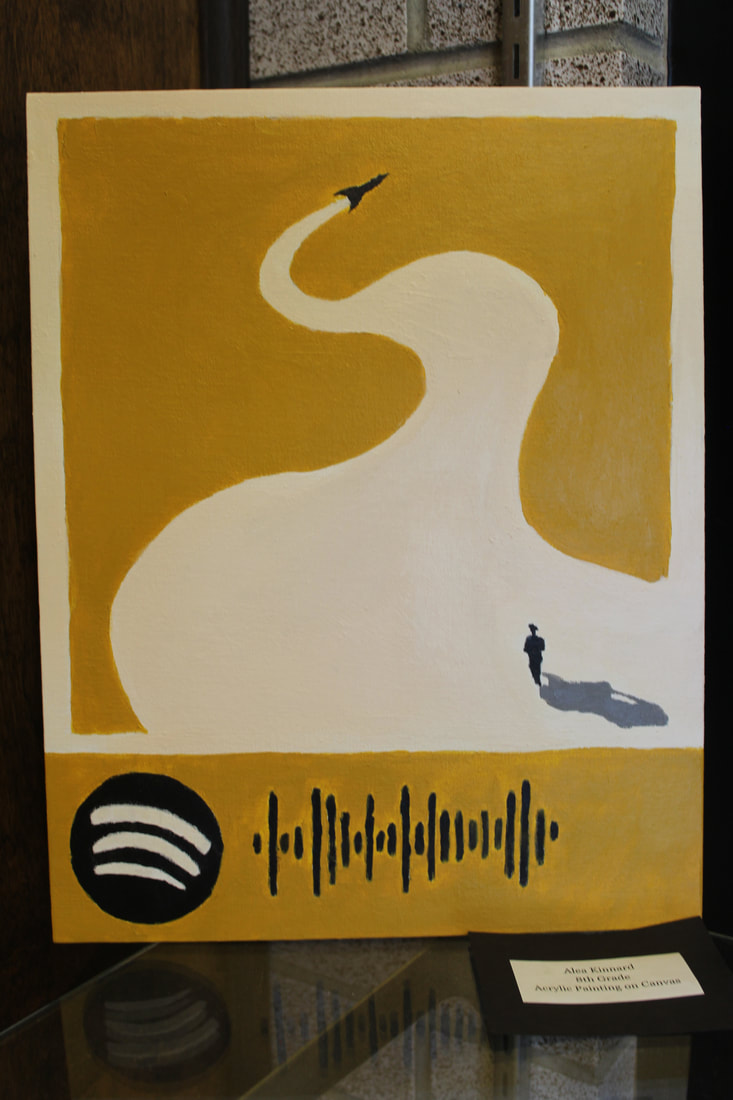
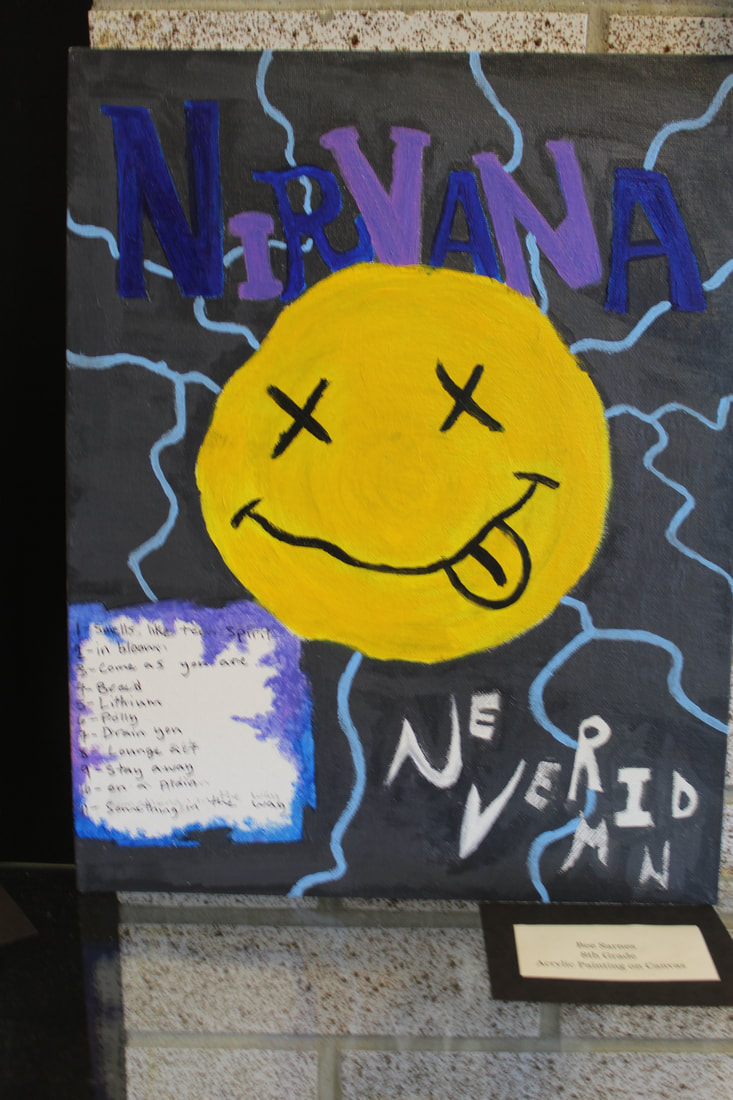
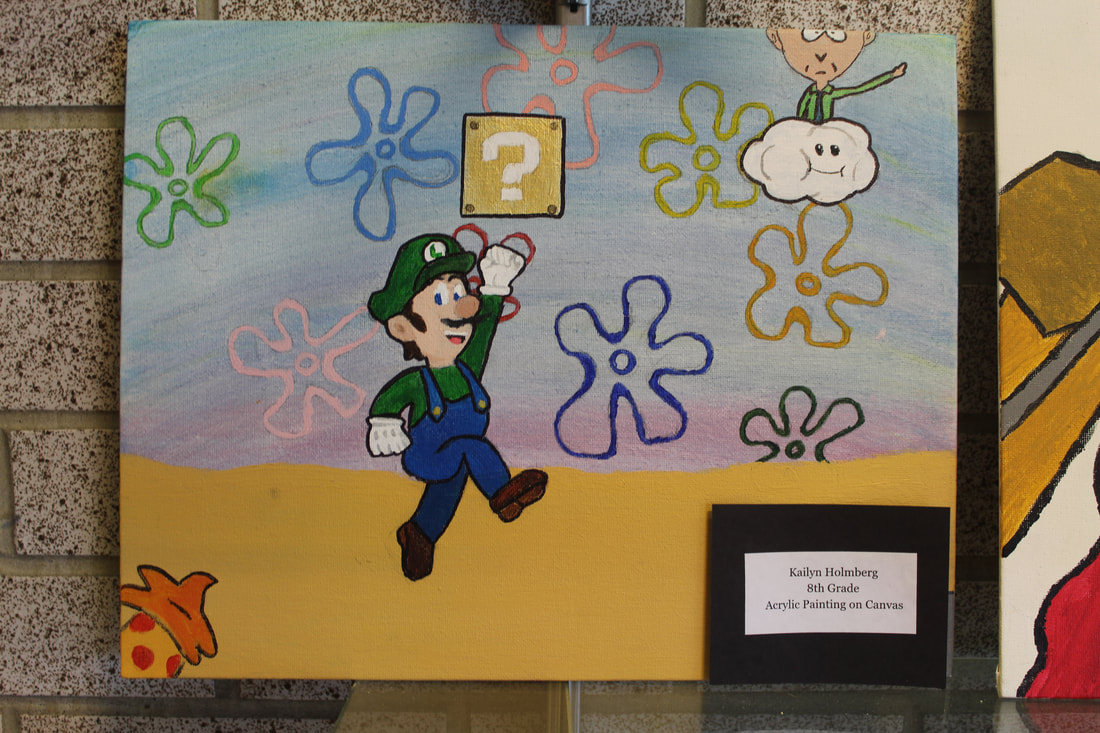
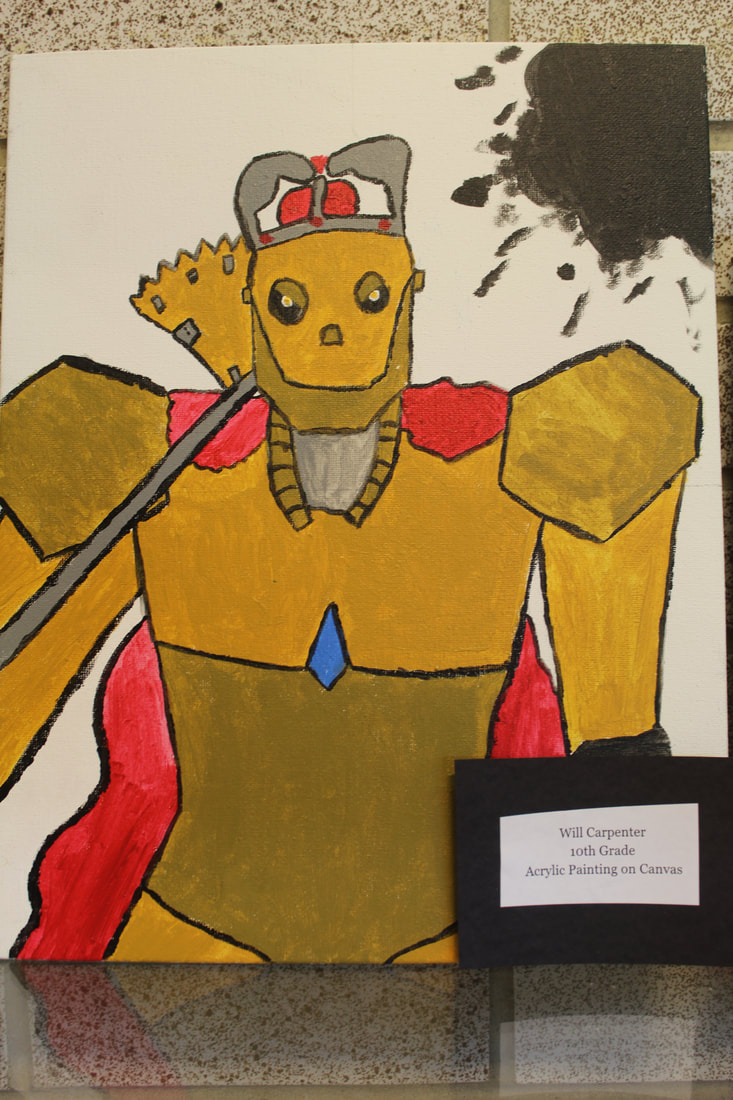
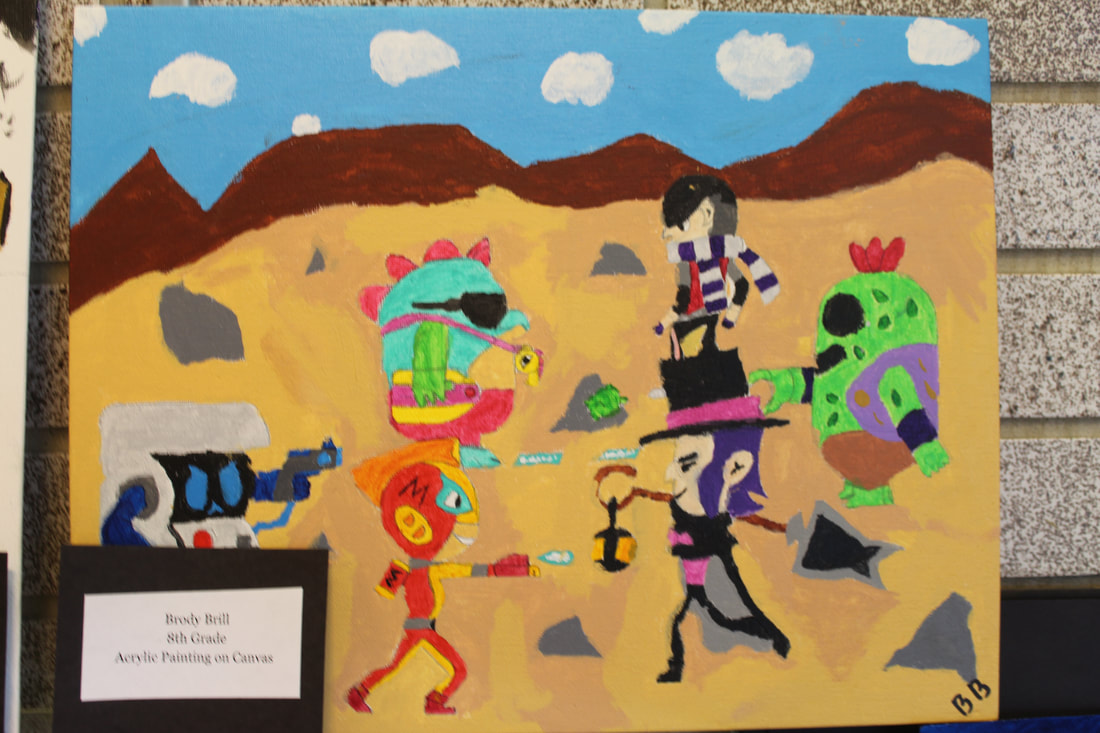
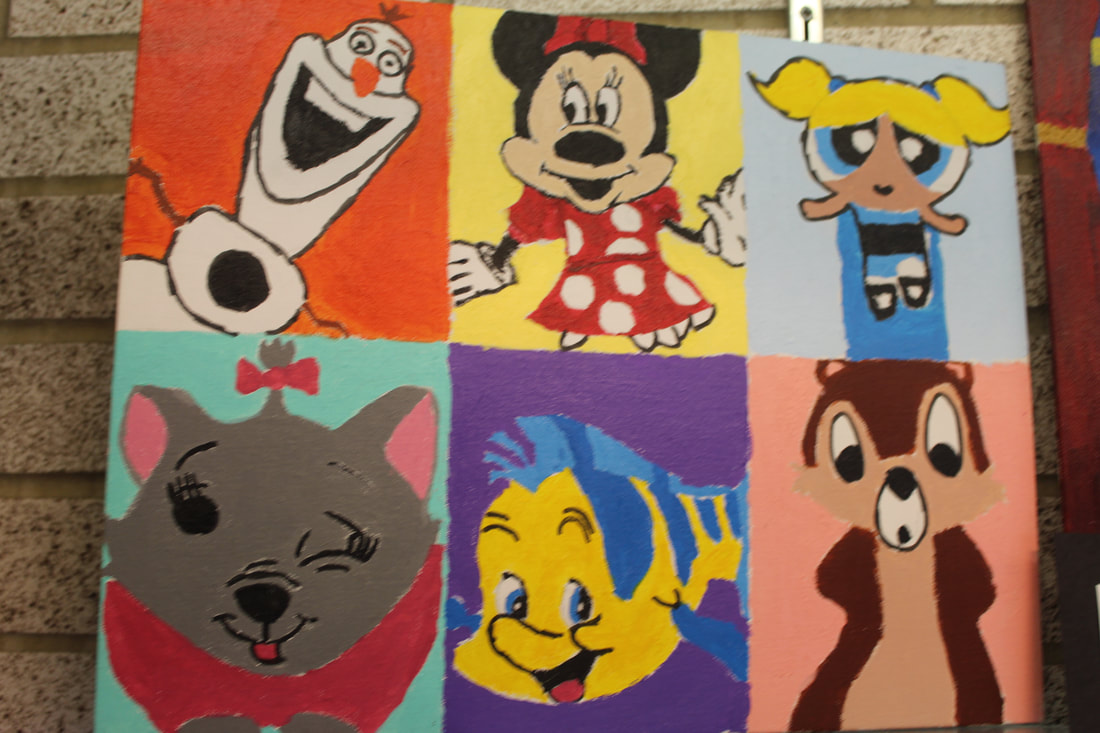
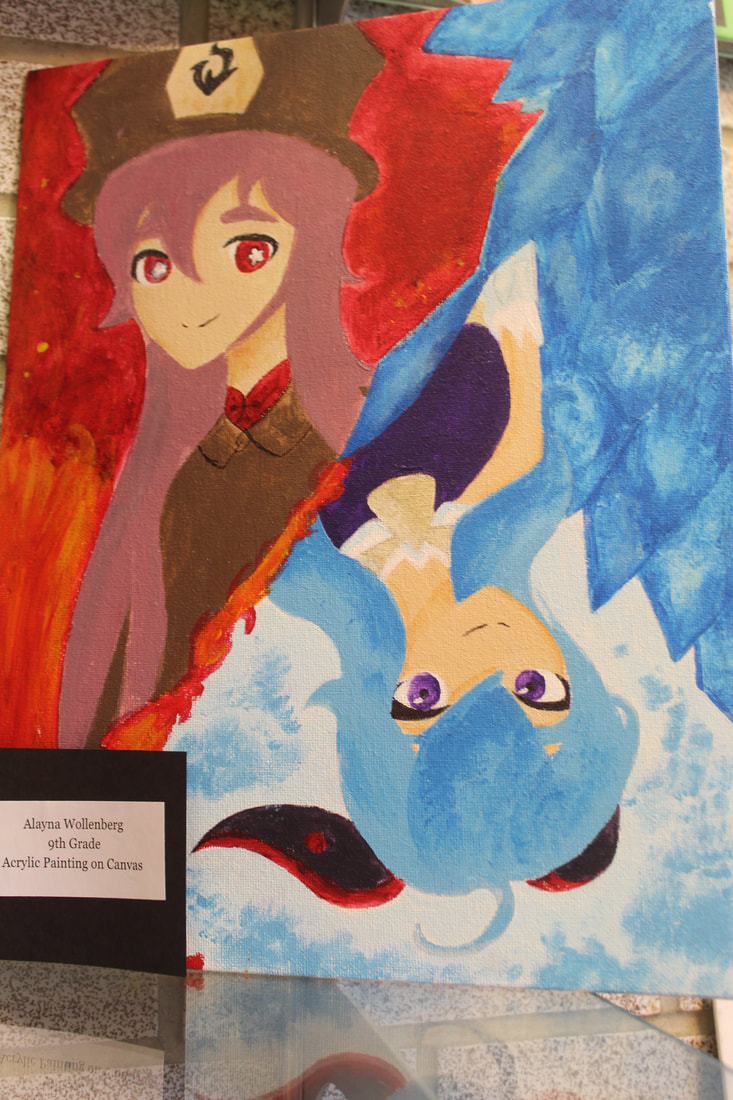
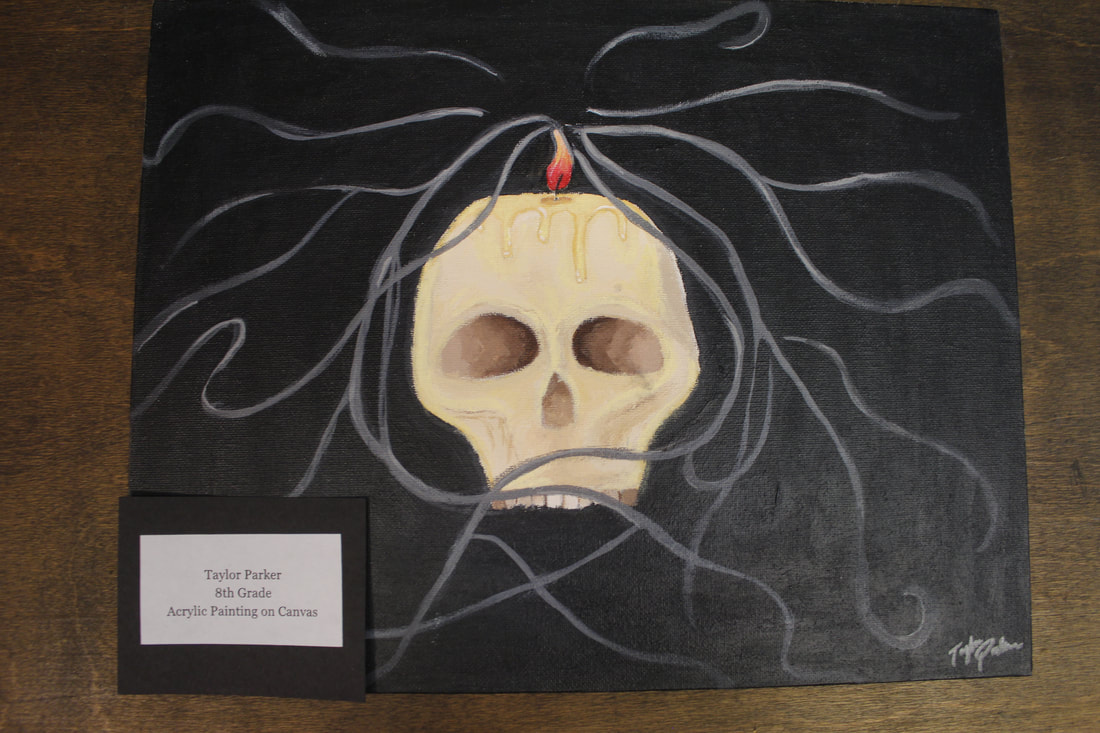
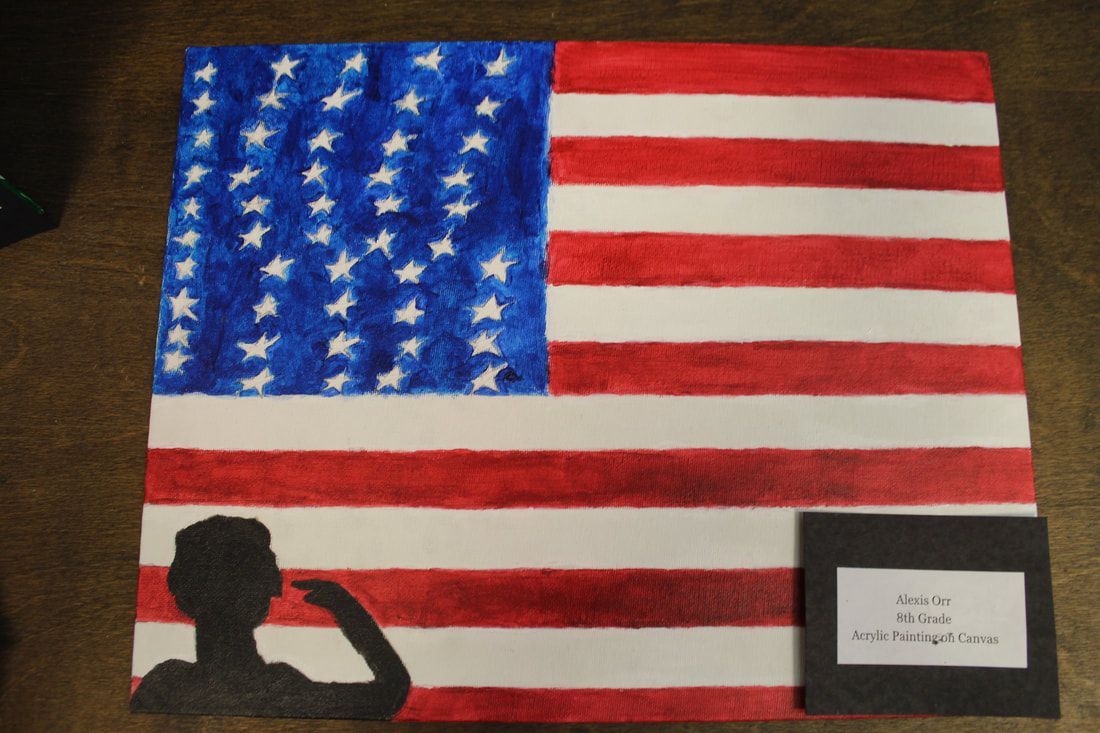

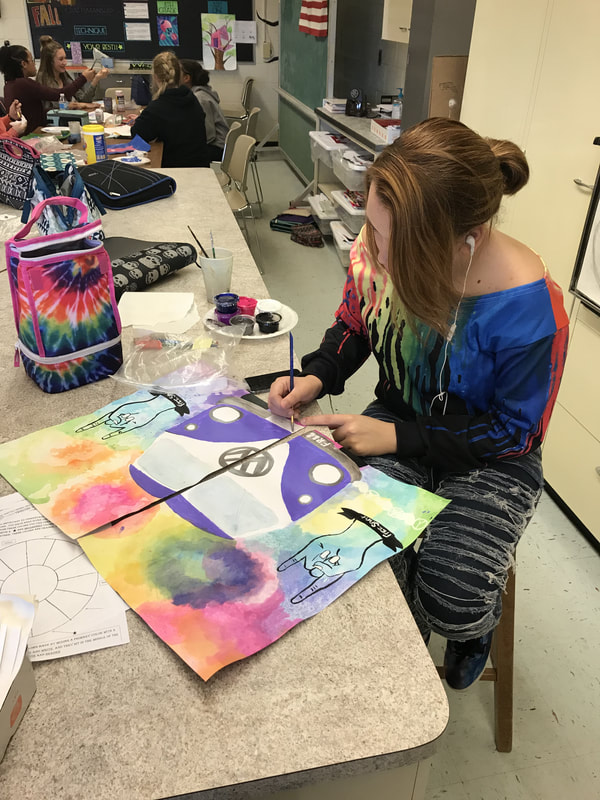
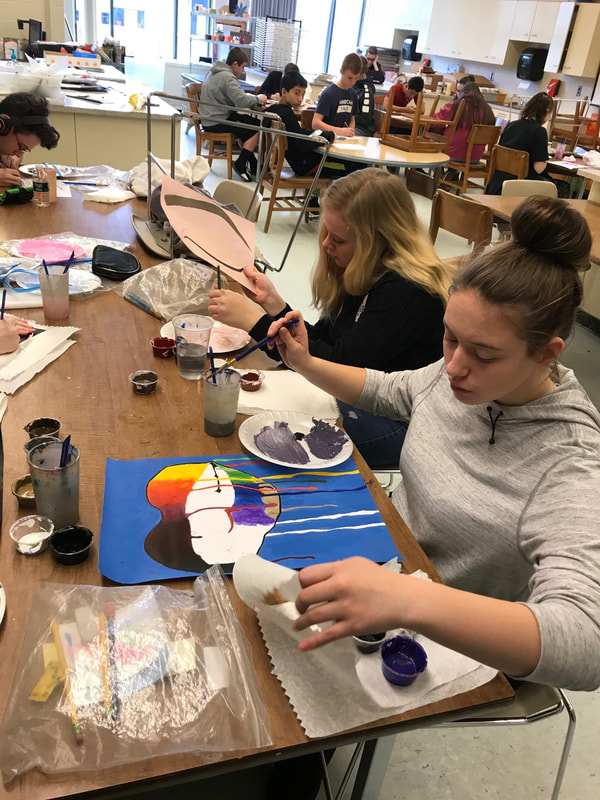
Students working away at their personal choice paintings! Macey has worked hard on her painting for two periods every day for almost three weeks. She's doing a combination of watercolor and acrylic painting on her VW bus themed painting. Shelby is working on a highly detailed painting from the "Thor" movies. Her ability to blend paint as if it were a colored pencil is a hard technique to master! Kalista and Lynzie work away at their facial feature themed paintings.
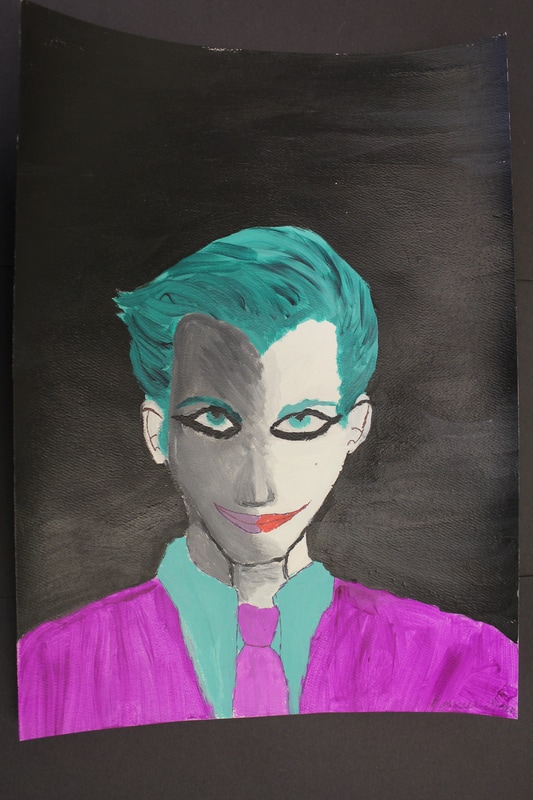
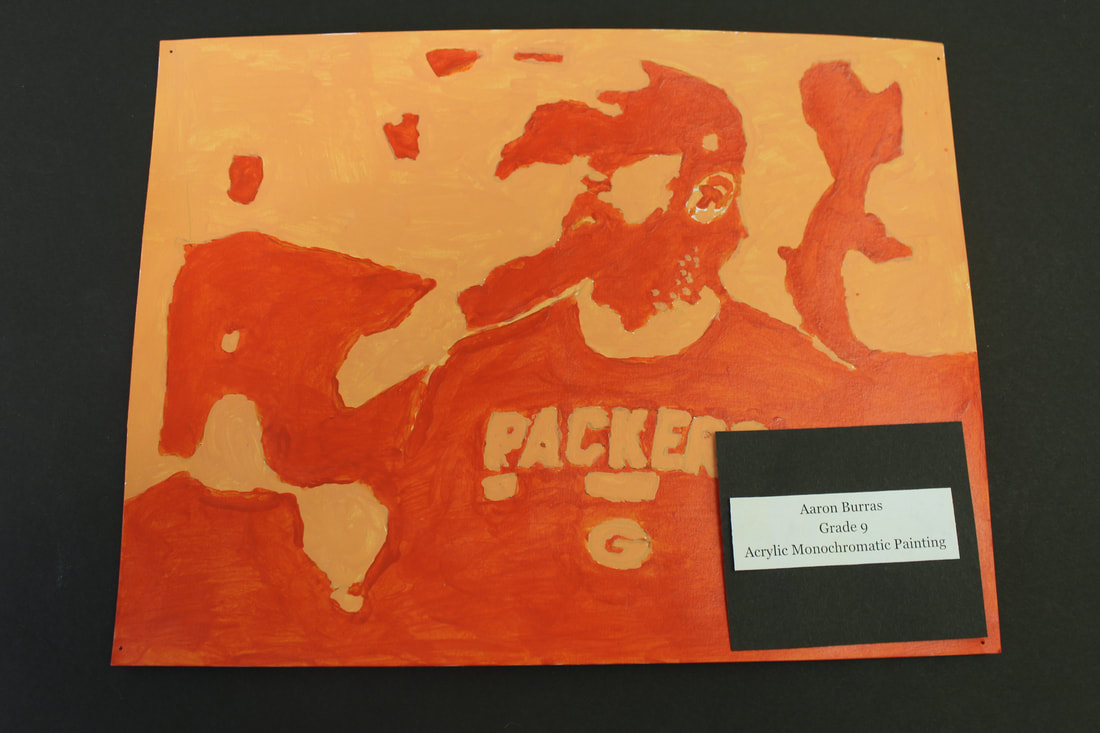
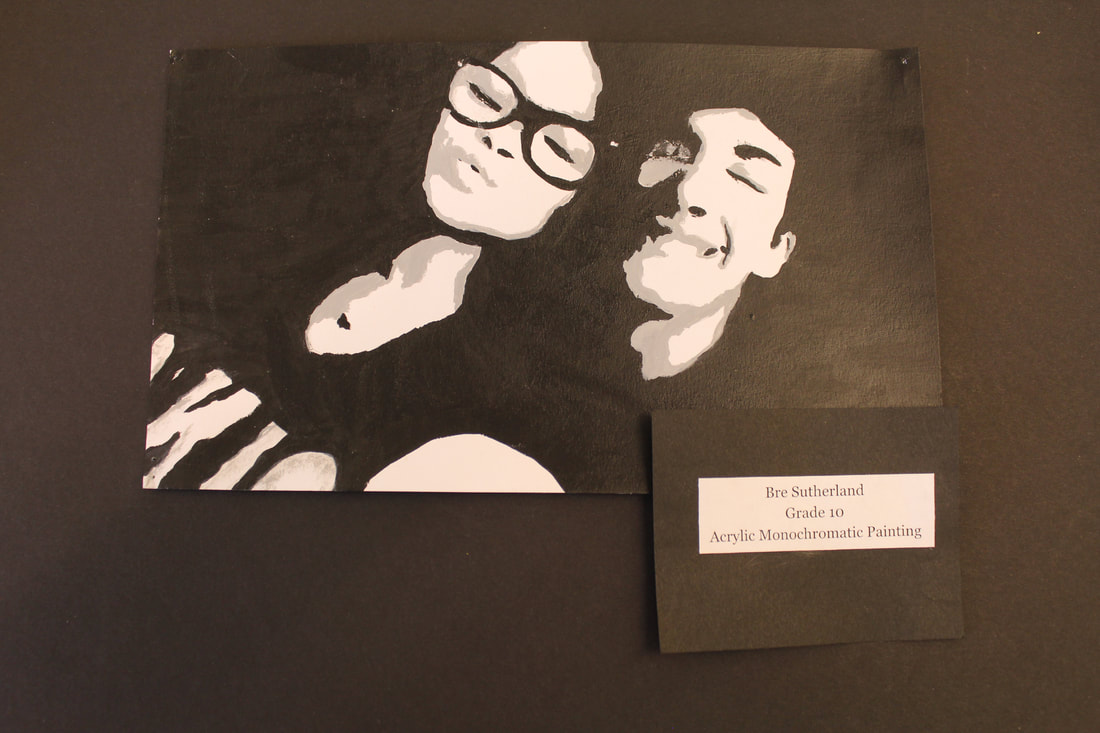
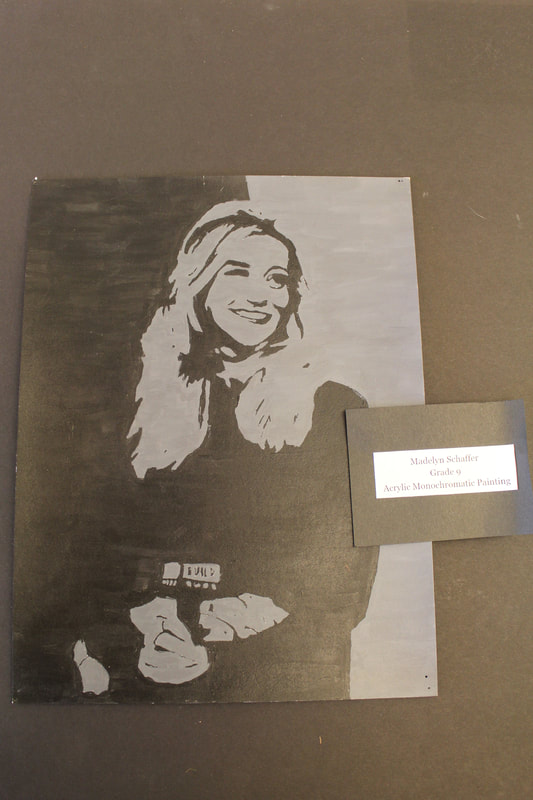
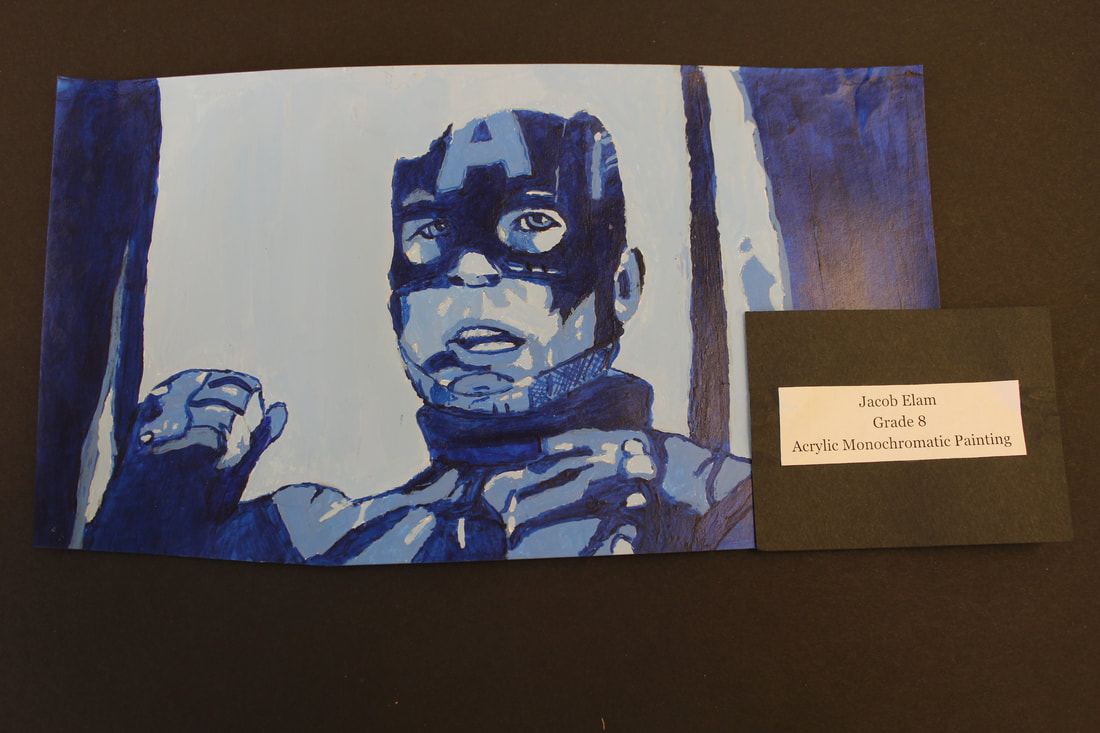
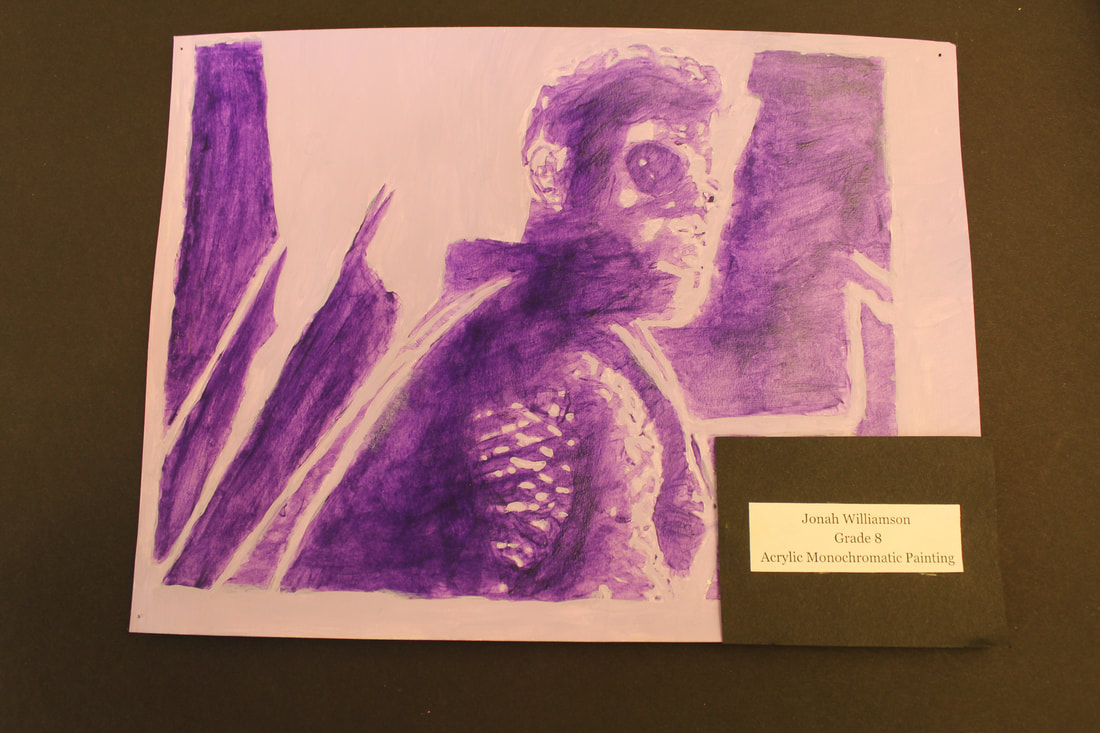
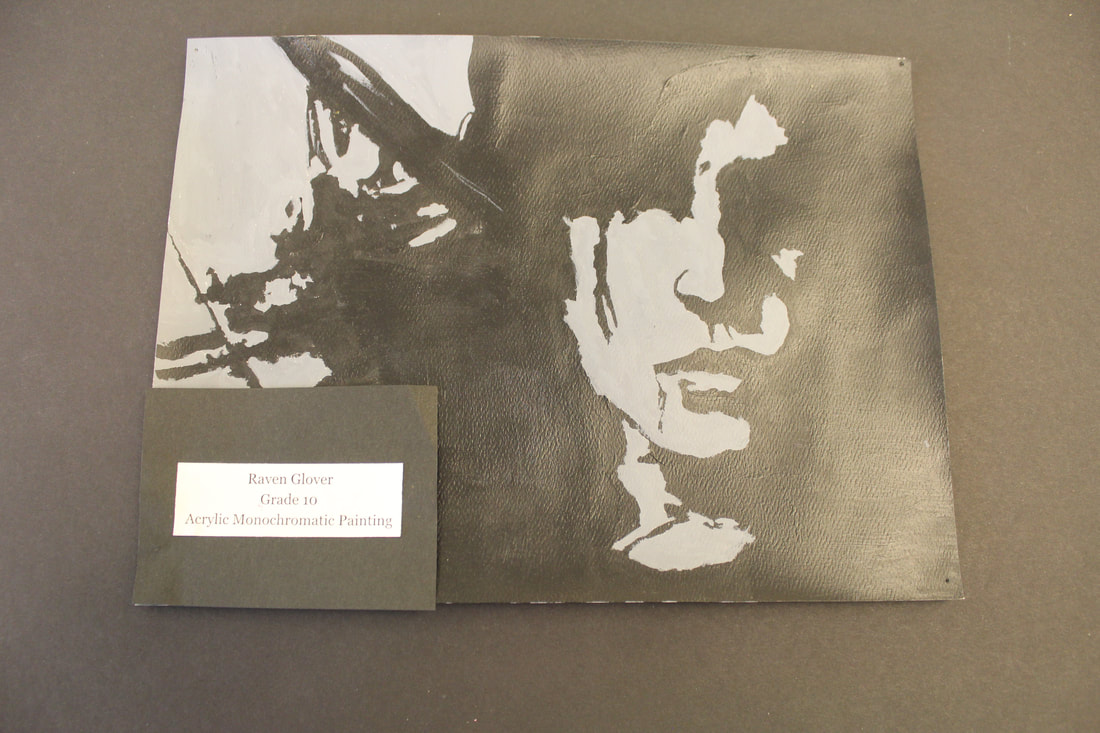
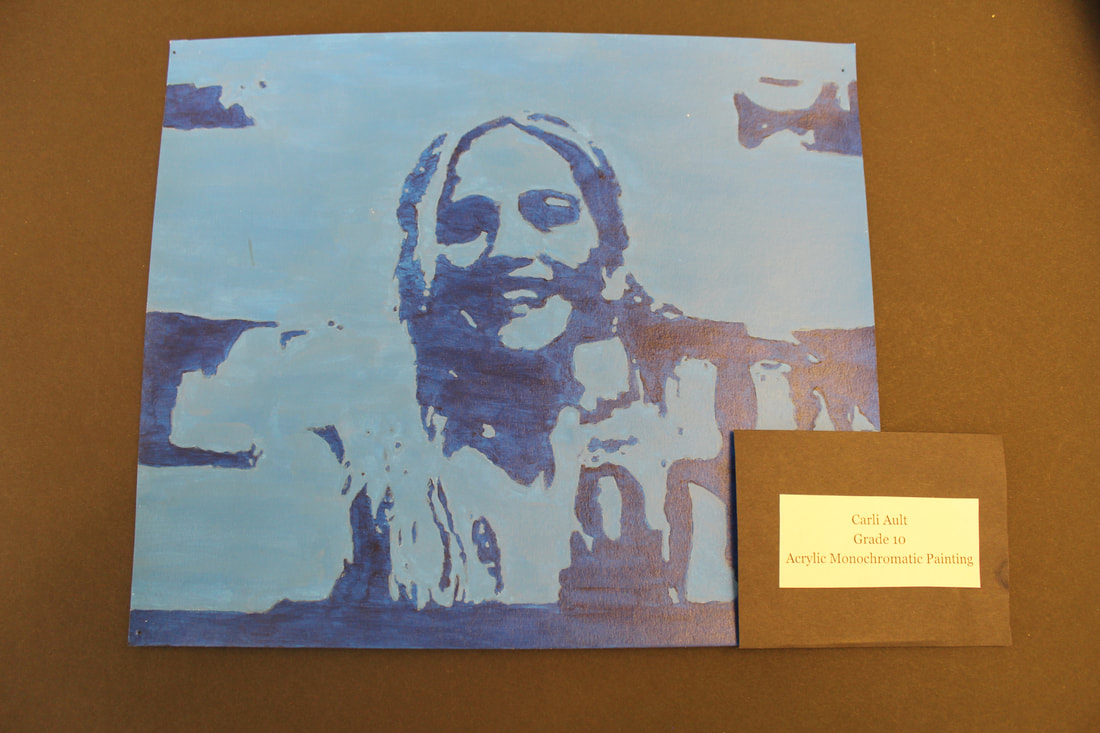
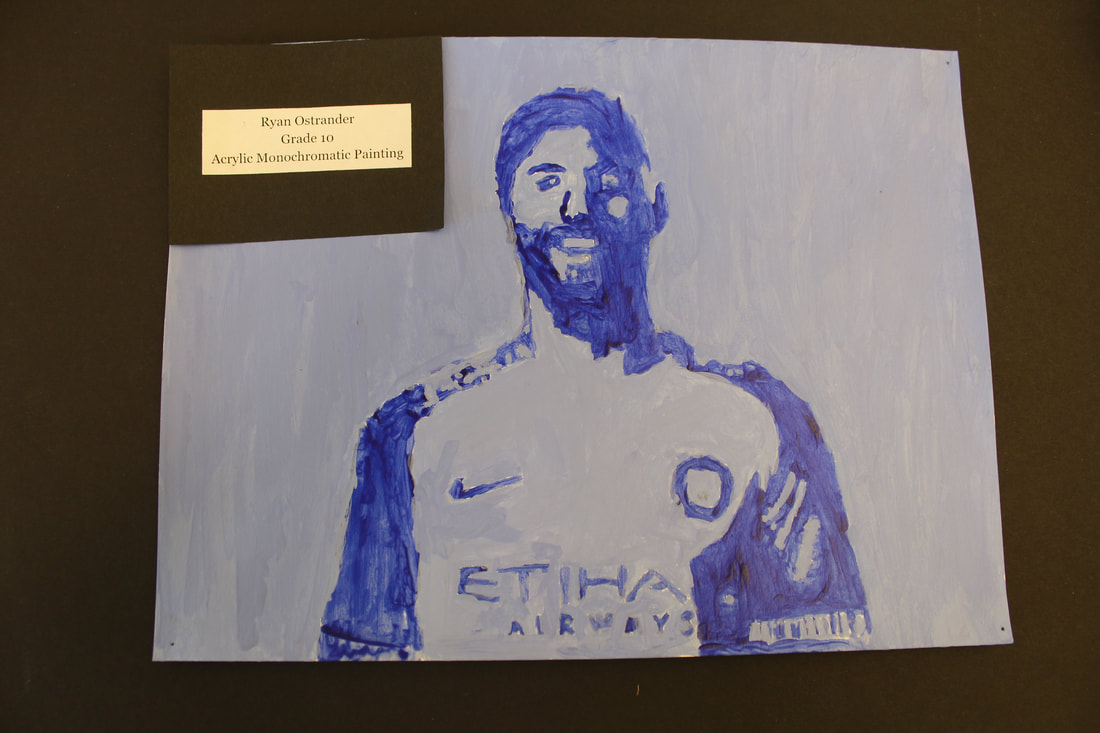
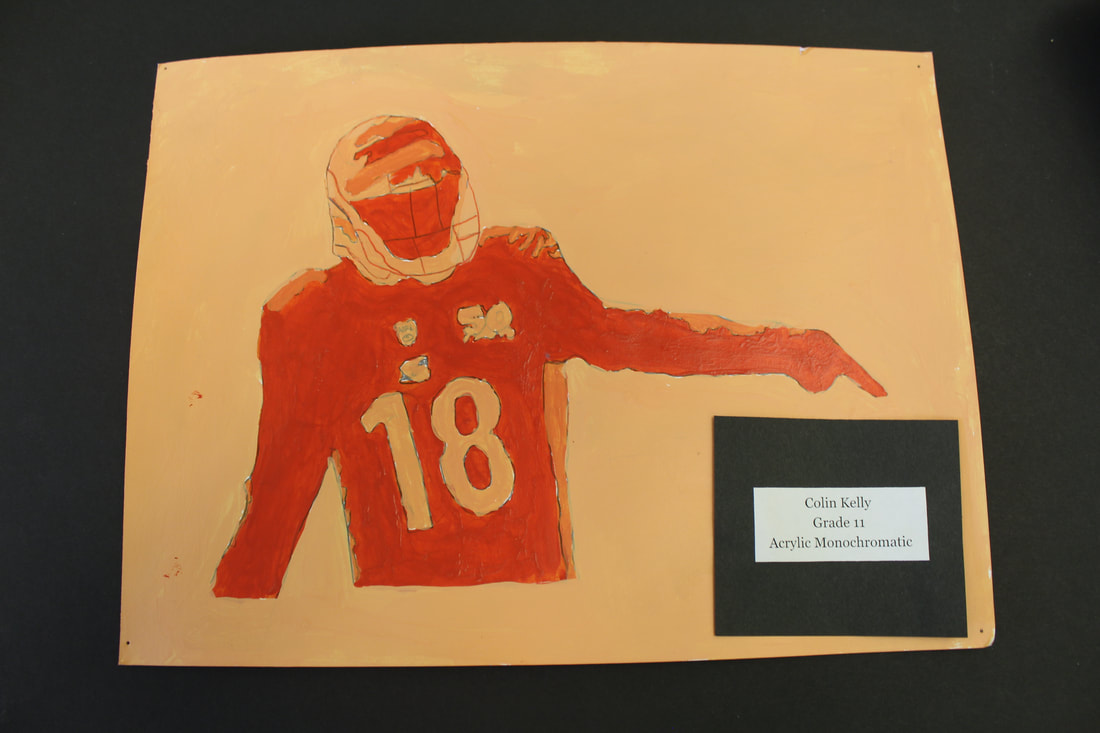
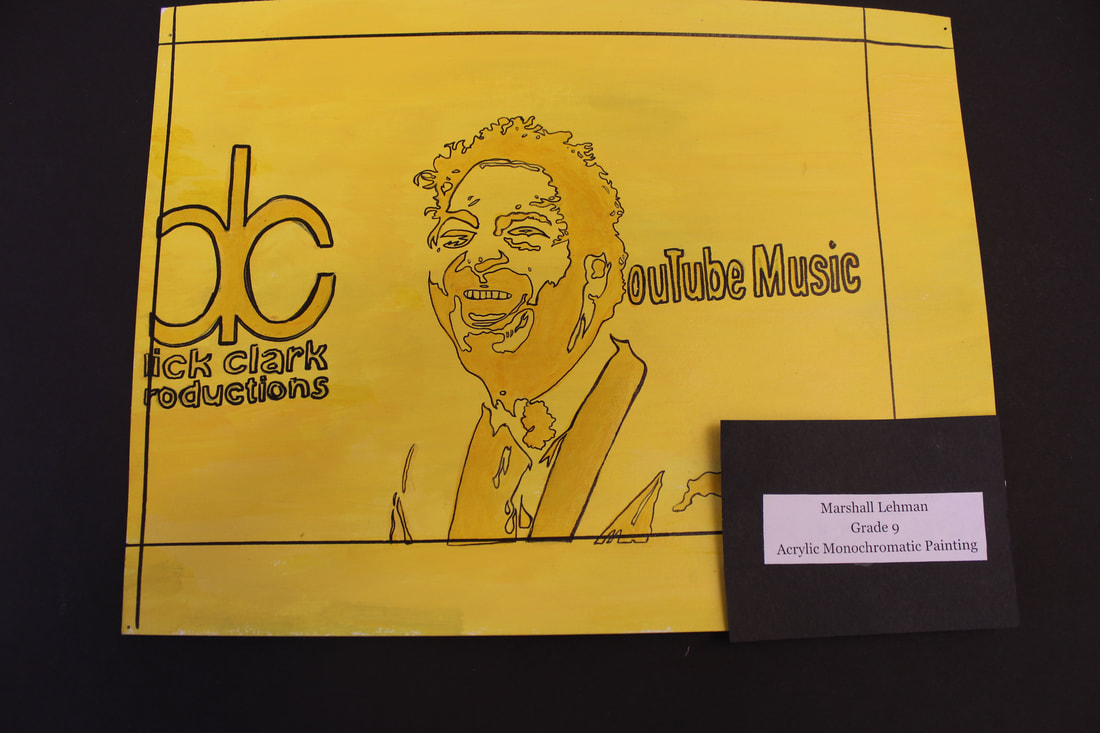
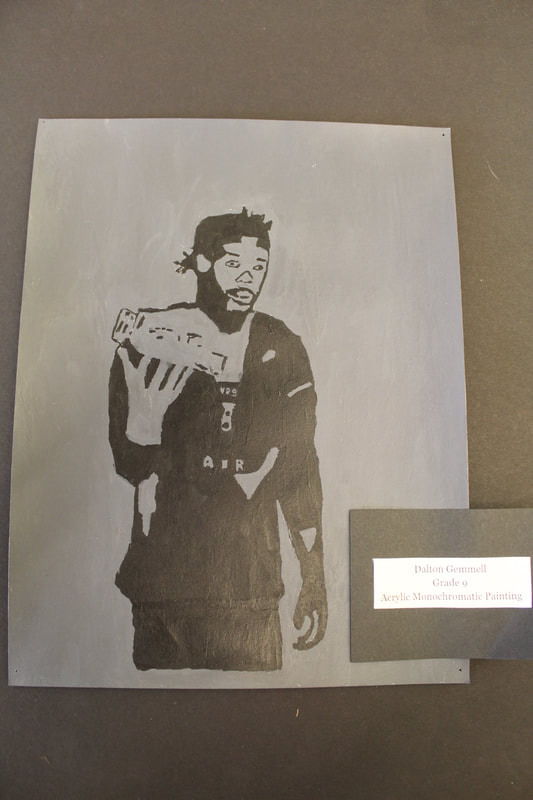
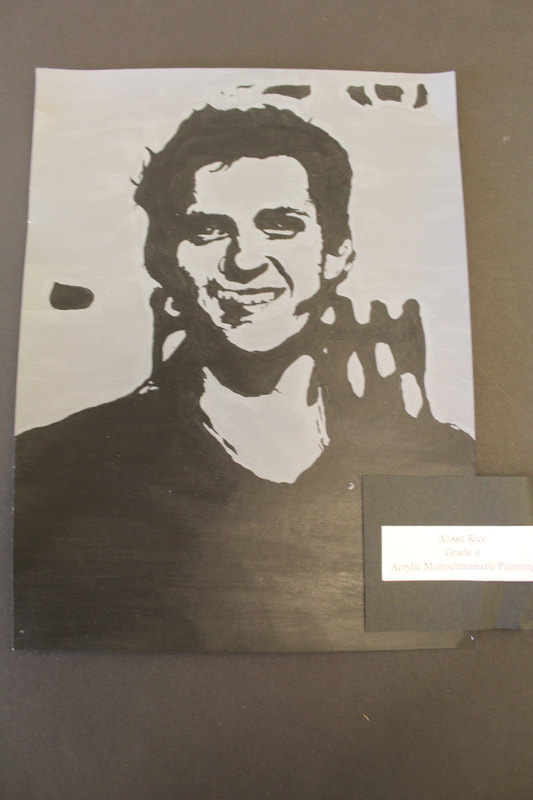
Monochromatic Paintings
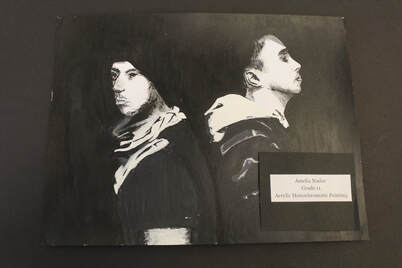
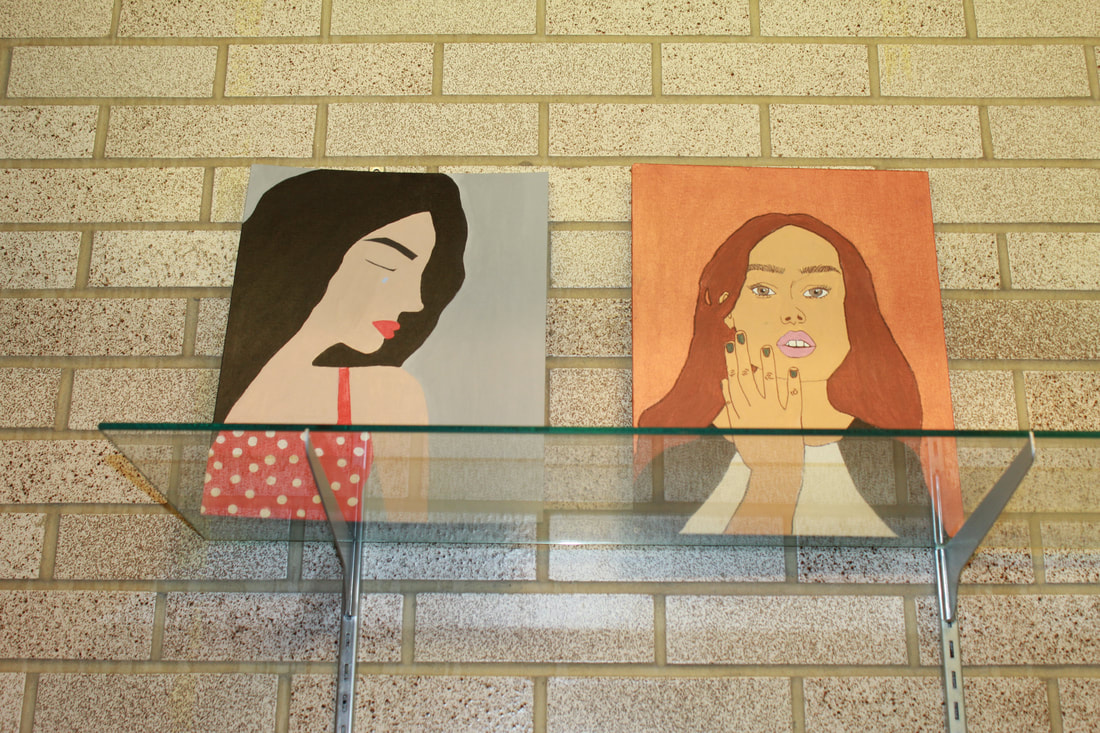
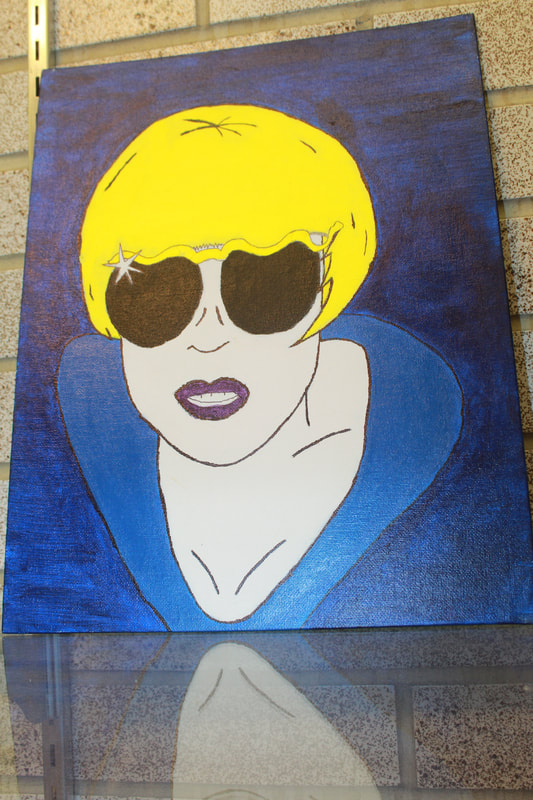
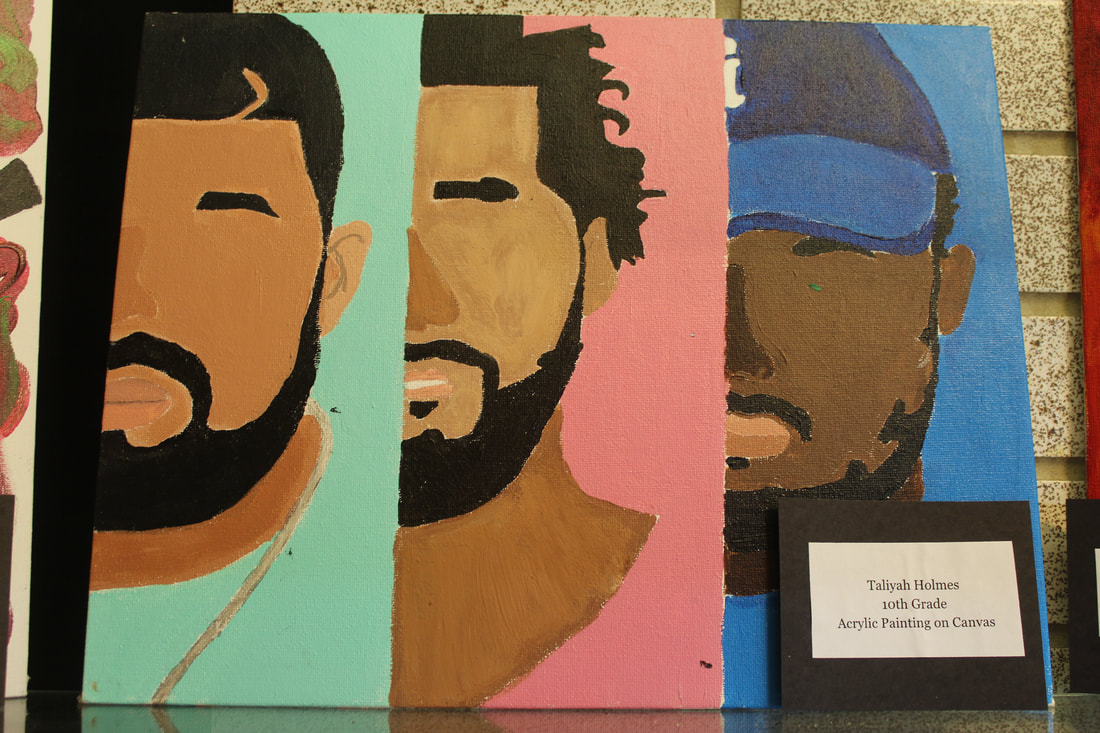
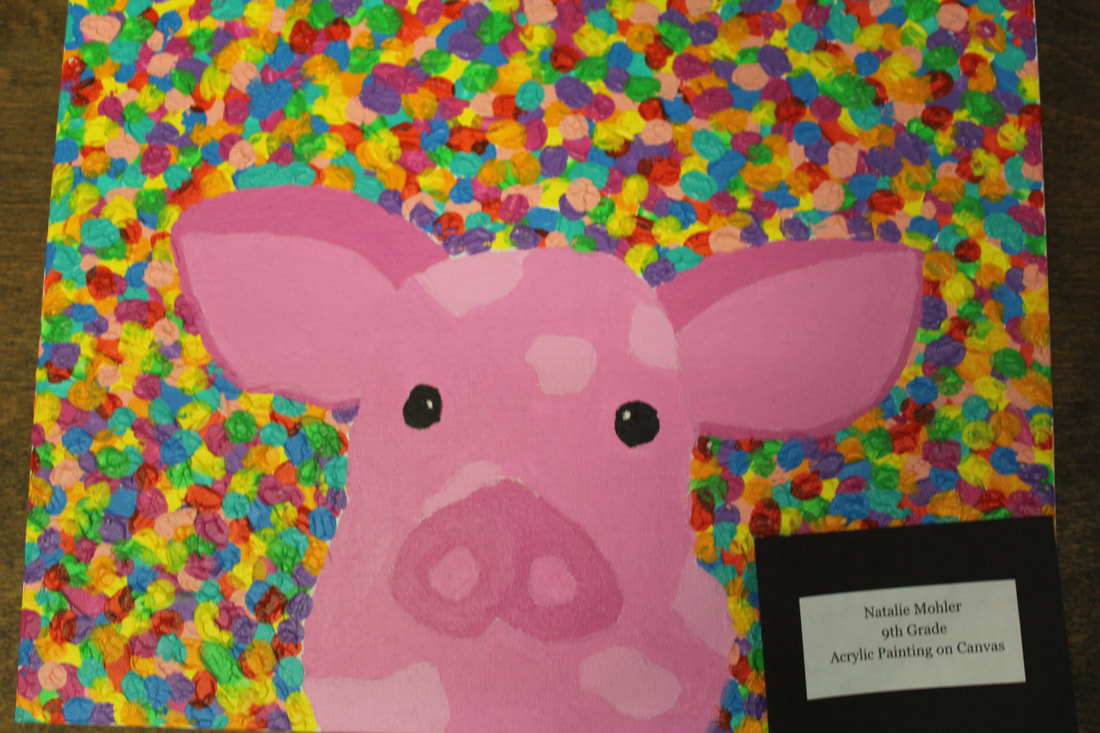
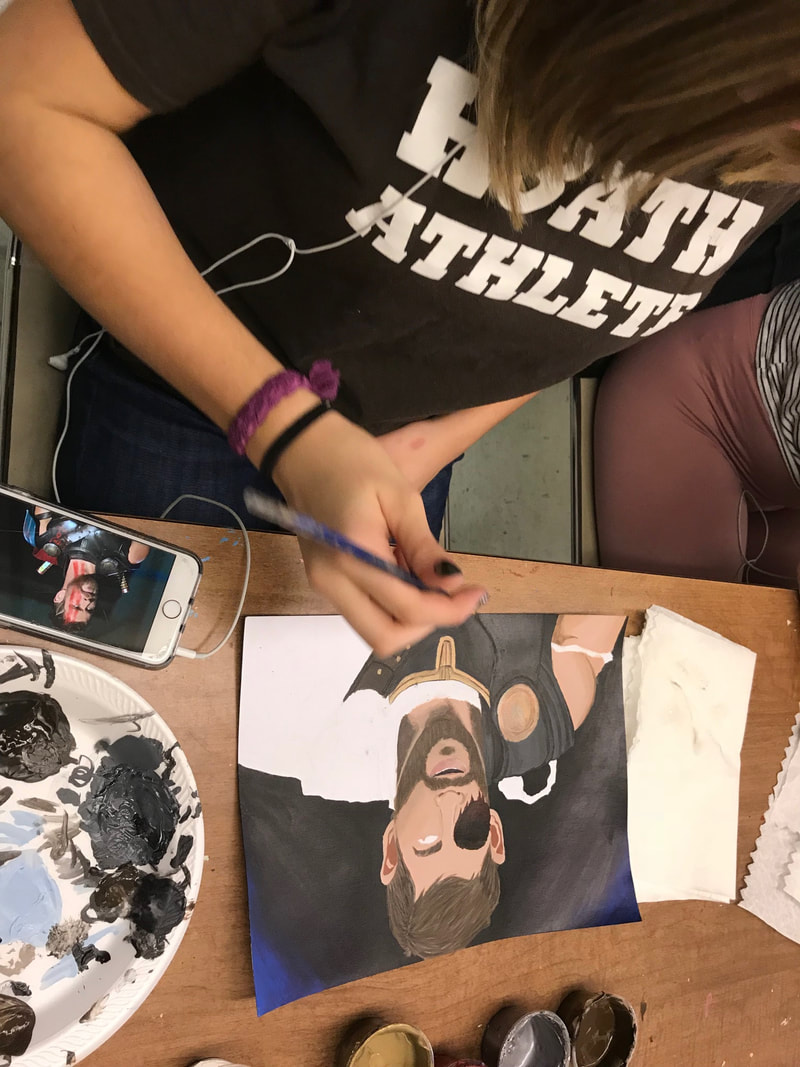
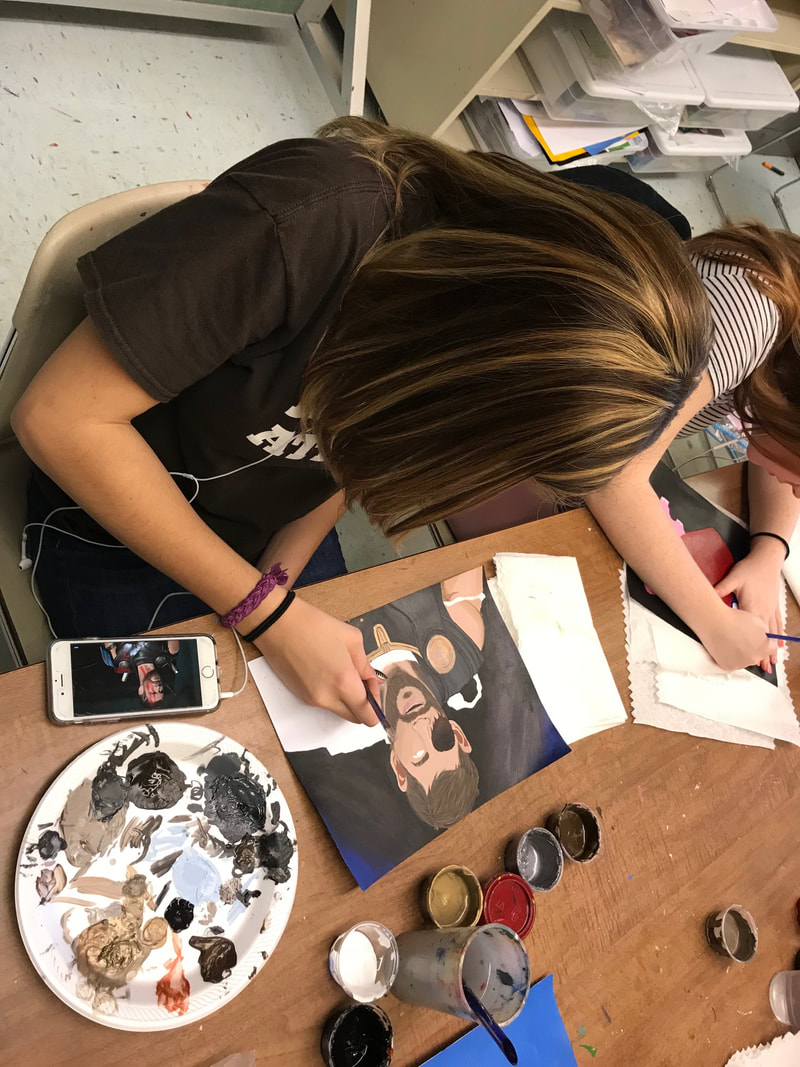
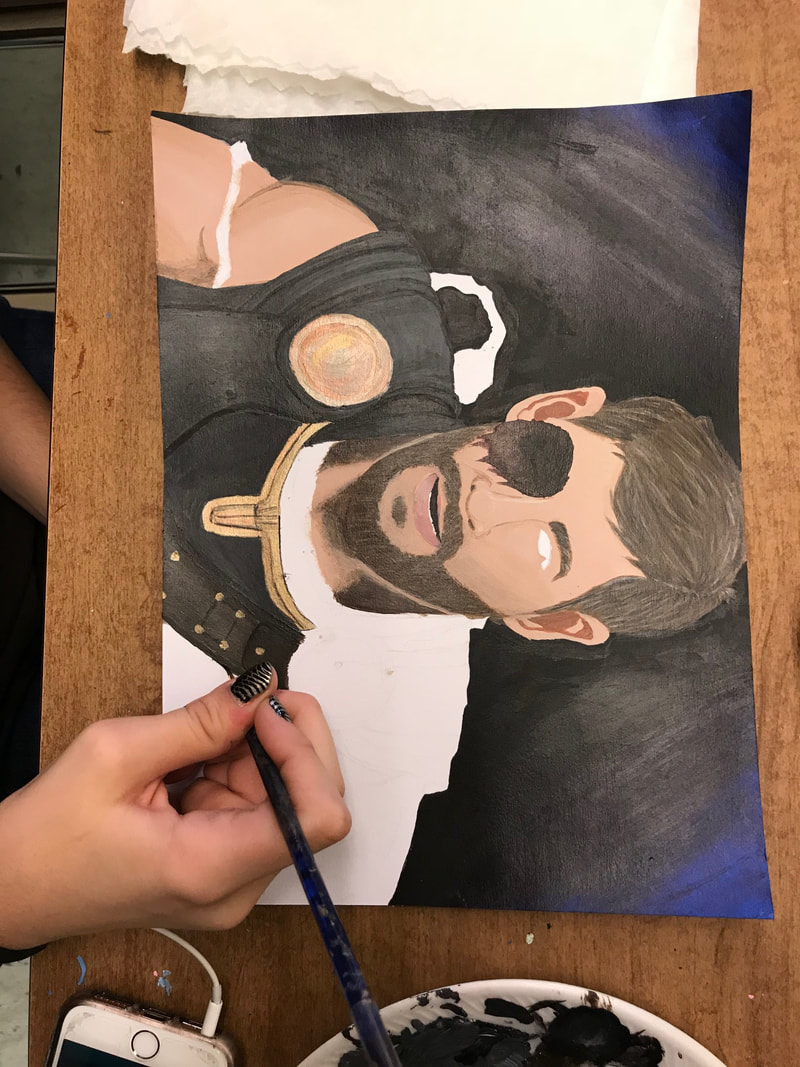
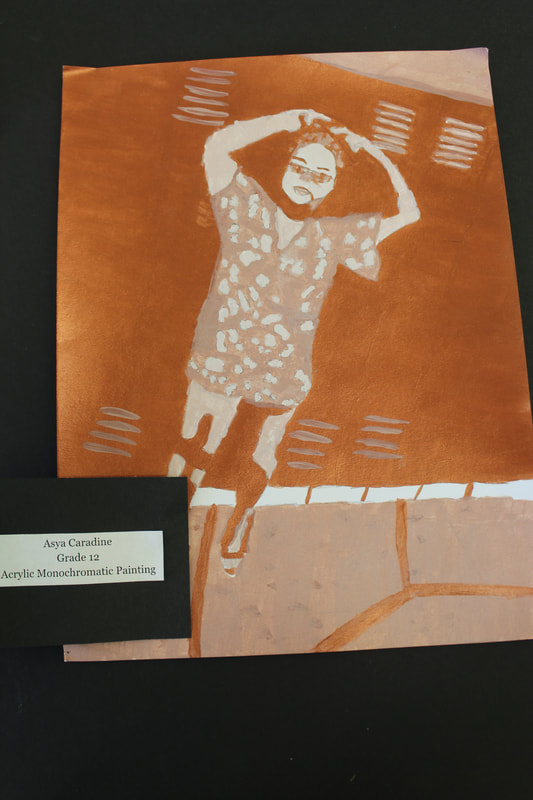
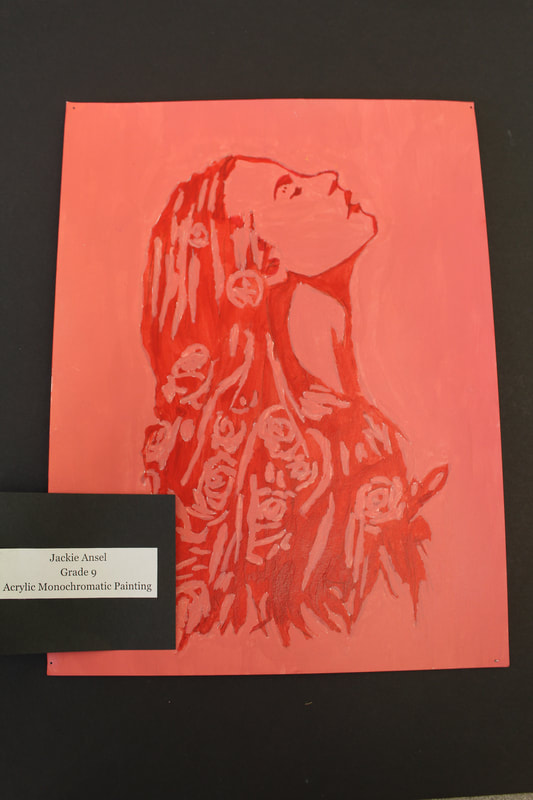
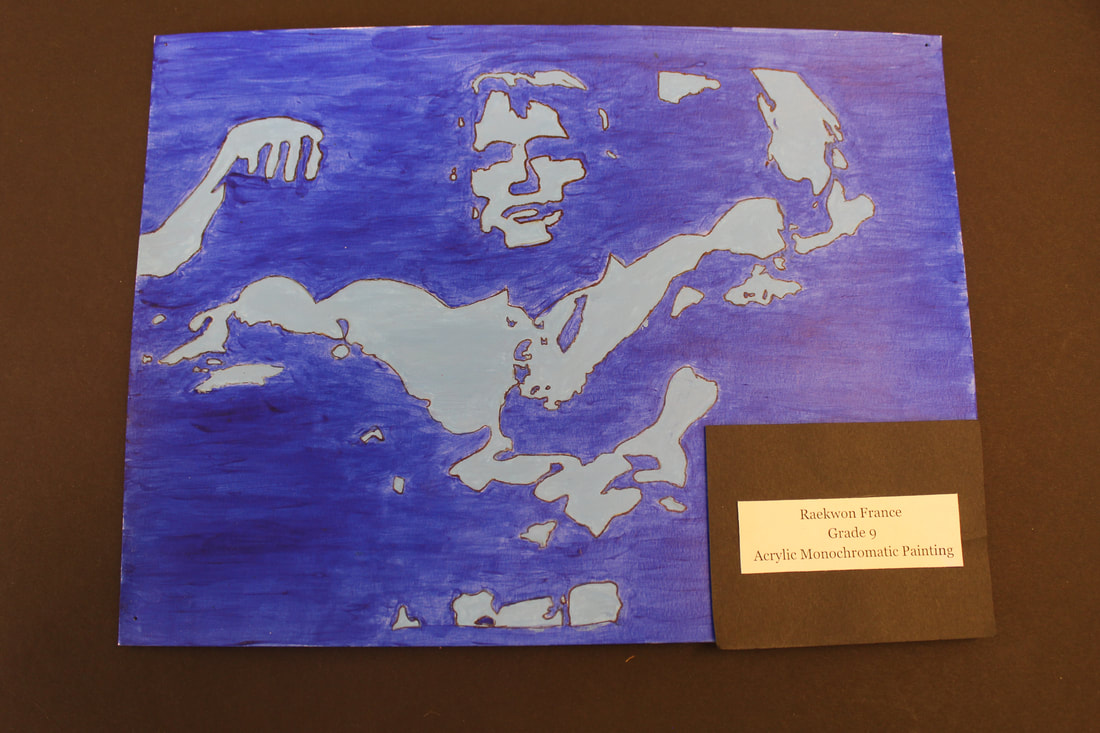
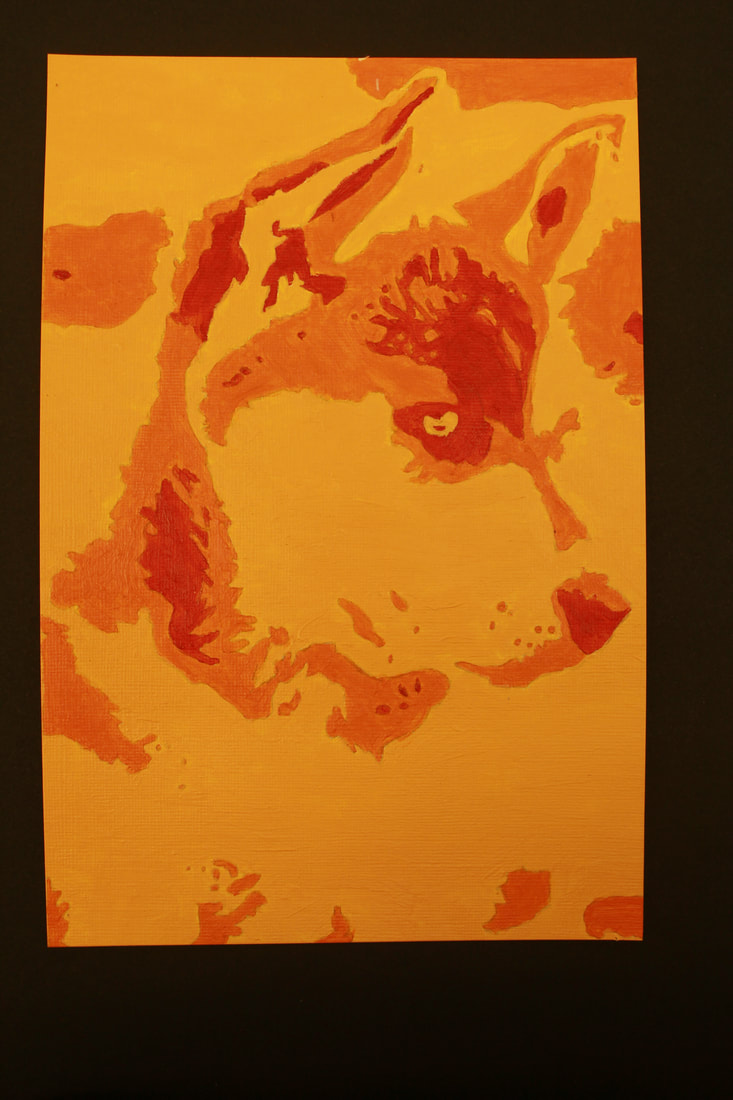
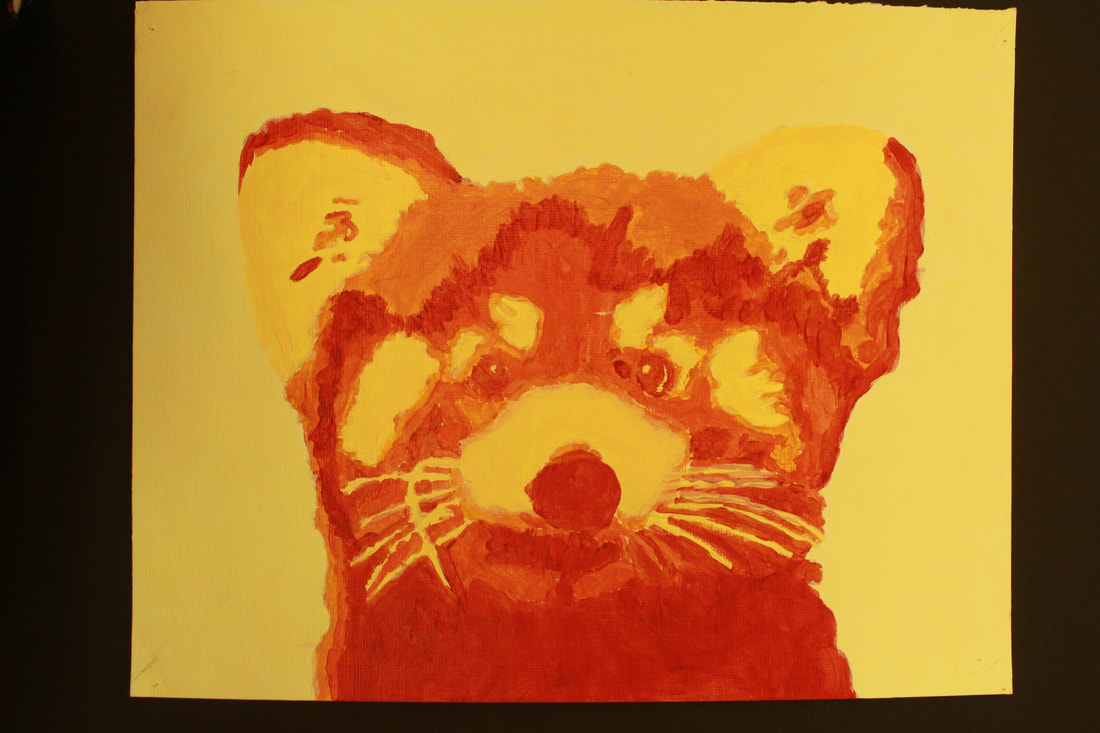
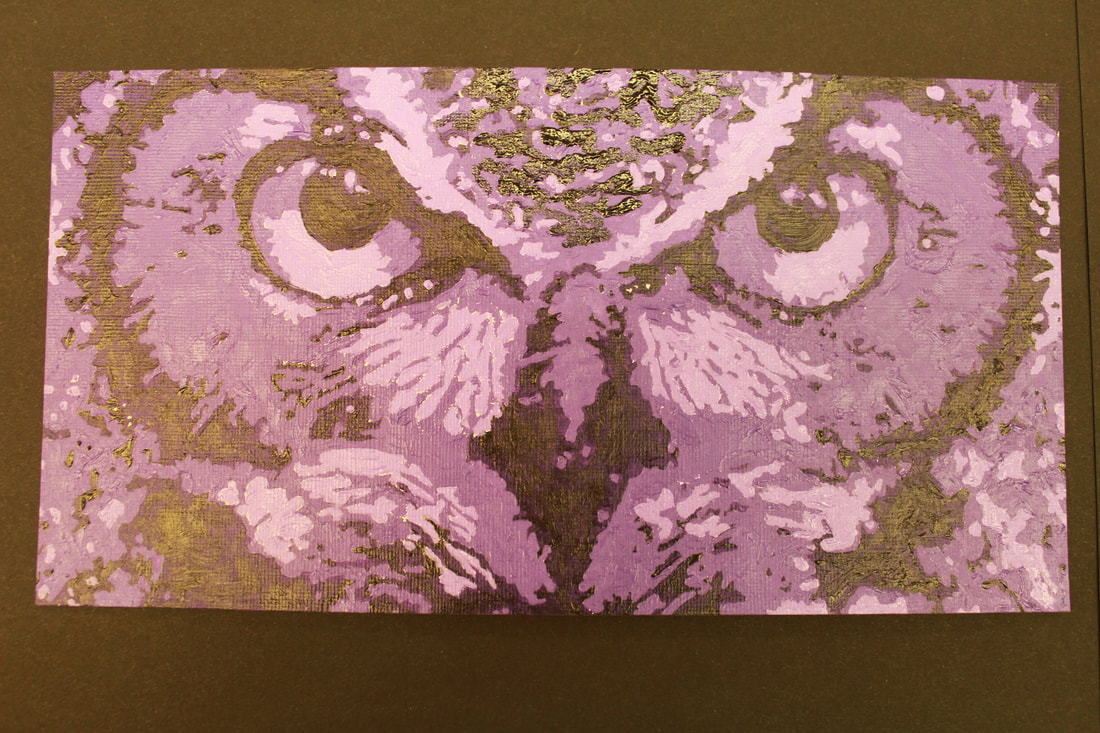
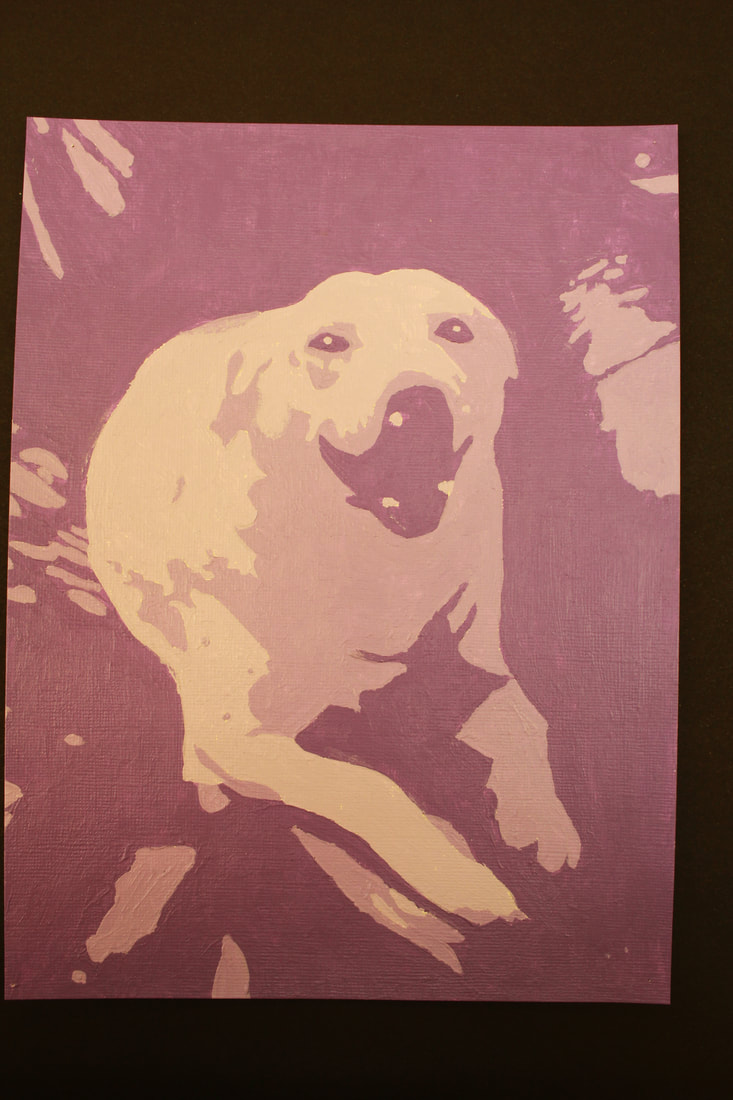
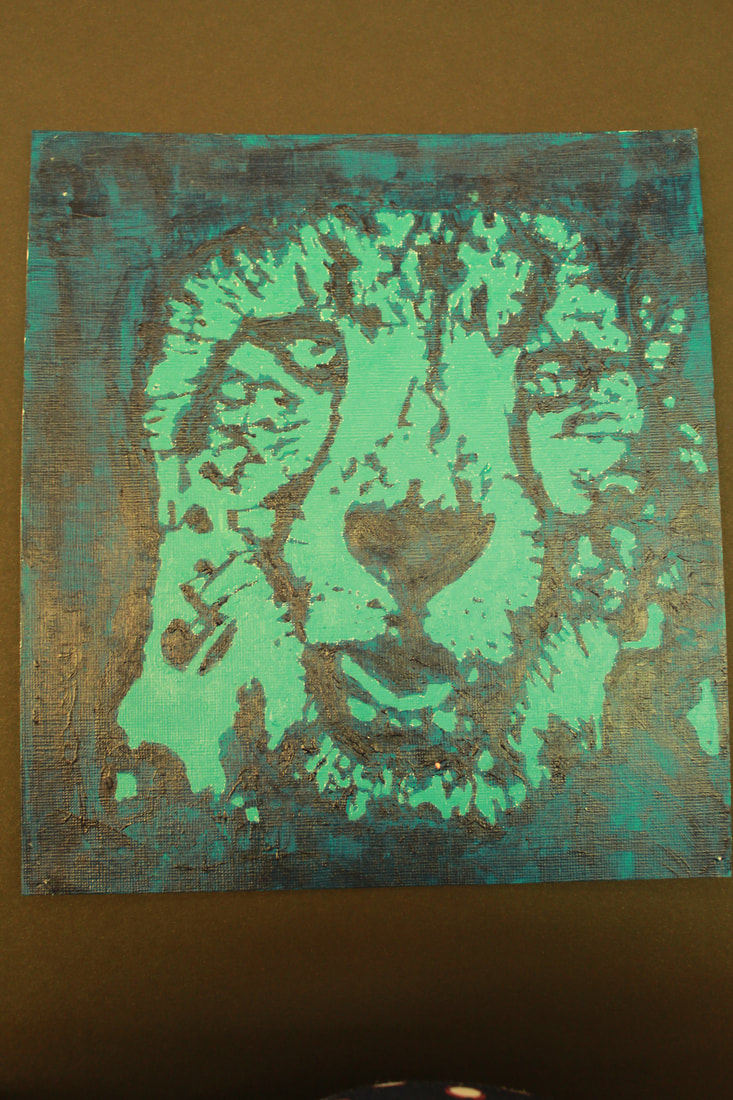
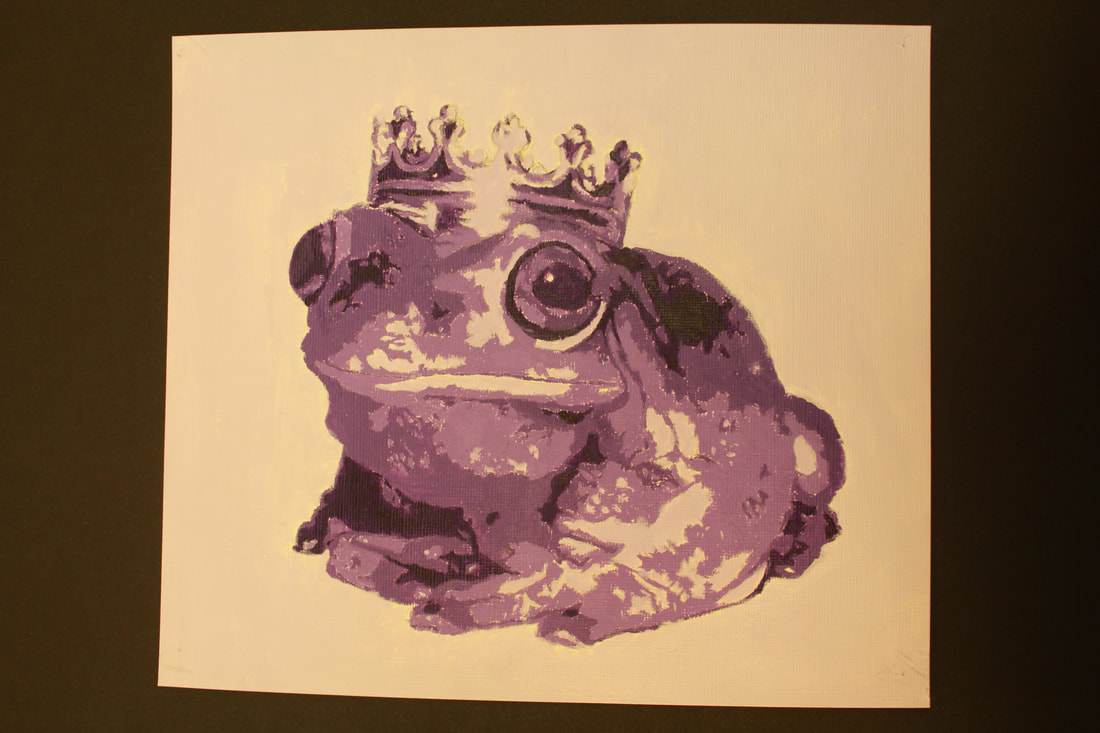
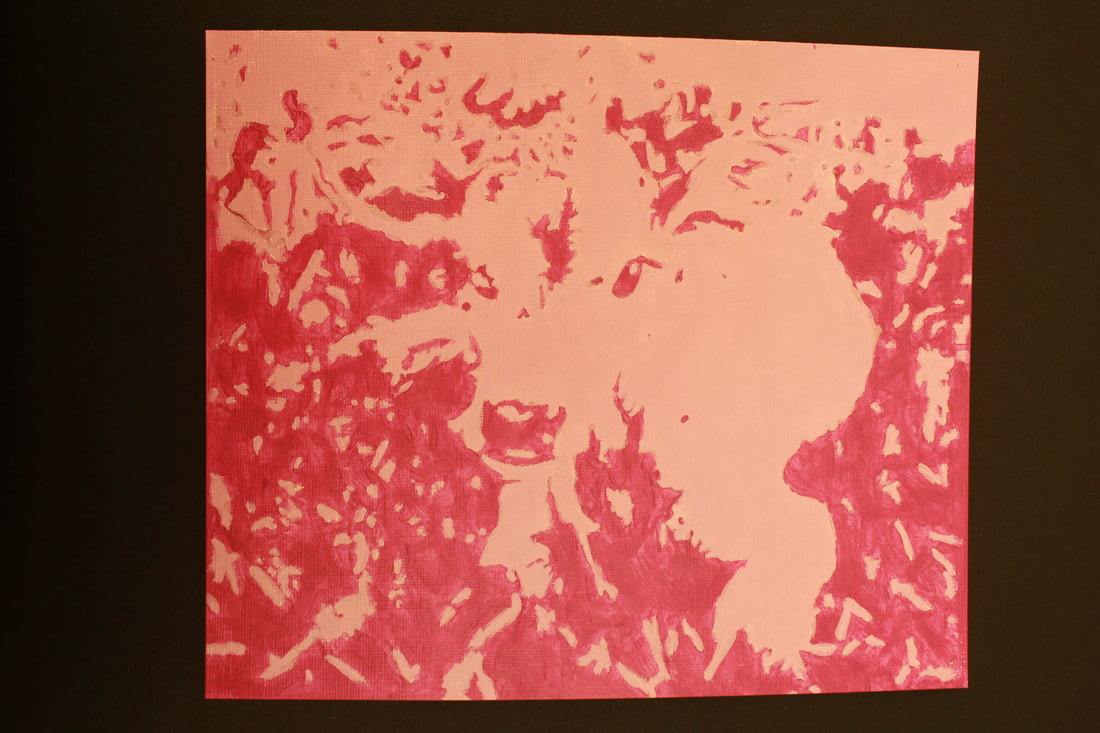
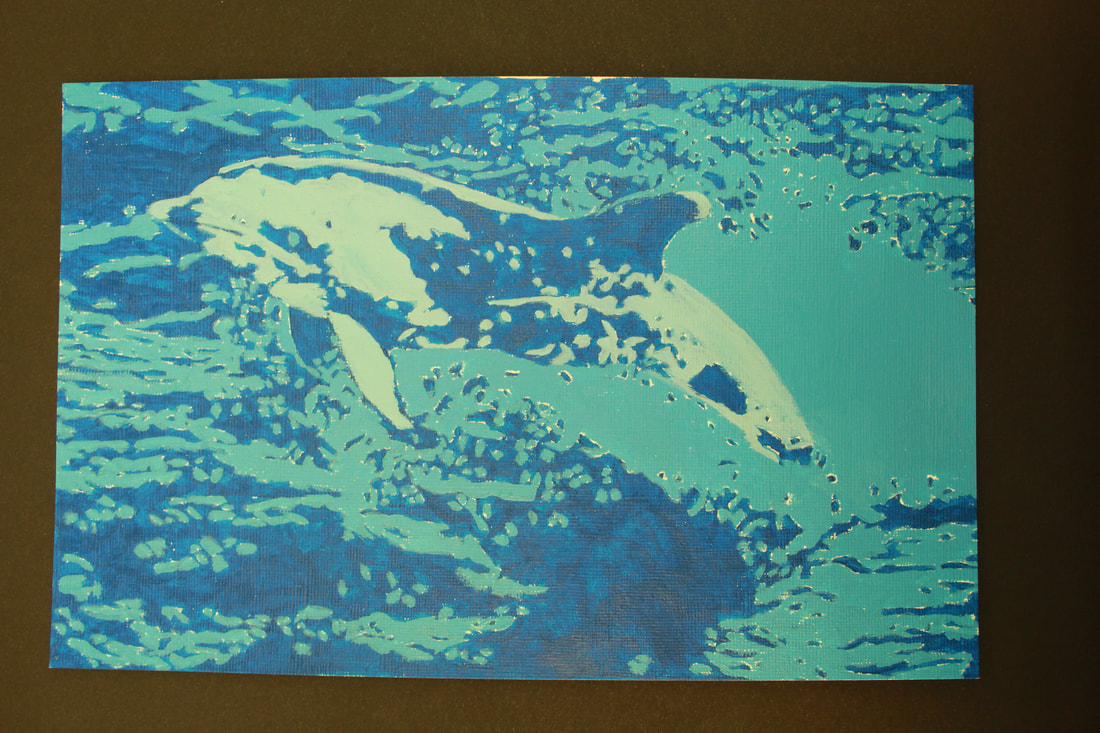
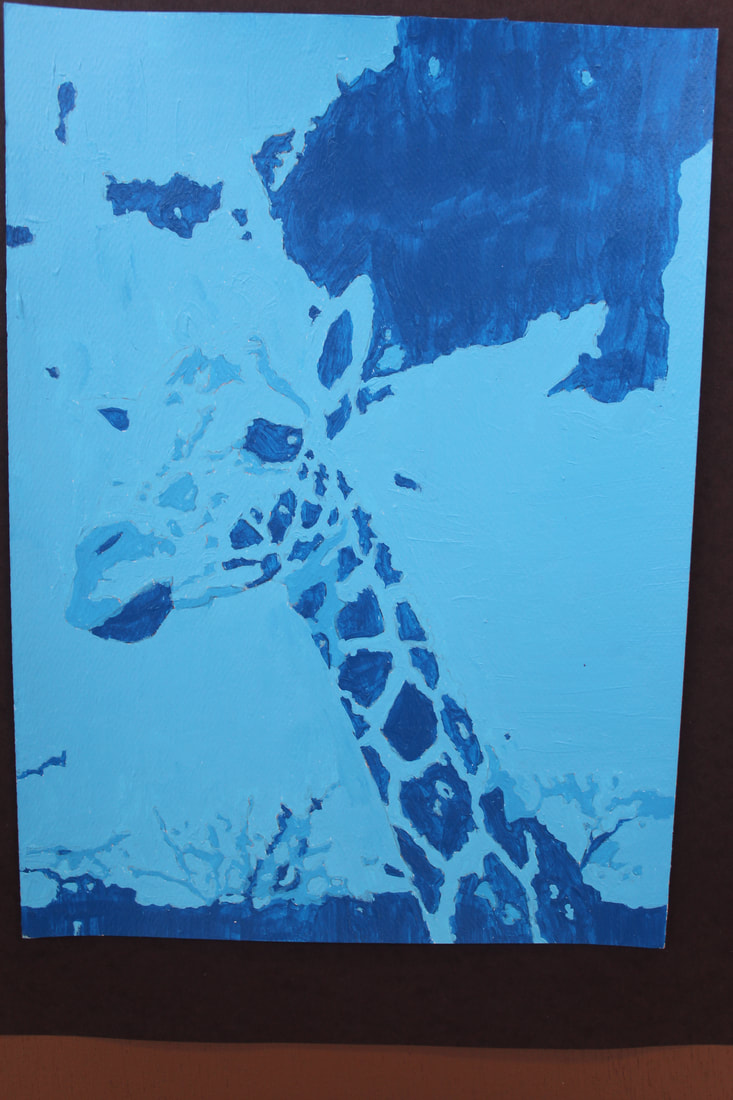
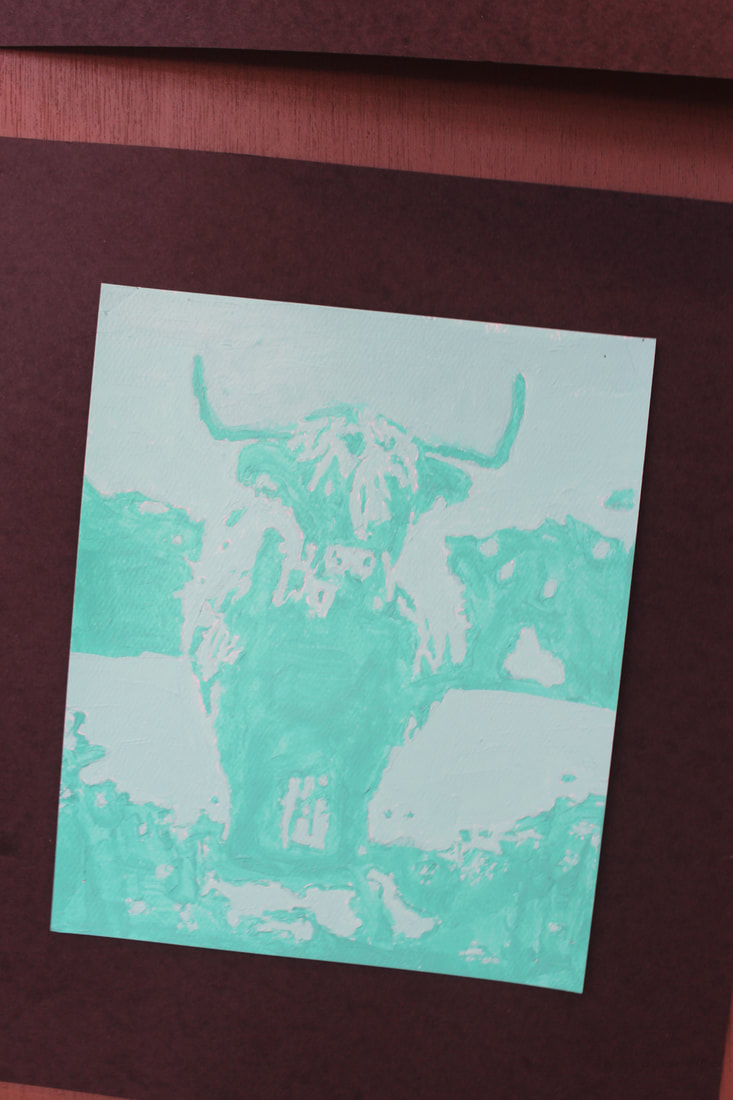
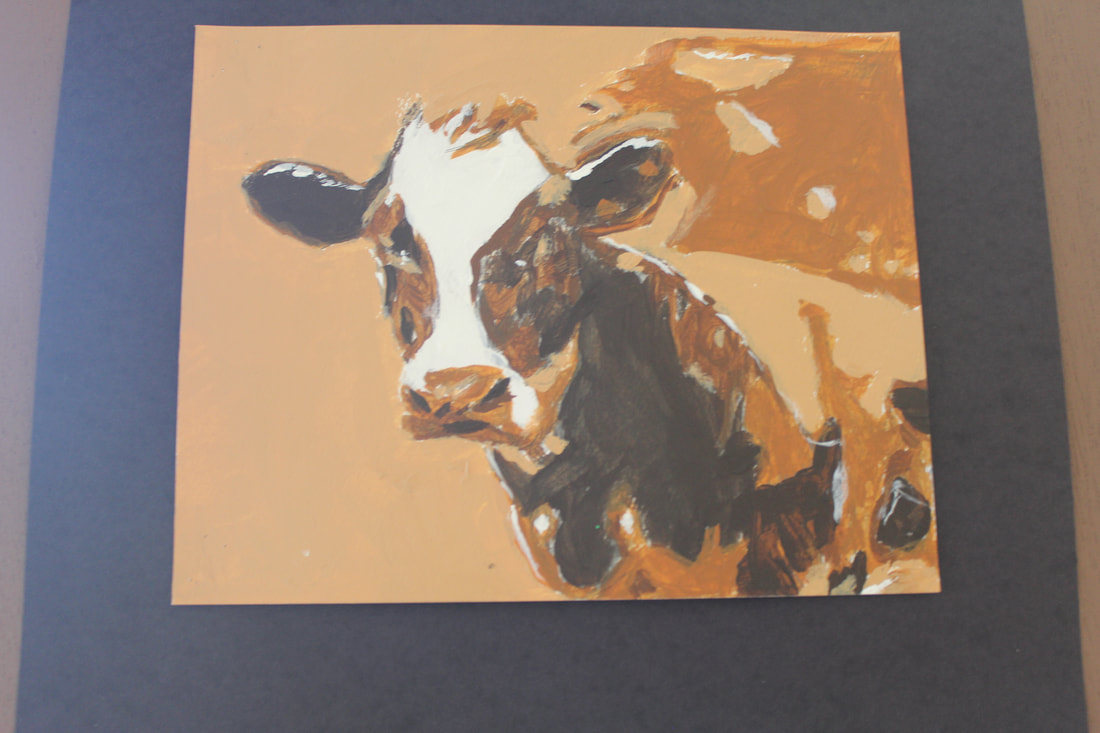
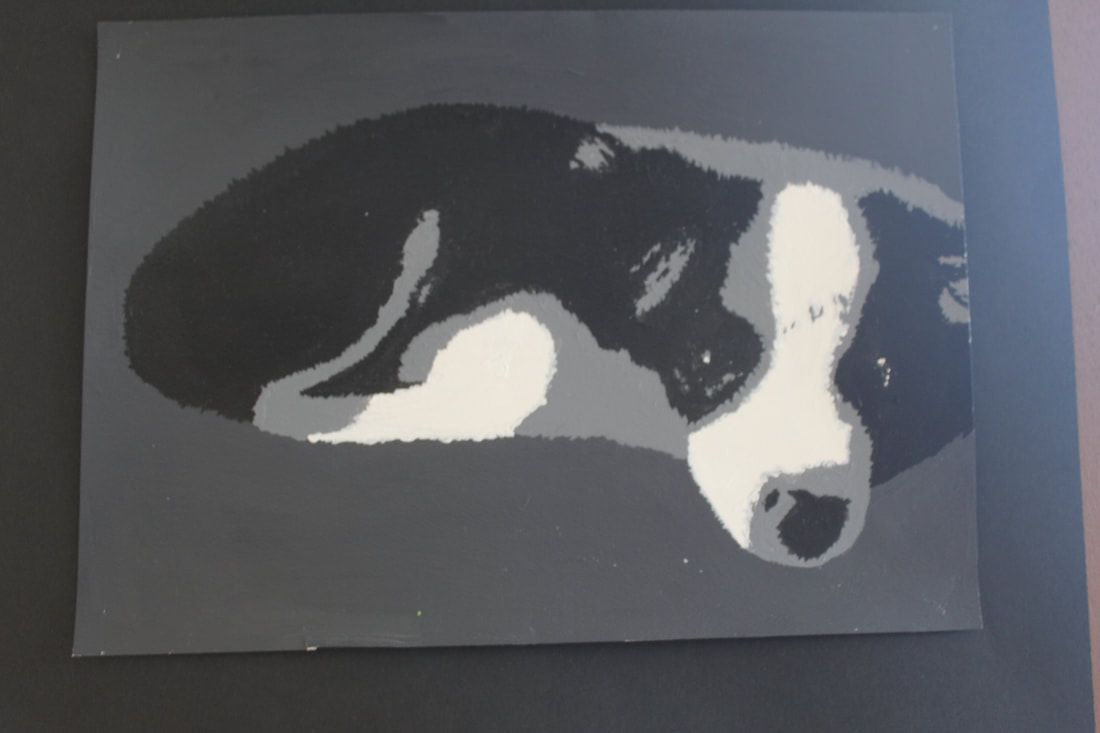
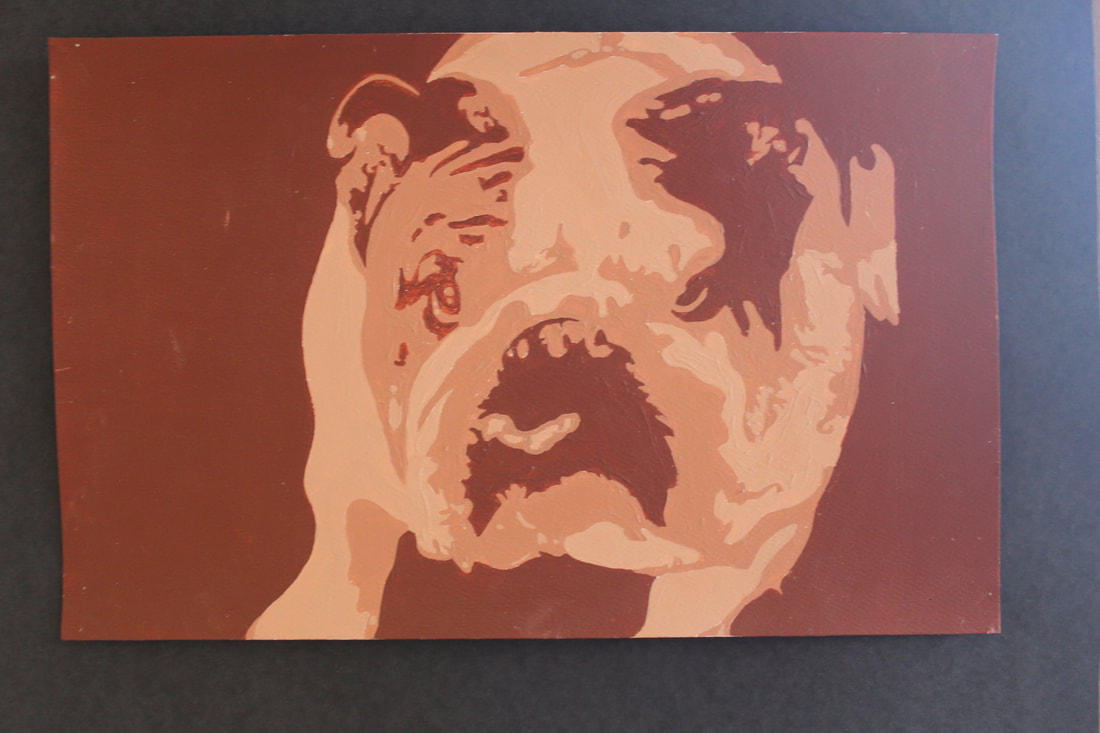
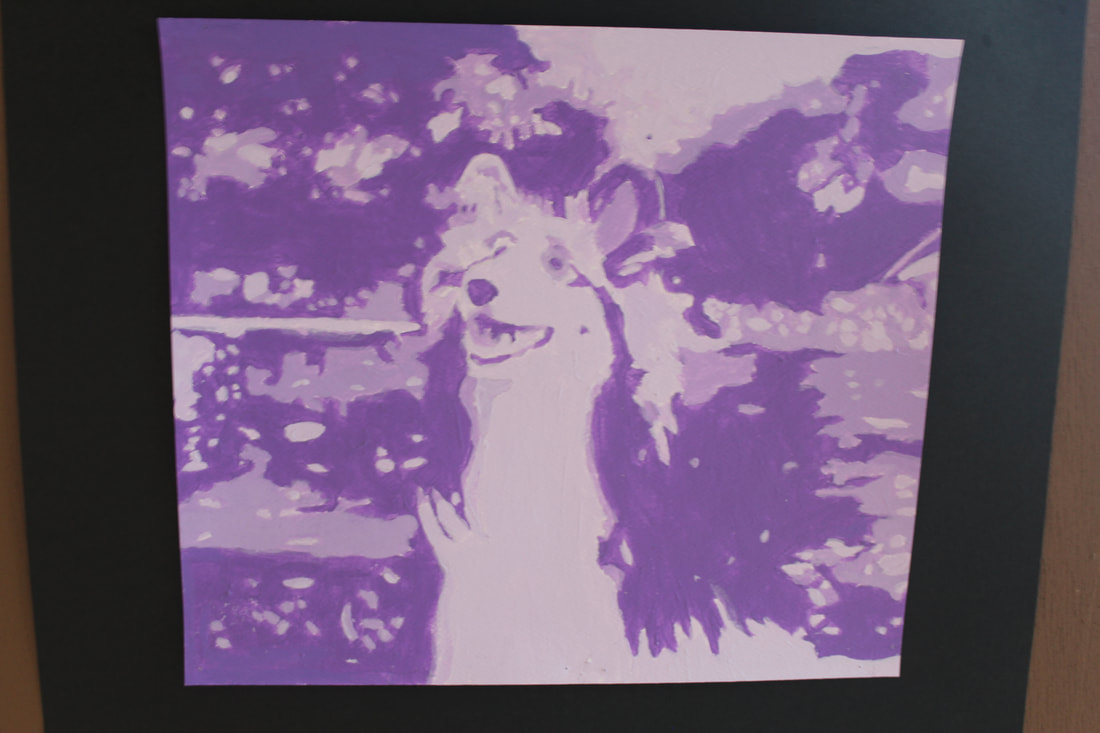
For this painting project students are focused on learning painting basics like painting thick enough coats of paint that you can't see the paper through the paint, using the right sized brush for the job, and color mixing. Because that is the purpose, students pick a detailed photo of people but are allowed to trace the photo using light tables. This shifts the focus from the drawing to the painting, taking the pressure off of drawing the person to look real, and focusing them on painting to look real. I always love seeing whether students choose to paint a famous celebrity like the band you see left (21 pilots) or painting themselves or a friend.

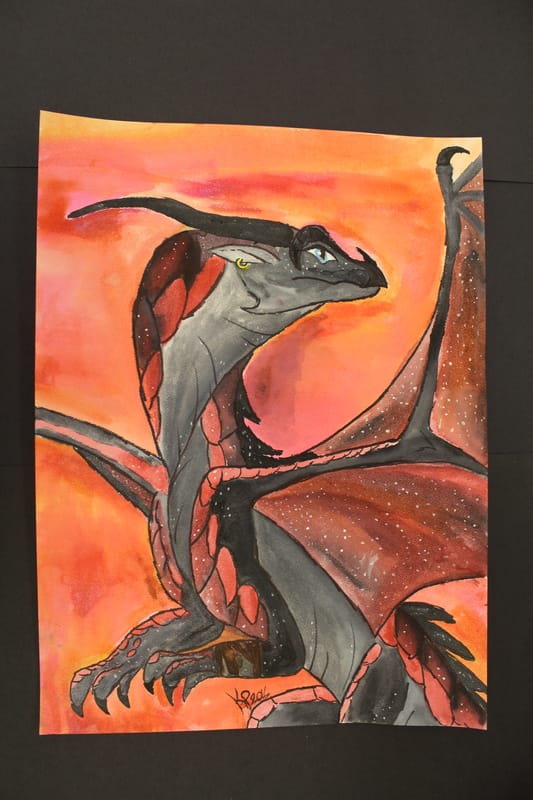
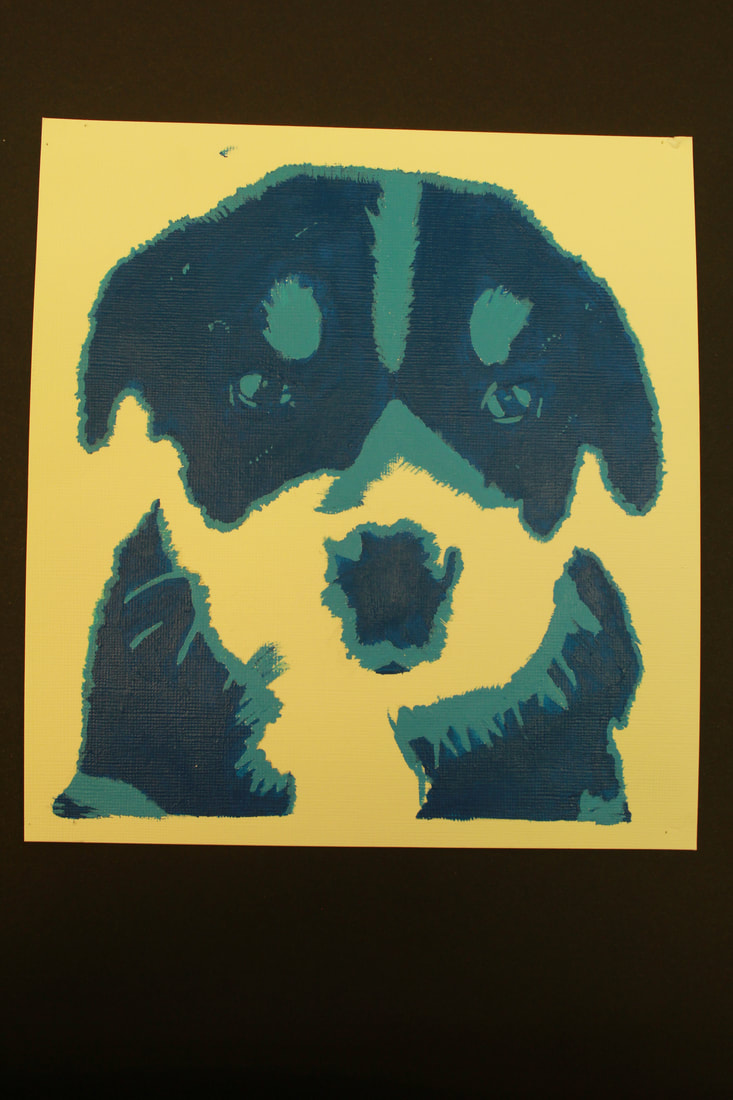
Monochromatic Animal Painting


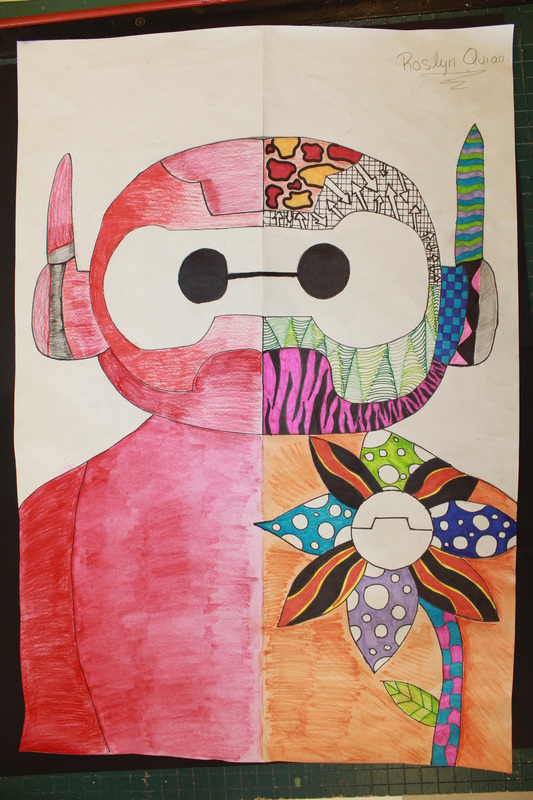
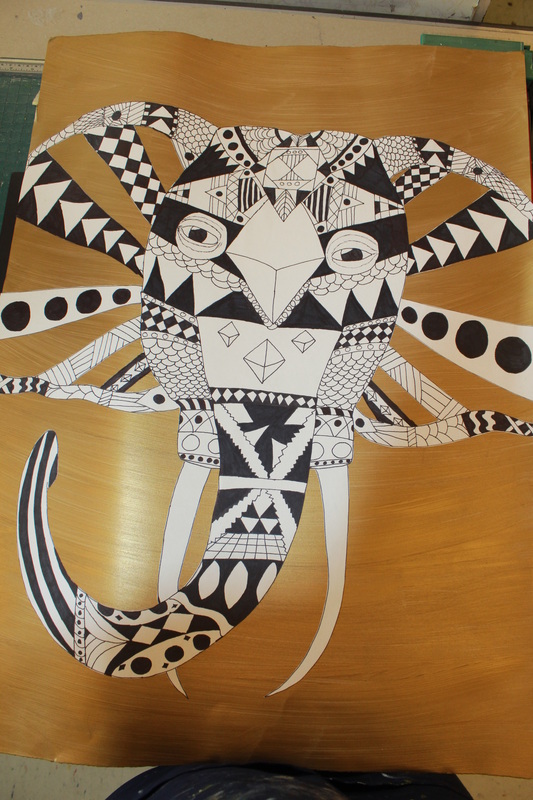
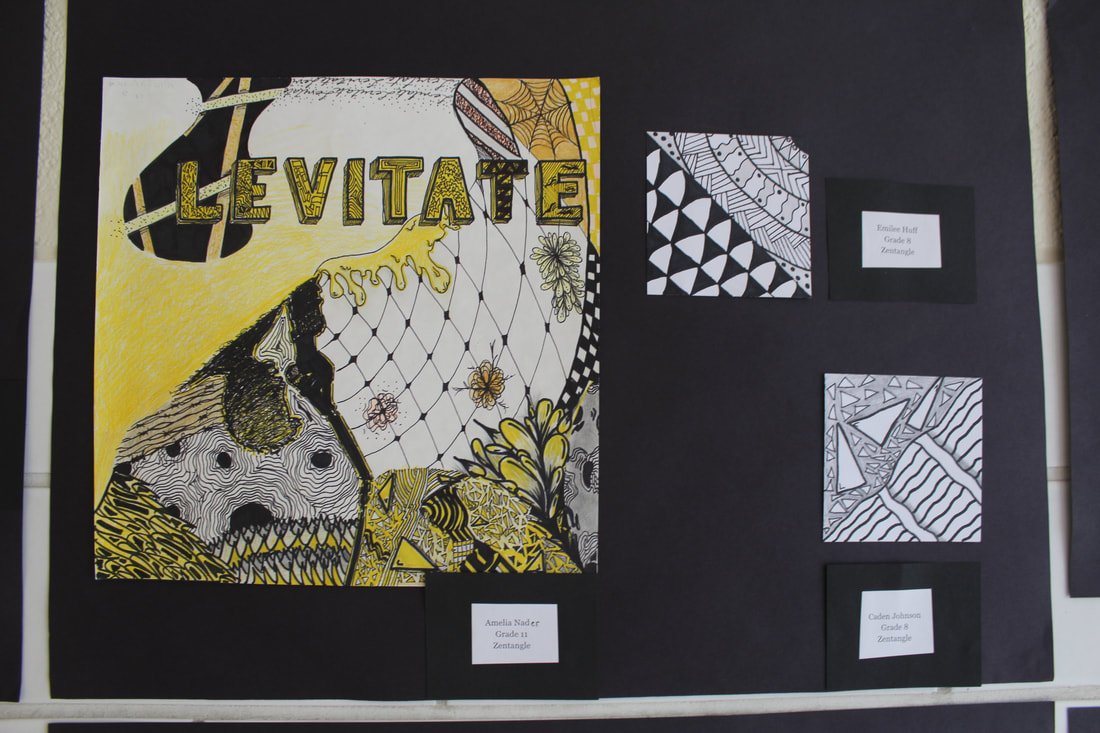
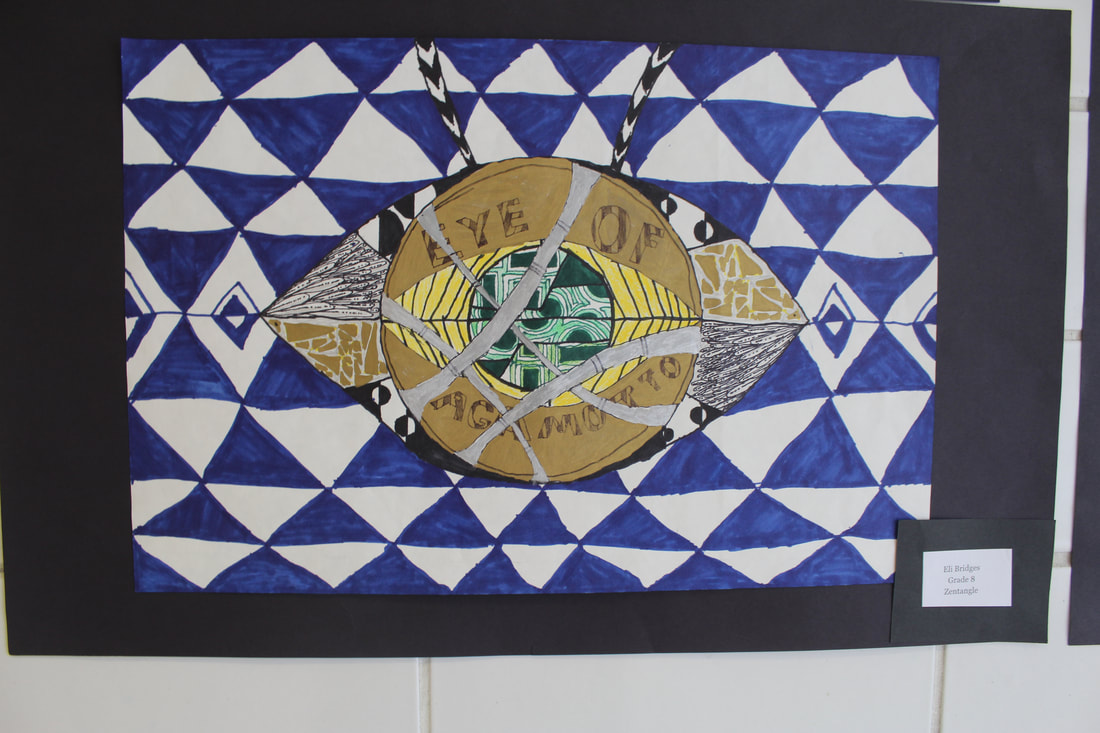
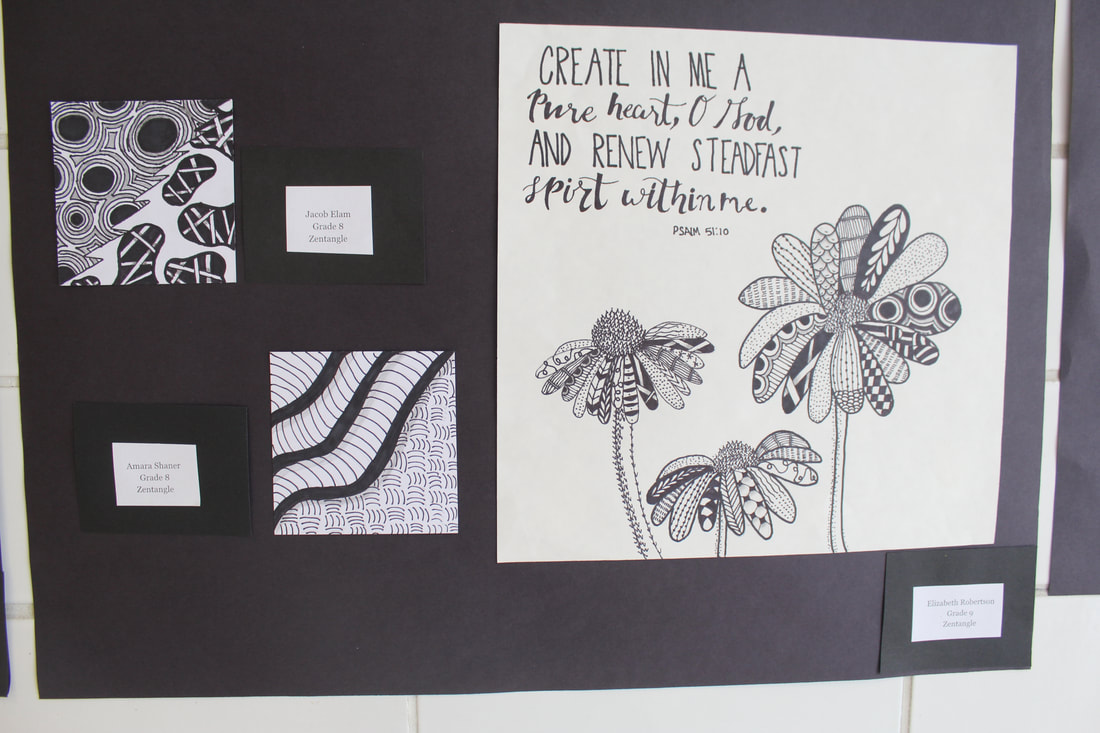
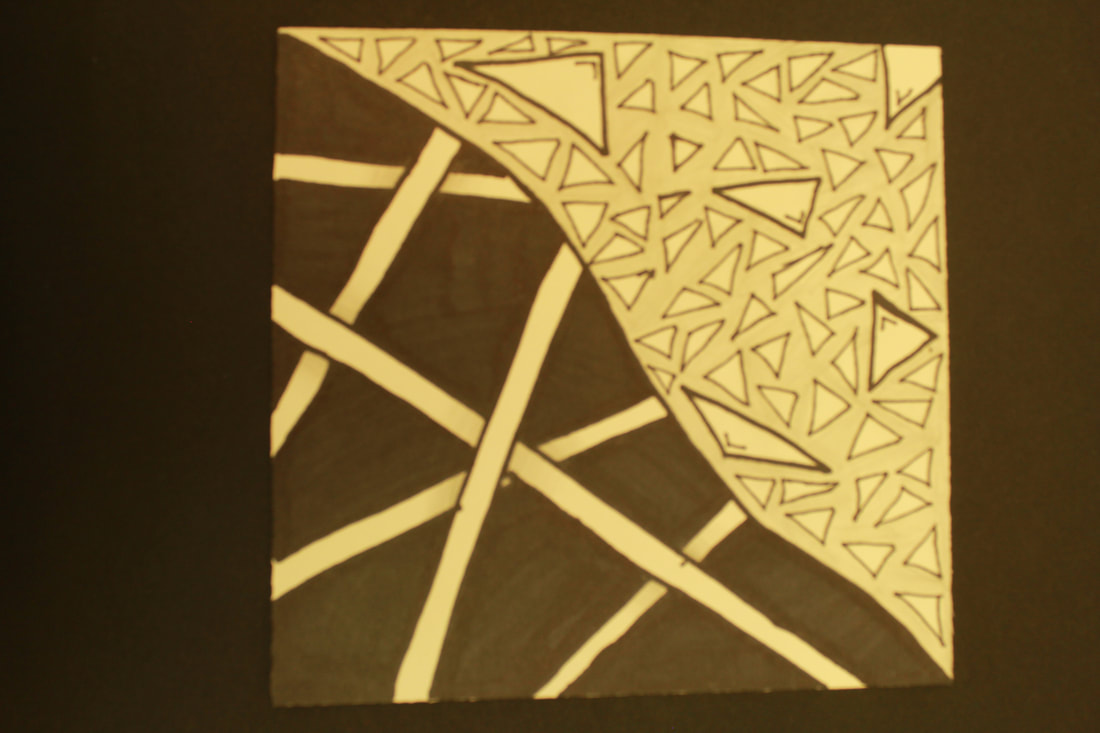
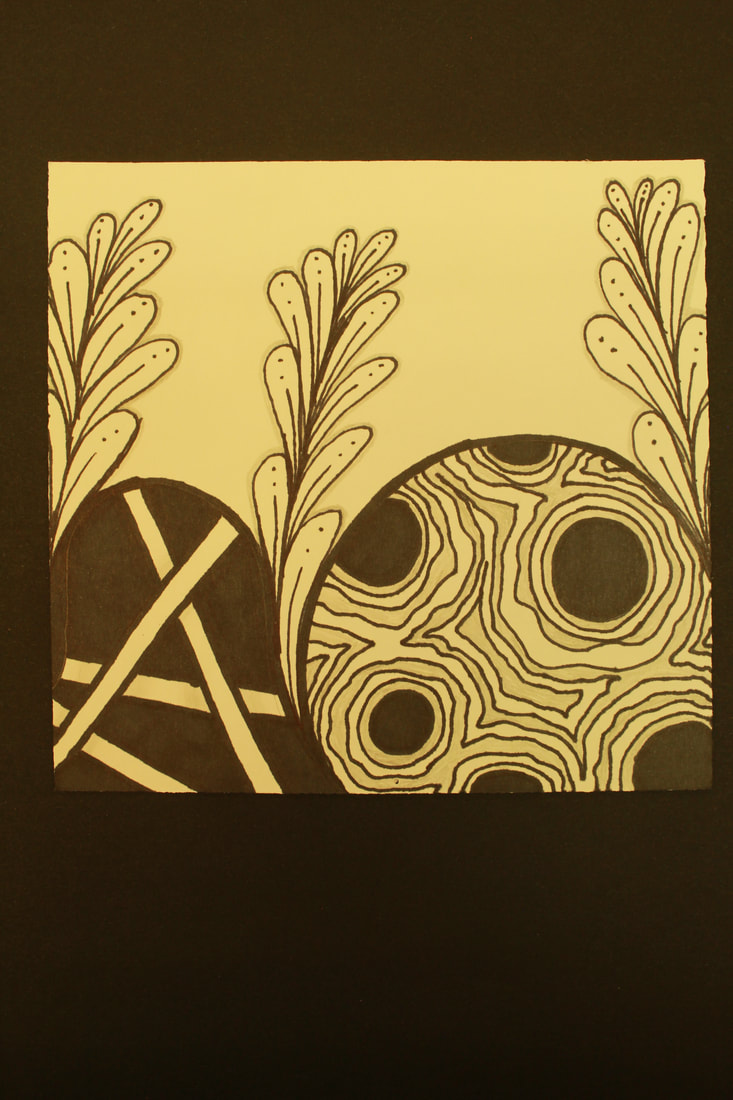
Zentangles
|
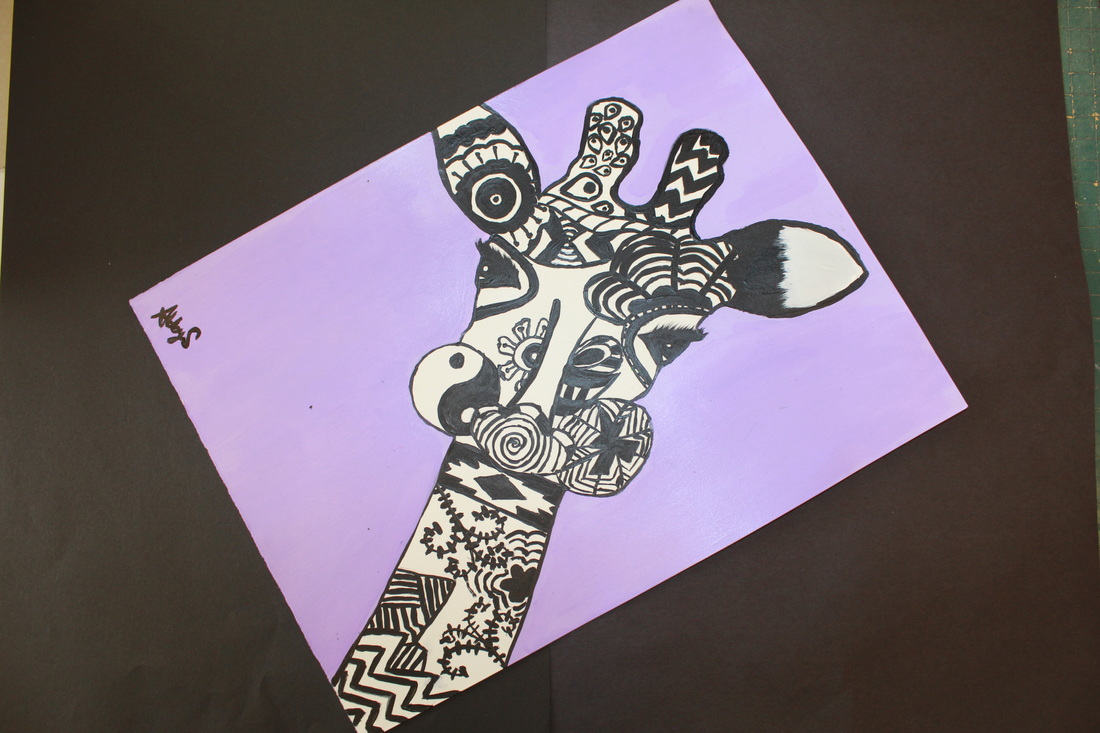
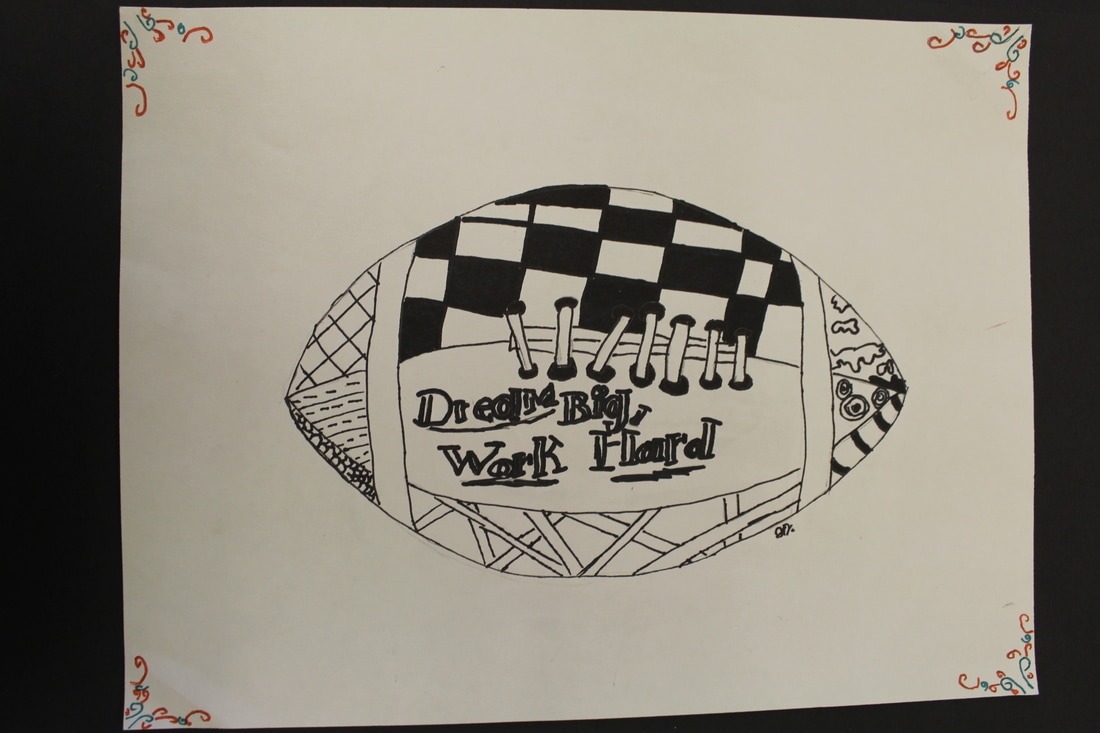
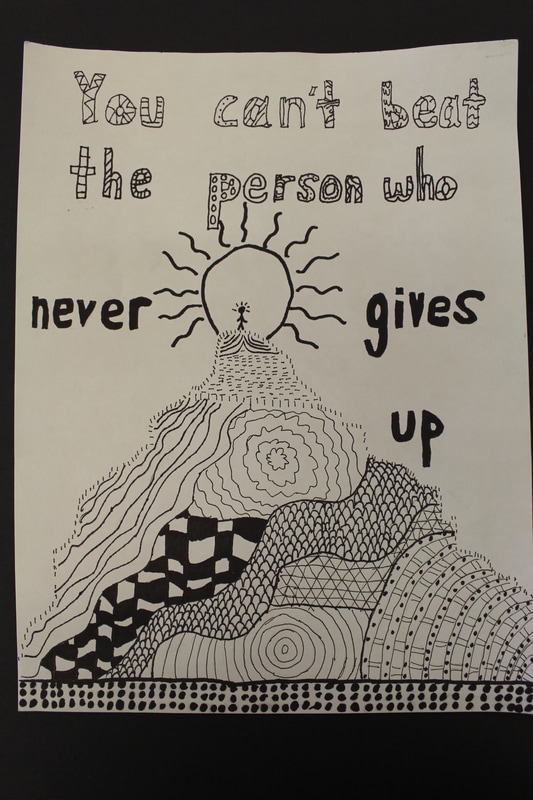
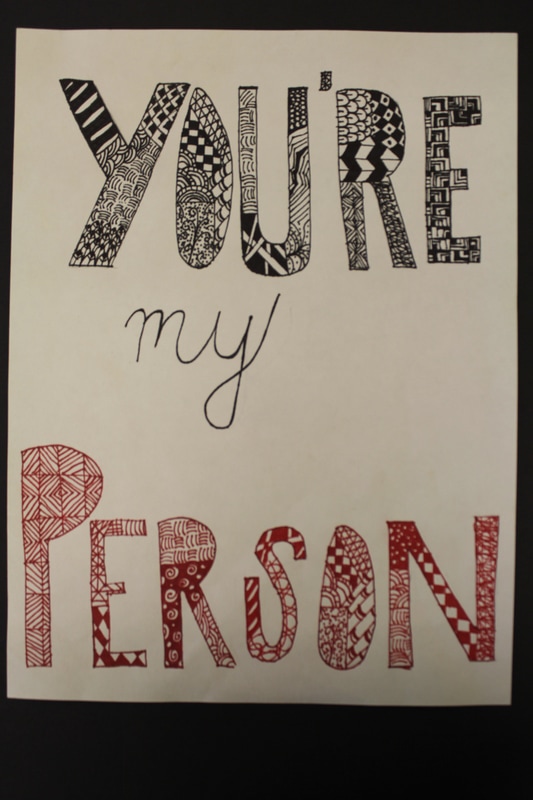
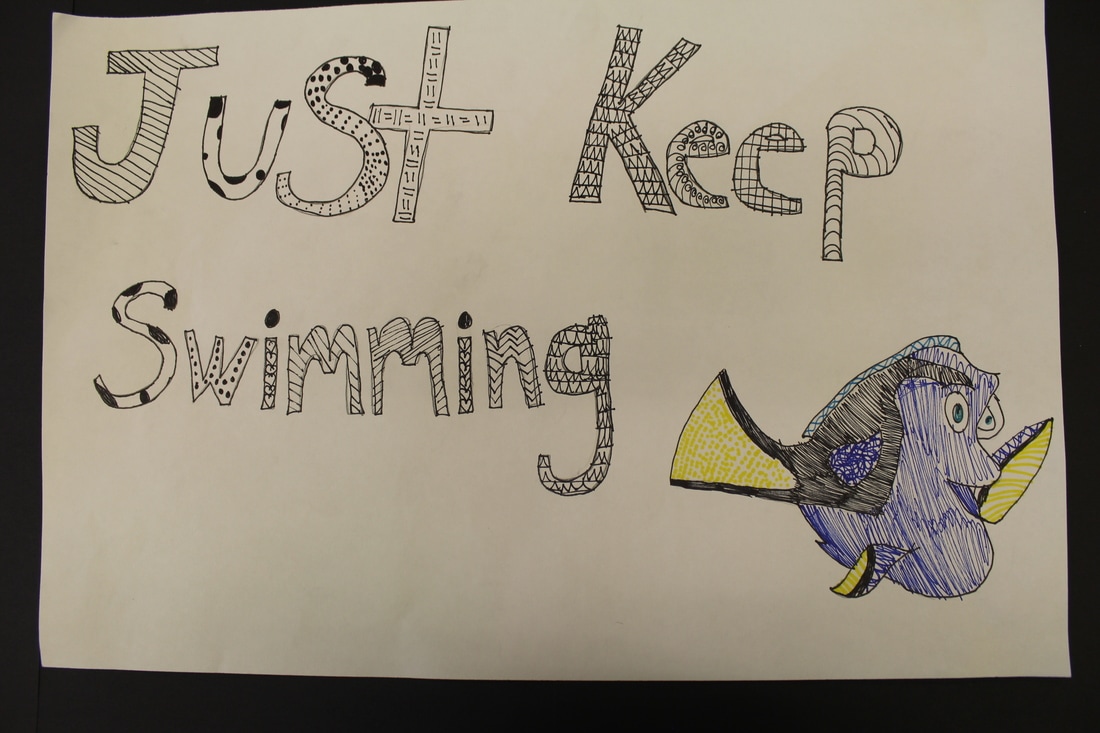
After our drawing/painting projects I wanted to take a break from the heavy technical skill building and move onto a design project, that really resembles doodling, but in an organized and creative way. We had a variety of books to come up with design ideas, and spent a couple of days just working on doodling. Students then created their own 10x10 inch zentangle that had to have at least 8 different designs and incorporate the shading that we had learned in a previous lesson. Many students commented that this was their favorite project yet.
|
|
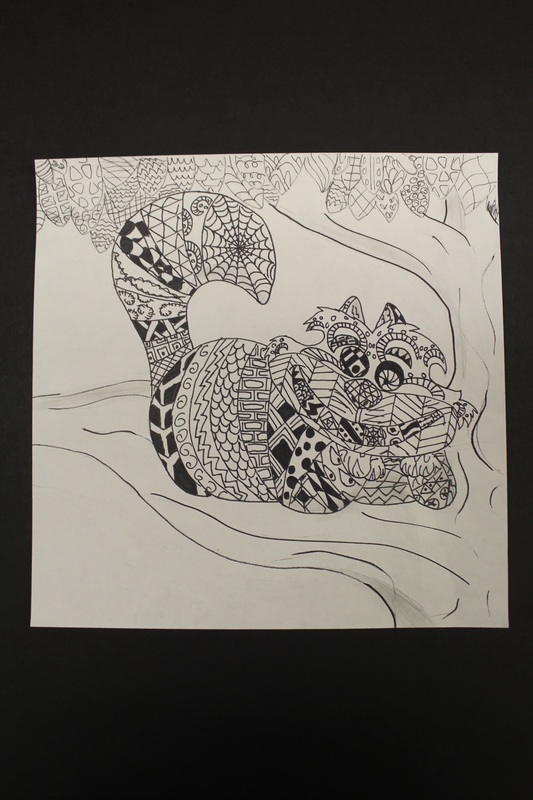
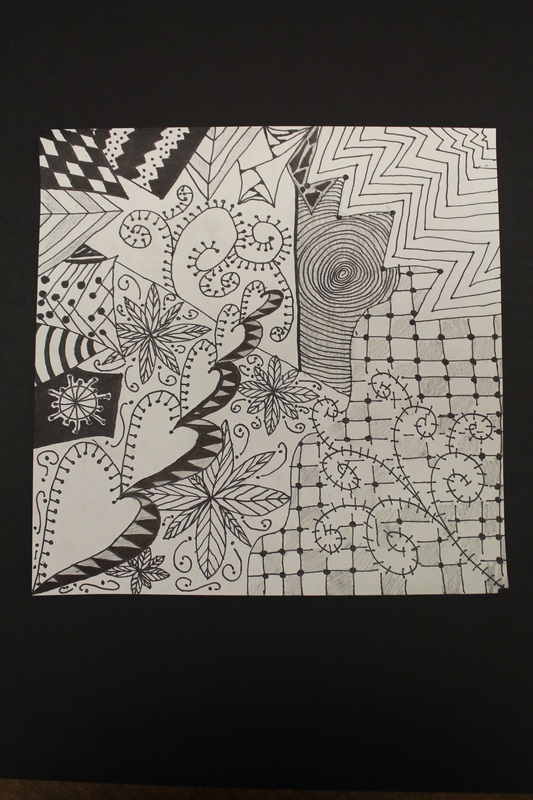
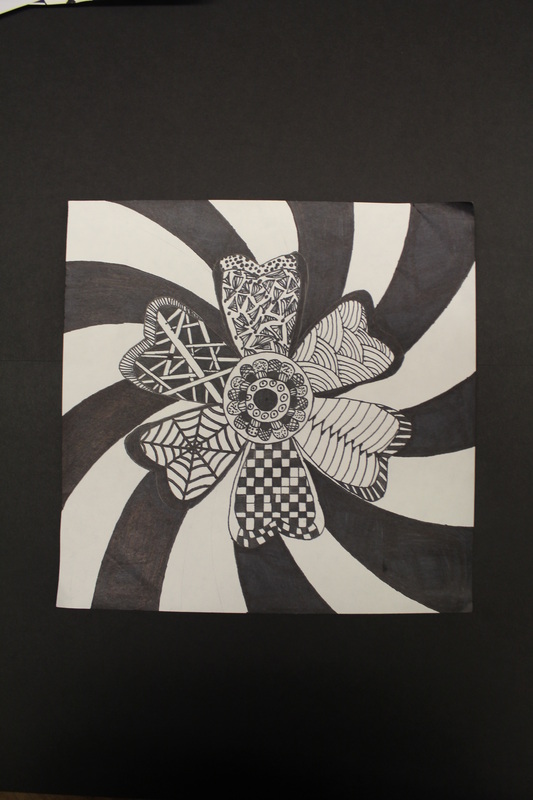
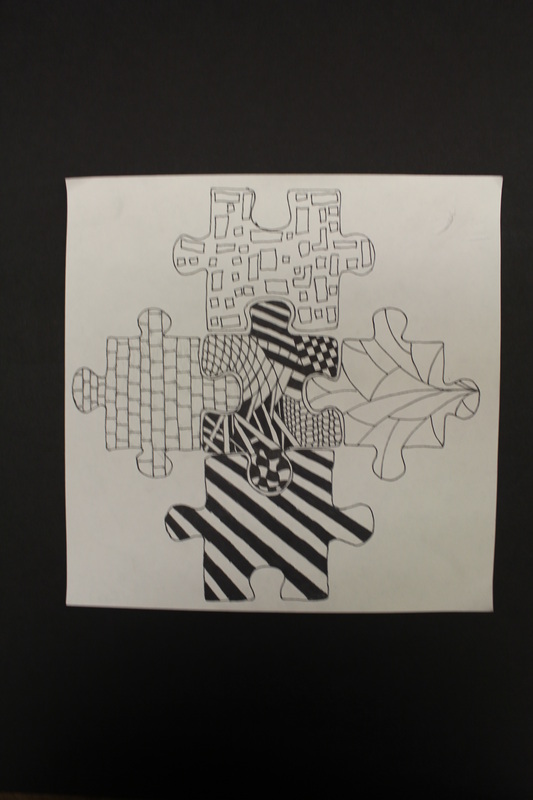
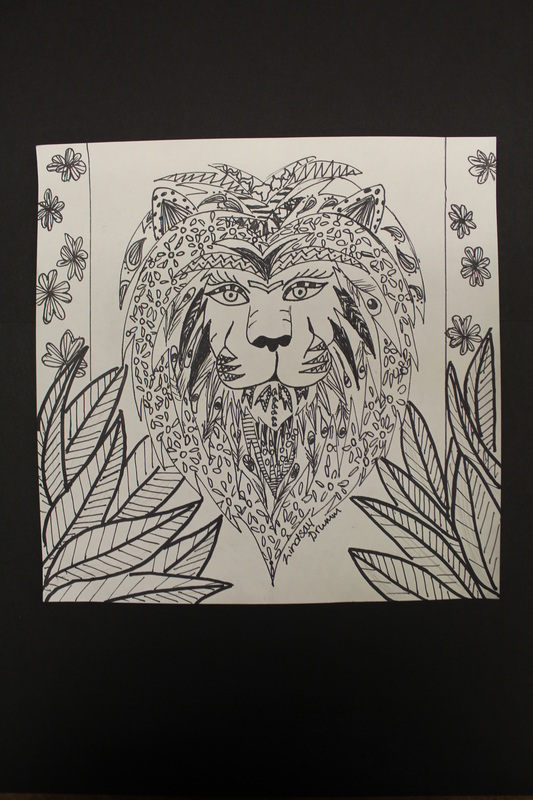
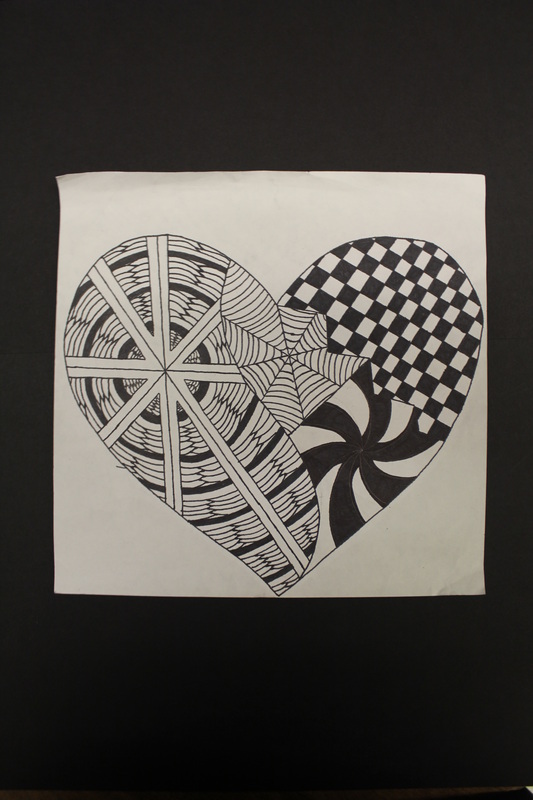
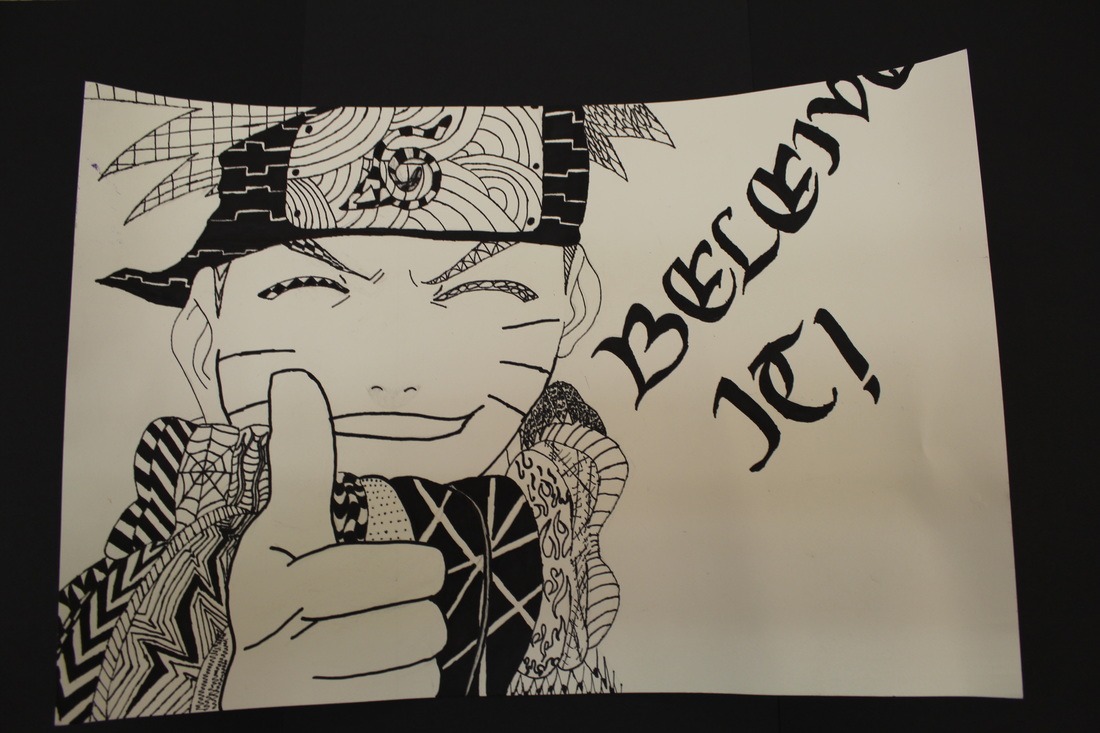

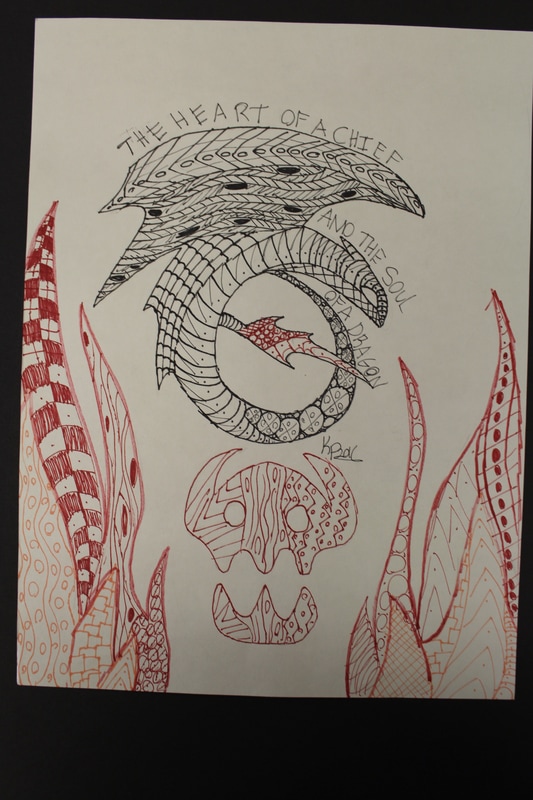
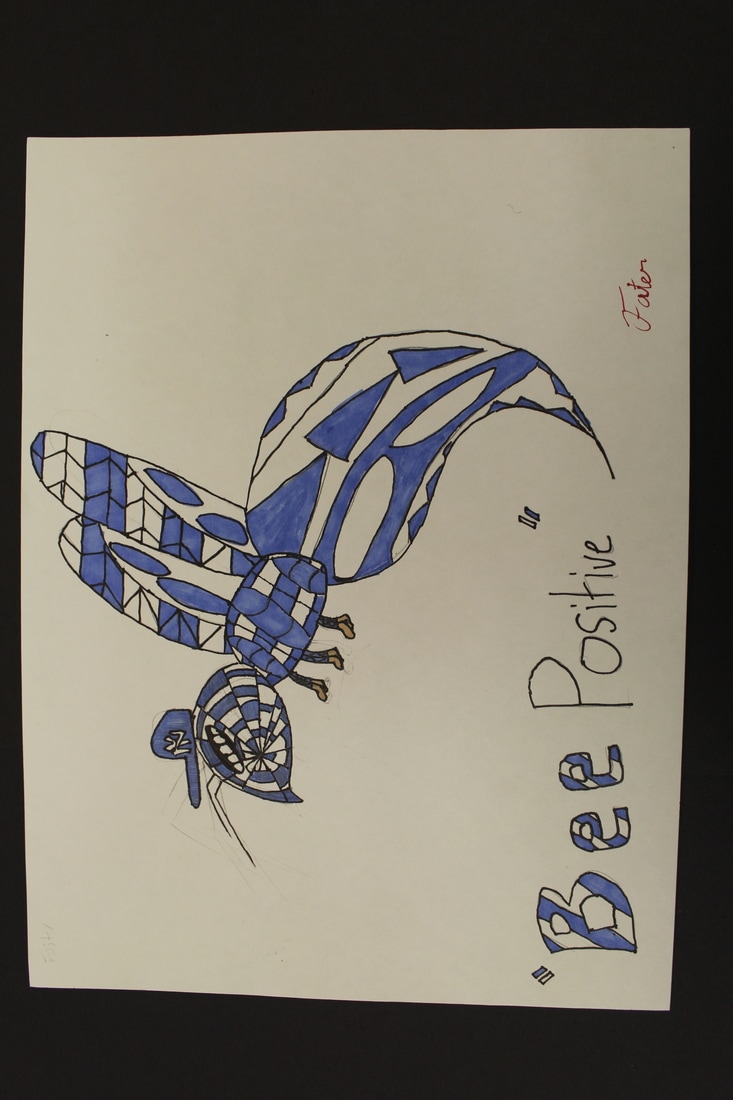
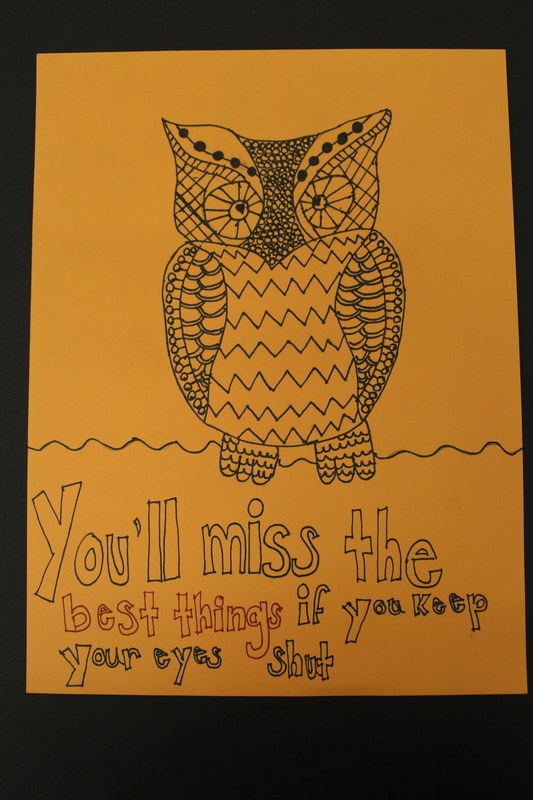

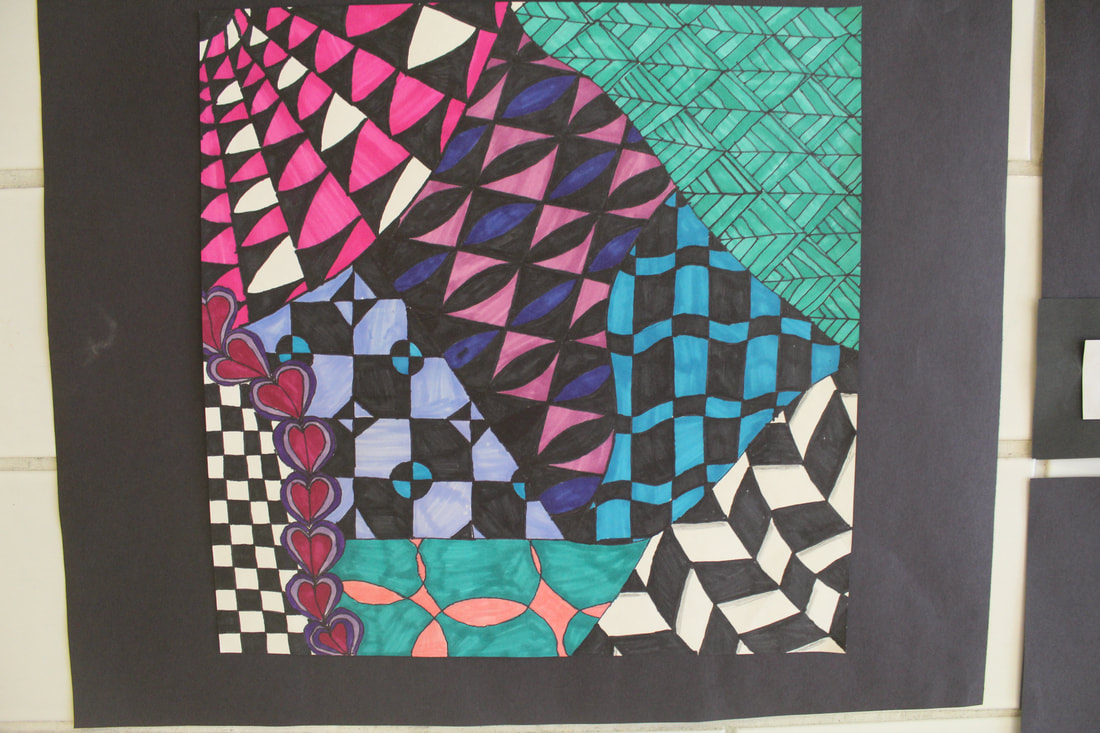
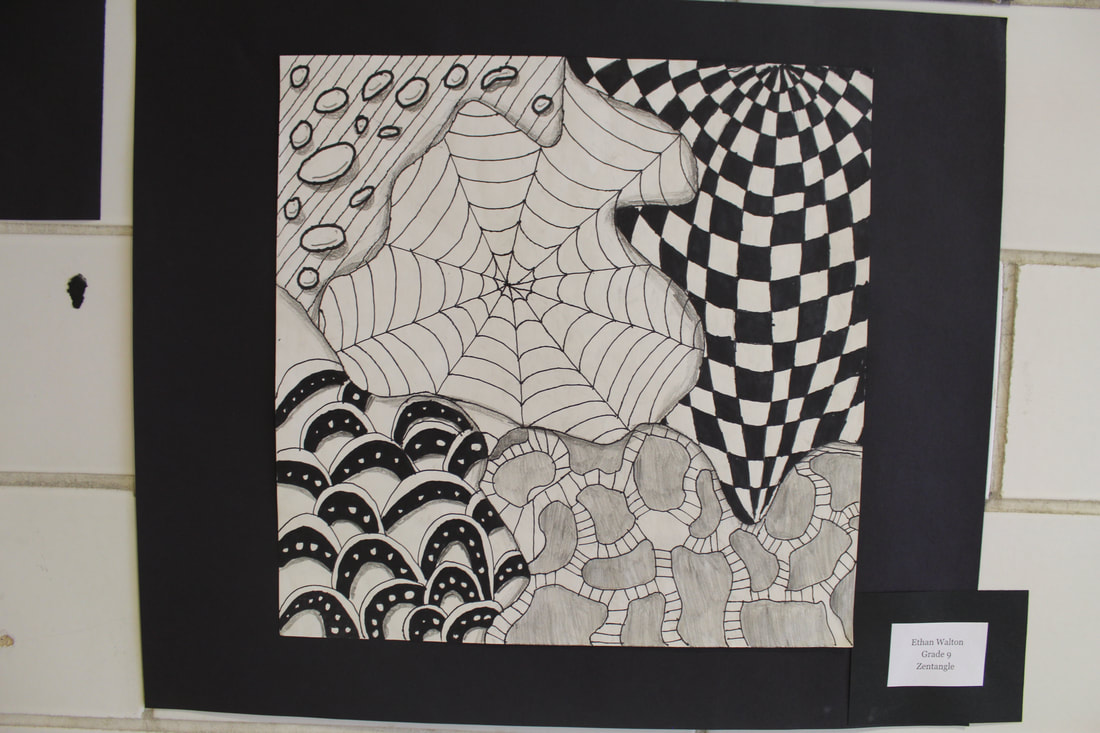
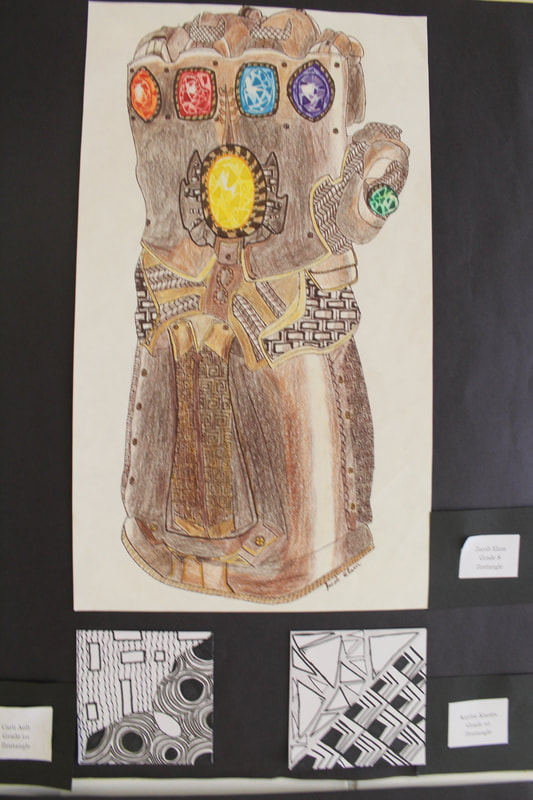

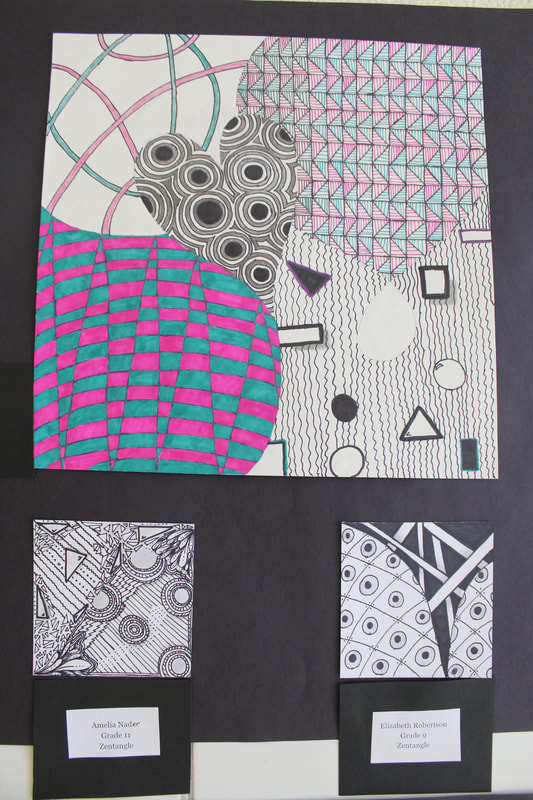
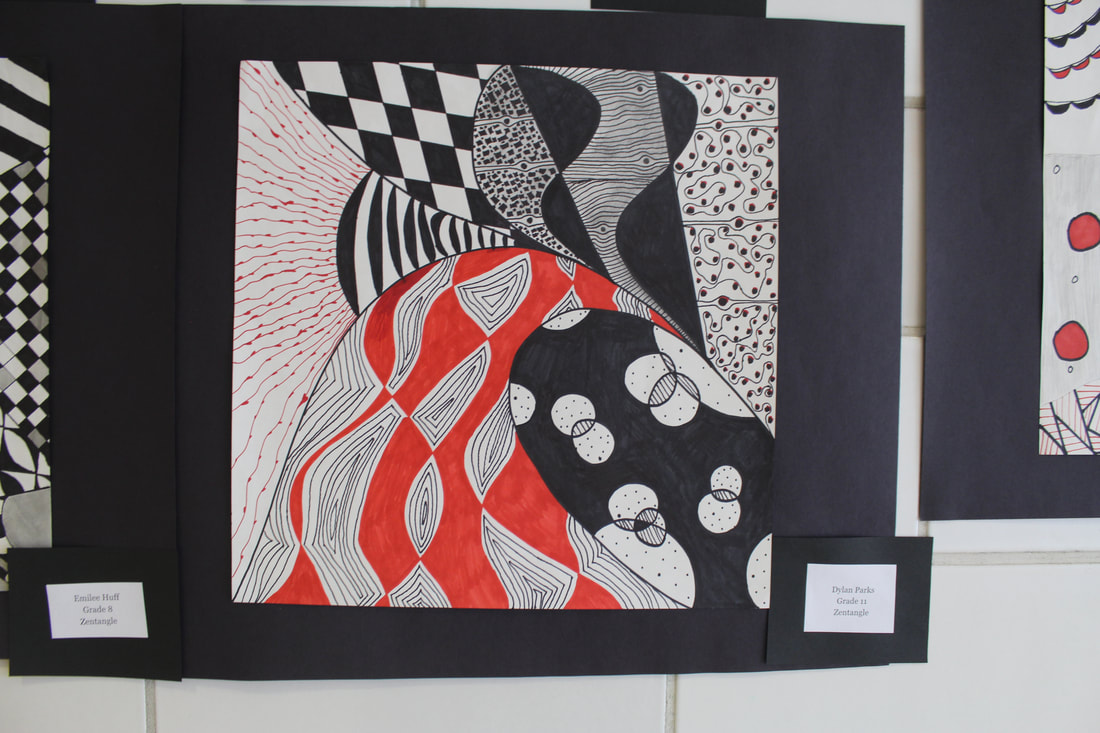
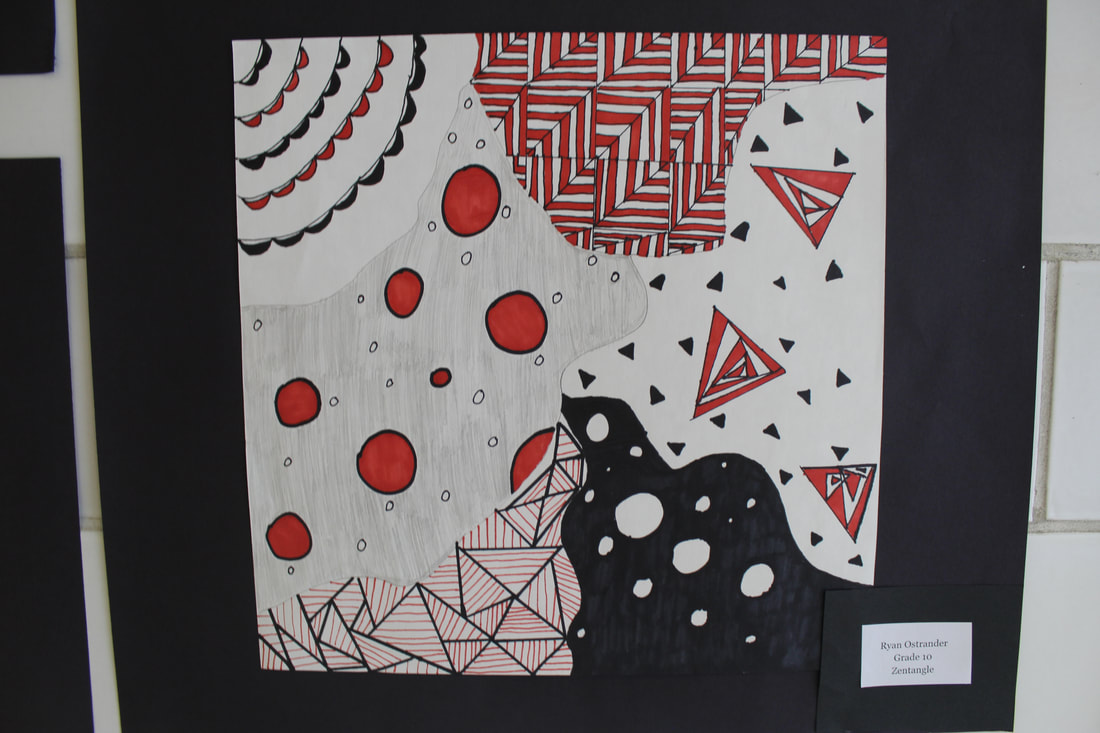
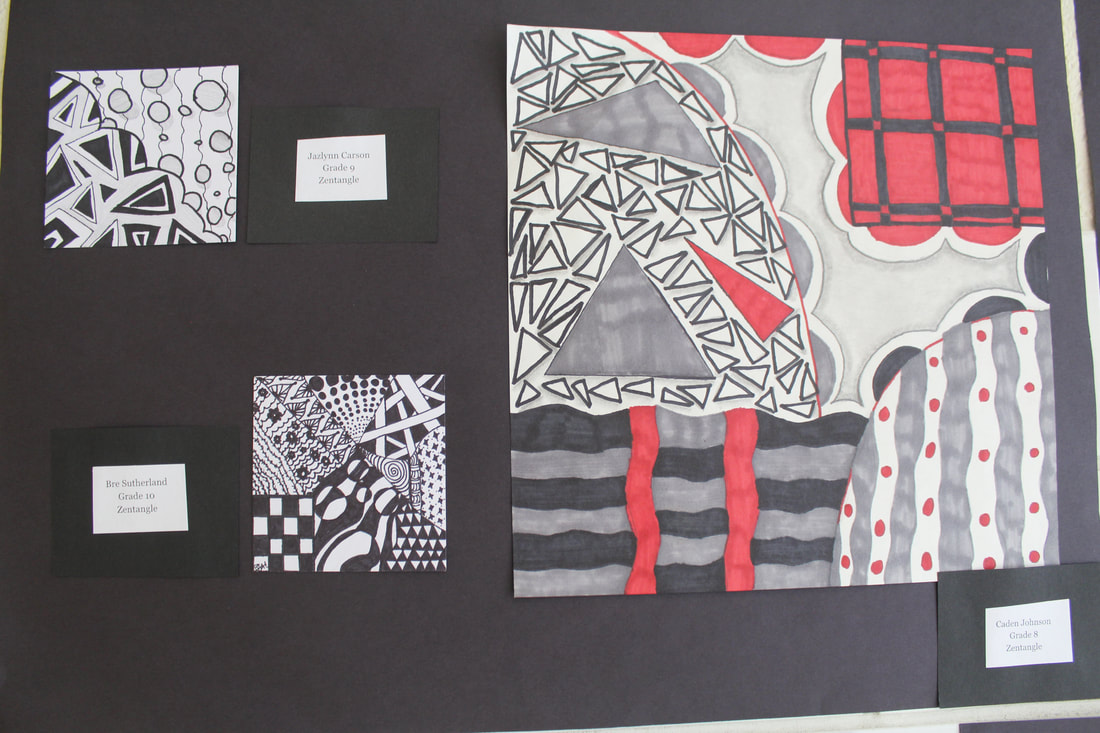
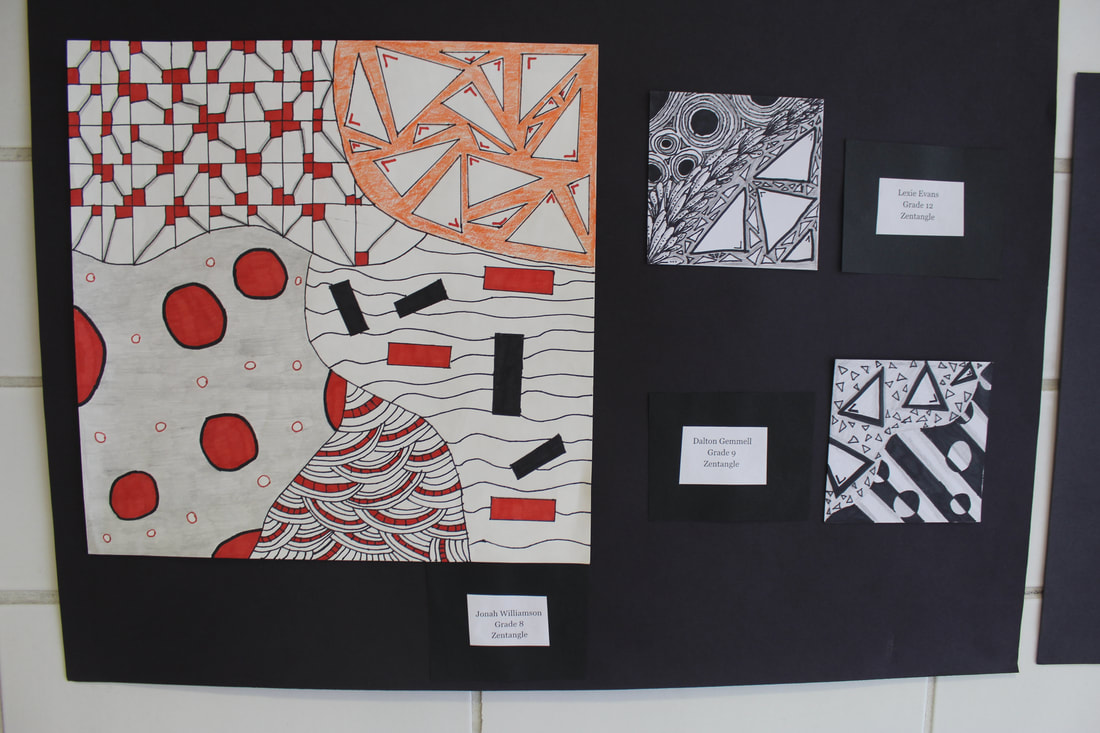
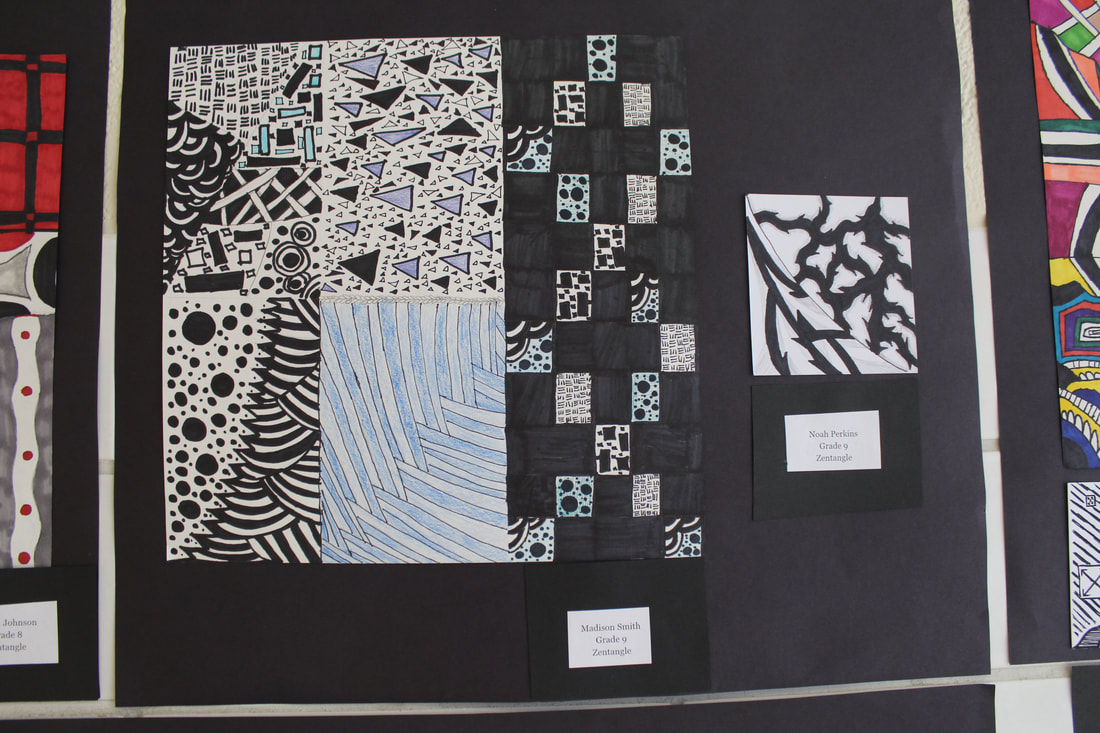
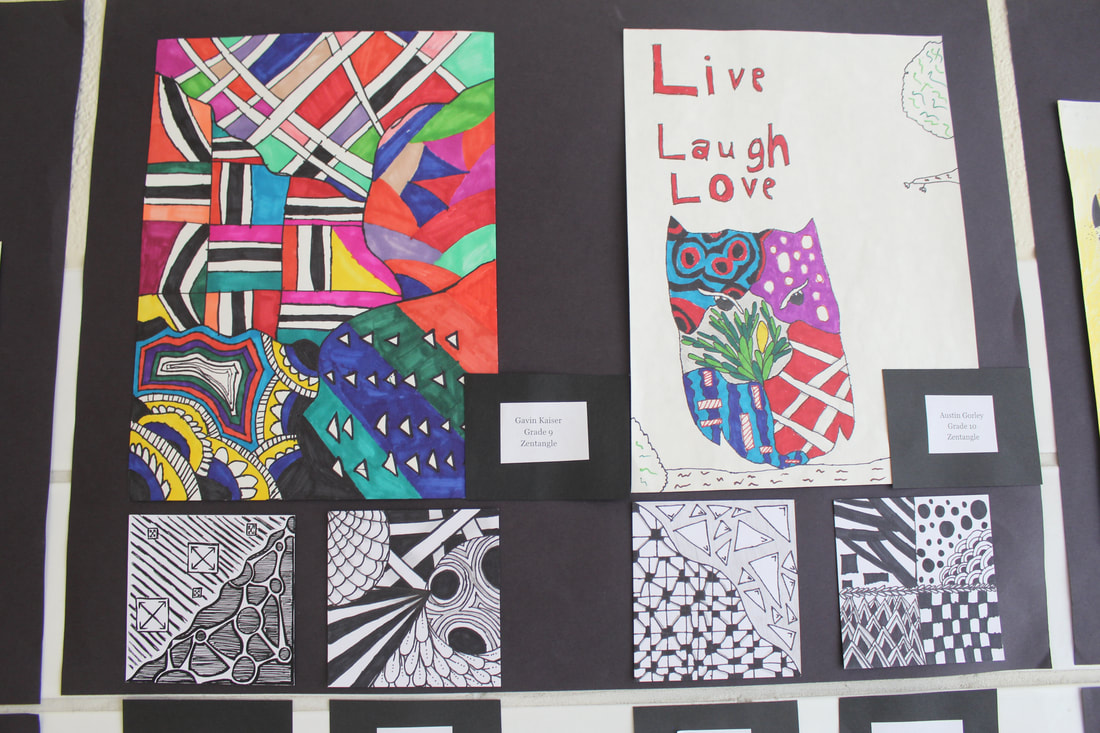

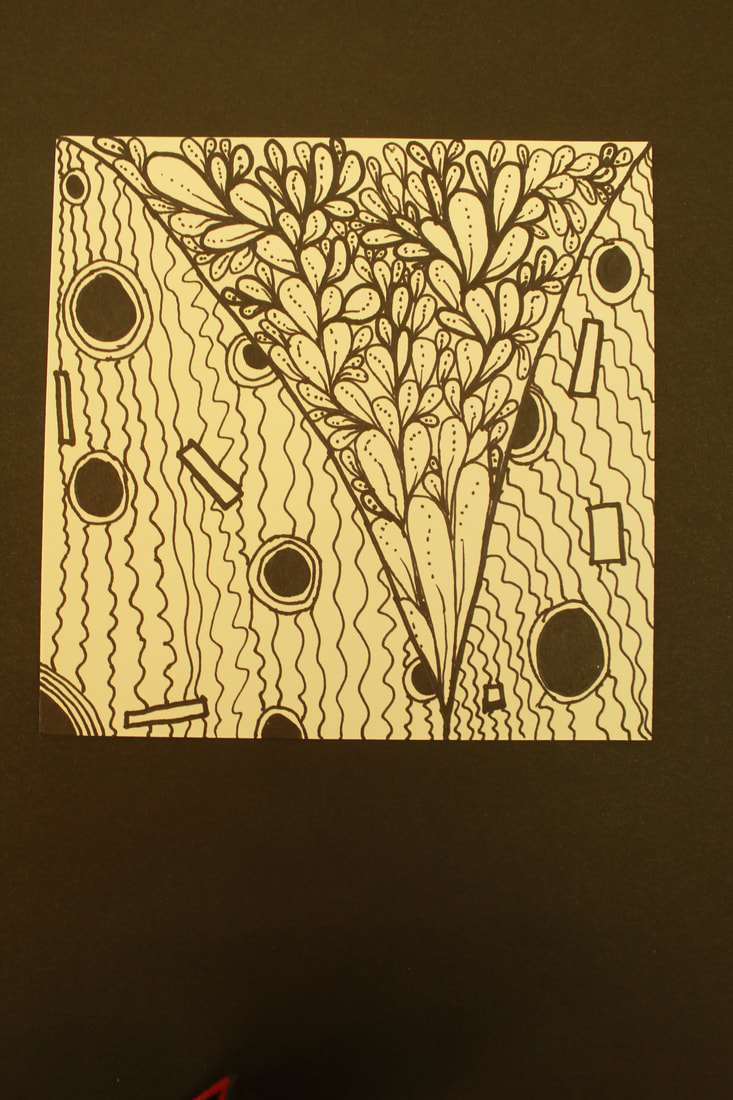
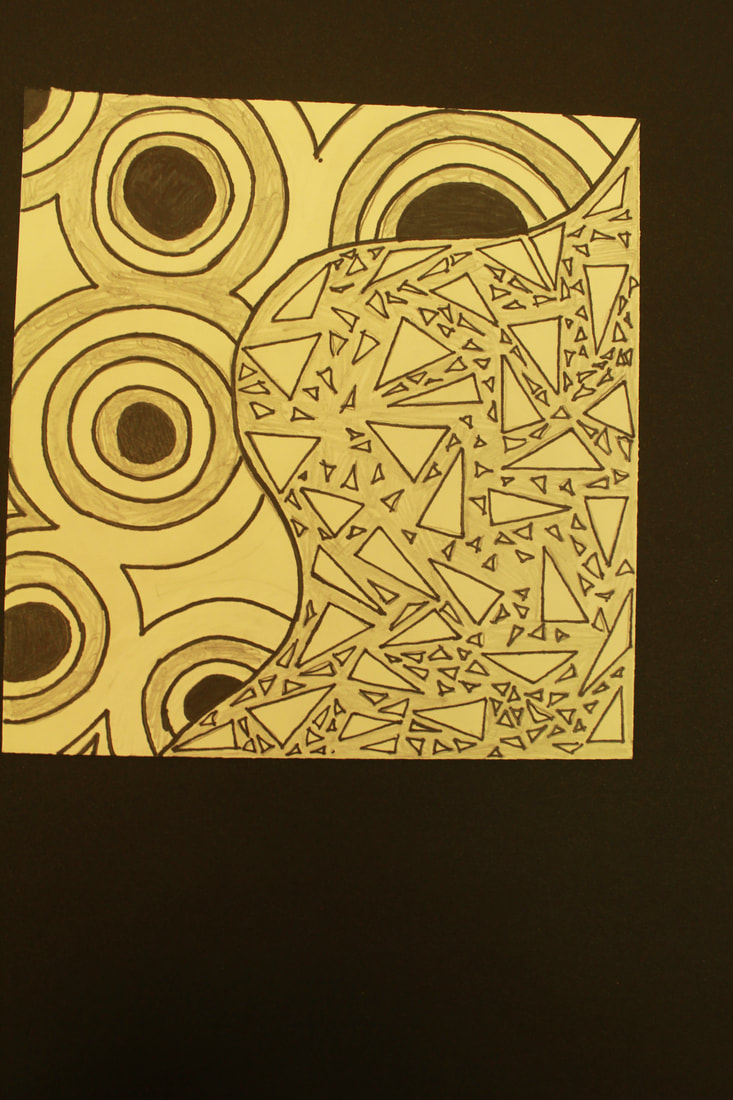
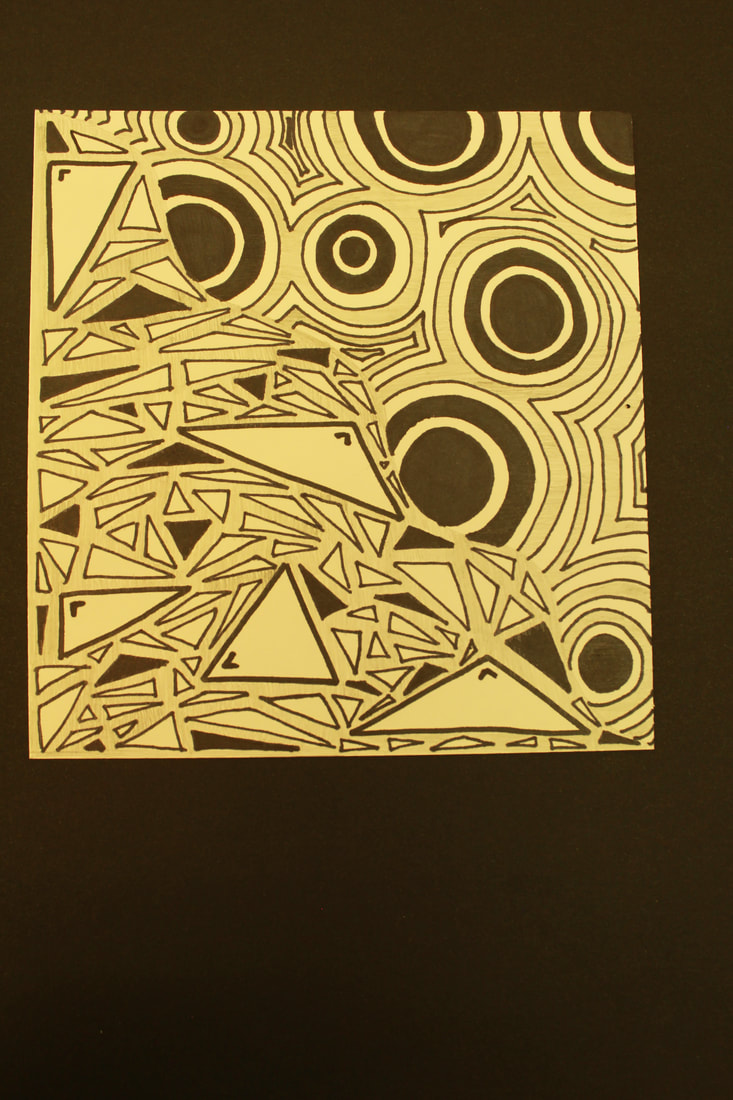
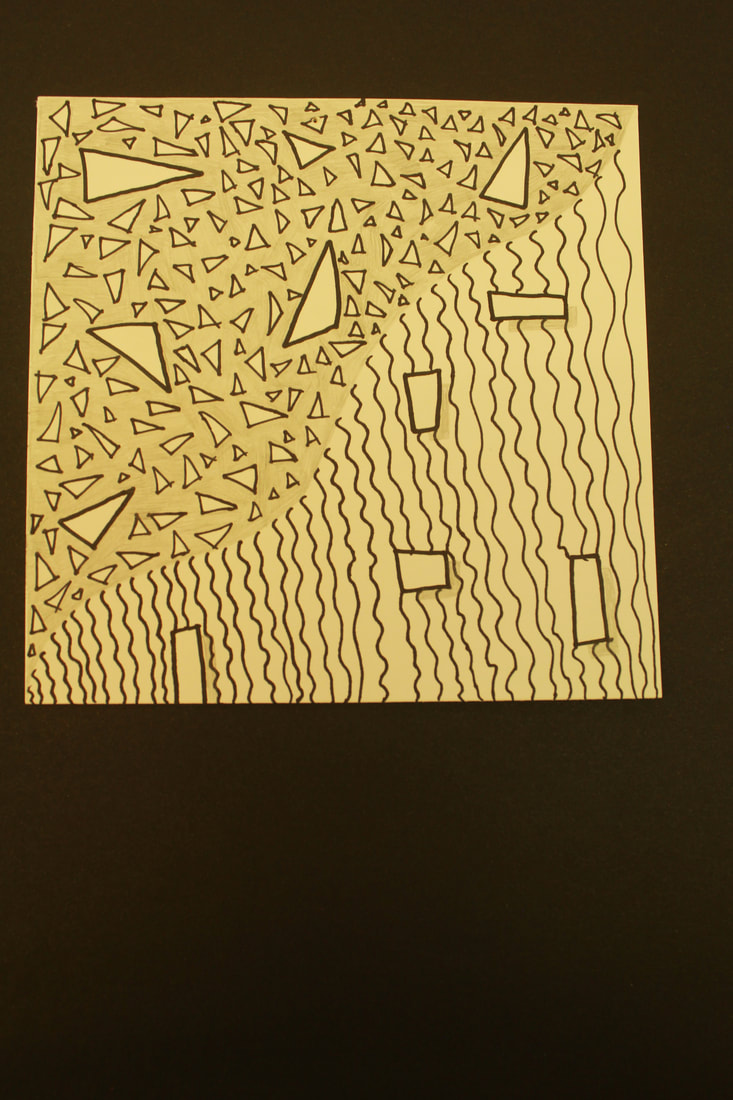
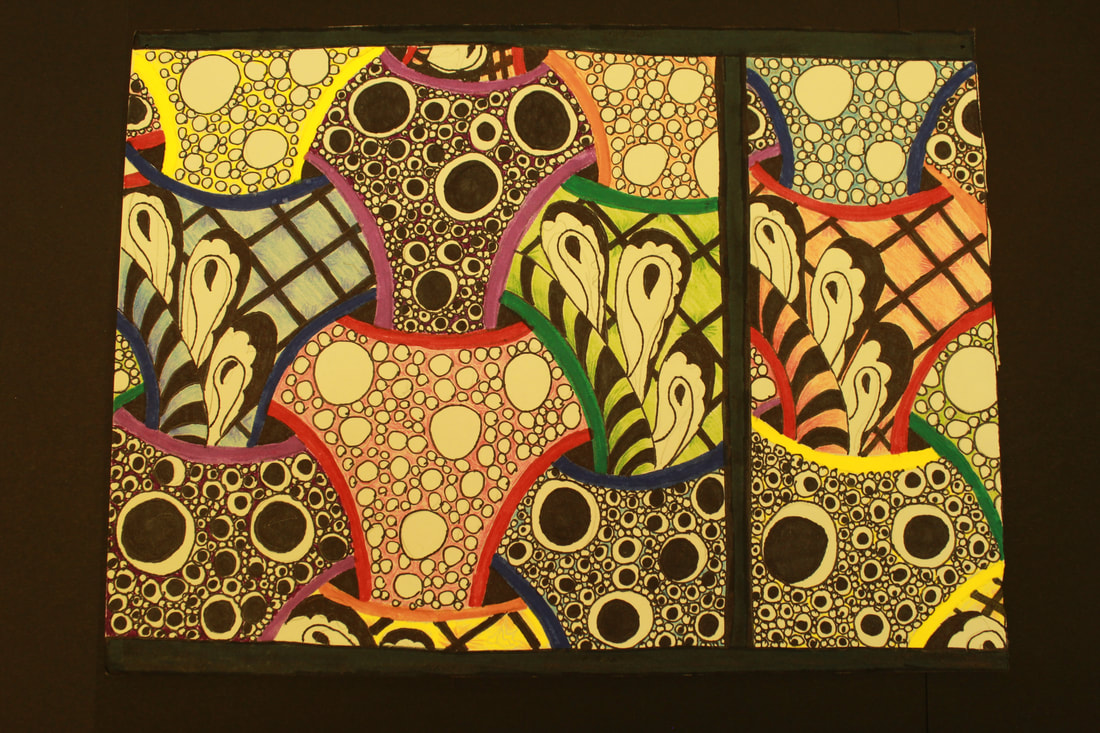
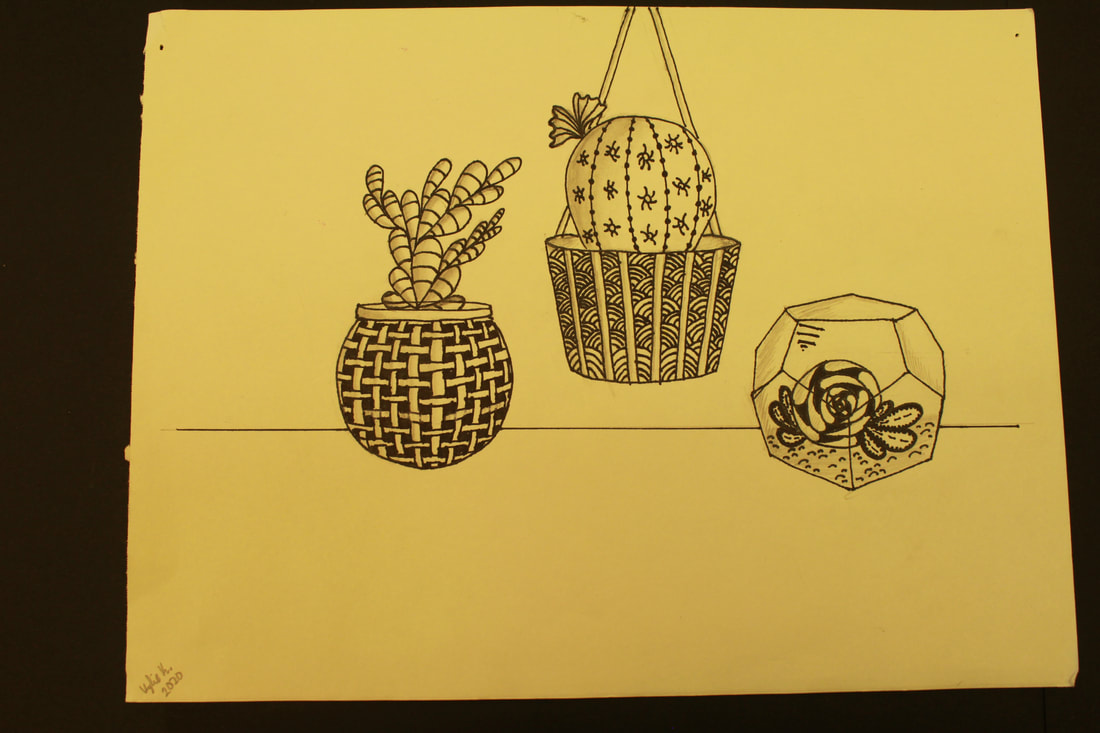
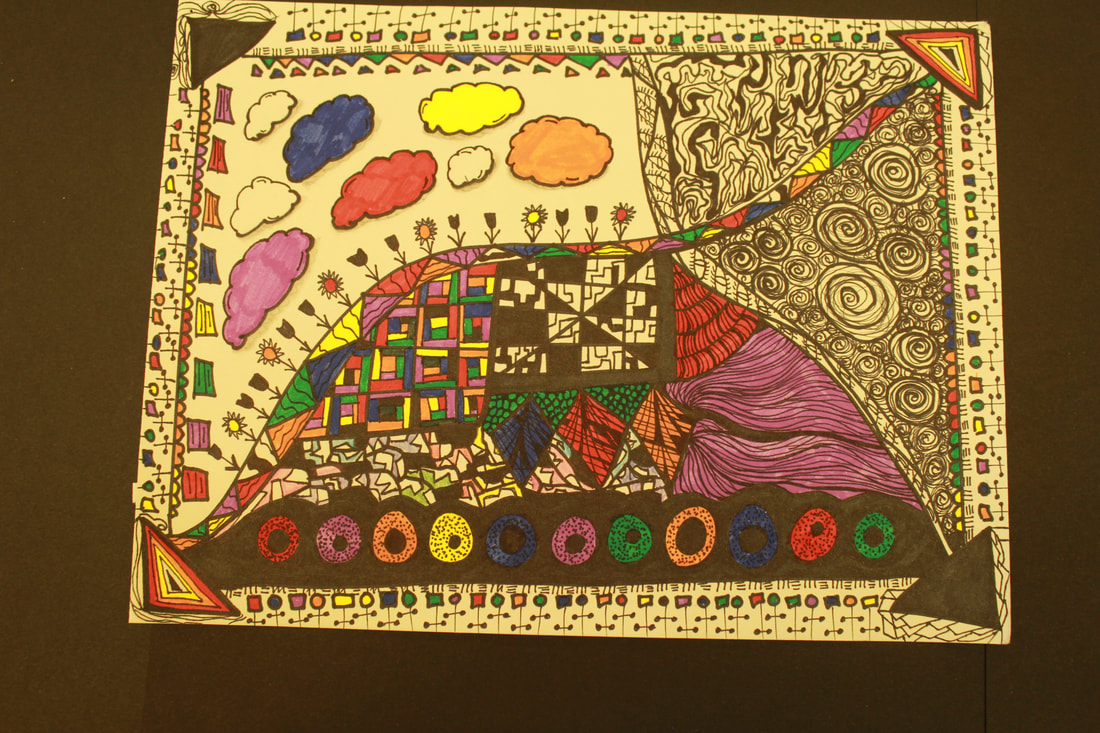
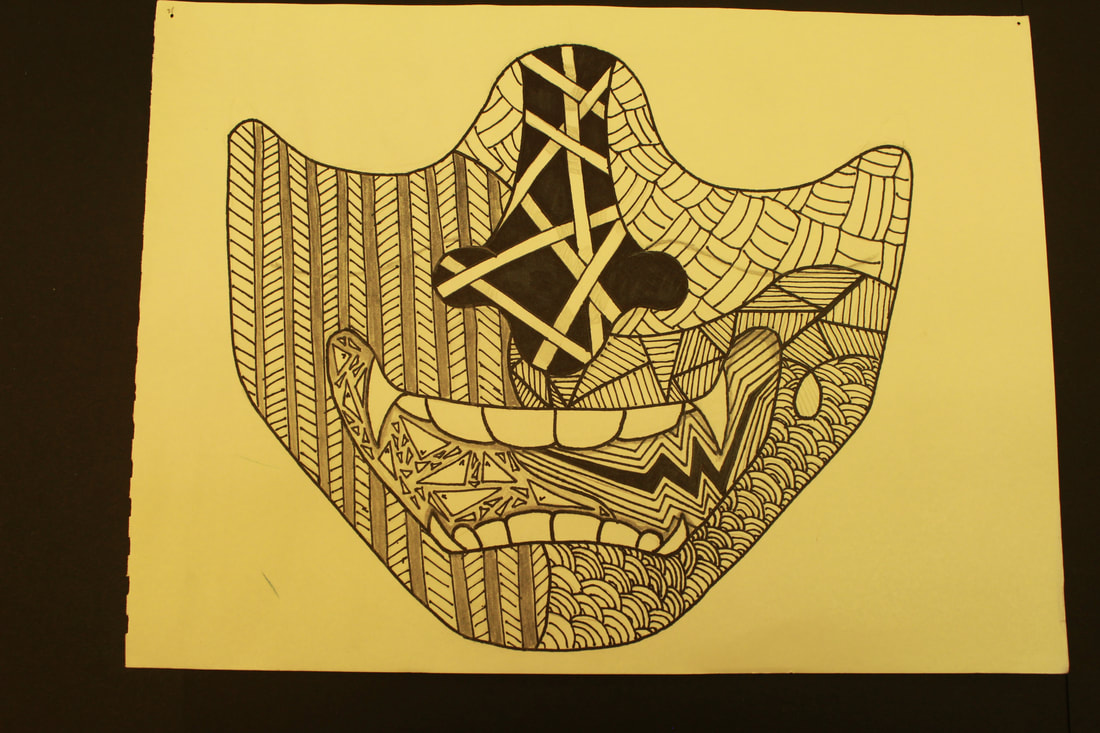
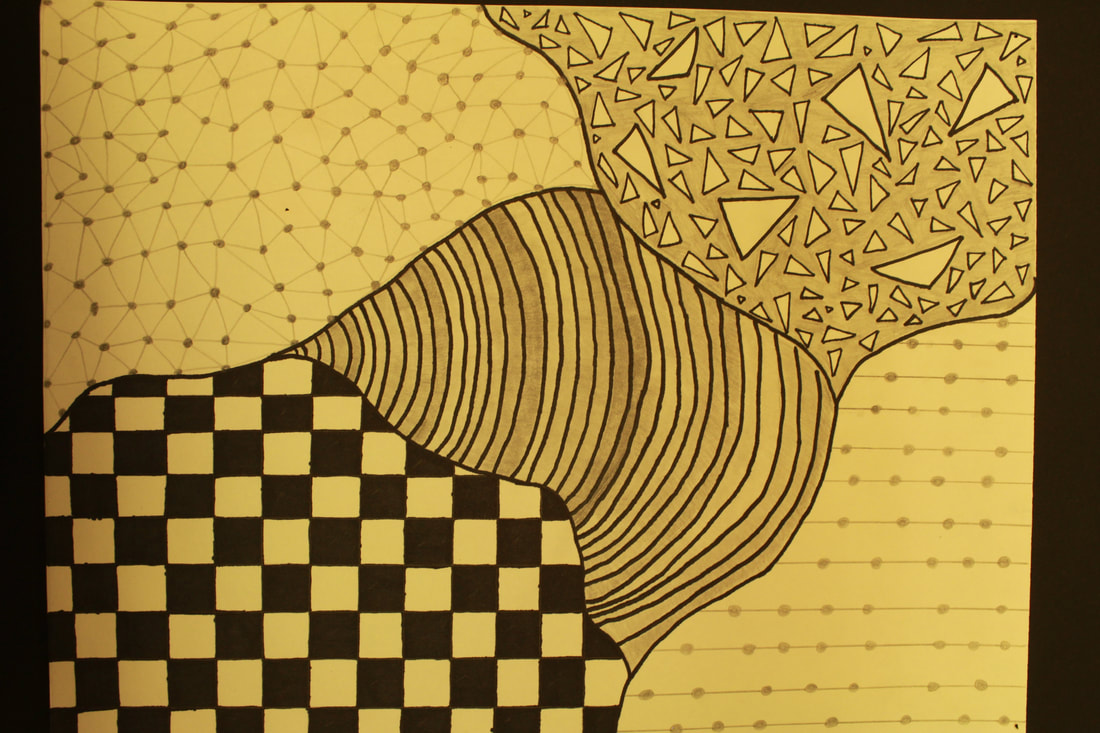

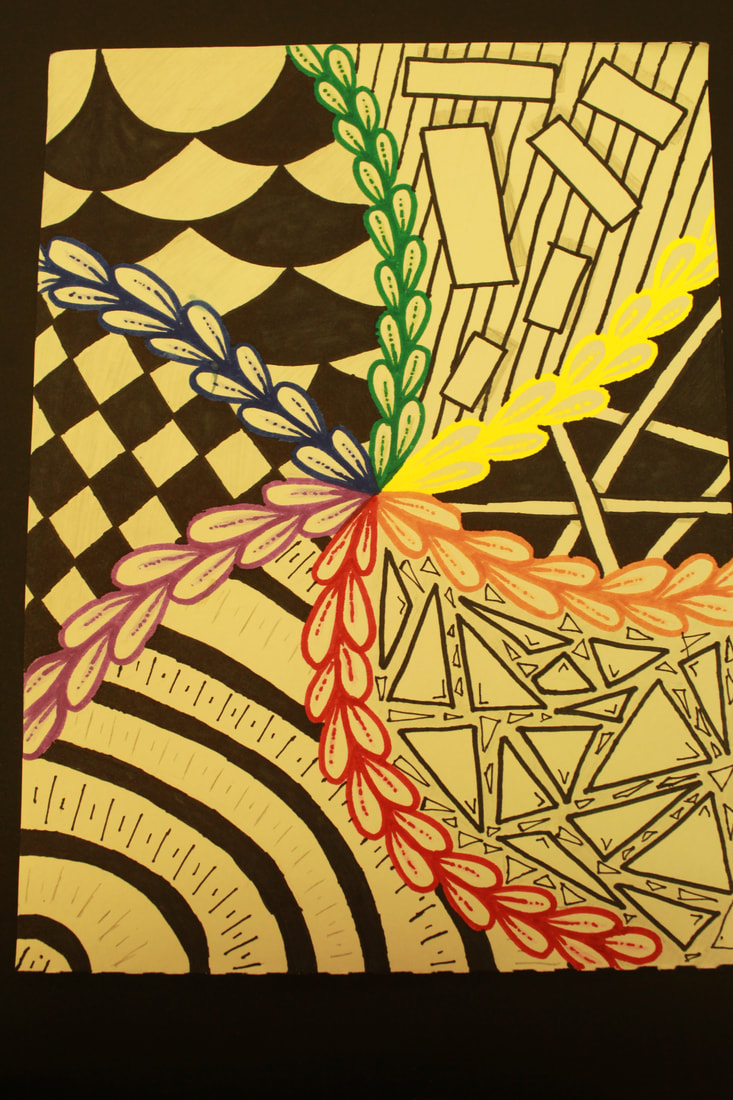
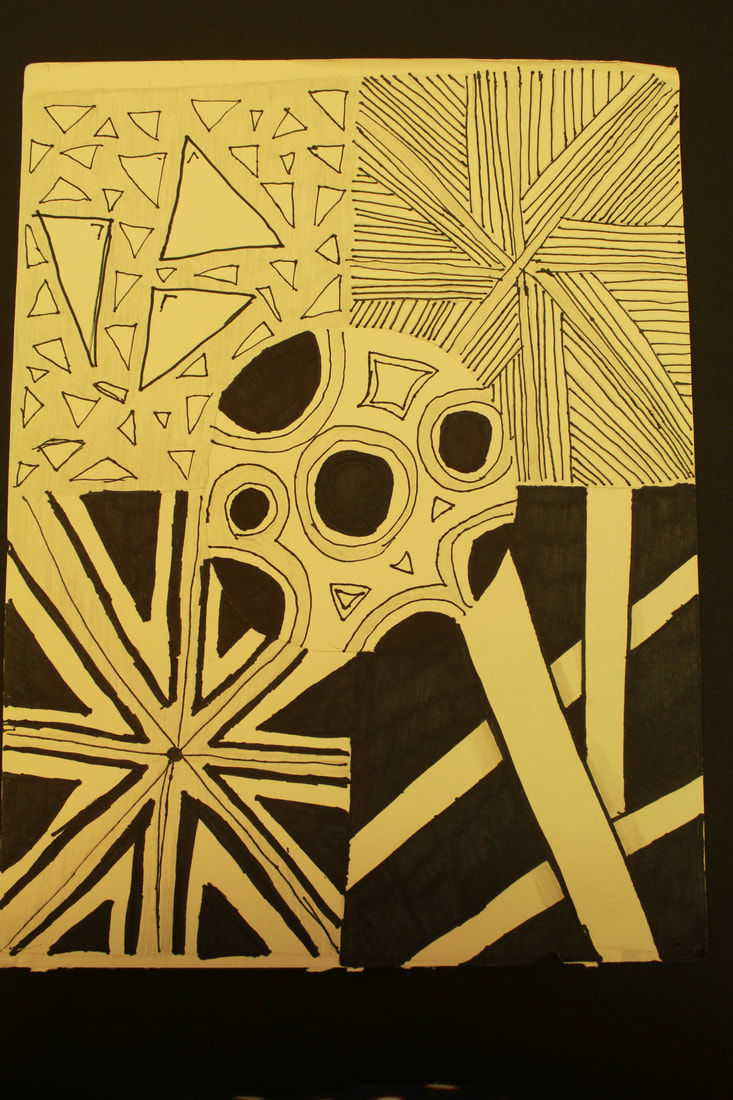
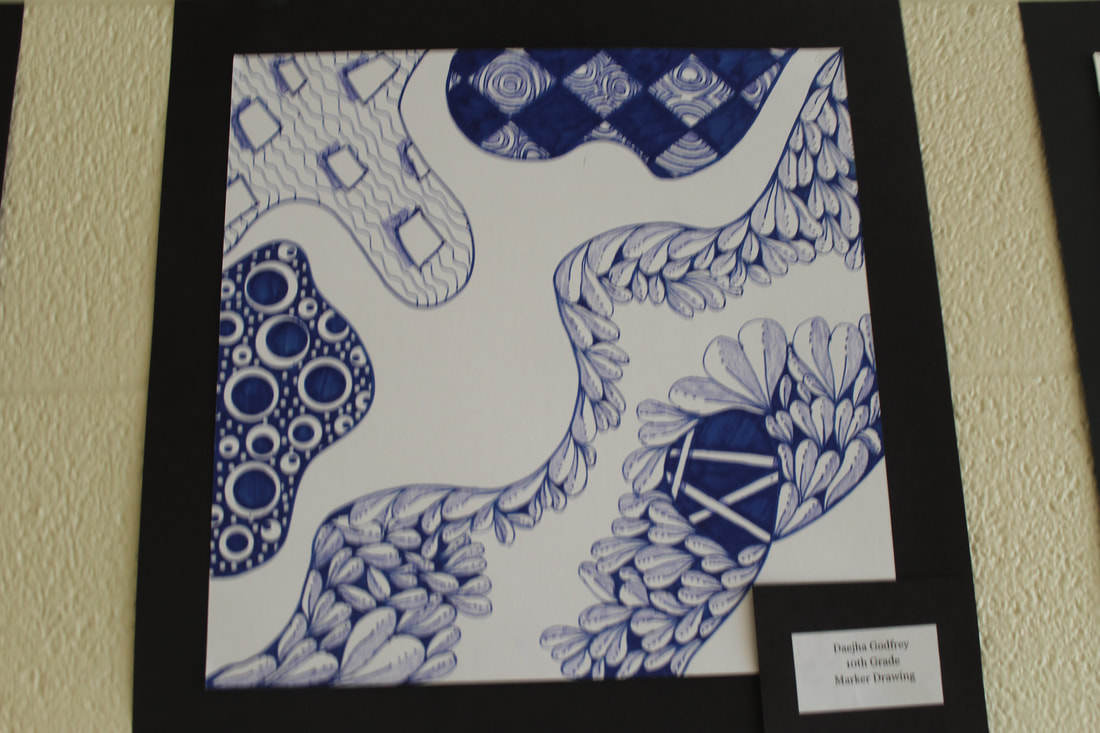
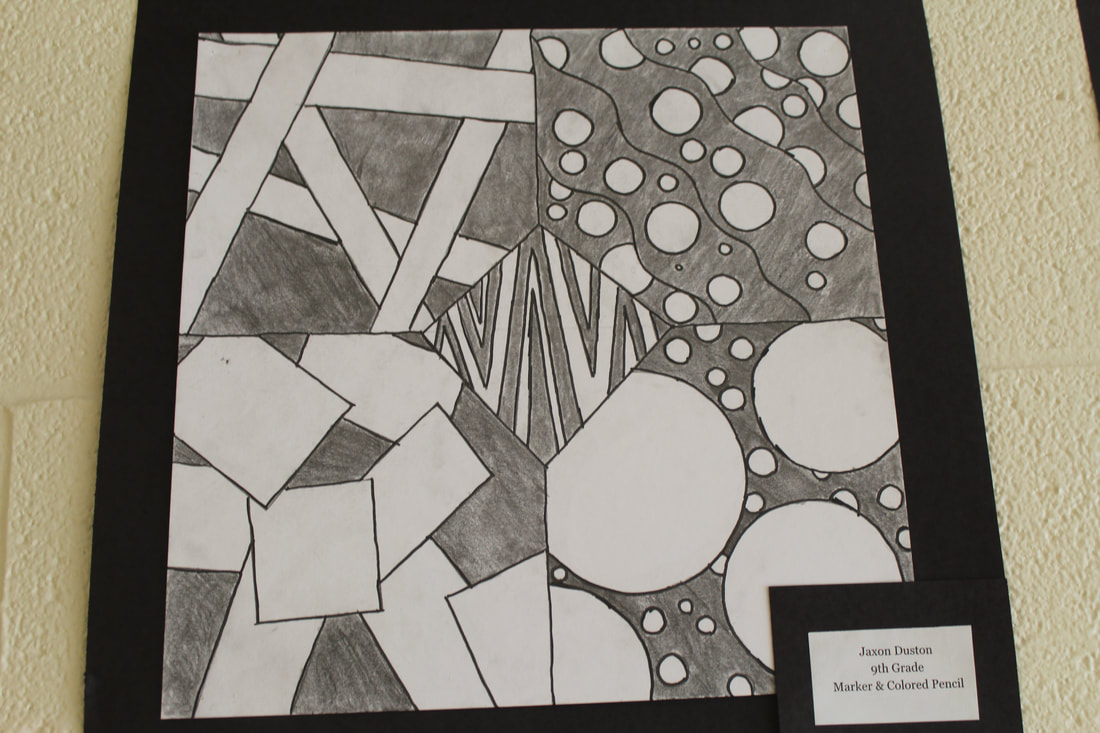
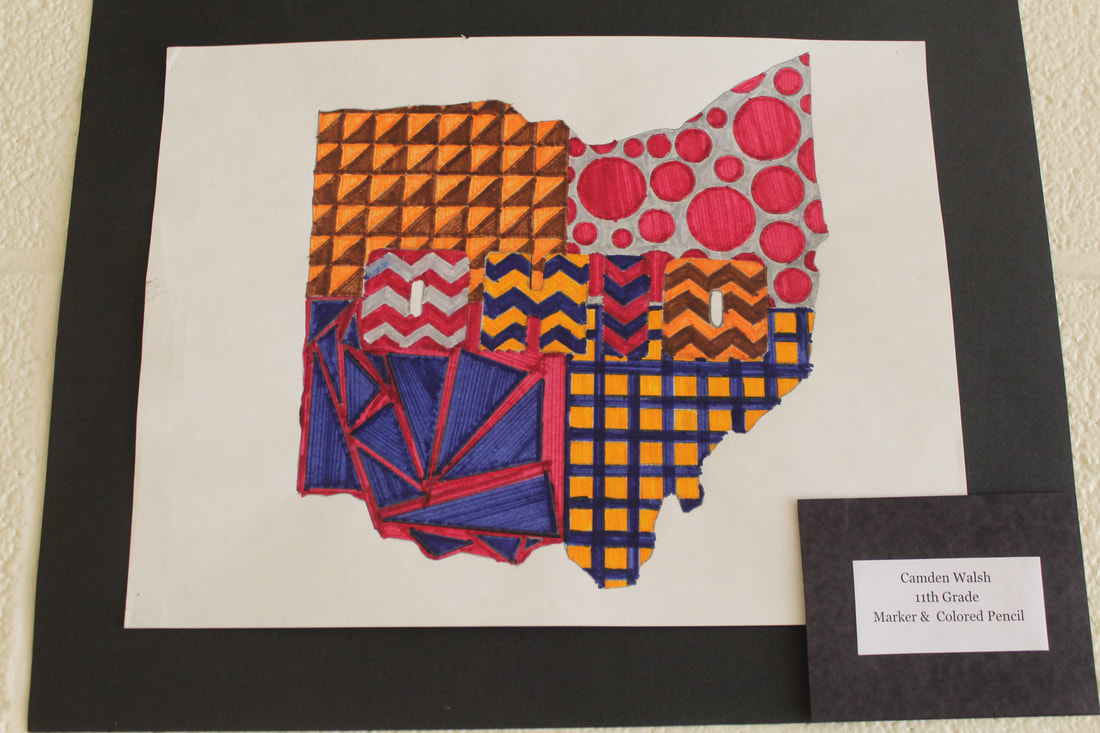
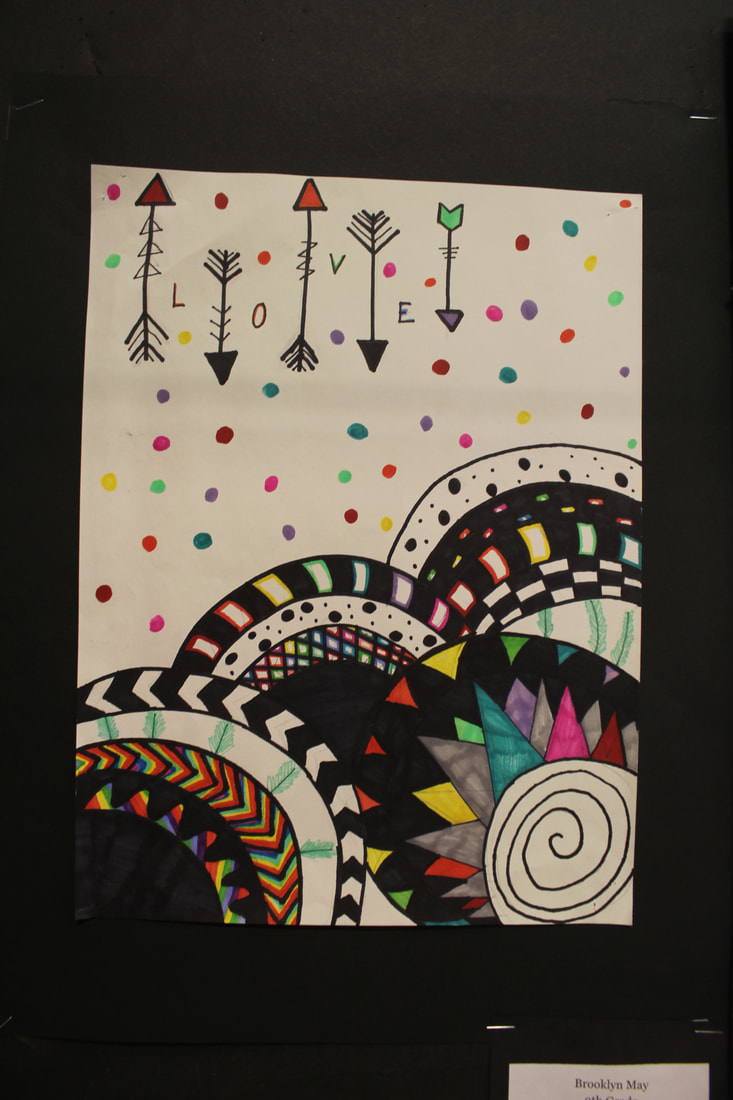
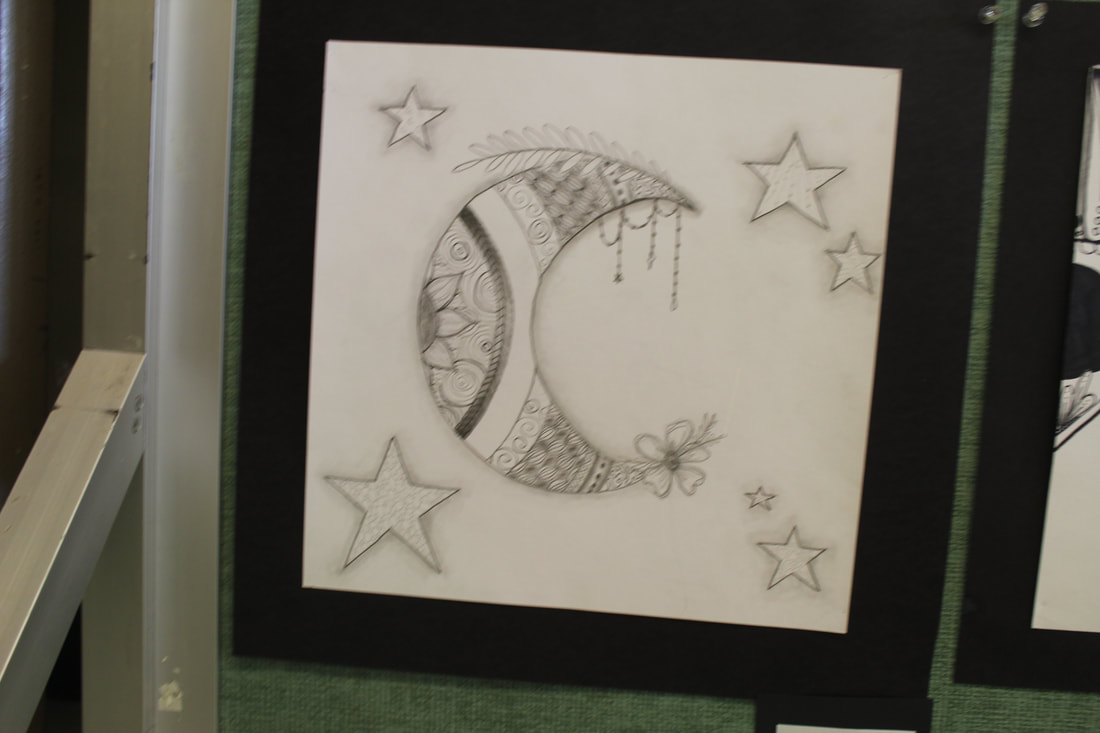
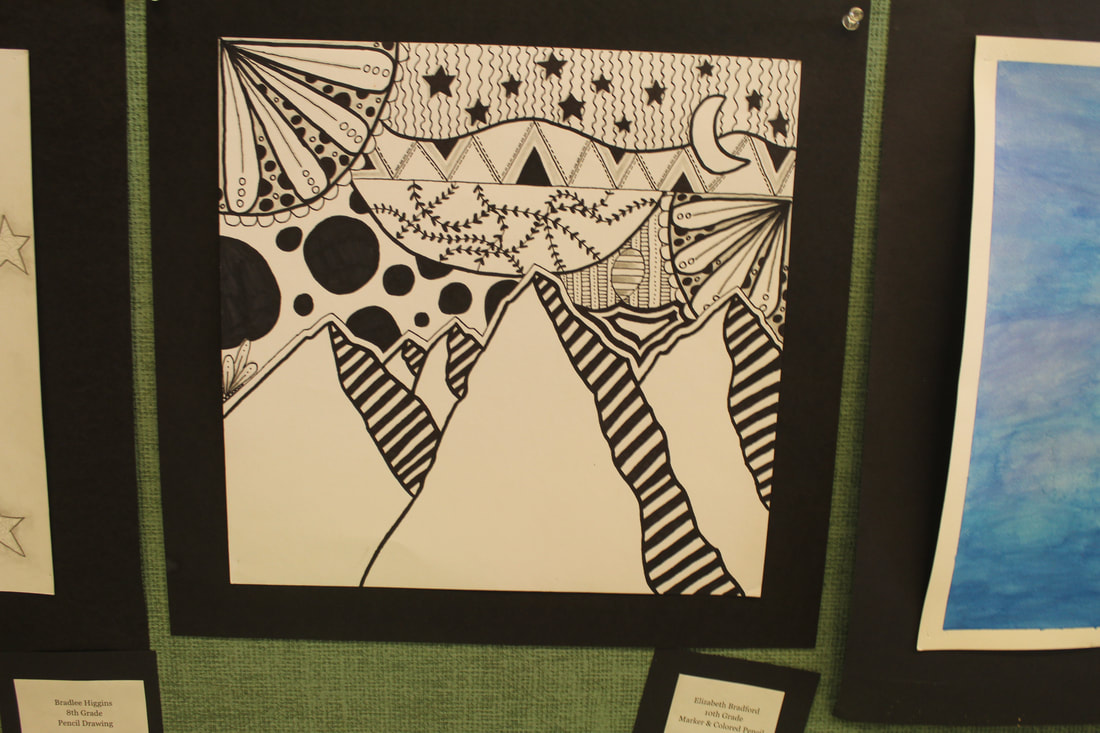
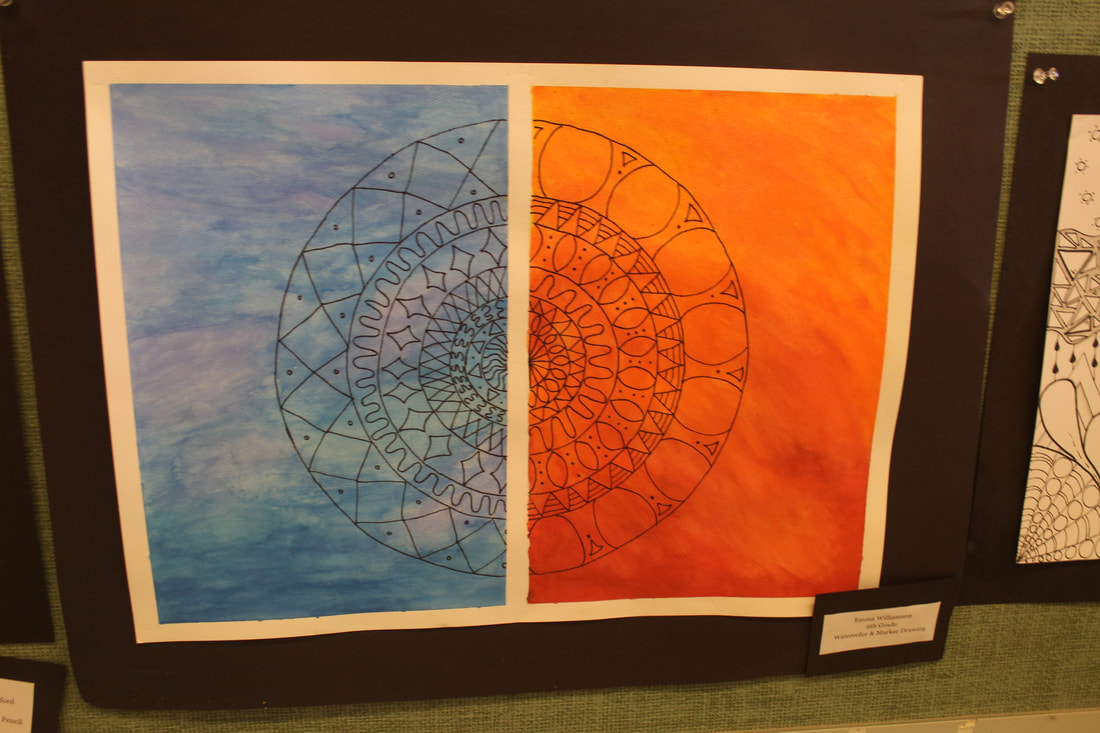
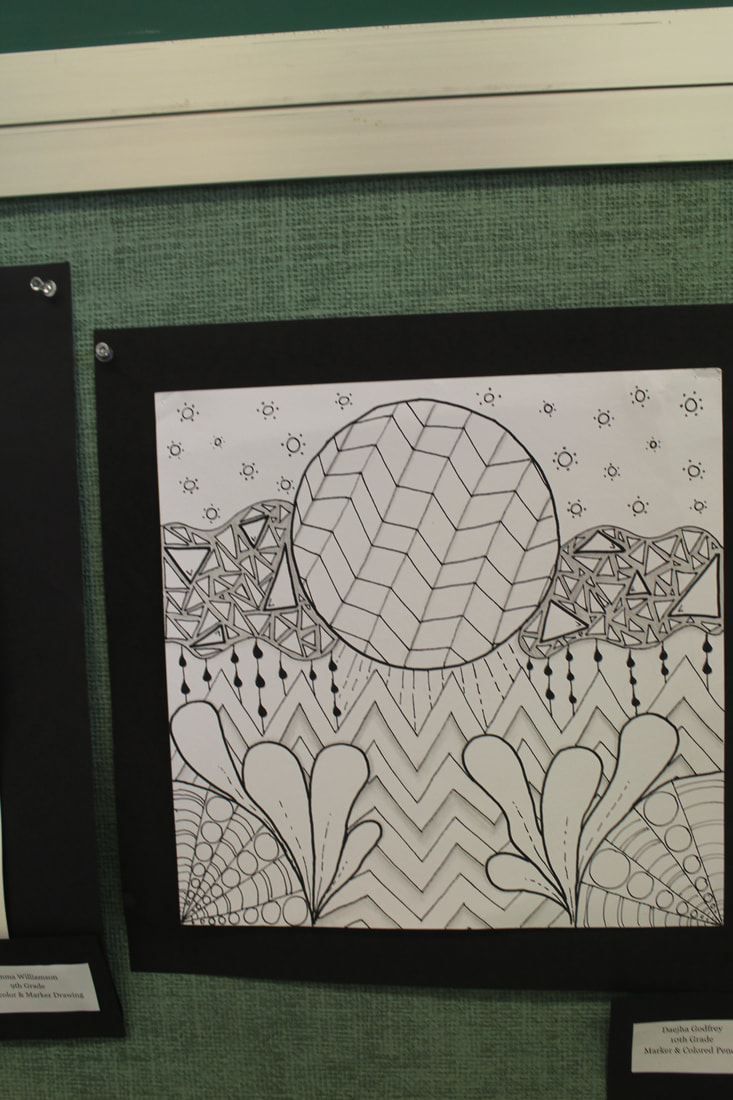
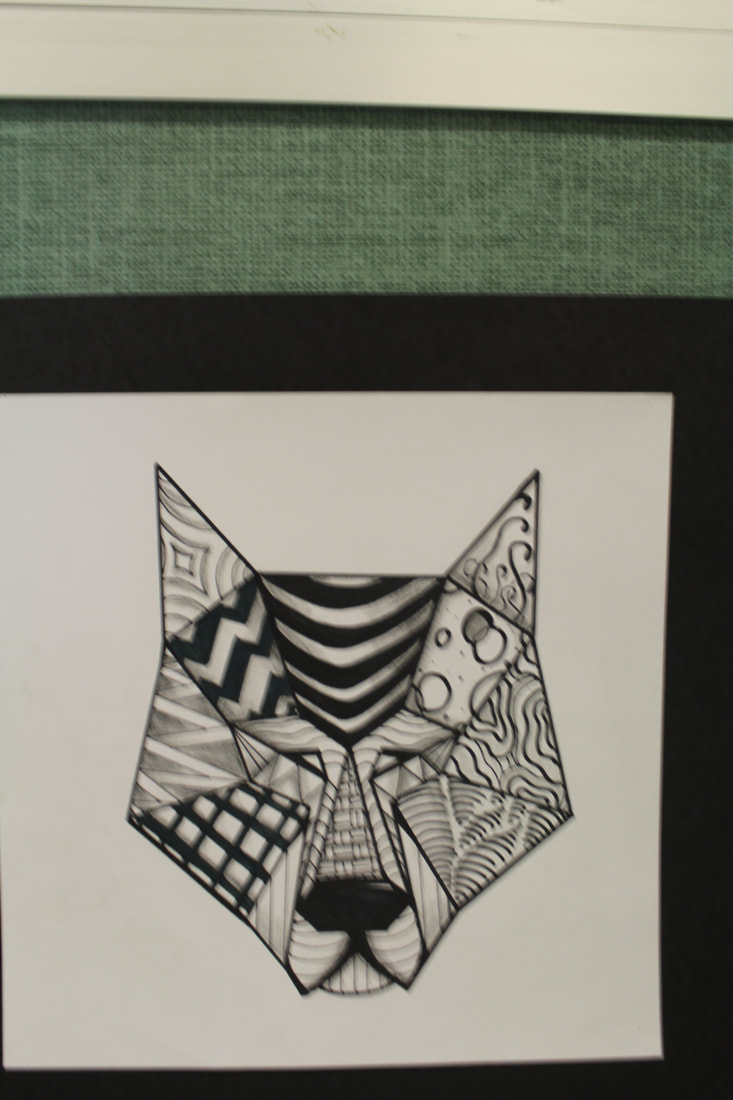
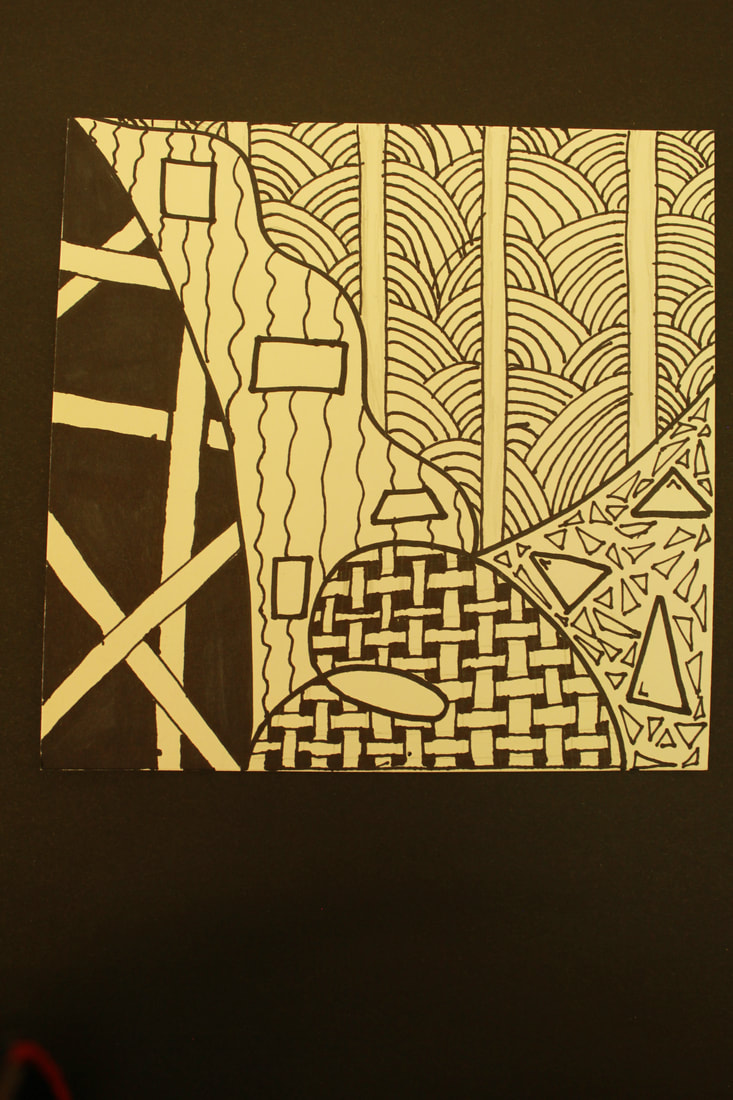
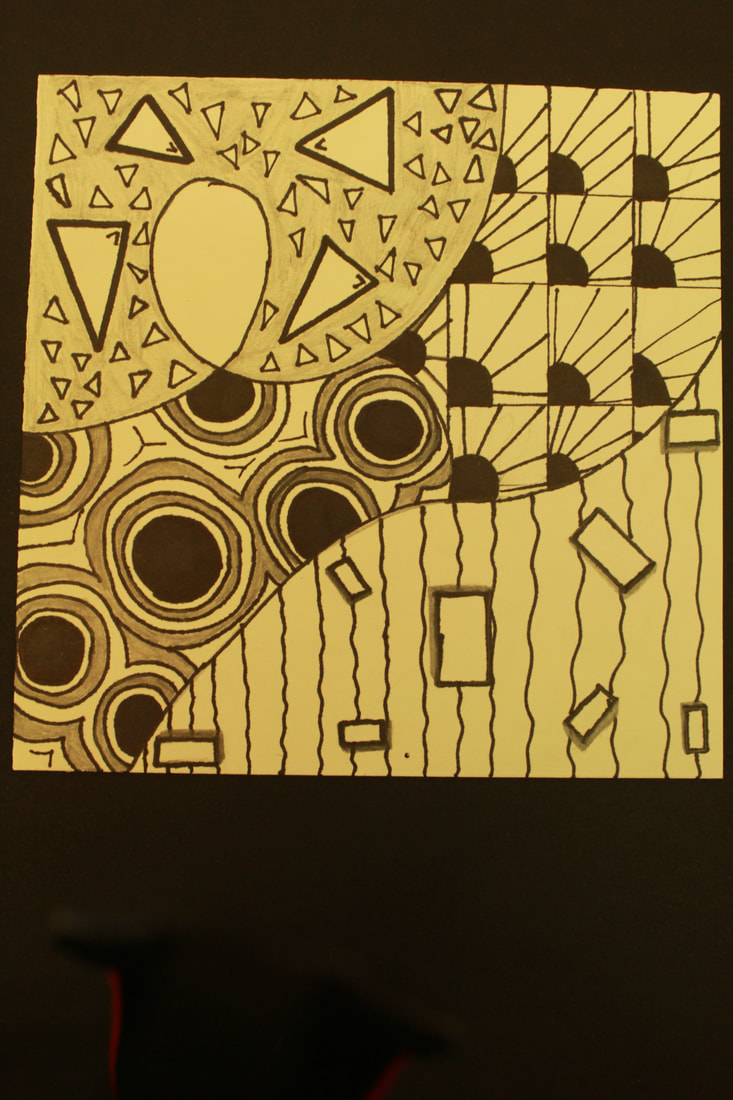
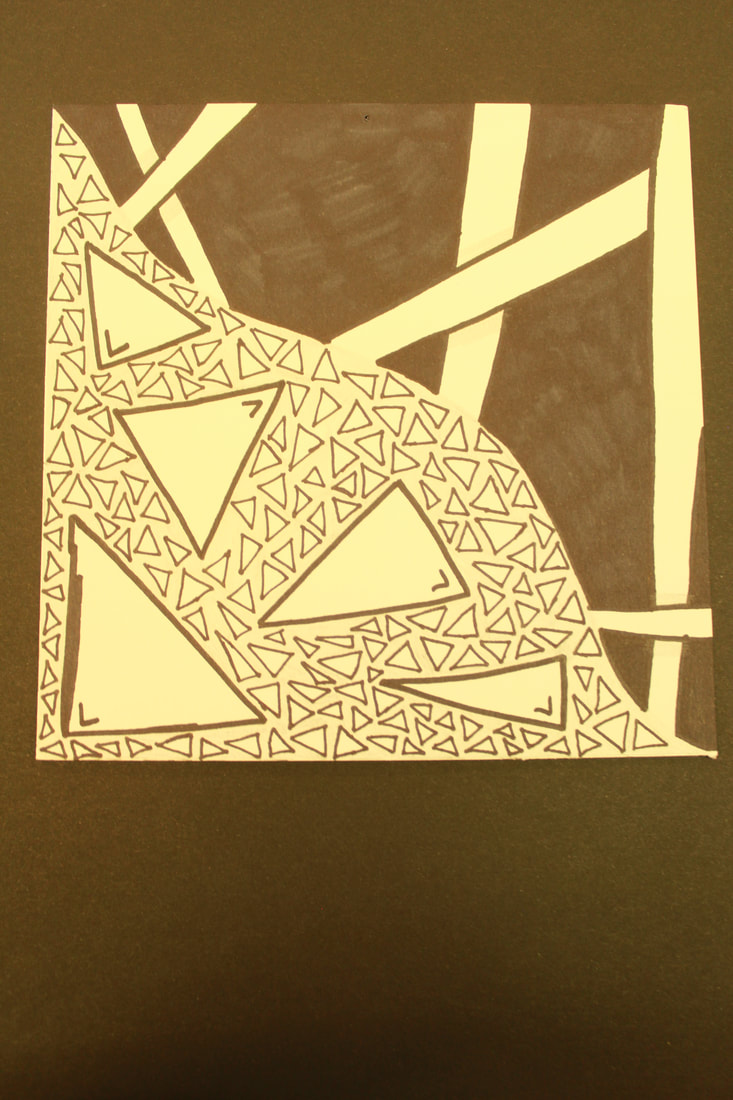
Art one students are hard at work on zentangles! Check back in later at the online art show to see some zentangle examples from this year.
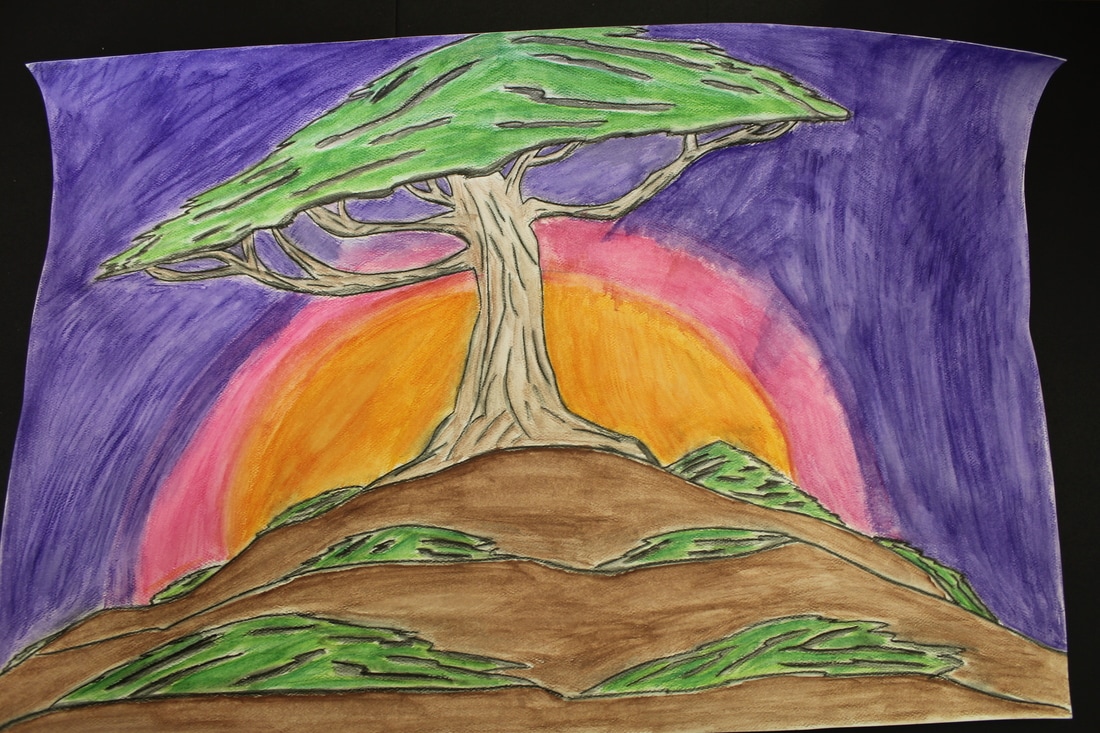
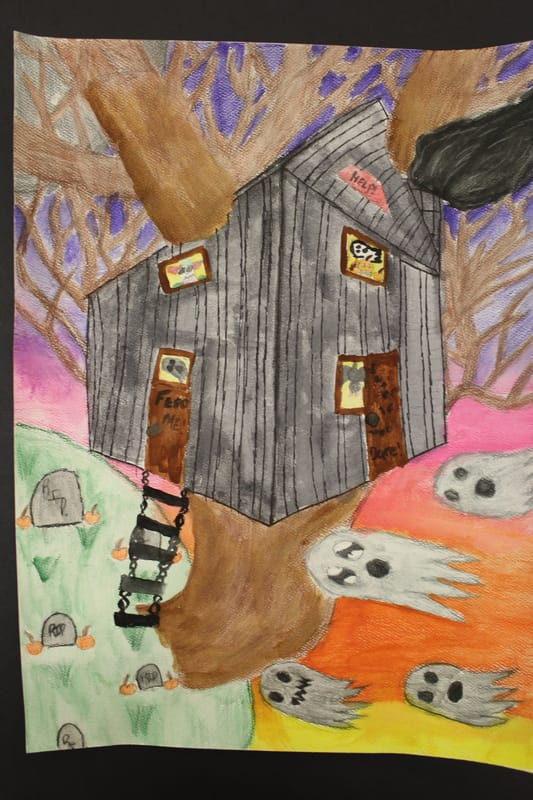
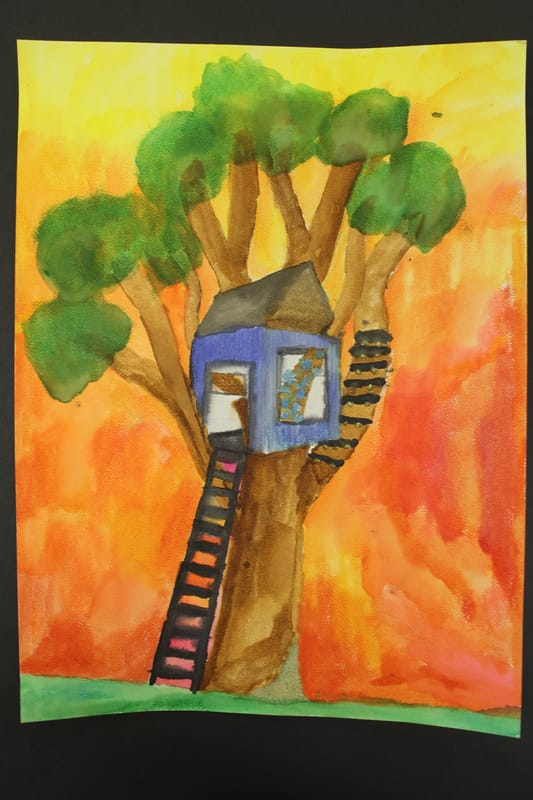
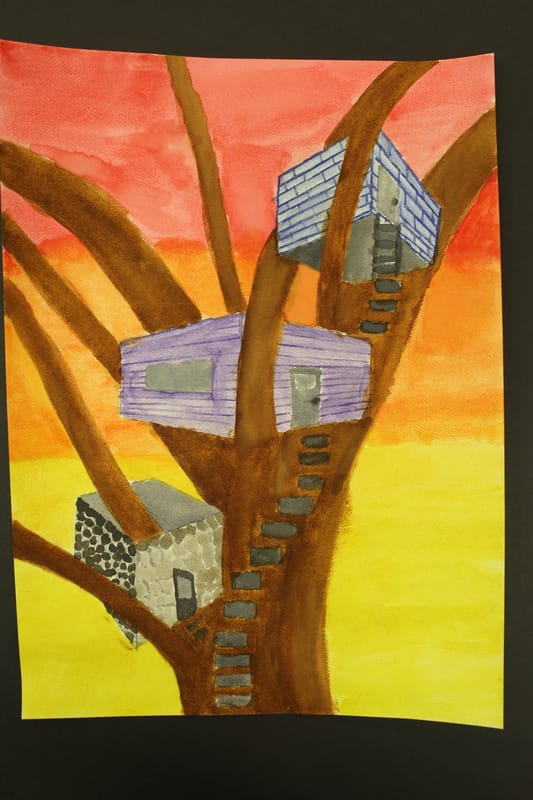
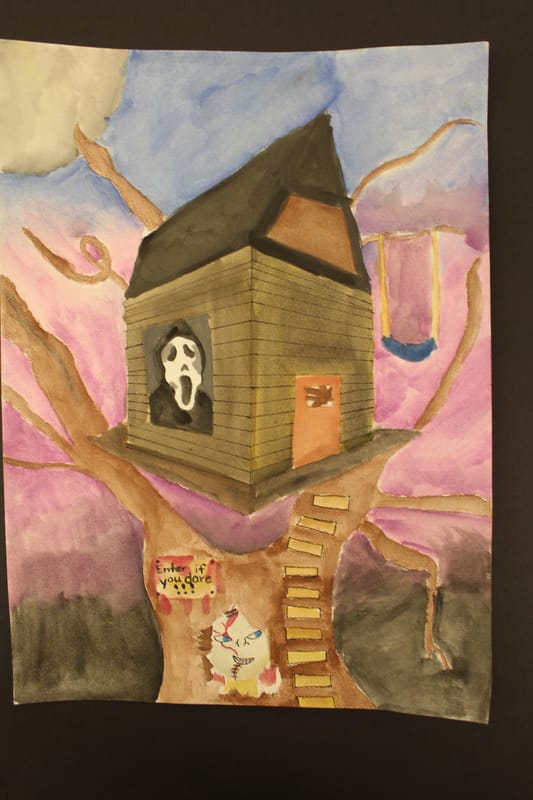
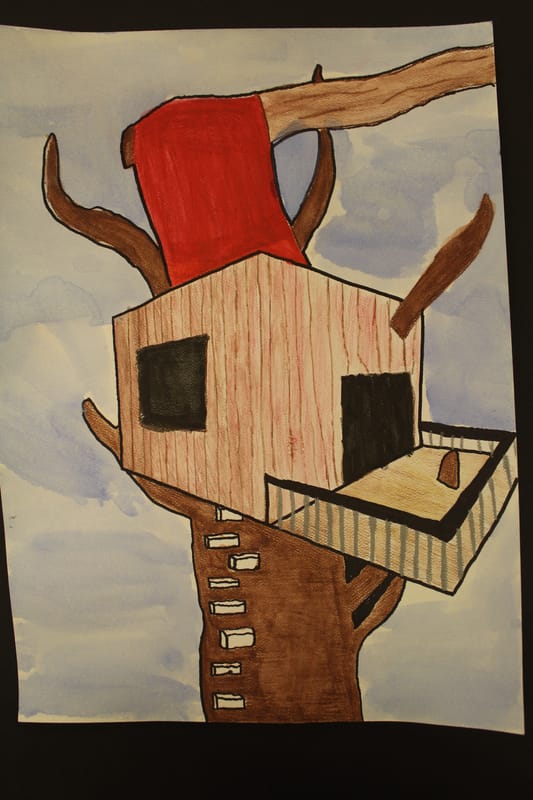
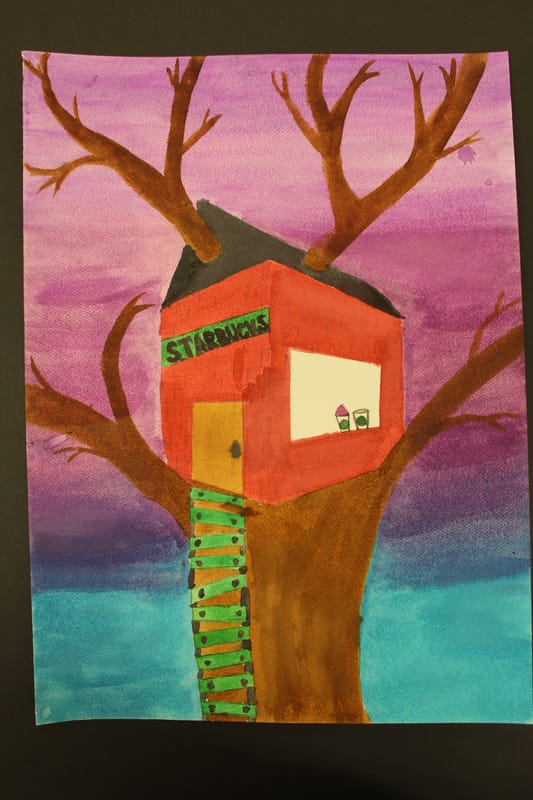
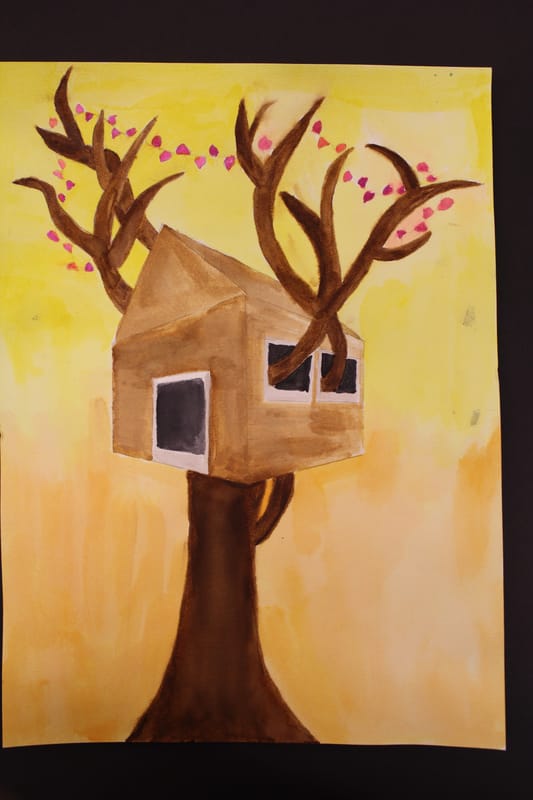
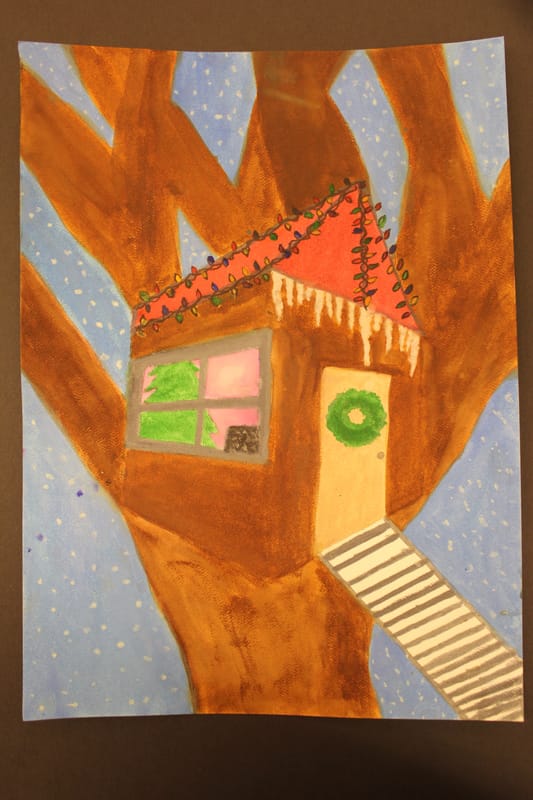
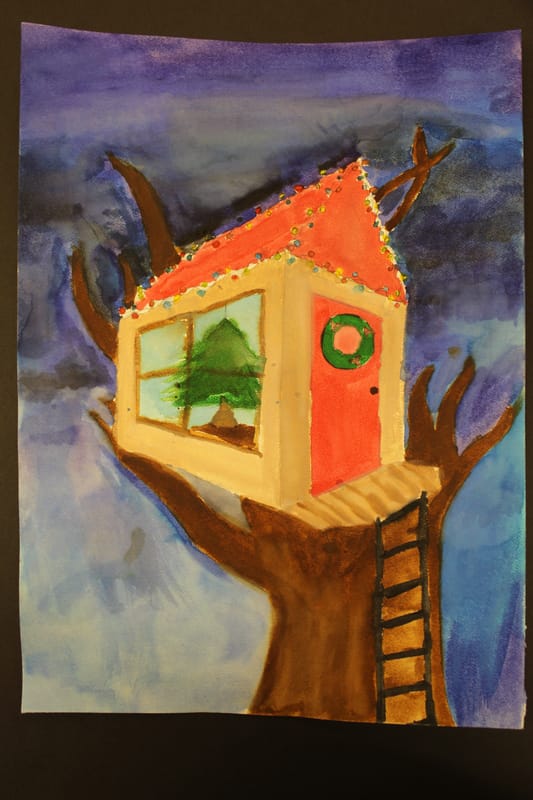
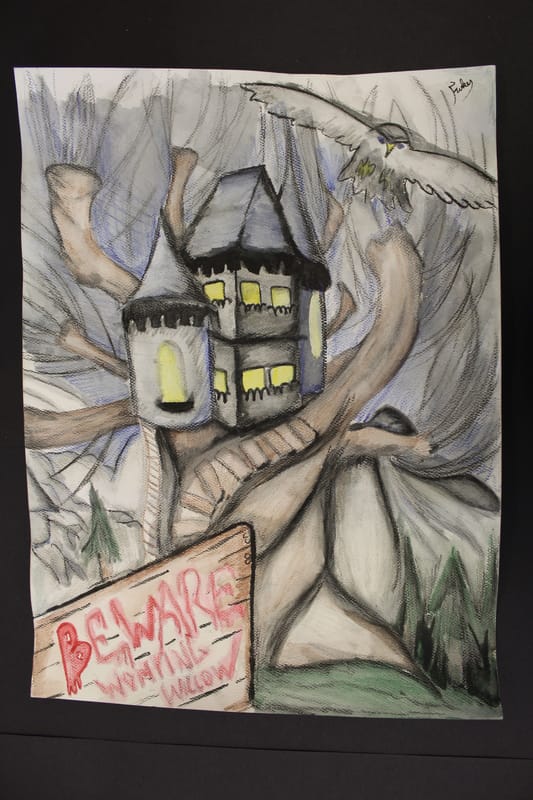
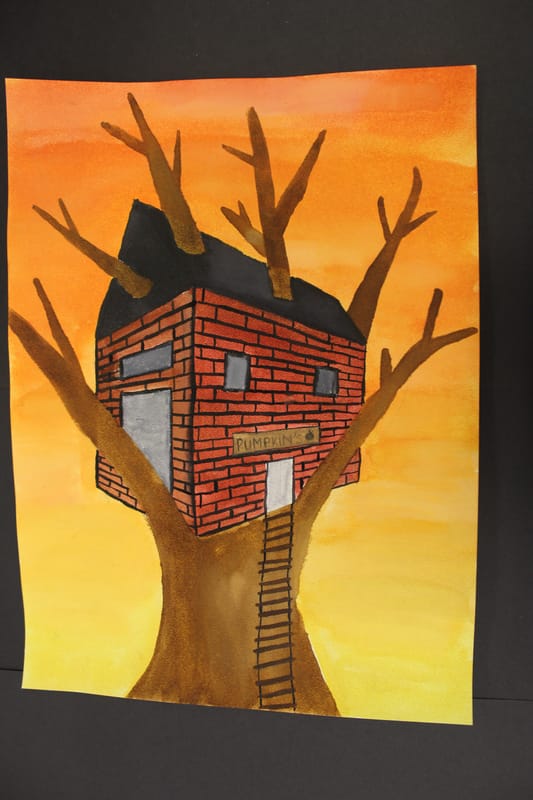
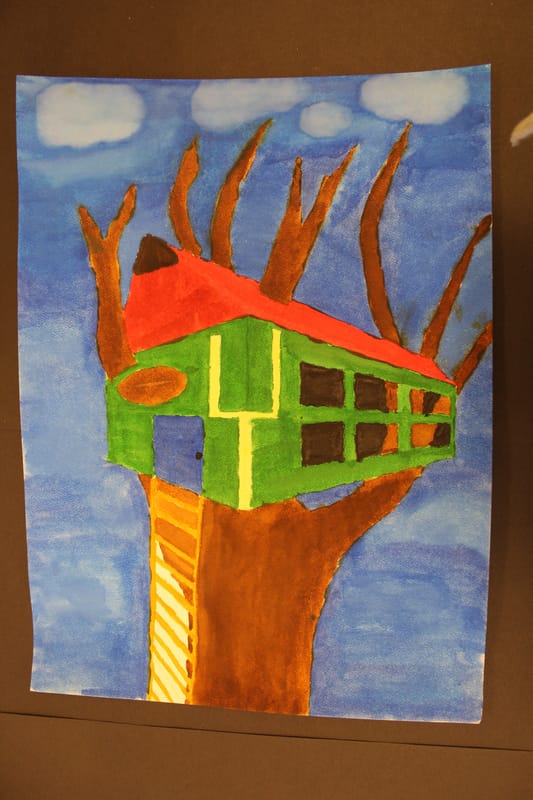
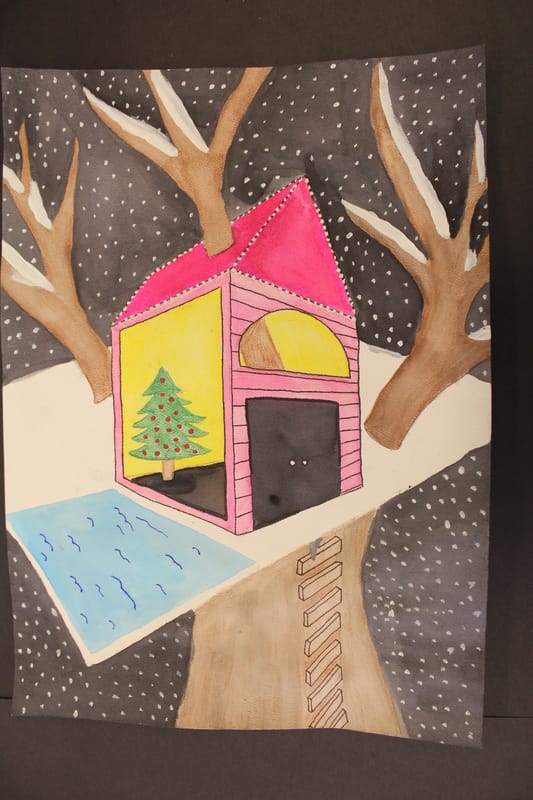
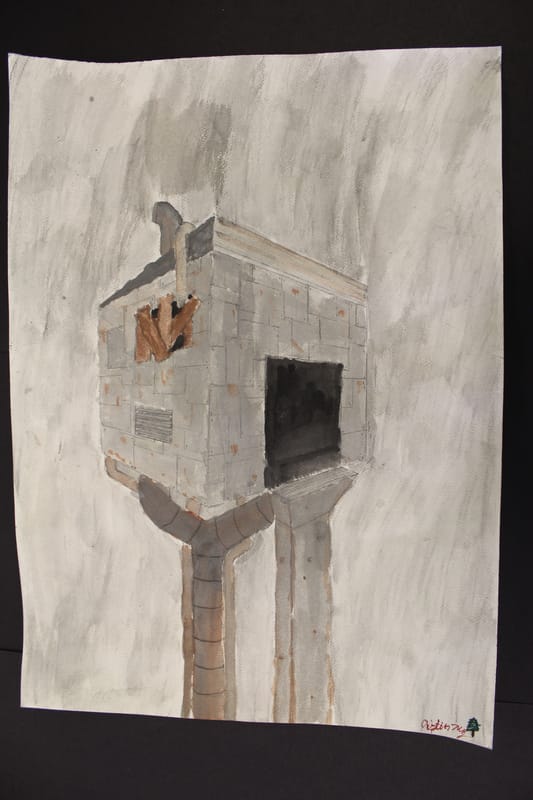
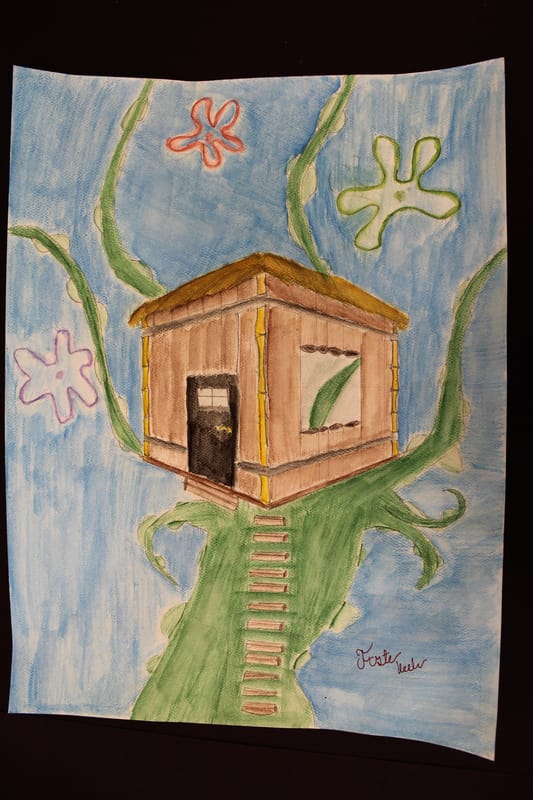
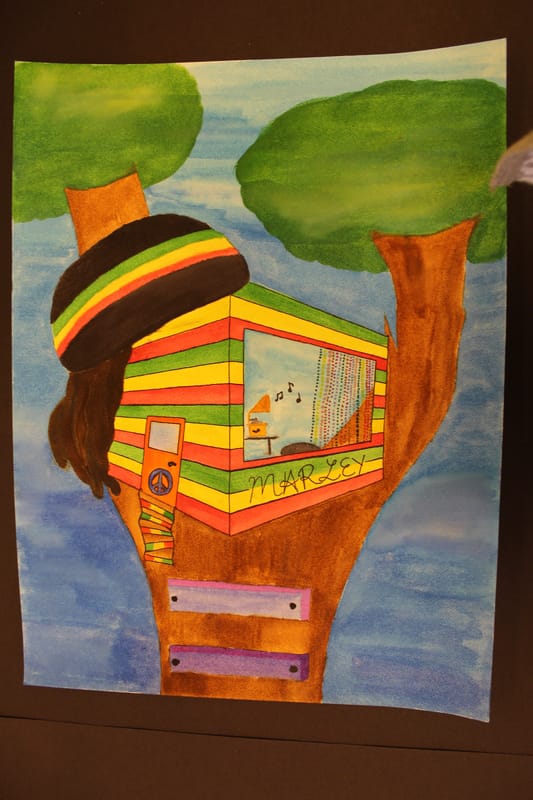
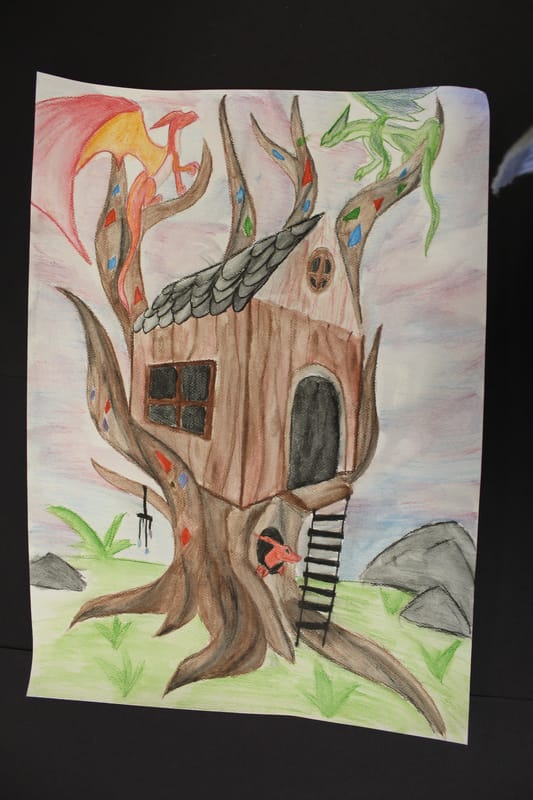
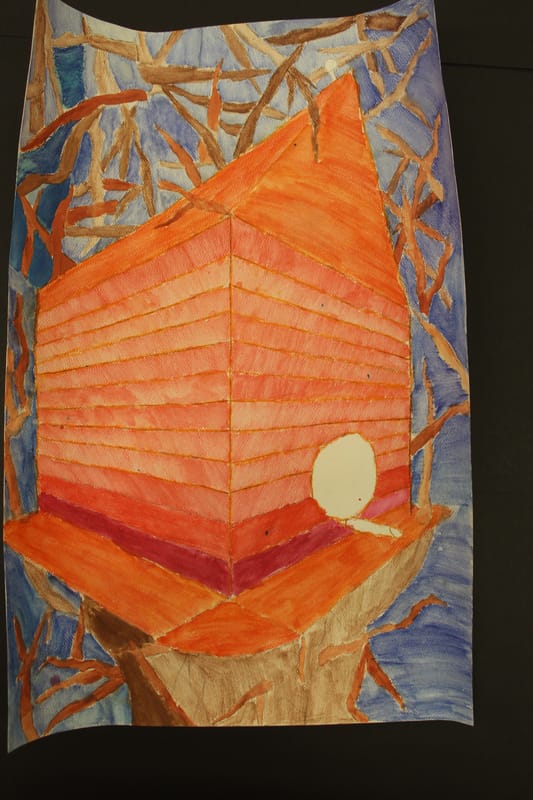
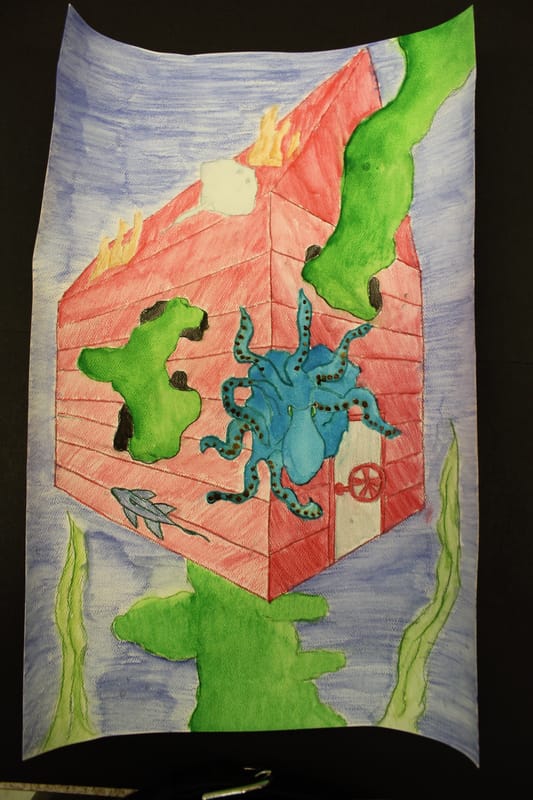
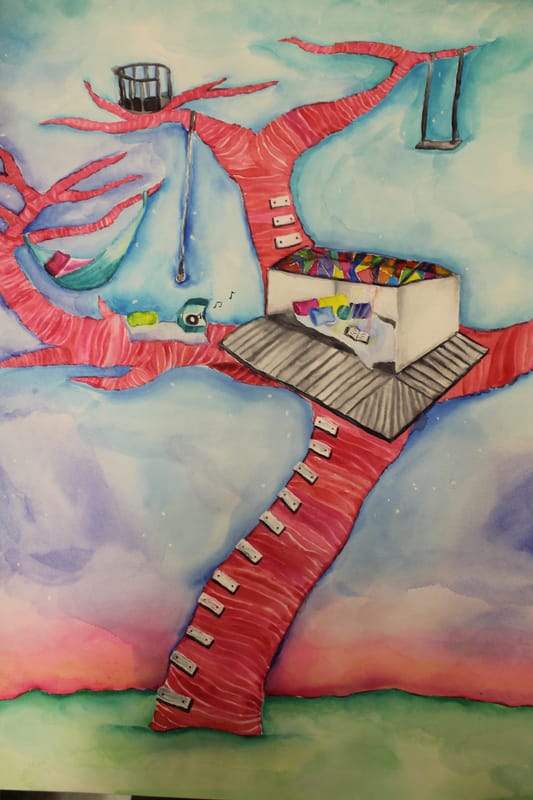
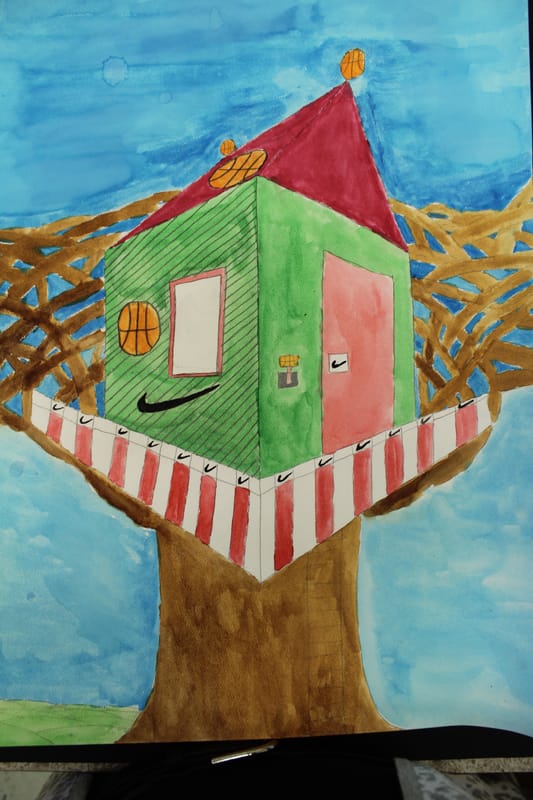
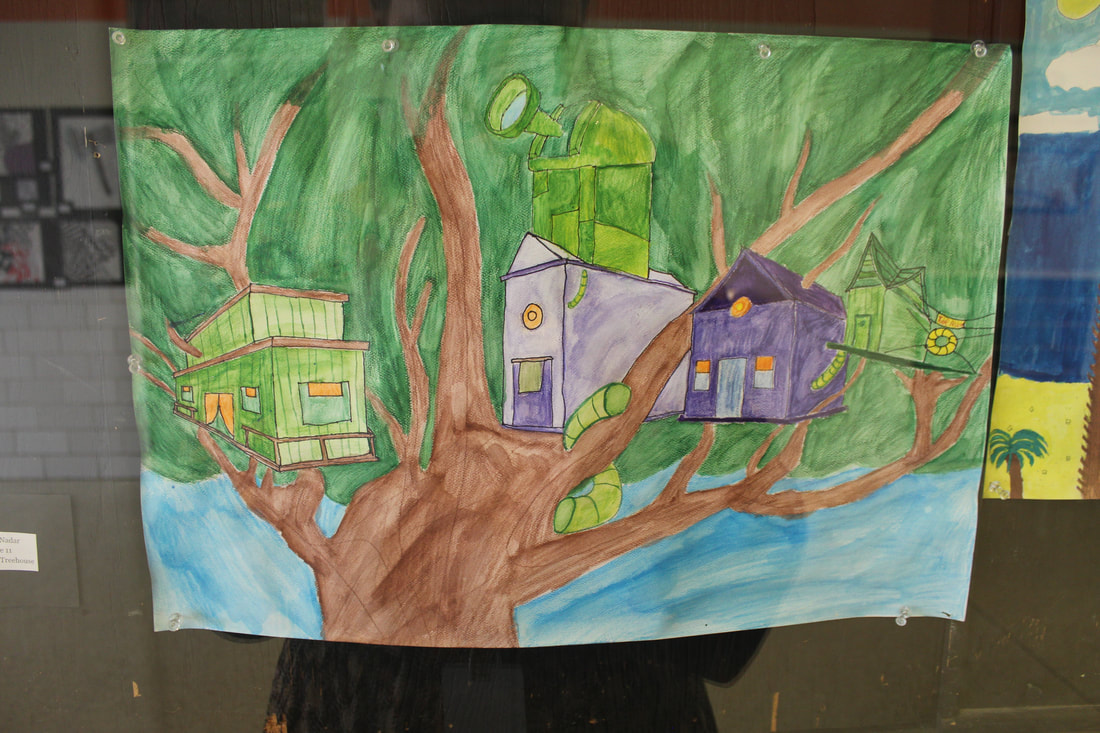
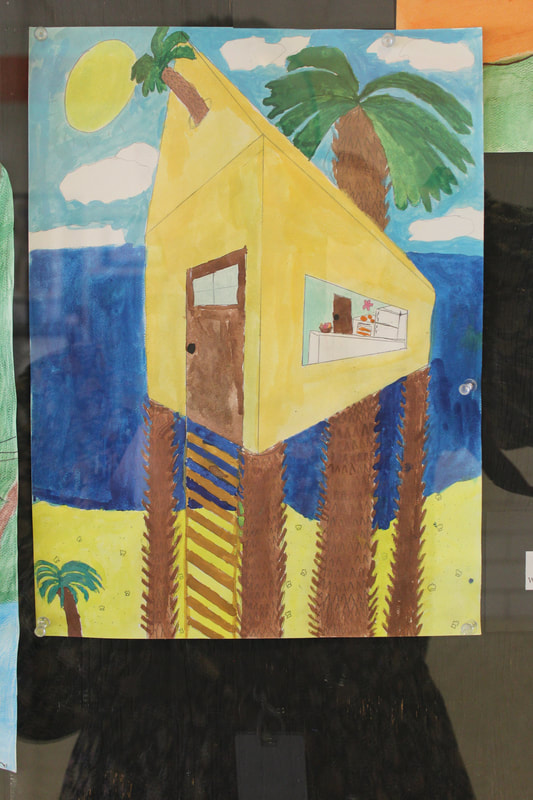
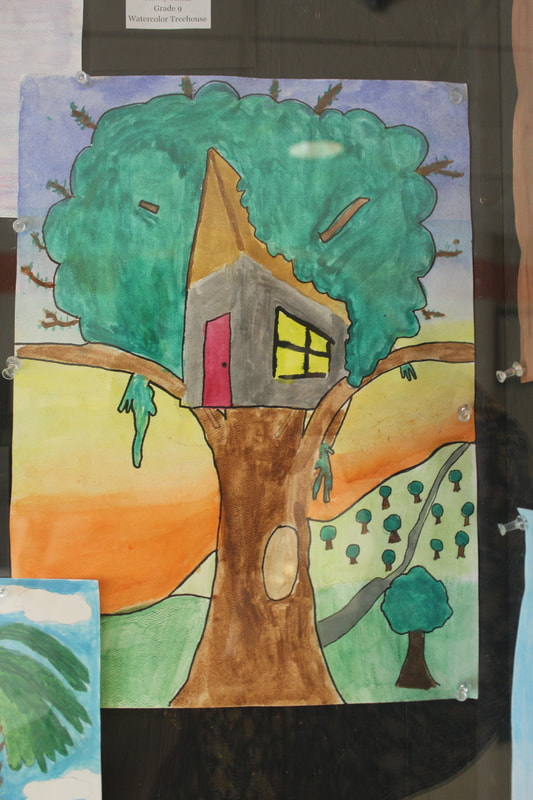
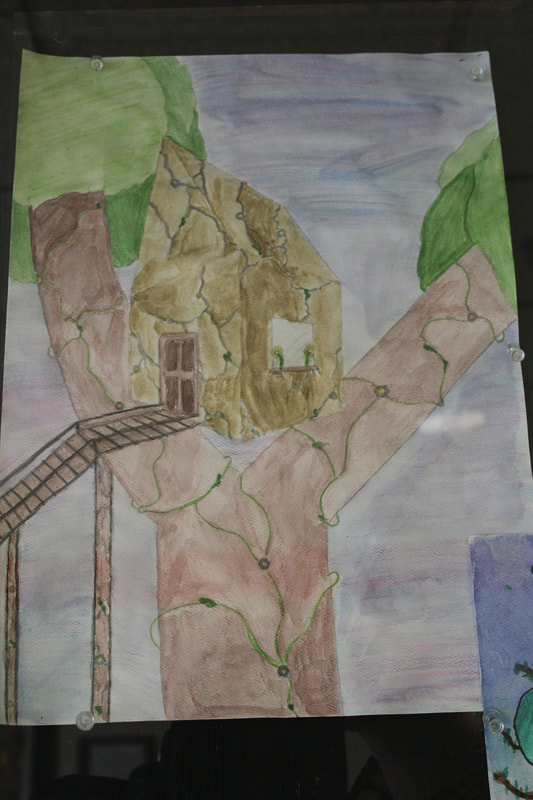
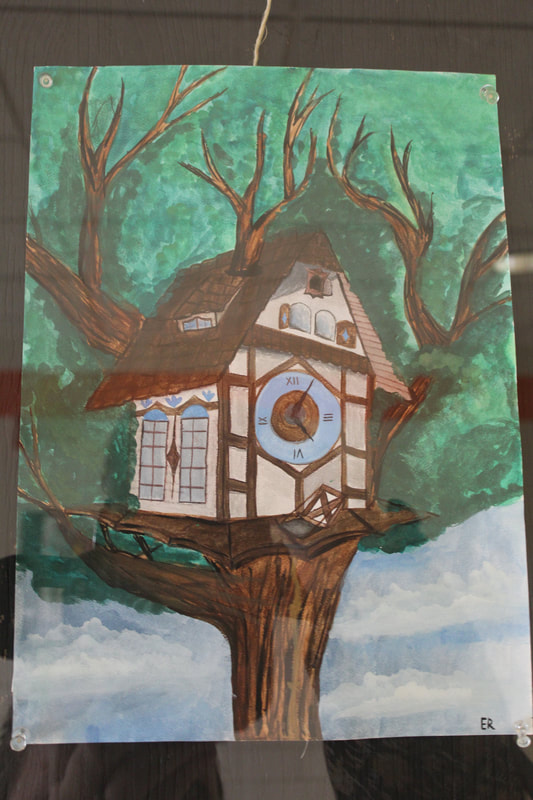
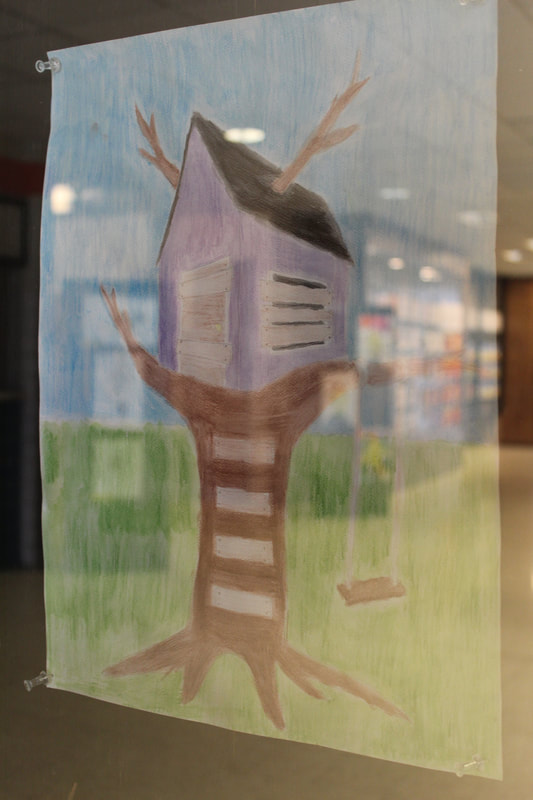
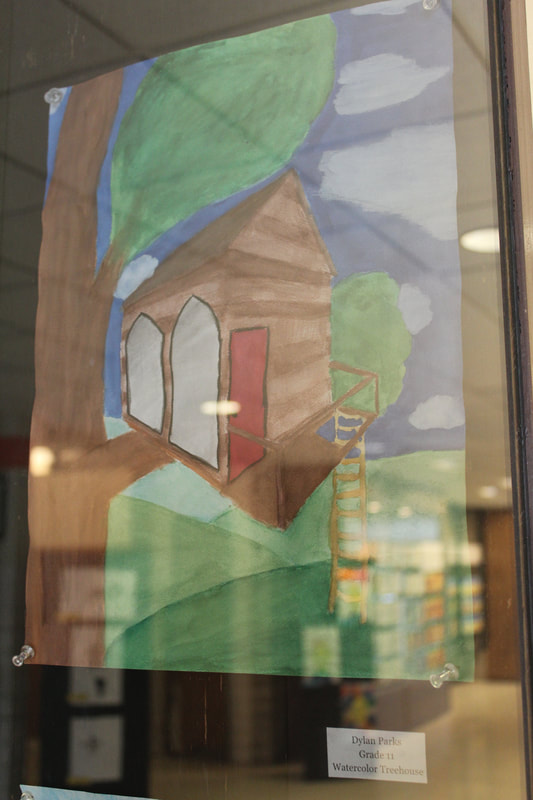
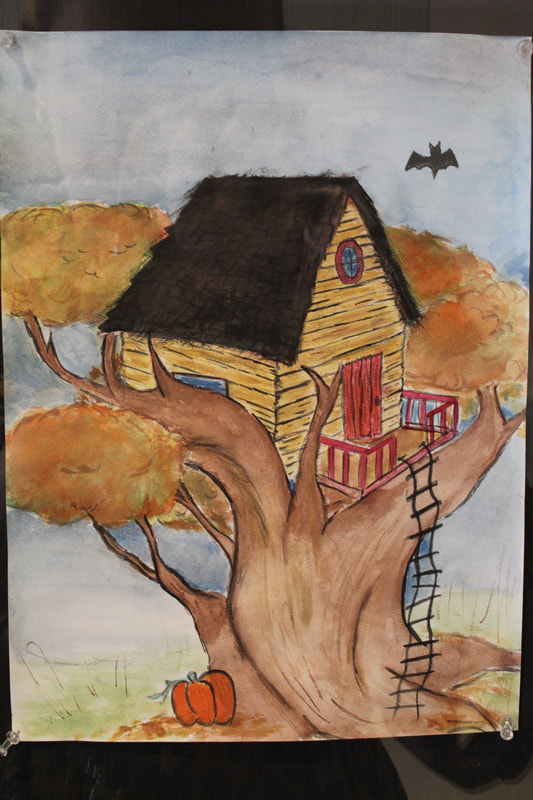
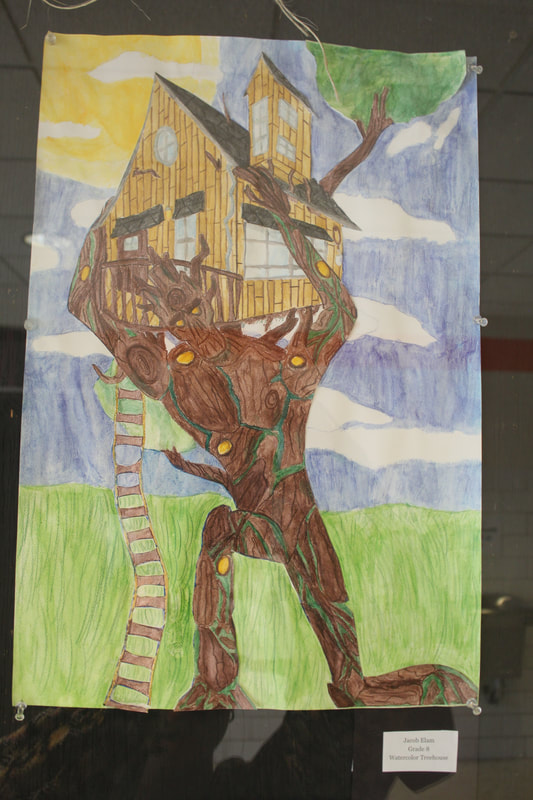
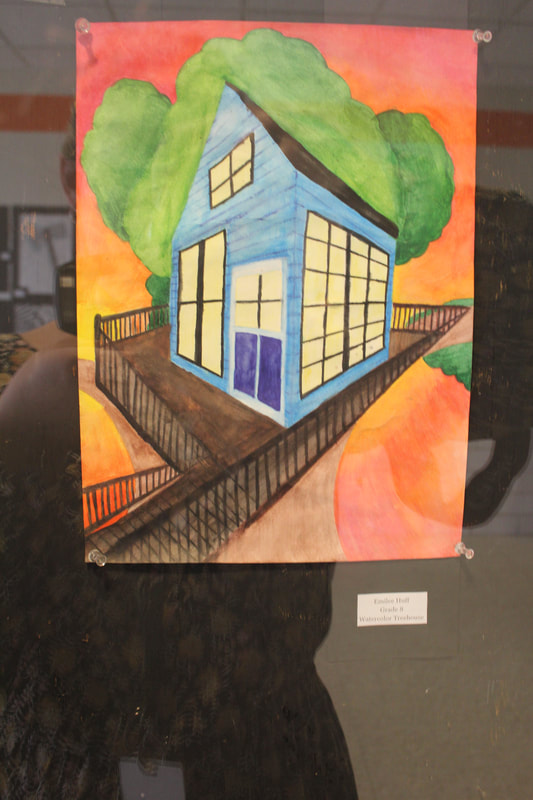
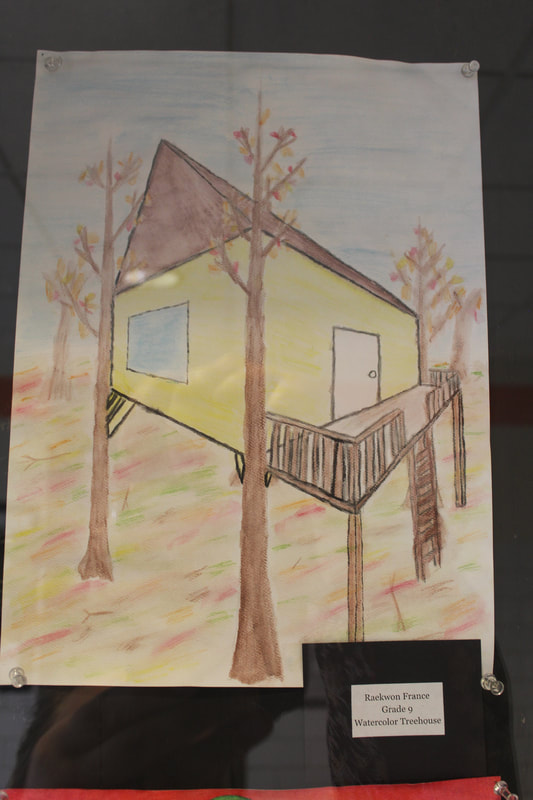
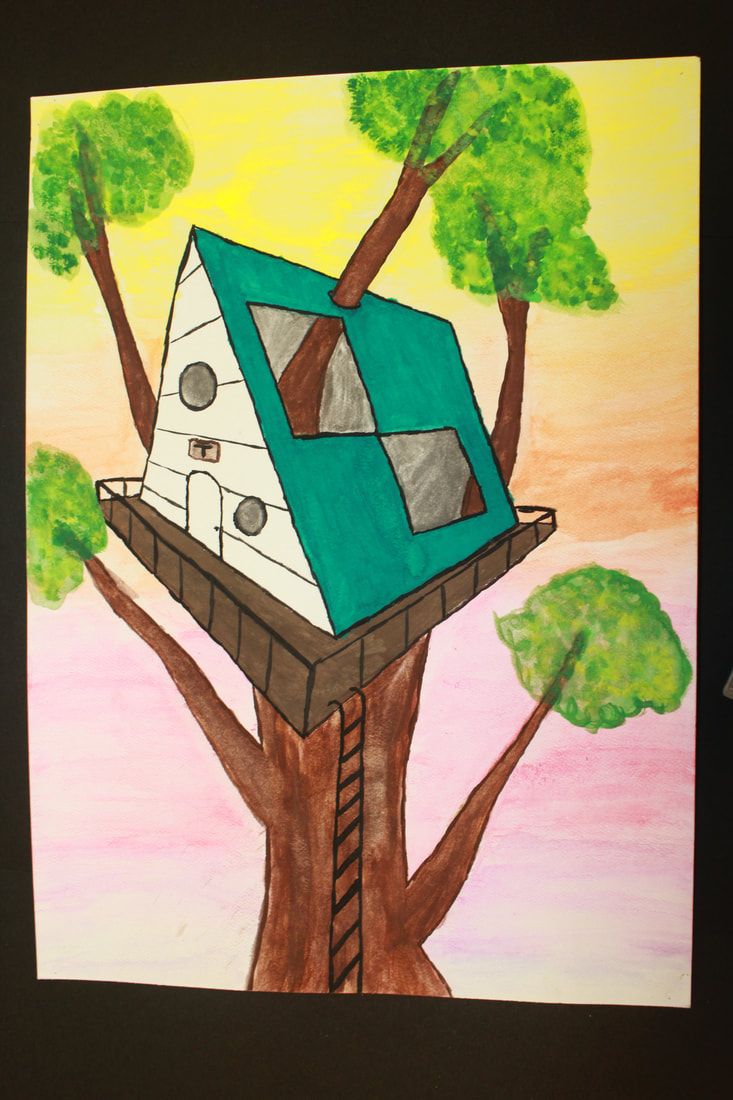
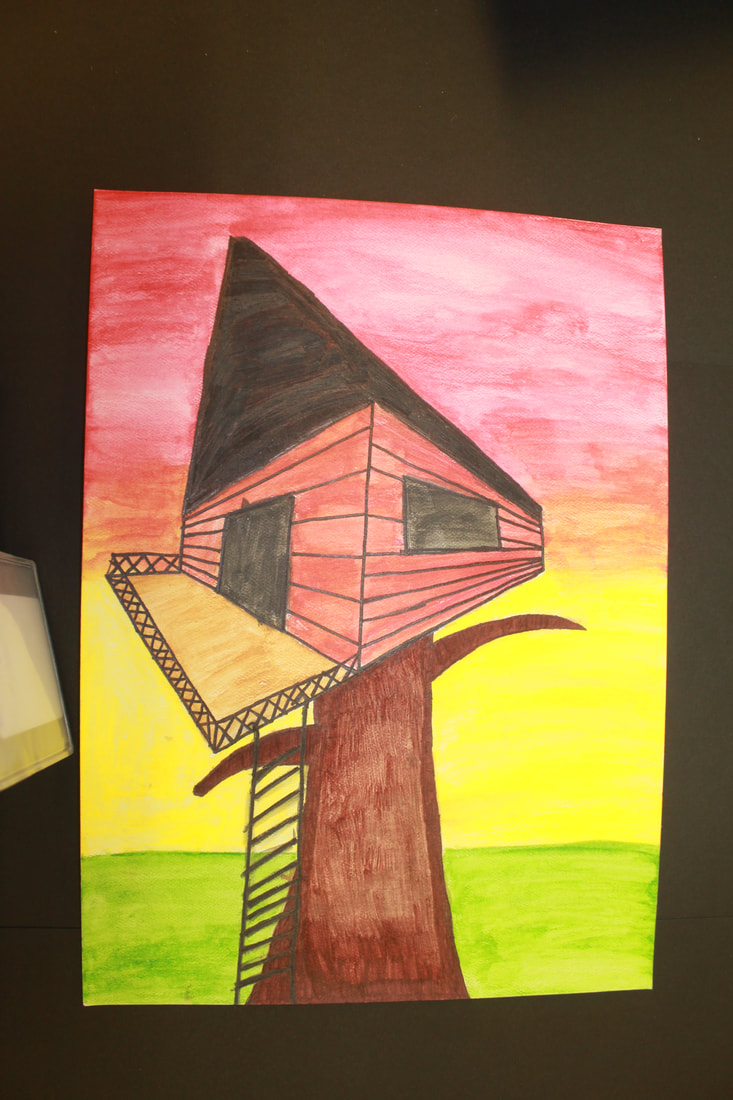
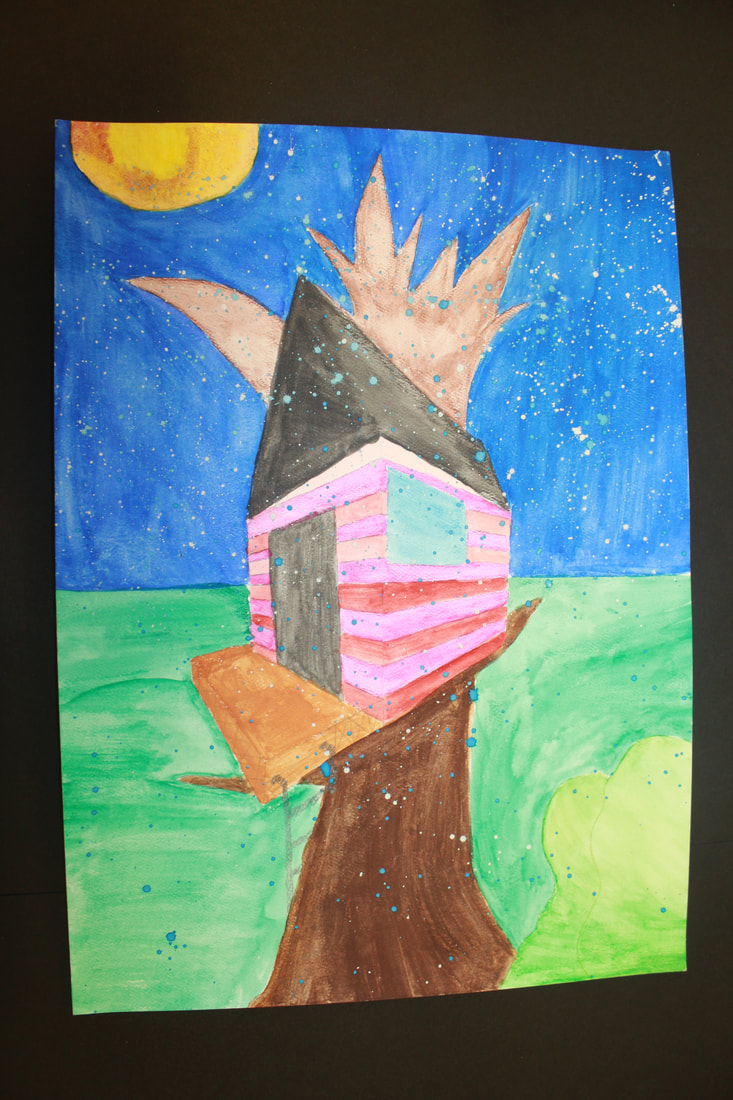
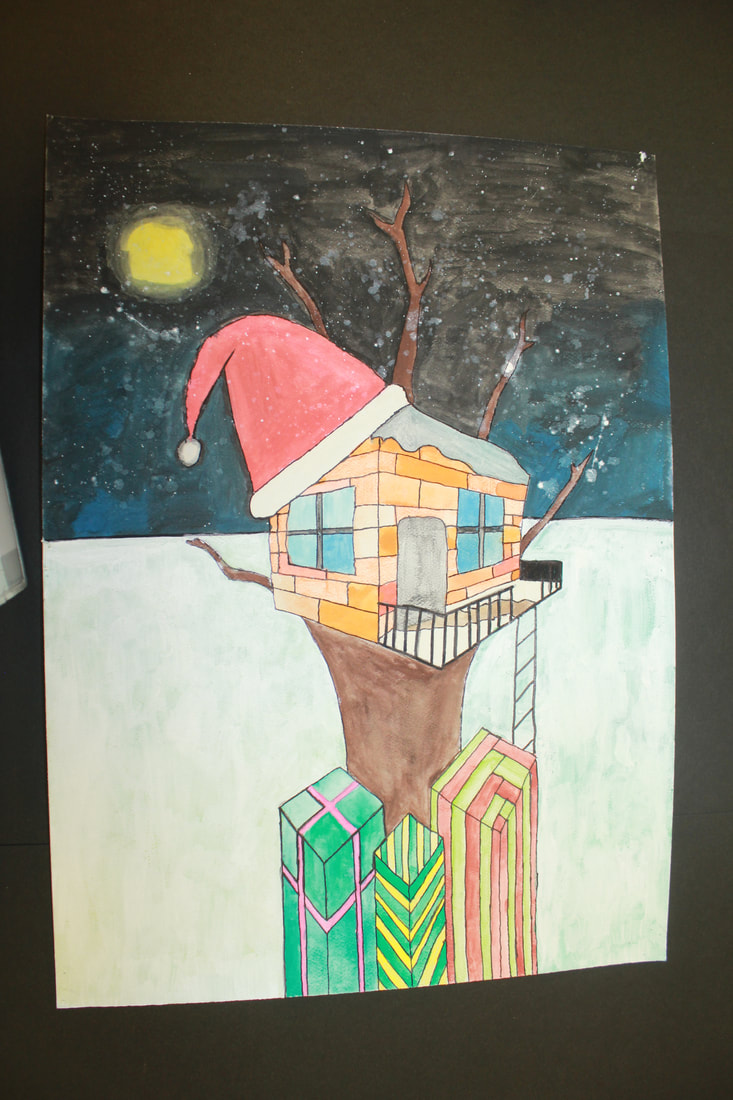
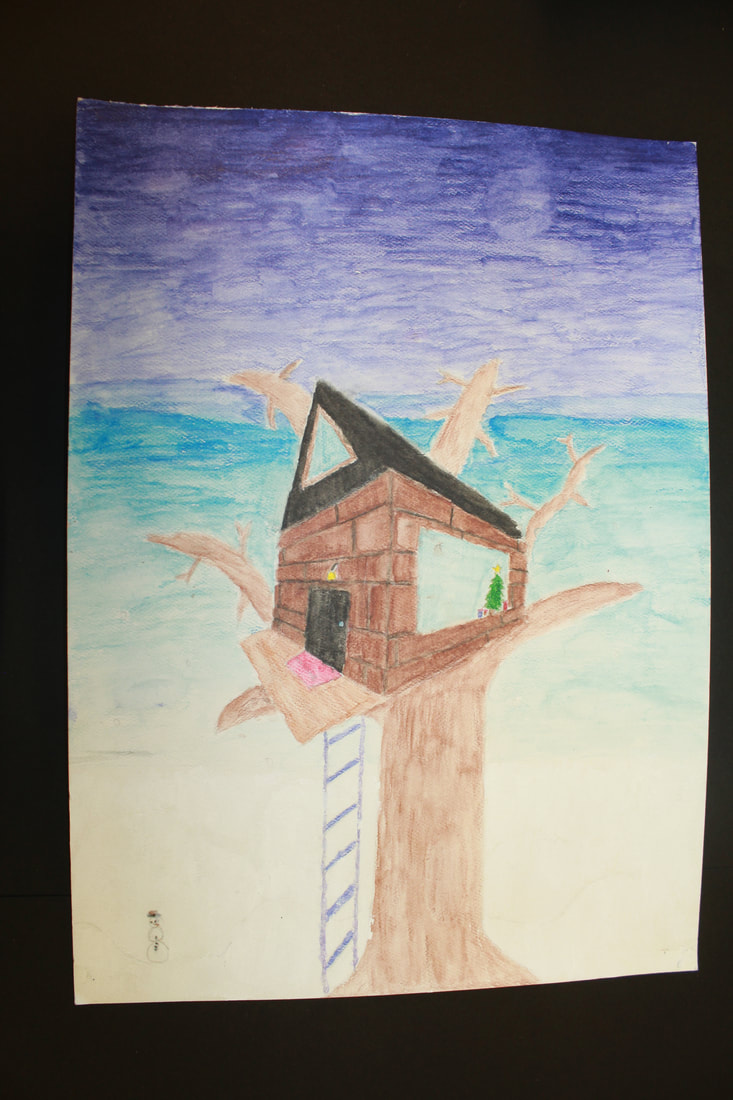
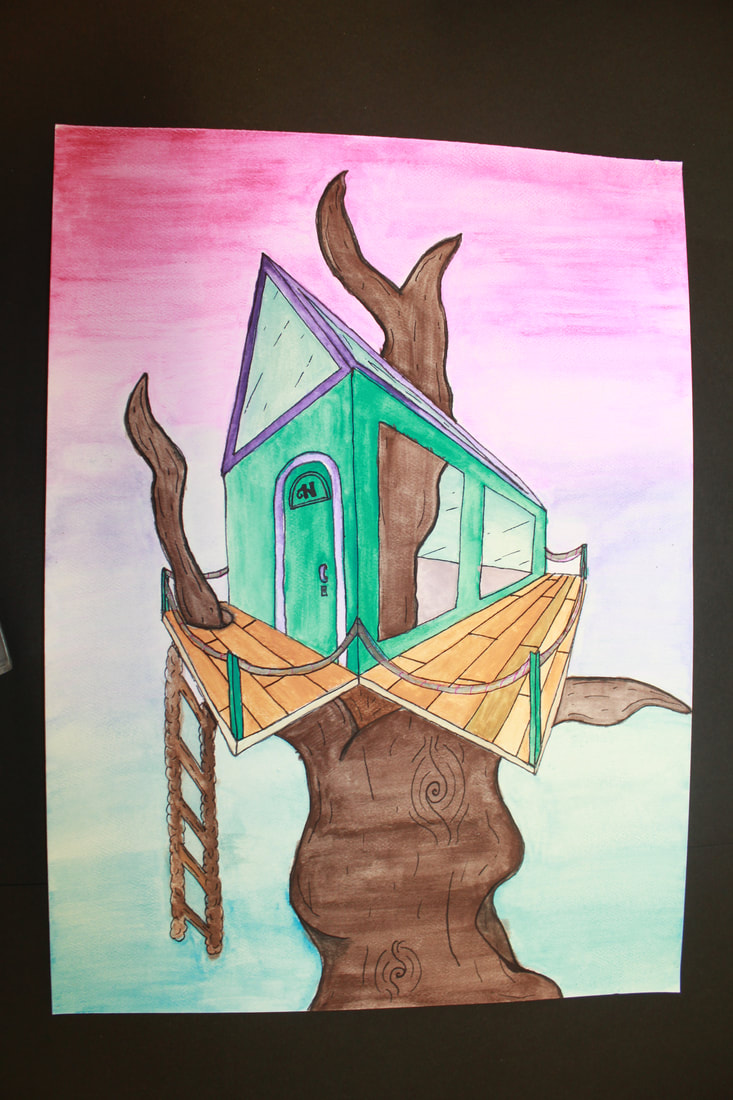
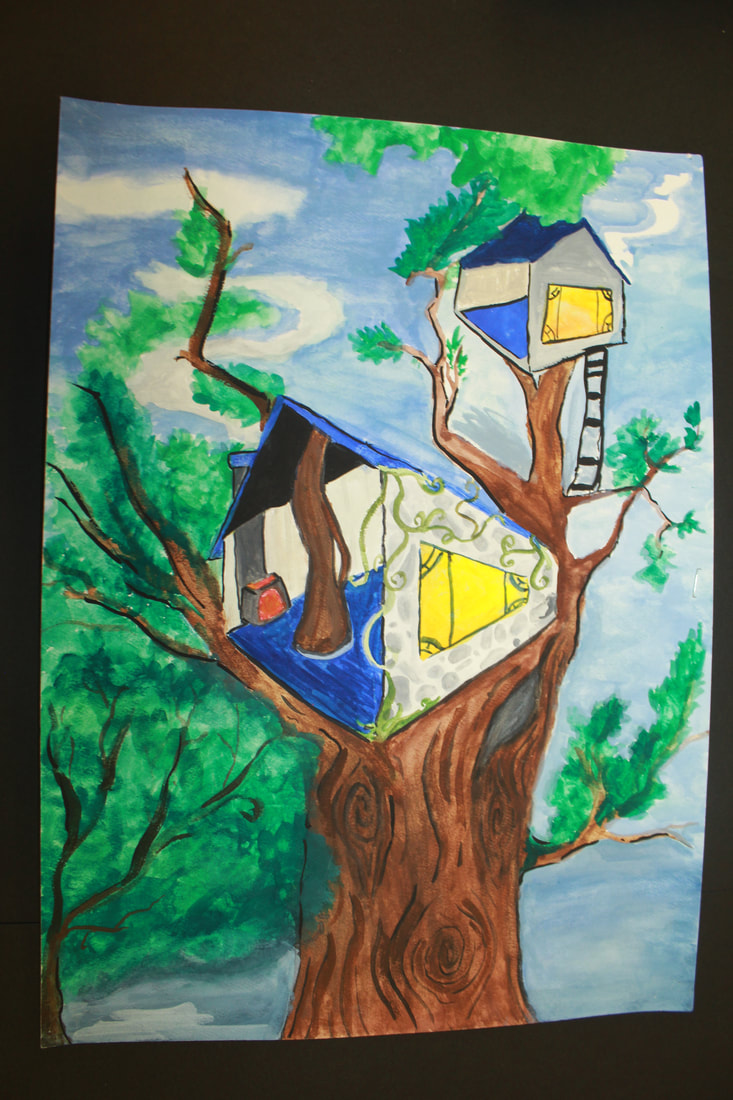
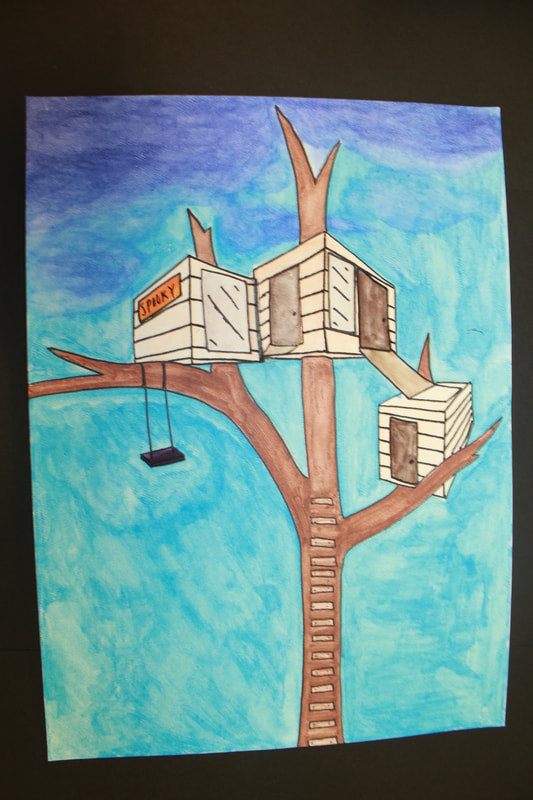
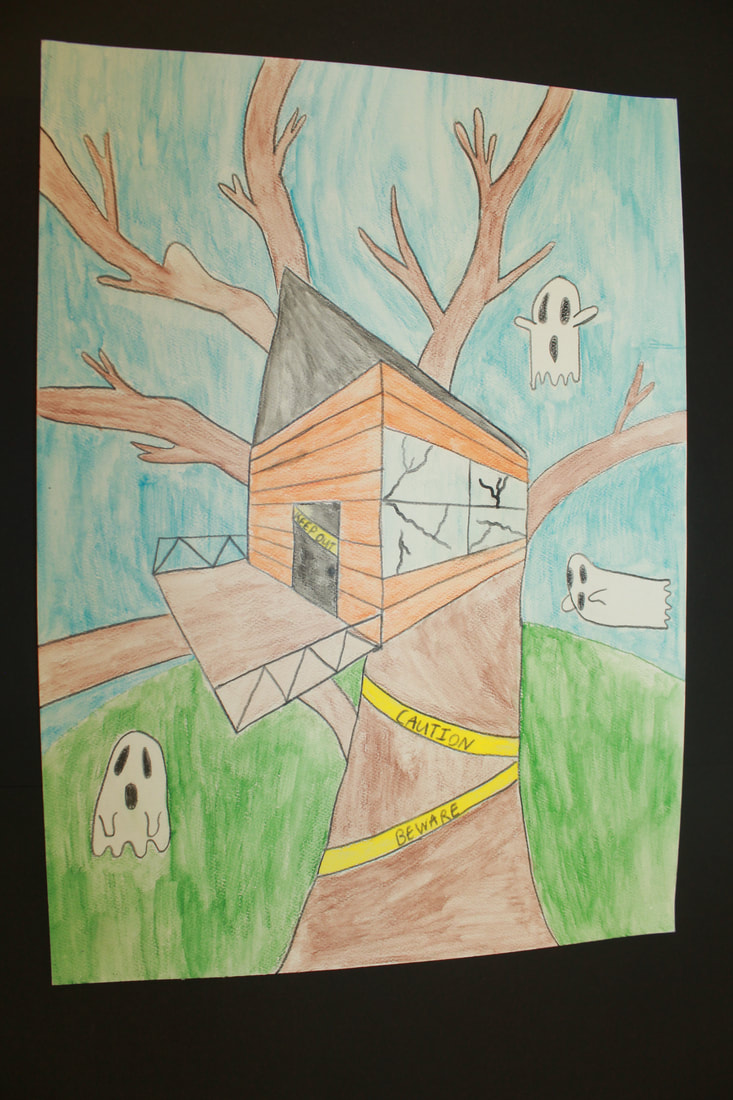
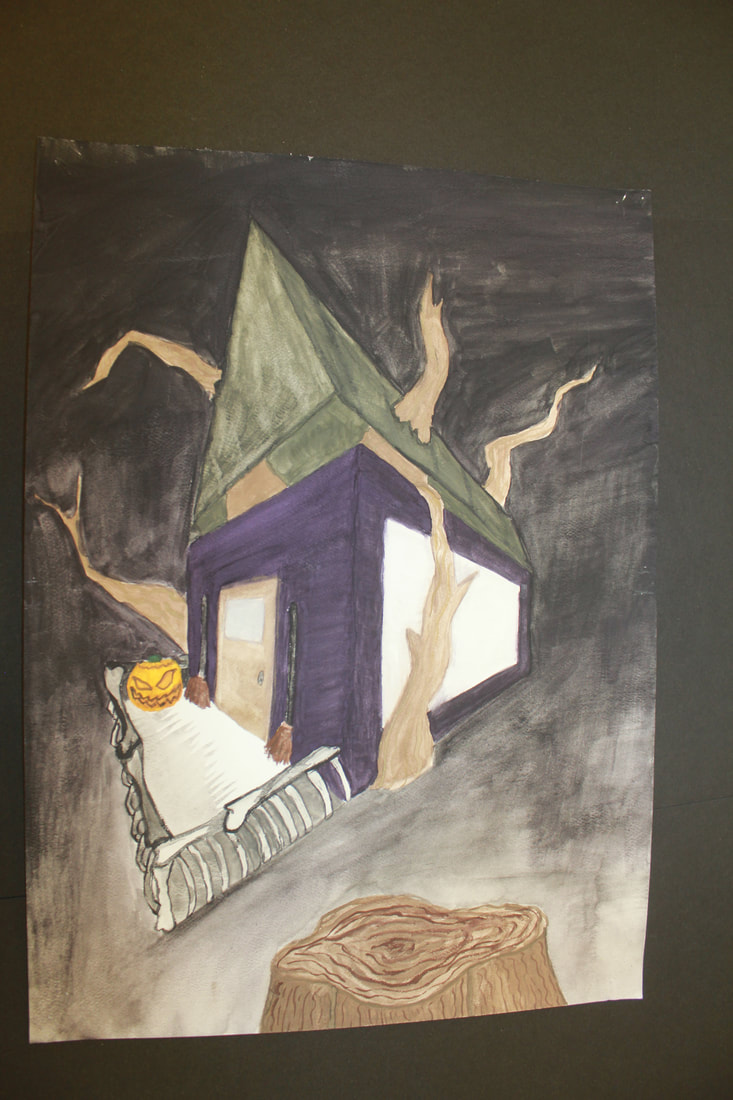
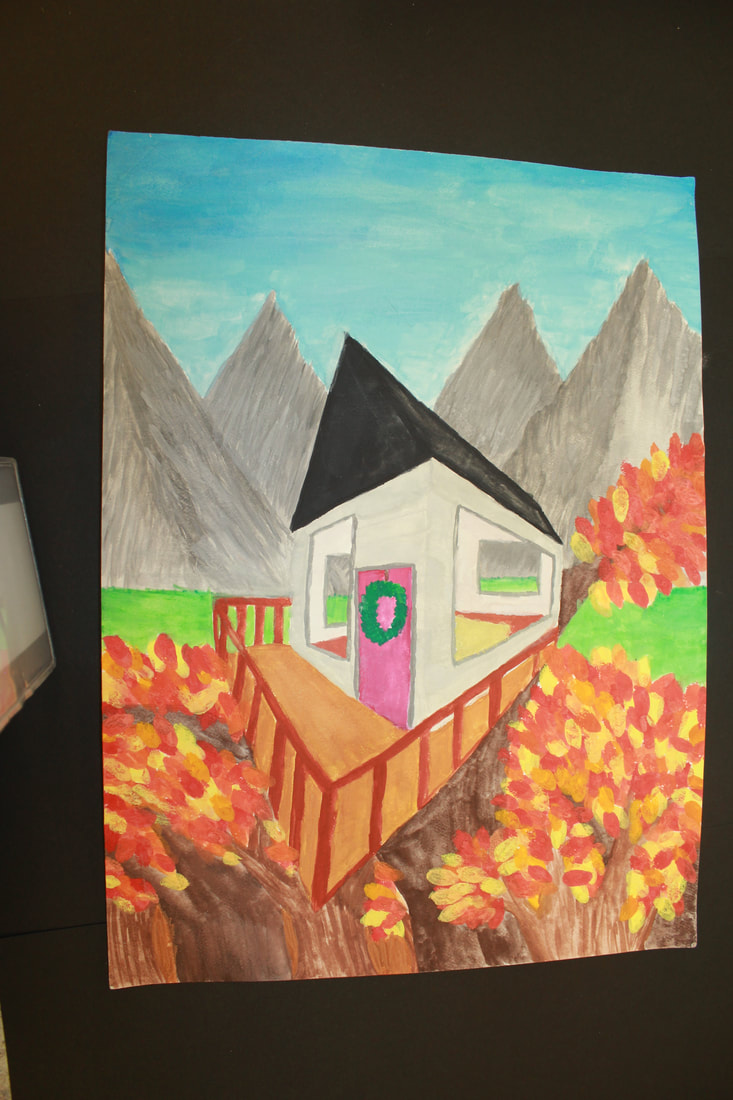
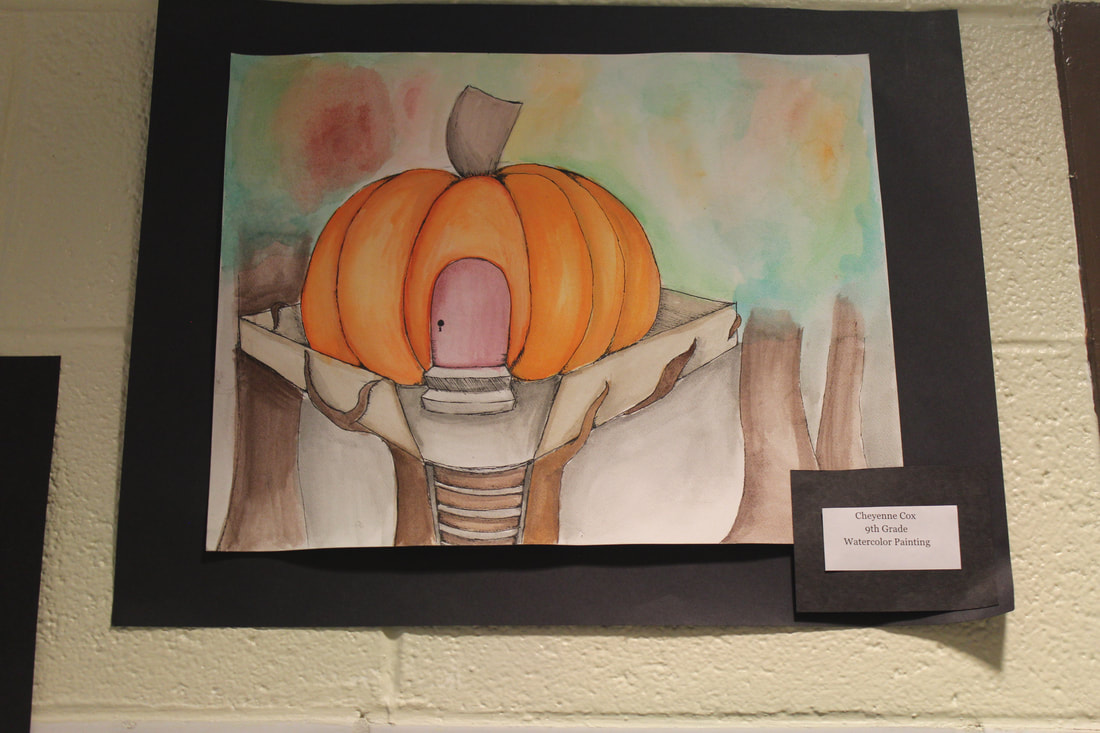
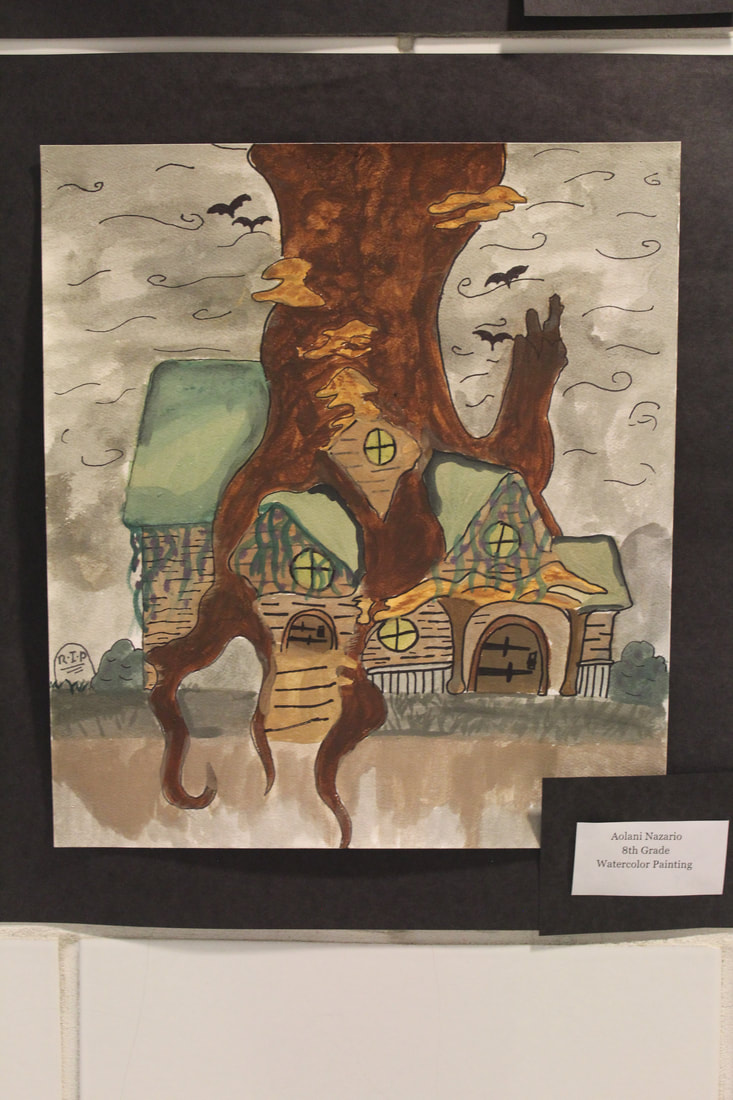
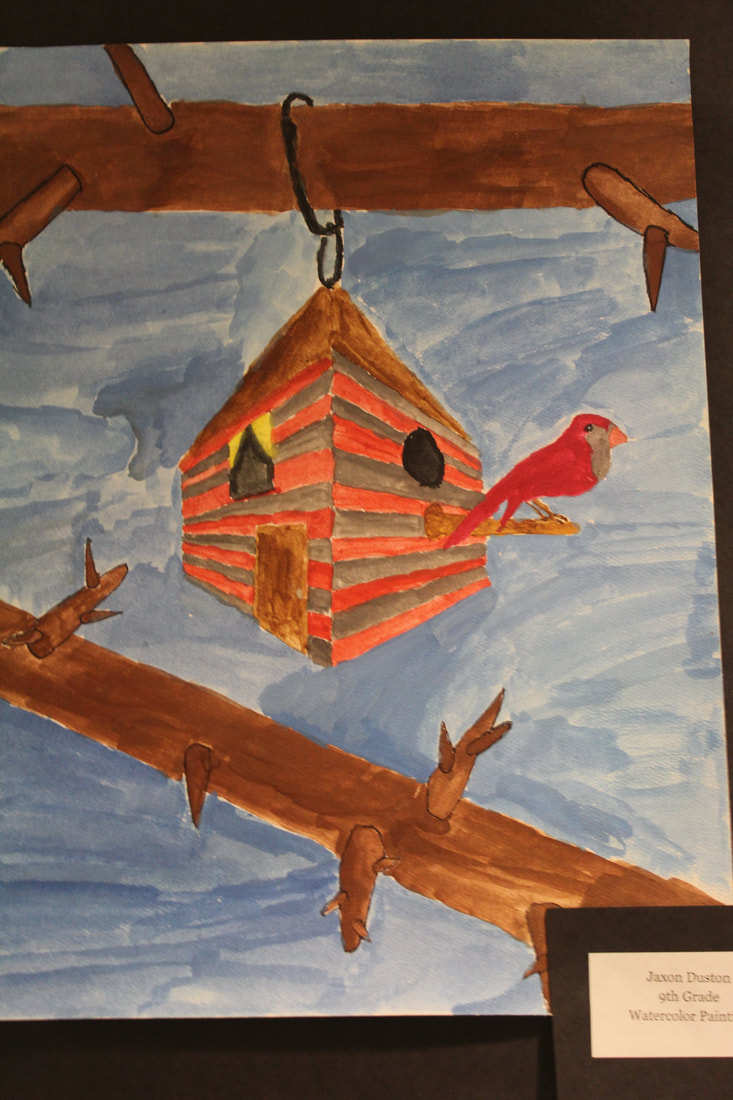
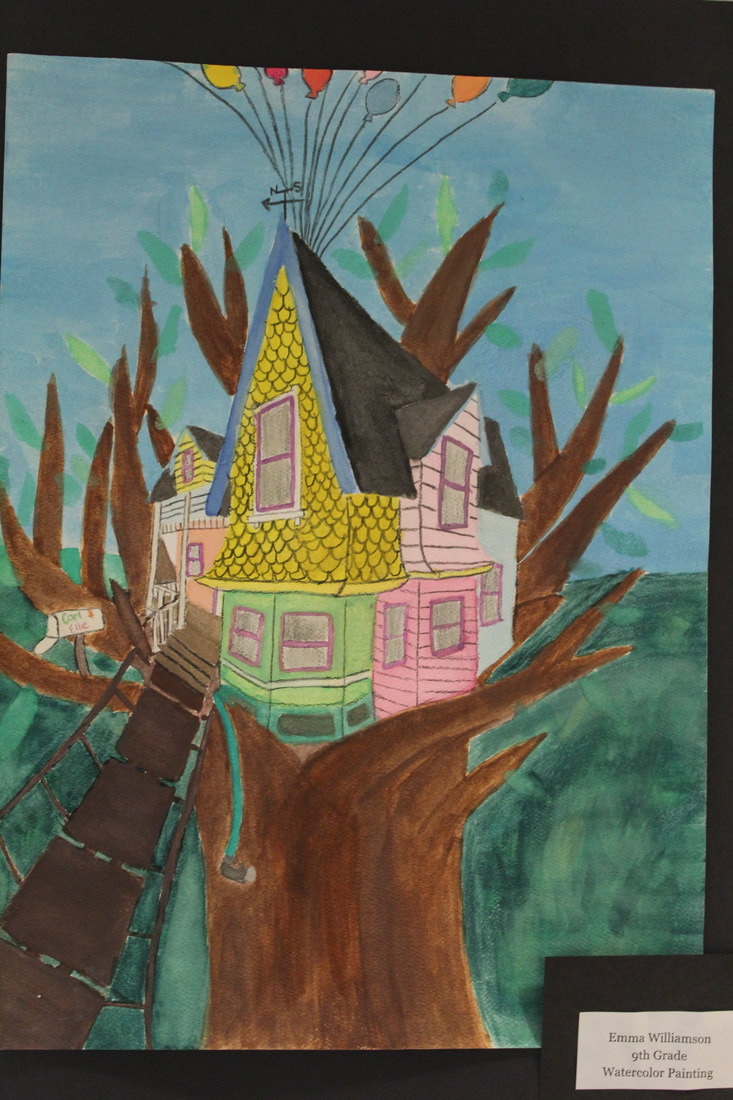
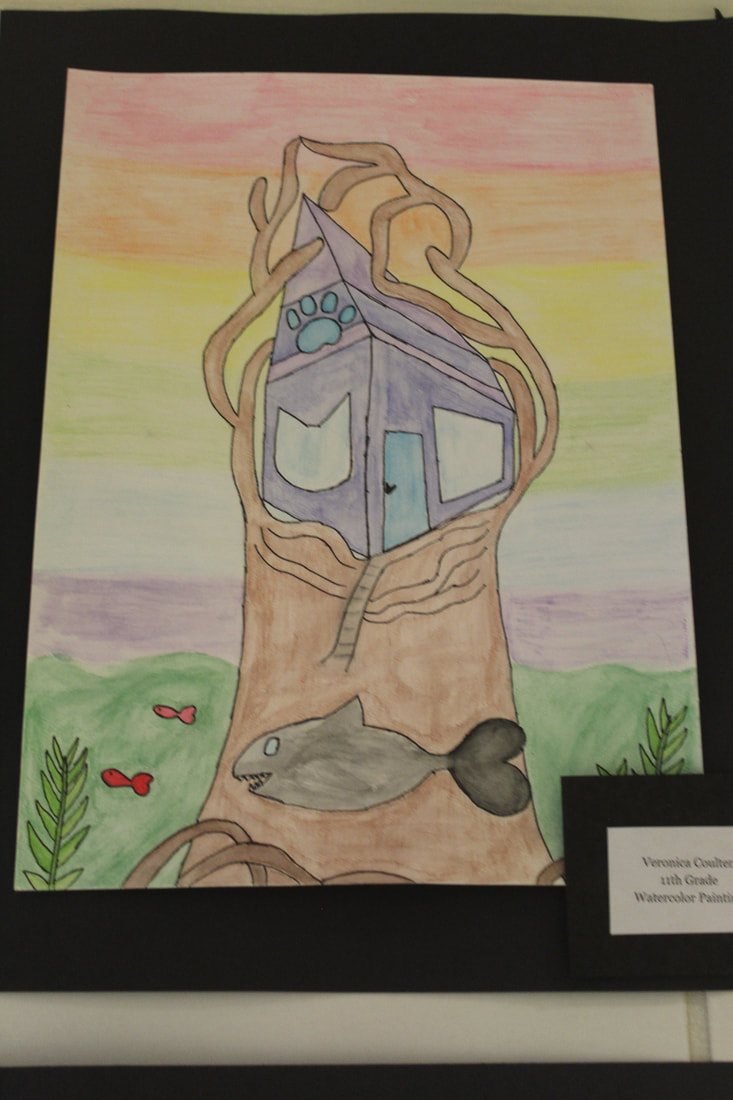
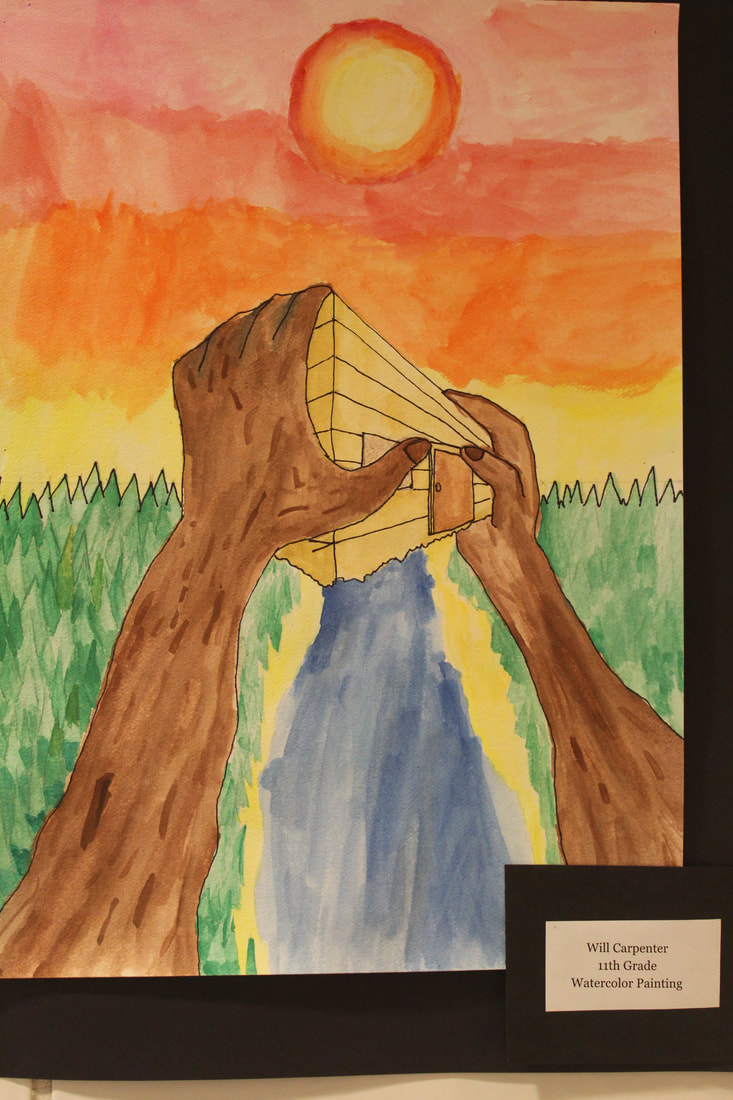
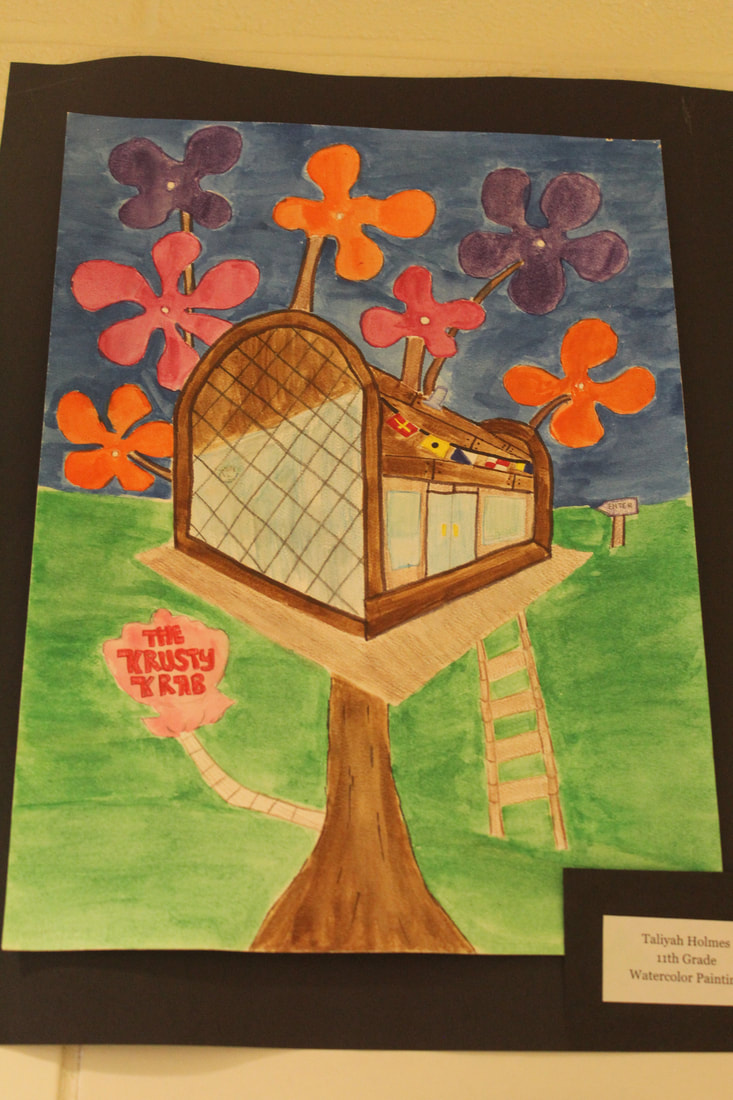
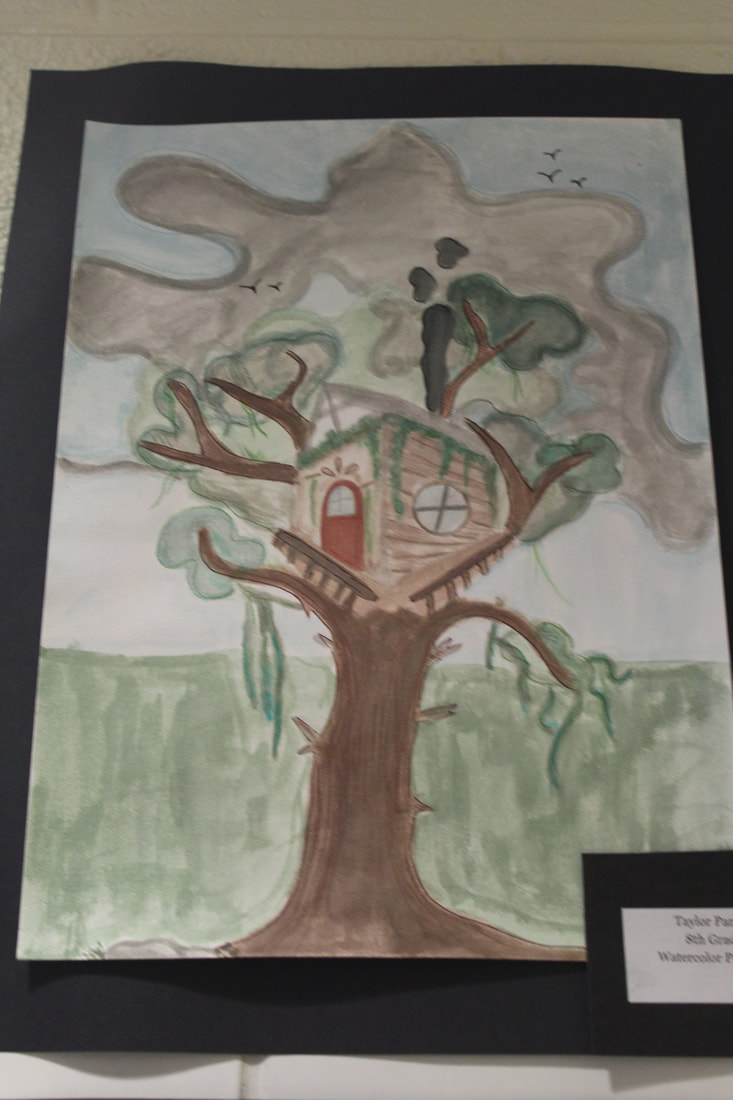
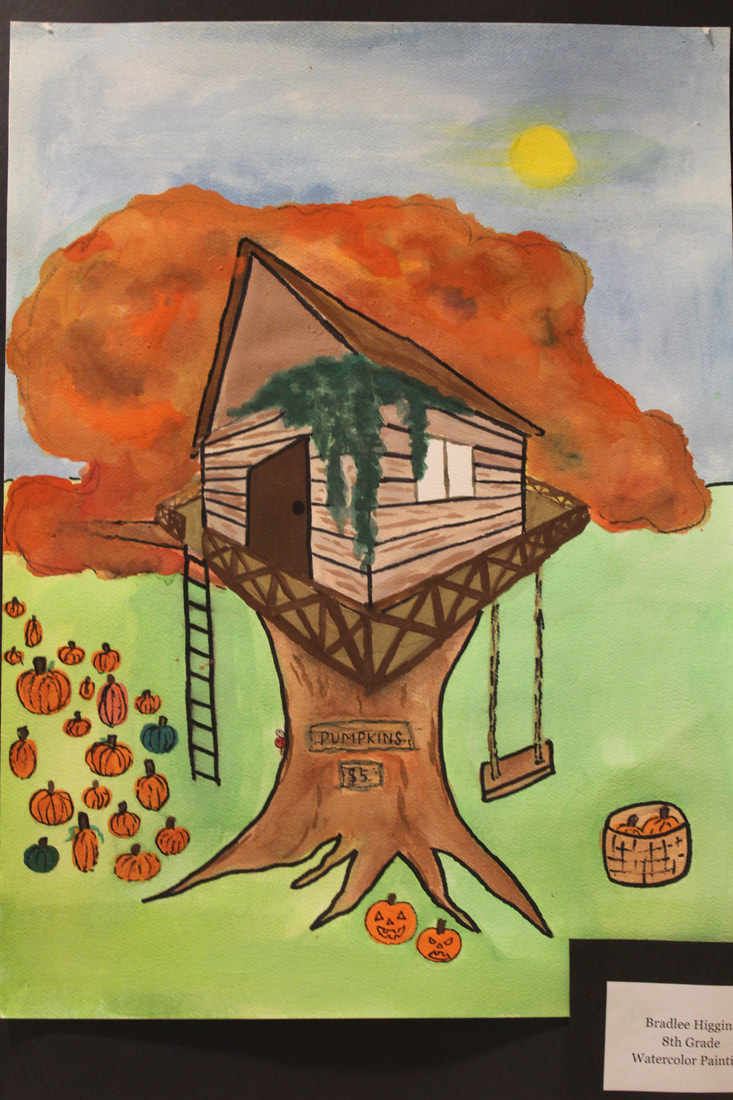
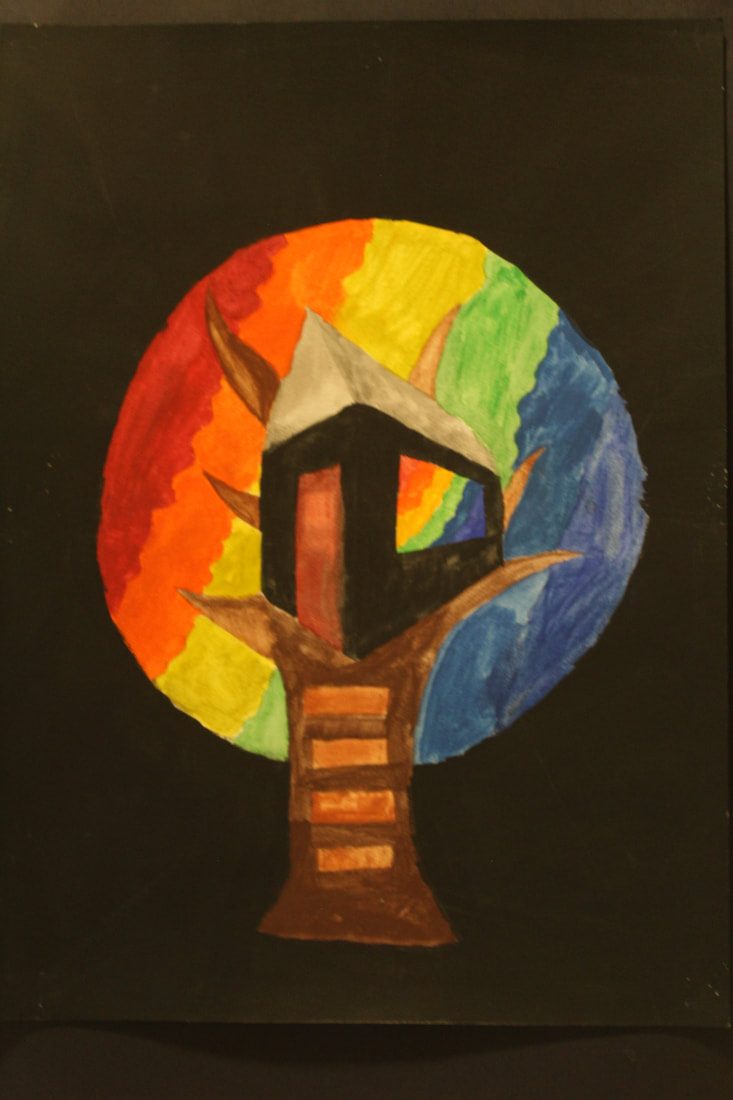
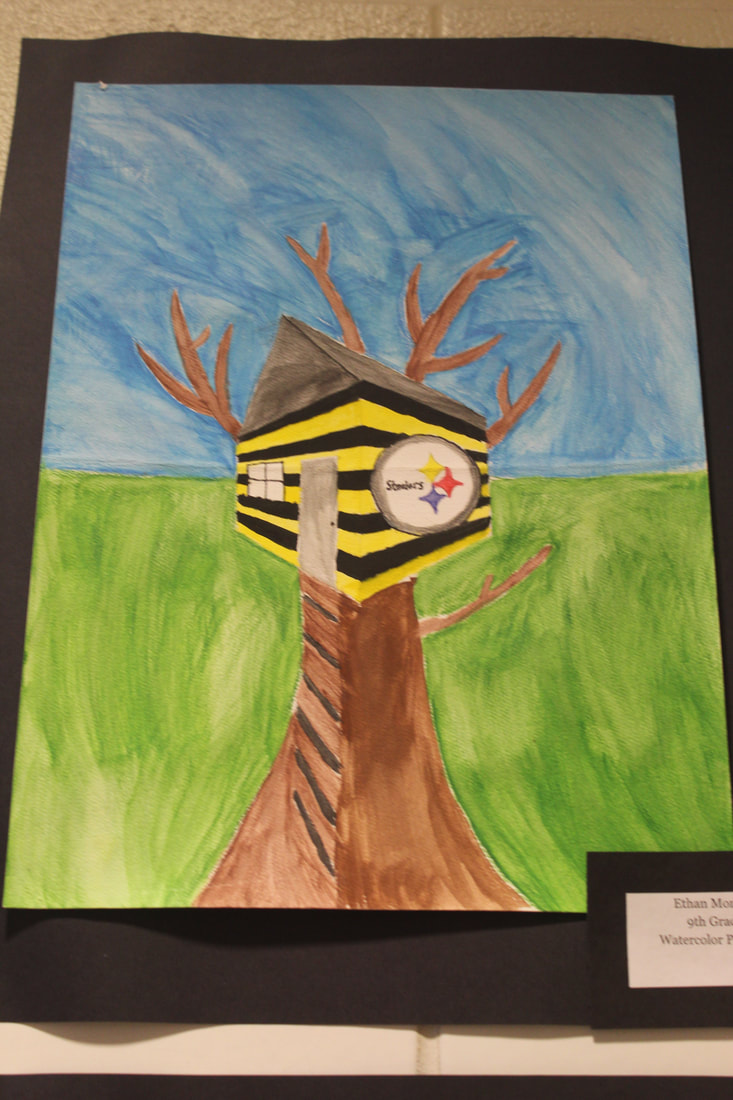
Two Point perspective treehouses
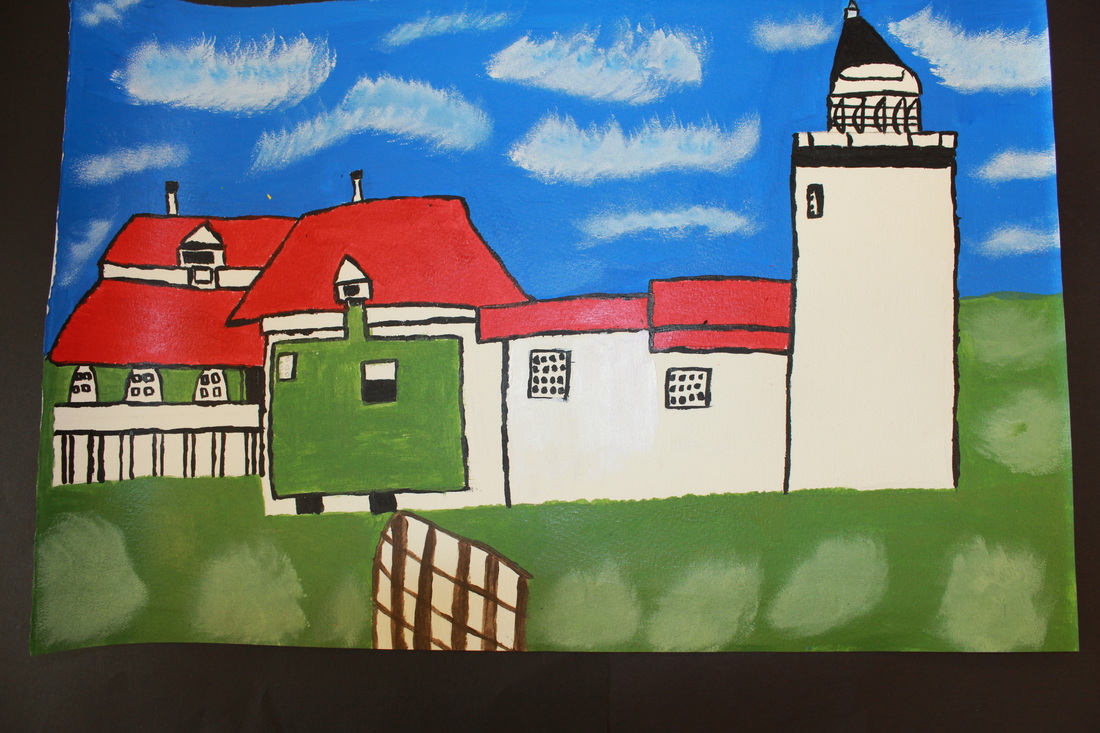
For this project students learn about two point perspective to create their own imaginative treehouse. We start by first all drawing a "house" shape together step by step. This helps introduce the idea of perspective to the class as a whole and gives everyone a basis for their treehouse to get started. From there the students use the rules of perspective they have learned to add details to their project like windows, doors, porches, ladders, etc. The students then use watercolors and learn about both watercolor pencils and watercolor tray paints to finish up their projects. This project is usually a fun one that seems to fall around halloween so many students enjoy making a spooky theme! We also play a few episodes of the tv show "treehouse masters" to help us imagine what it would be like to create an actual tree house. They turned out great!
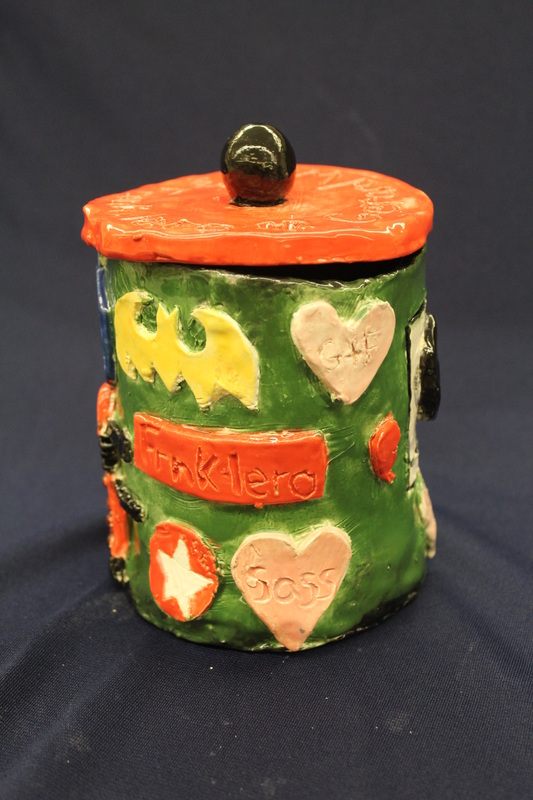
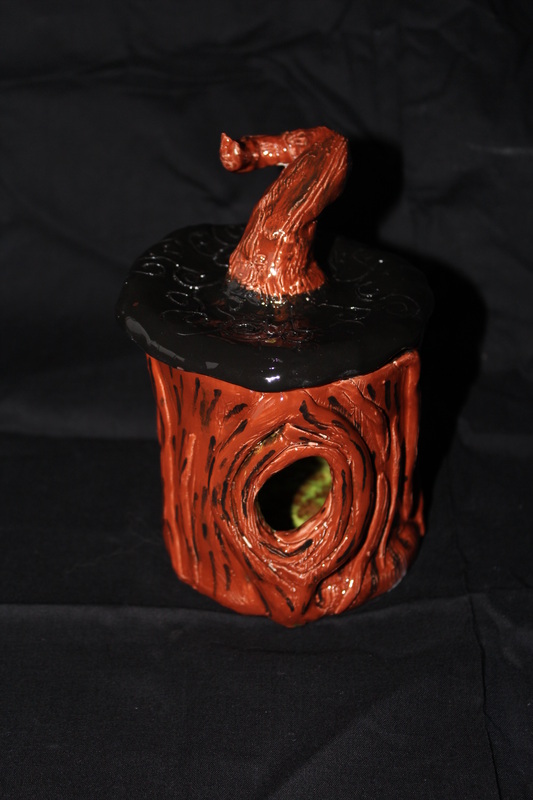
Clay Containers, Candle holders and Bird houses
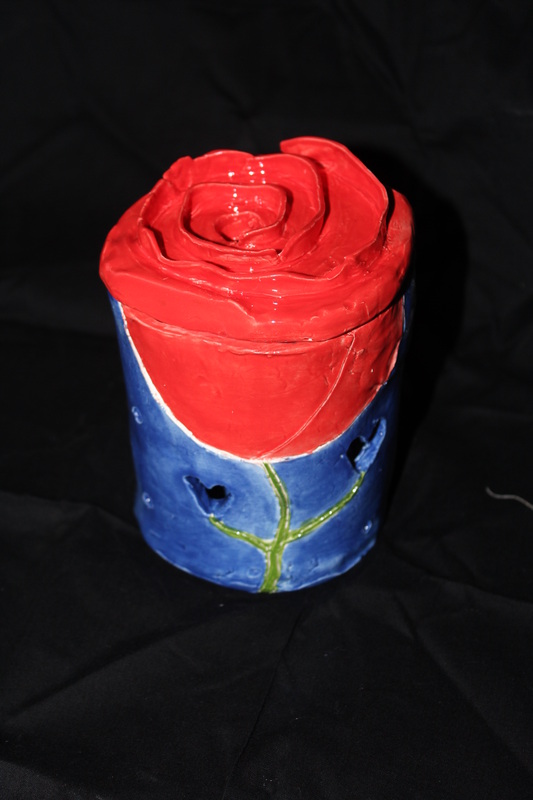
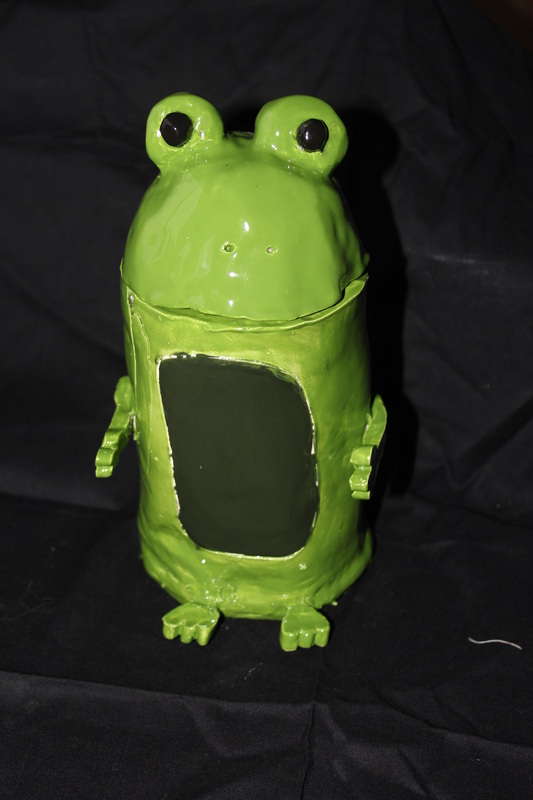
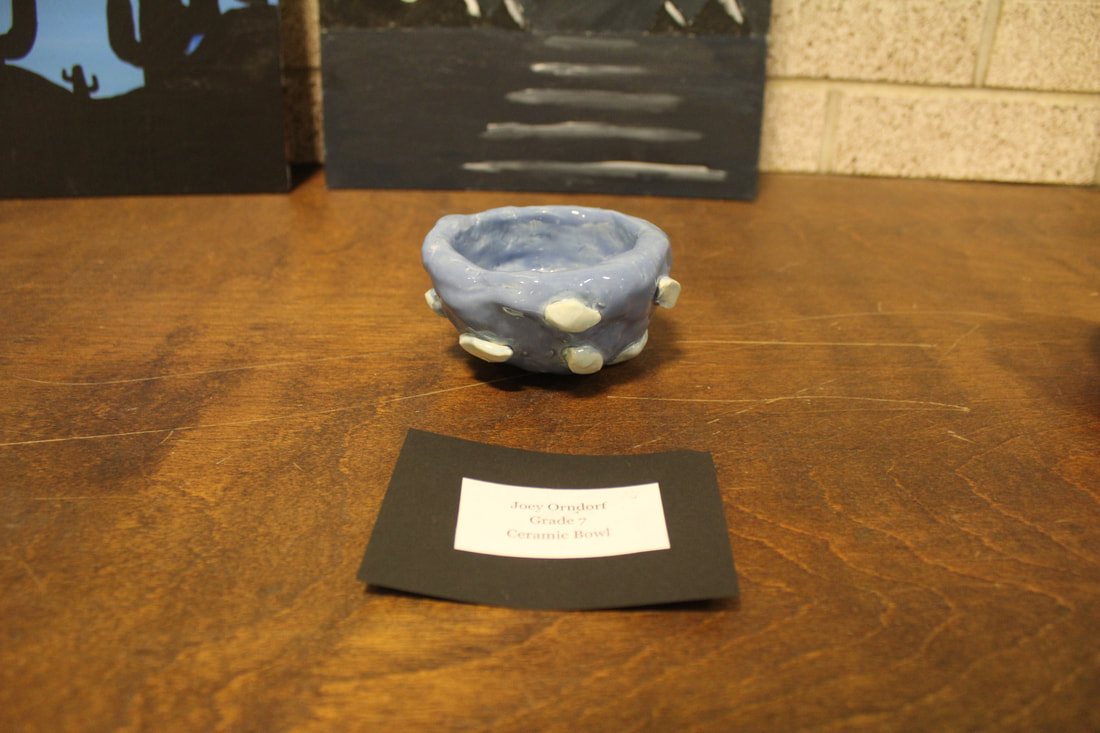
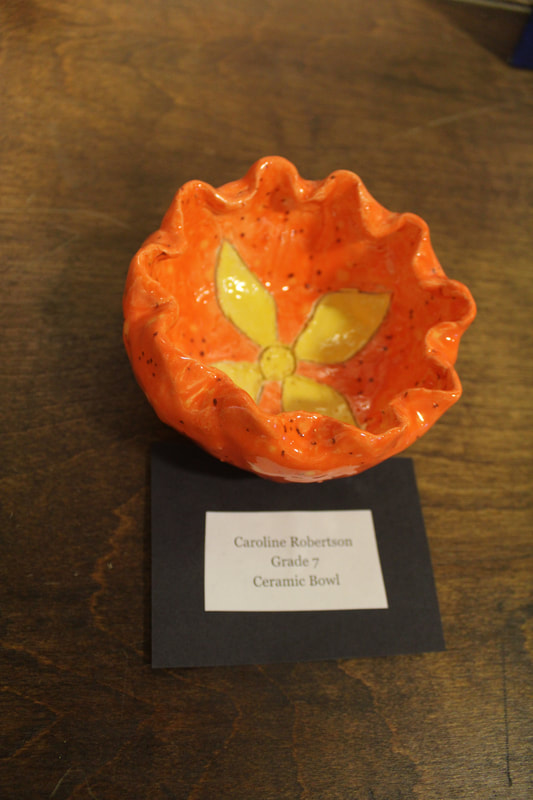
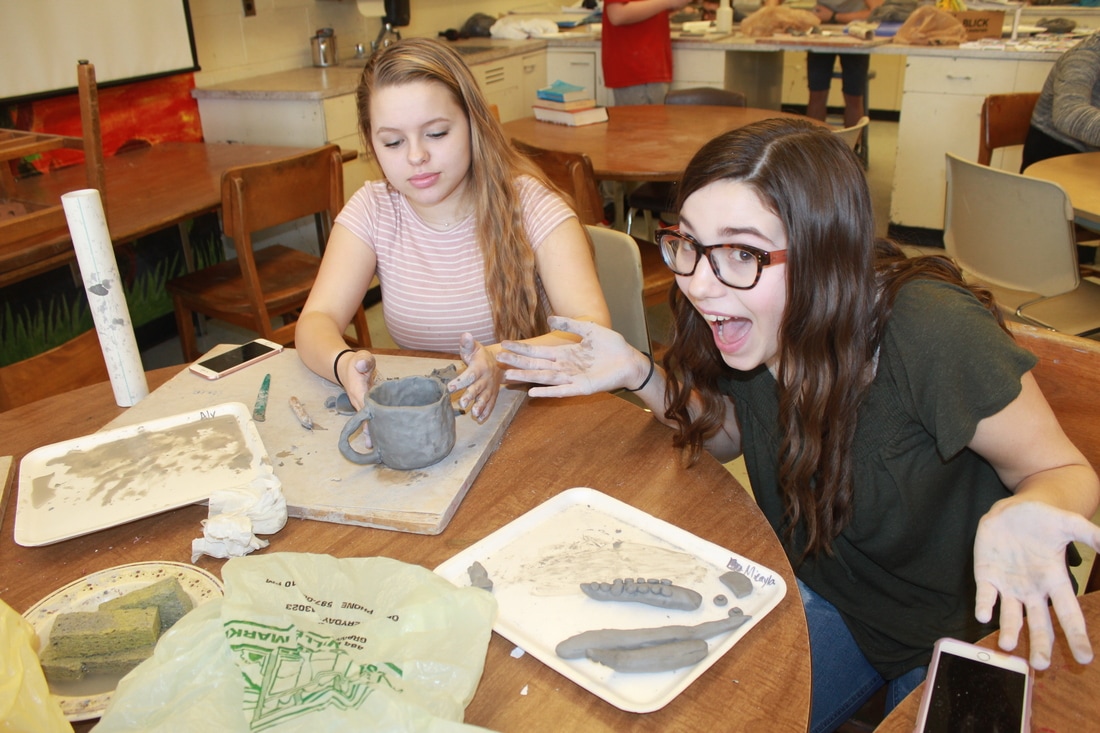
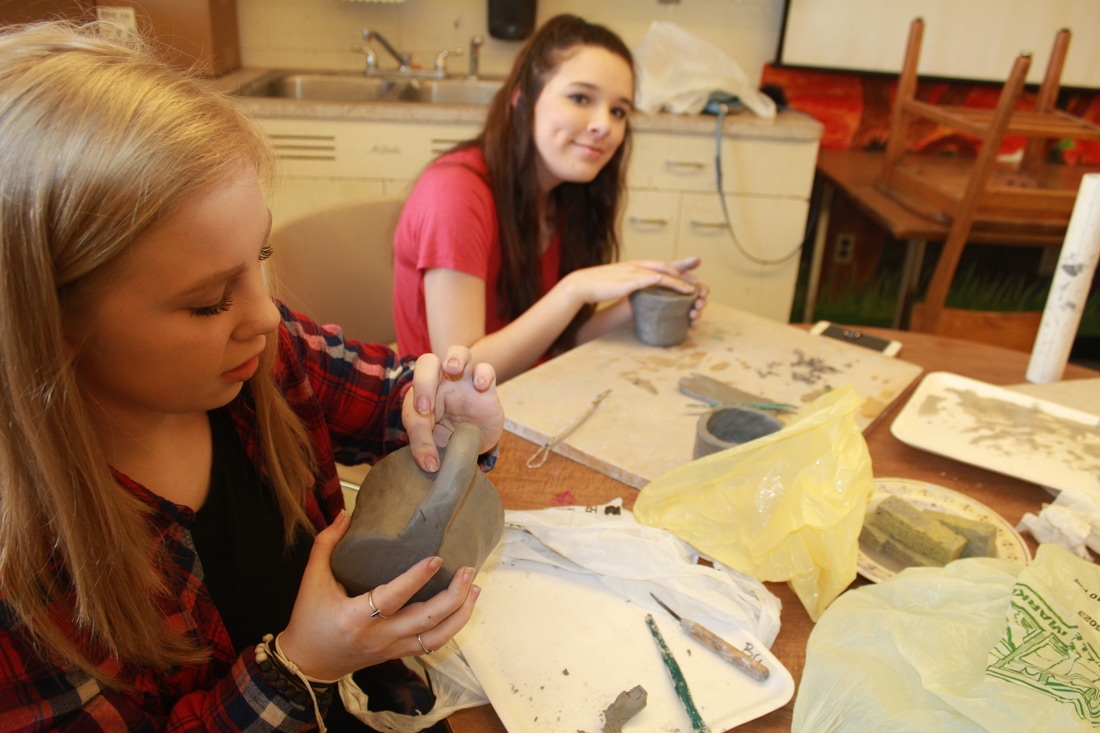
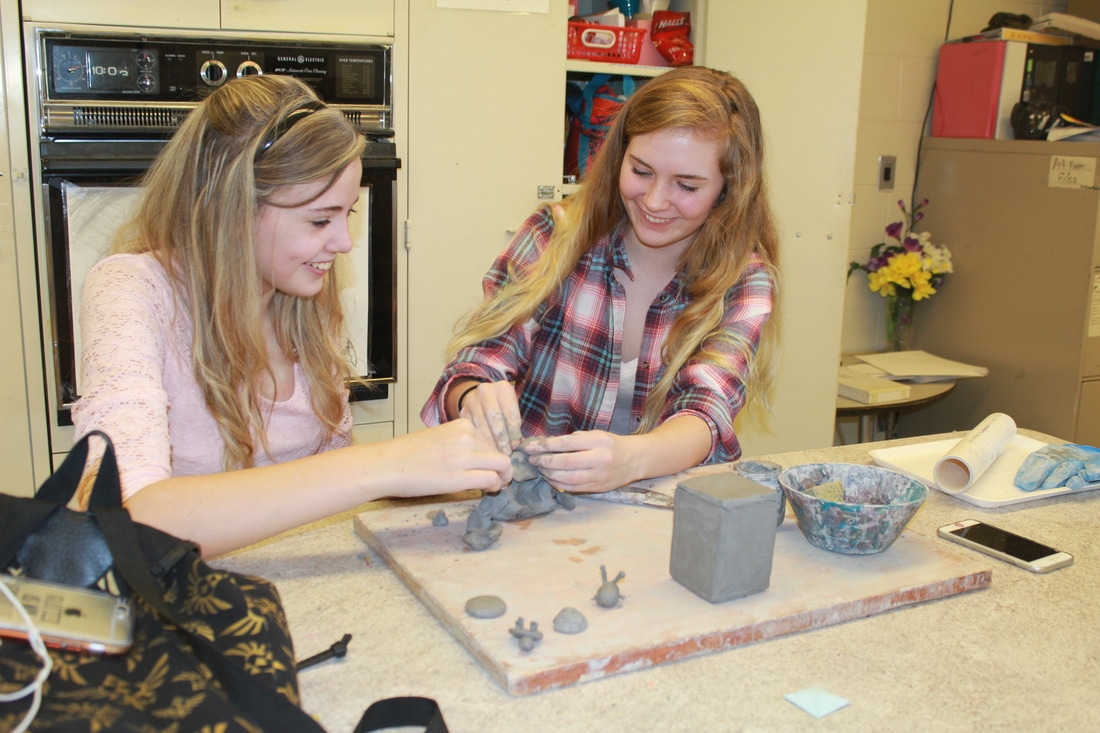
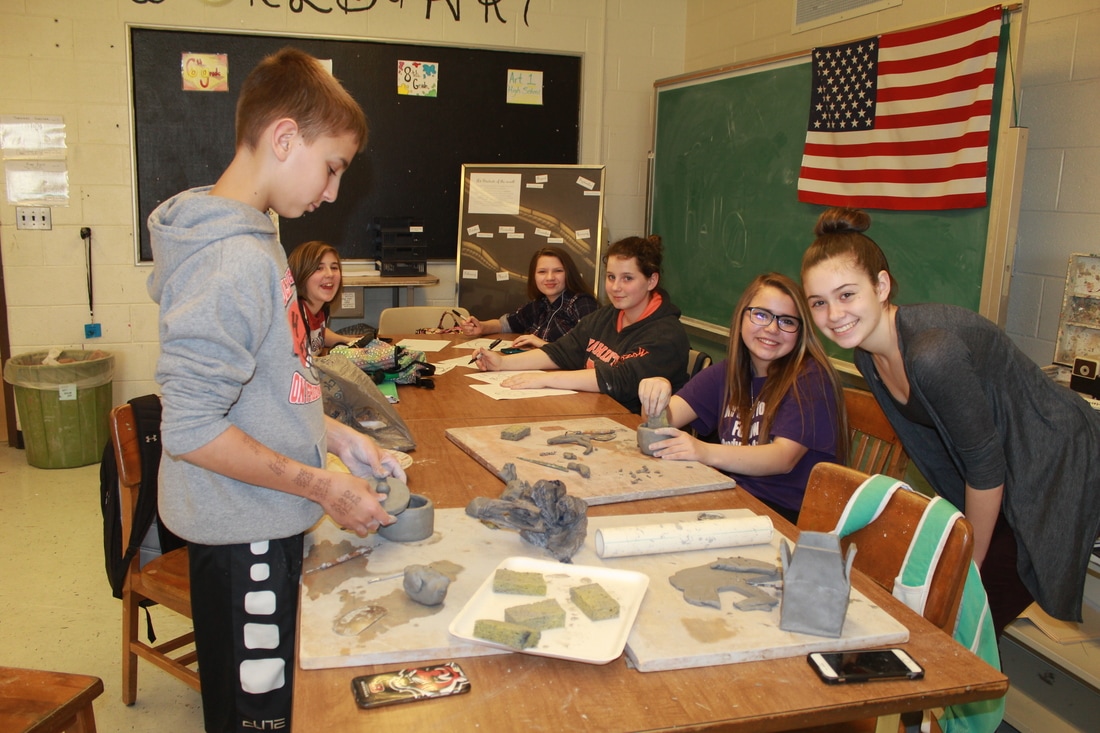
For our first ceramics project in art one students were allowed to design their own container with a lid, bird house, or candle holder. The idea was that all students would be building with clay learning about the slab building technique while adding their own artistic flare. Students got really creative with this project and we learned a lot about the stages of clay which will help us when we move on to designing our next clay project.


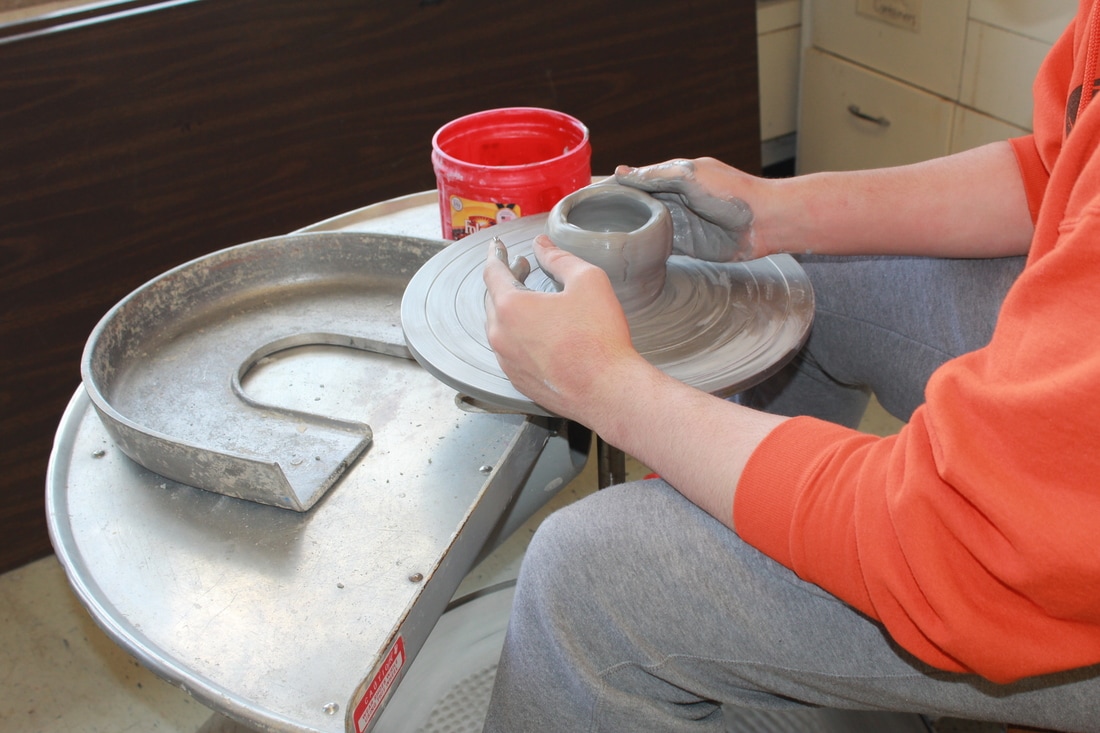
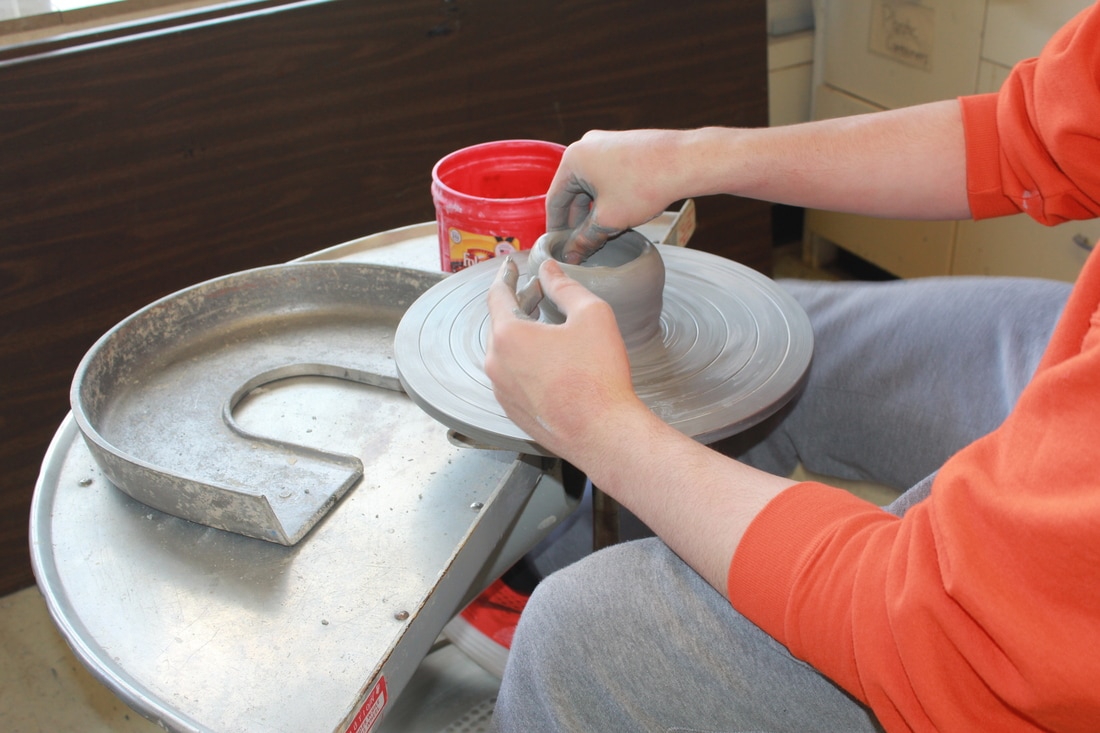
In the beginning of the 2016-2017 school year we borrowed a kick potter's wheel from the high school. My one and only student who experimented on the kick wheel was Austin. He made a cup! I was really proud of the initiative he took to try building at the potter's wheel because we had only been hand building in class, and if you know anything about wheel's kick wheel's are MUCH harder to operate than an electric one.
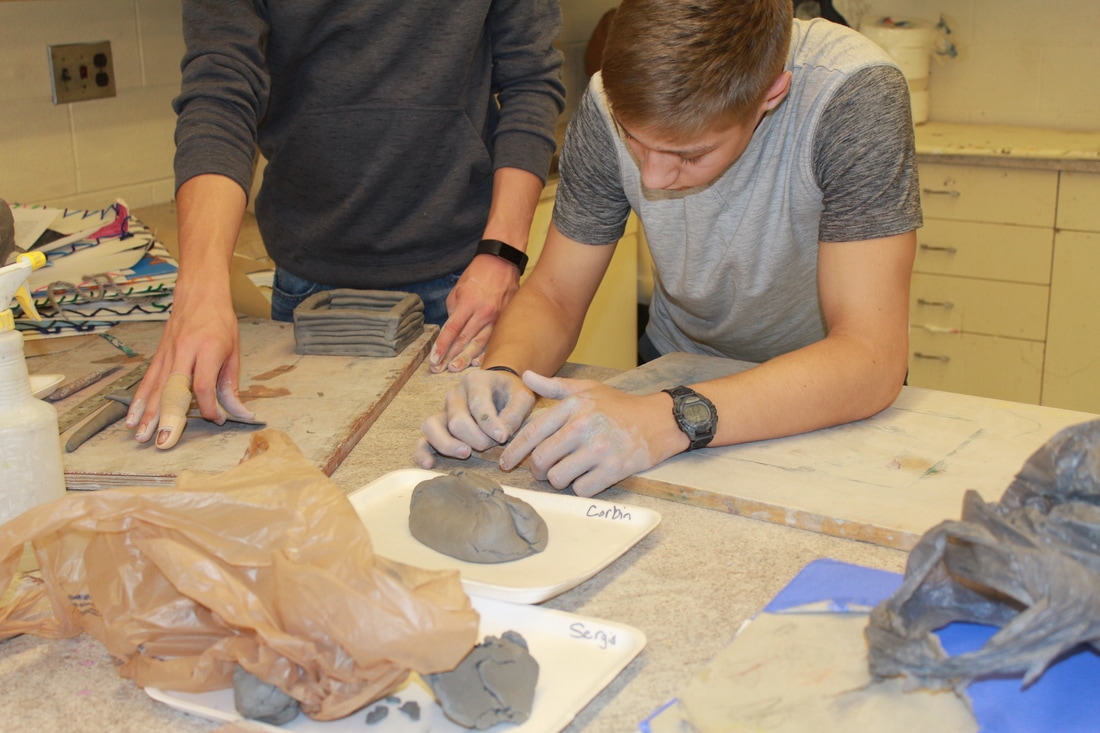
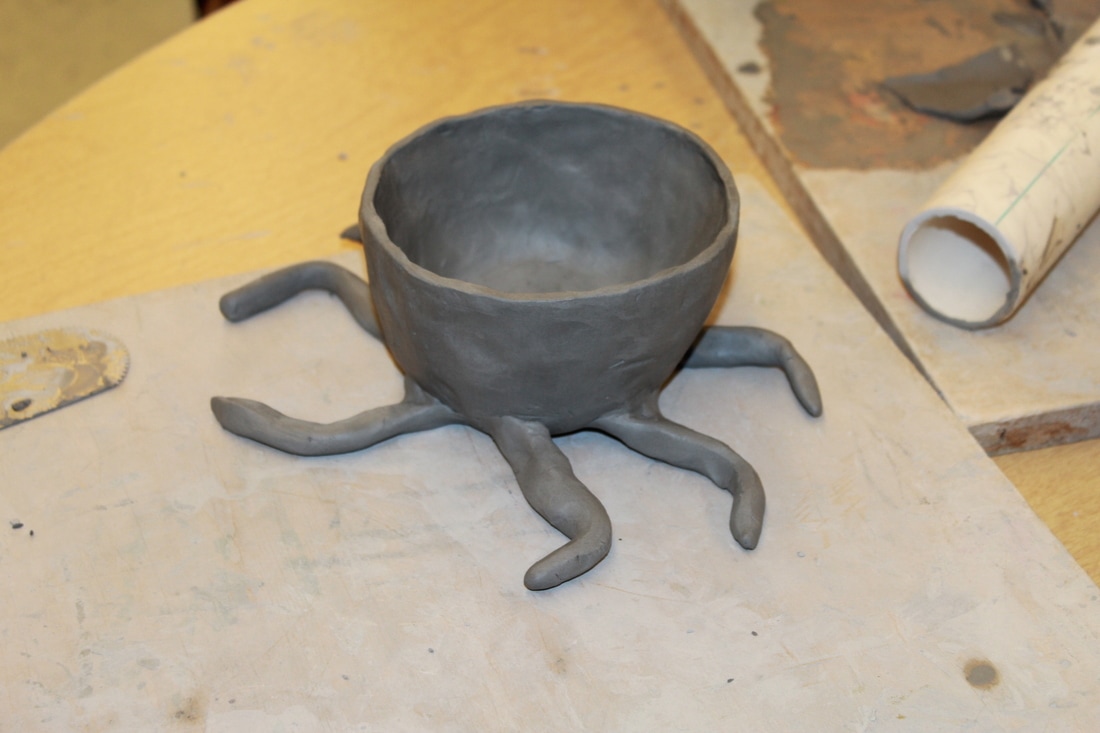
Also pictured below are students in art one classes working on their personal choice clay projects. Students were able to create anything that was school appropriate and purposeful. Most students chose to create a container. There were cups, containers that looked like bee hives, an octopus, washing machines, log cabins, and even Stitch from Lilo and Stitch. The students always seem to put a lot of effort in to their clay projects, and many of them turned out to be very useful objects once glazed.
Also pictured below are students in art one classes working on their personal choice clay projects. Students were able to create anything that was school appropriate and purposeful. Most students chose to create a container. There were cups, containers that looked like bee hives, an octopus, washing machines, log cabins, and even Stitch from Lilo and Stitch. The students always seem to put a lot of effort in to their clay projects, and many of them turned out to be very useful objects once glazed.

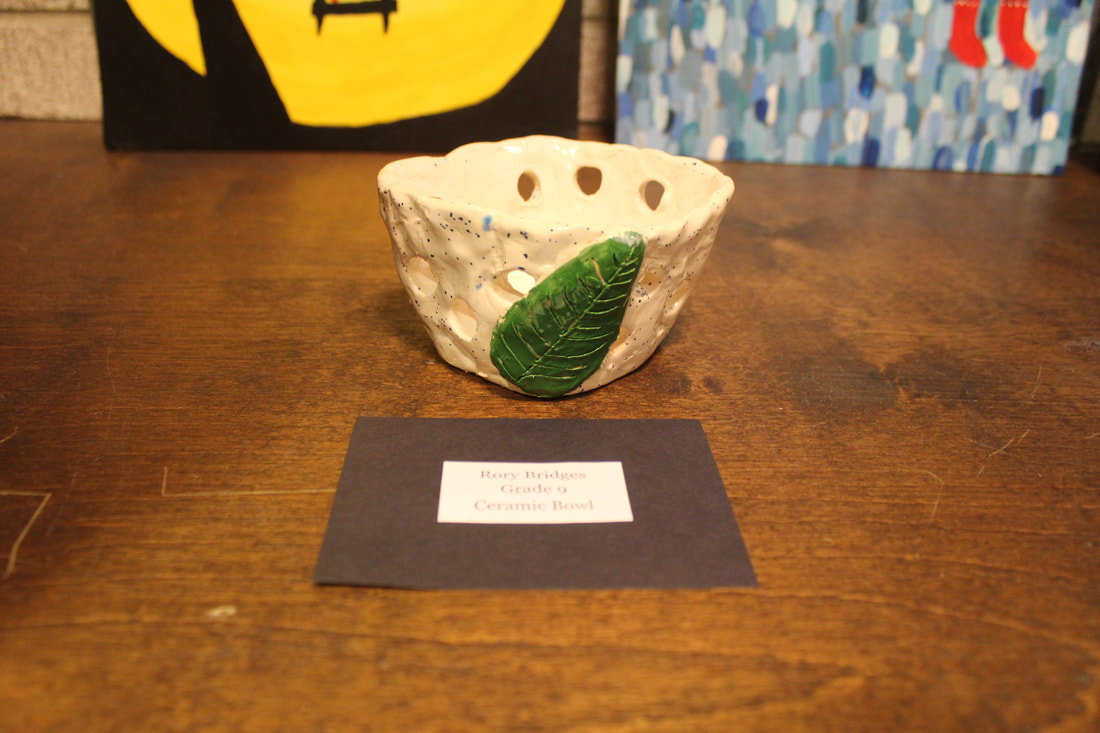
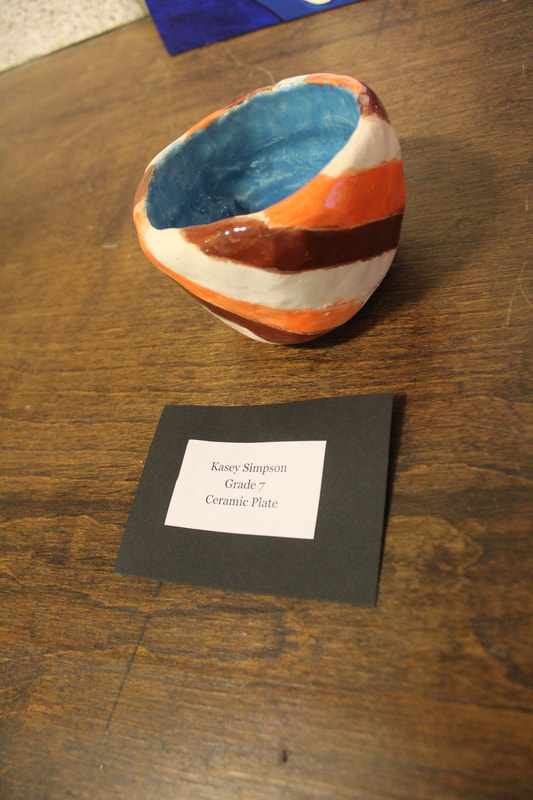
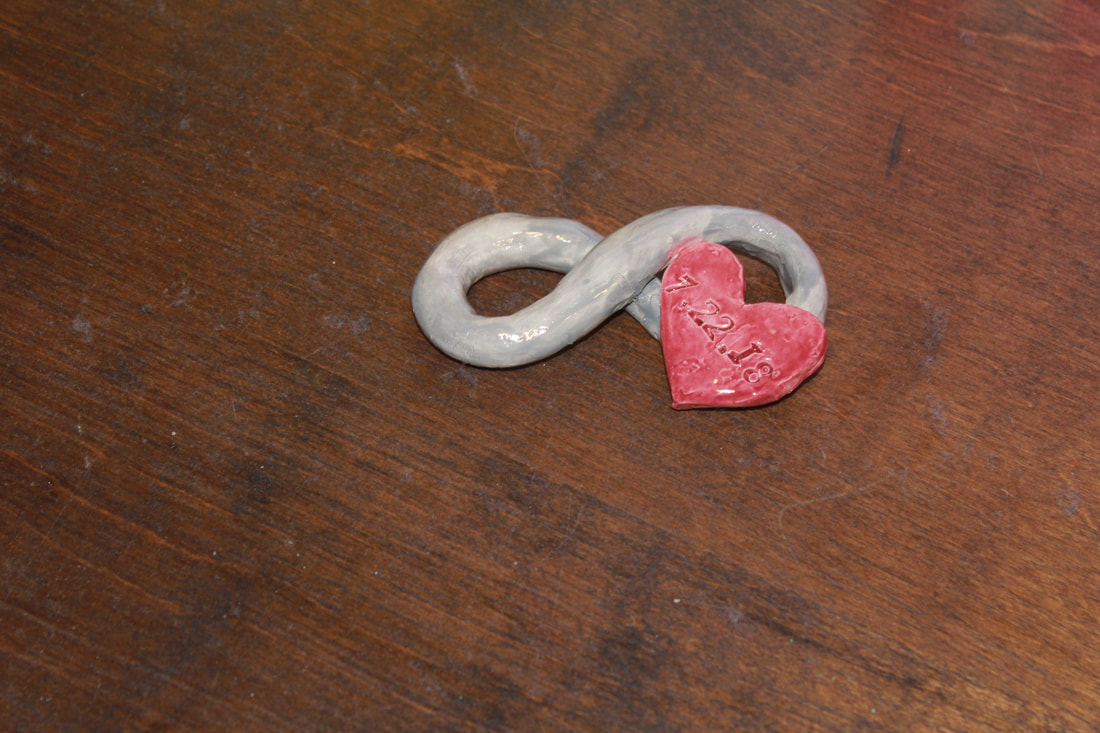
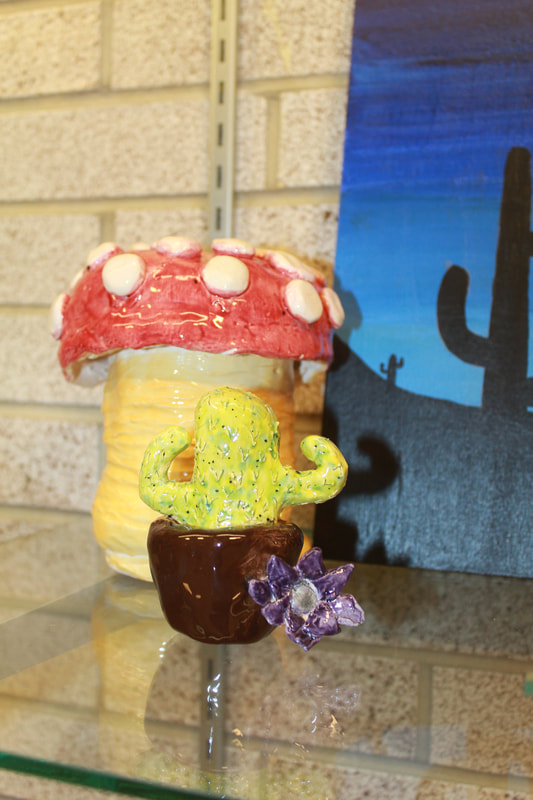
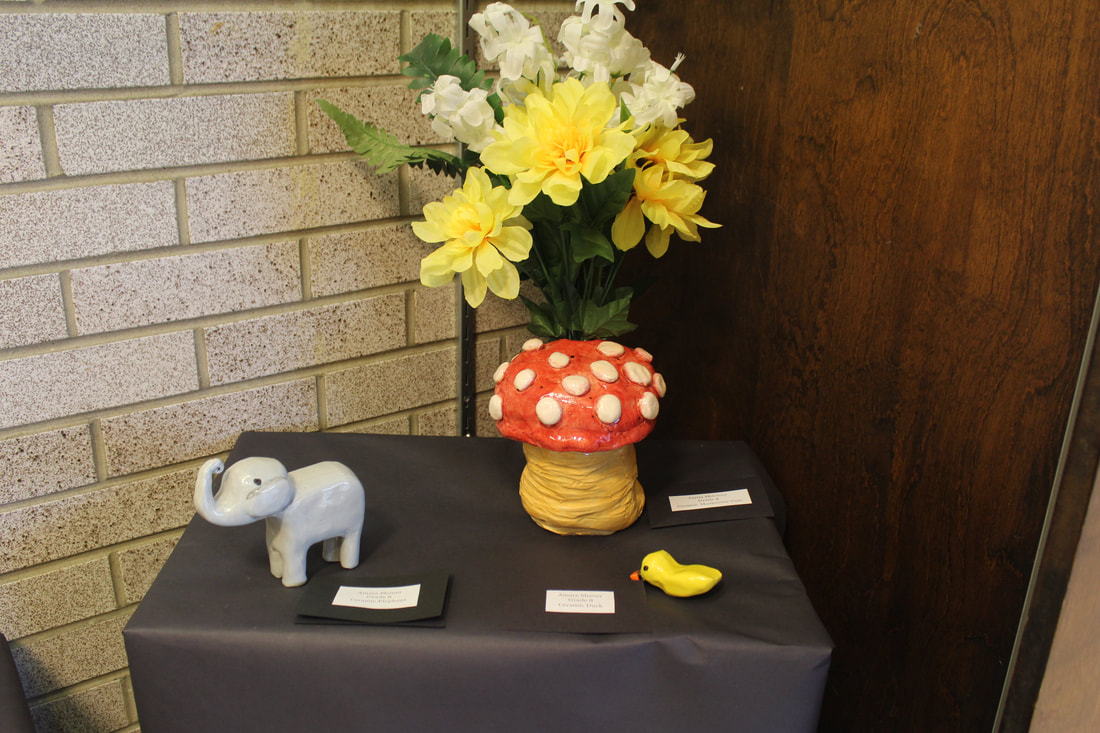
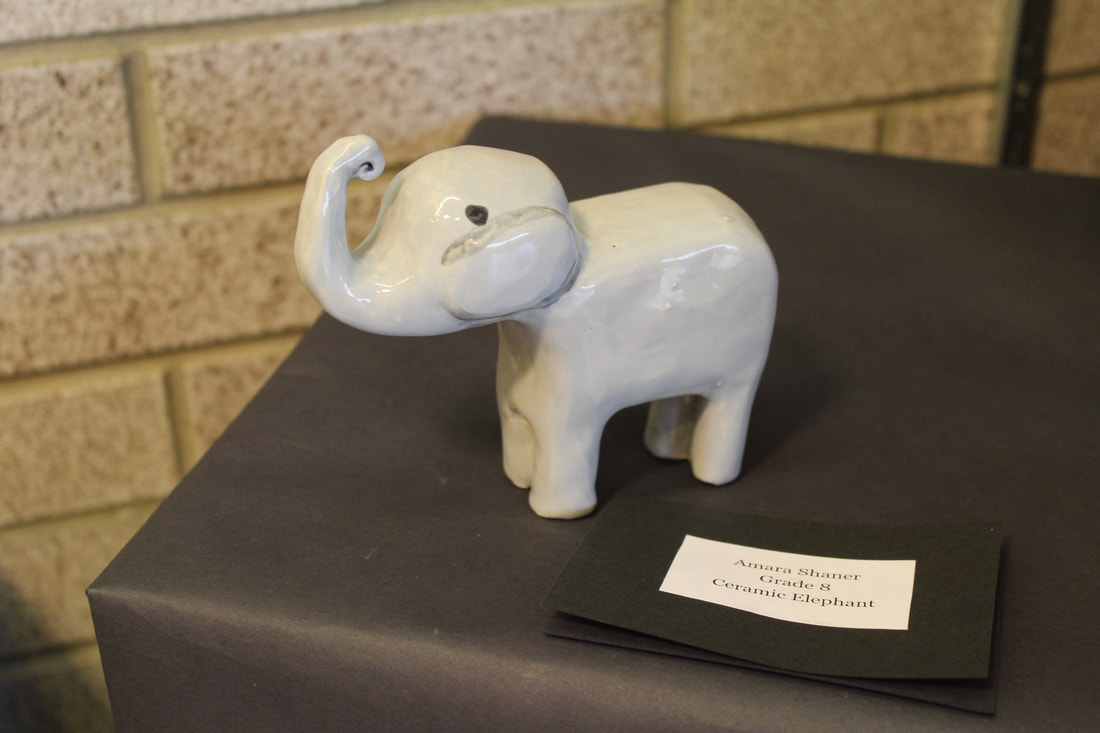
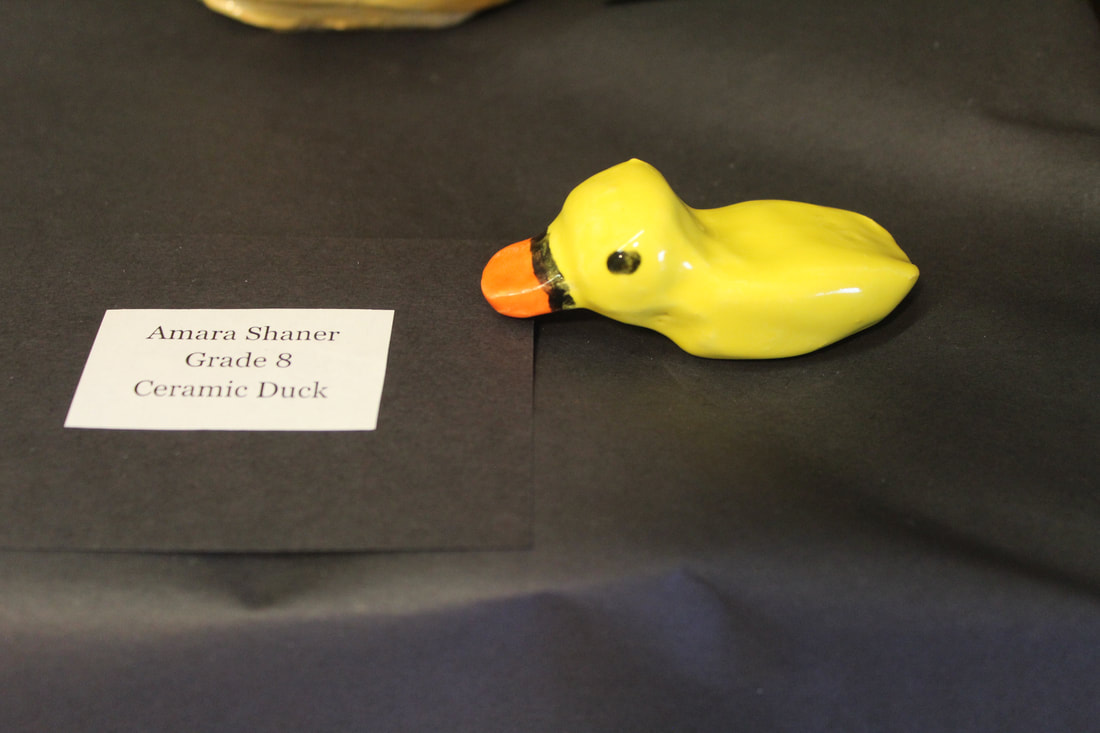
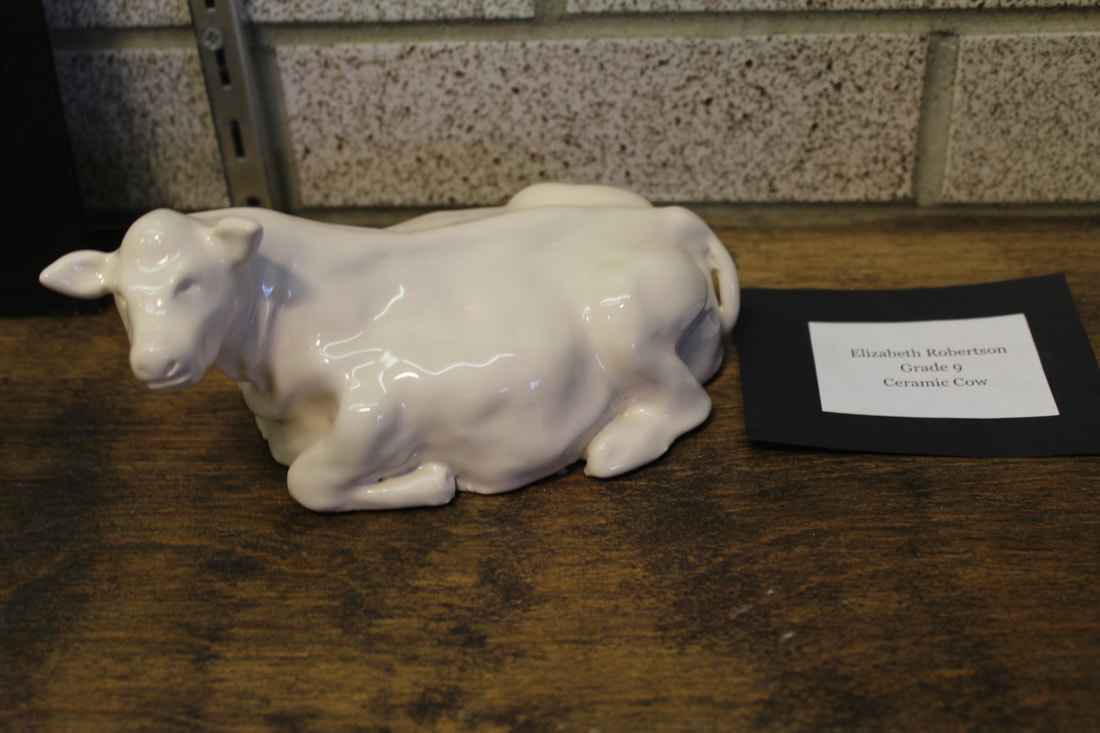
Personal Choice Ceramic Projects
As students have had more years of ceramics in their schooling (available 6th-12th now at HCS) students are growing their techniques and comfort with the material. Projects in art one have transitioned from being teacher driven to individual driven. Students spend a day researching ceramics and develop a plan for their own ceramics project.


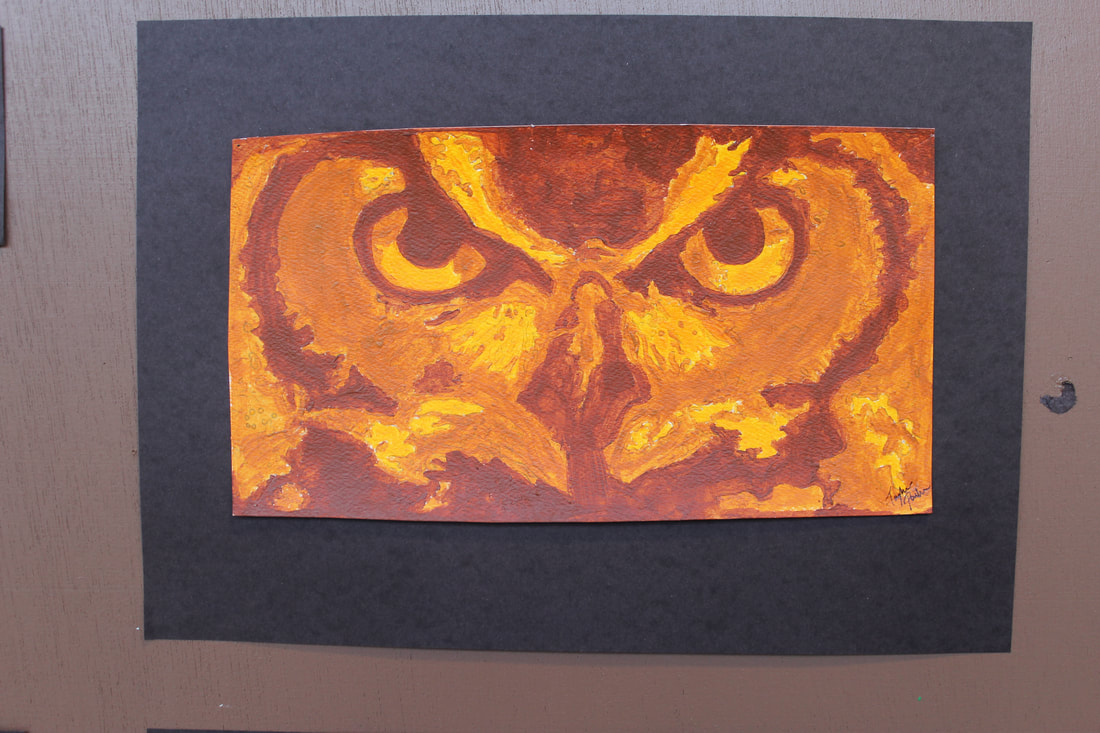
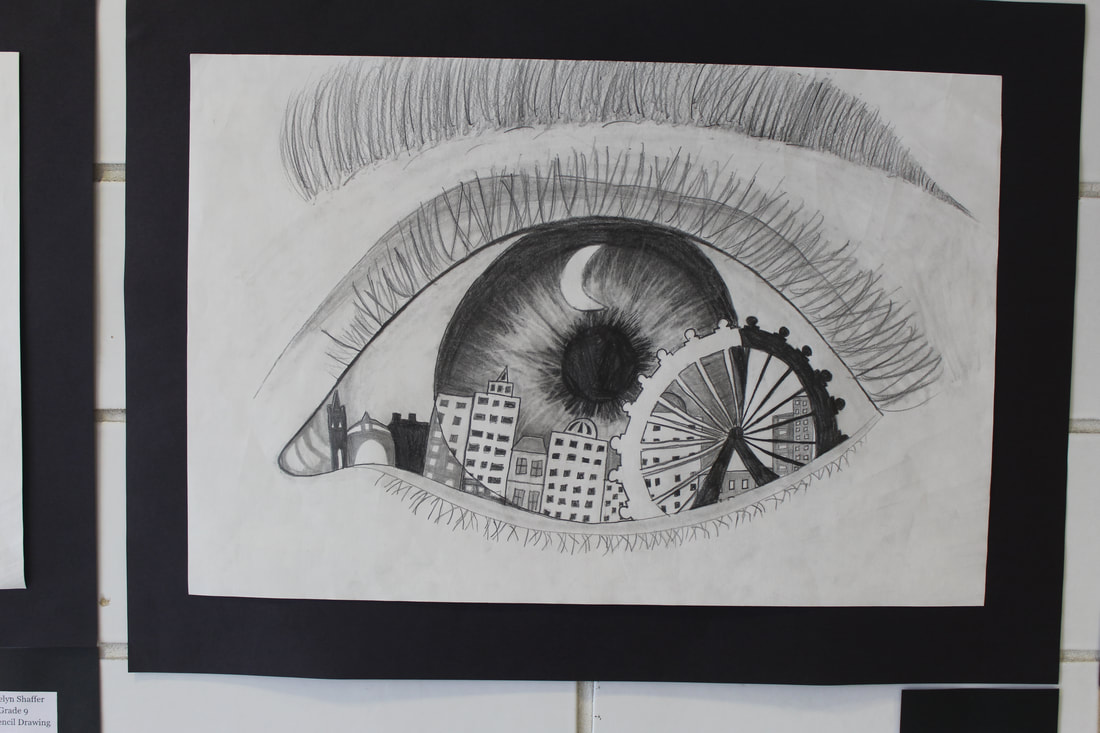
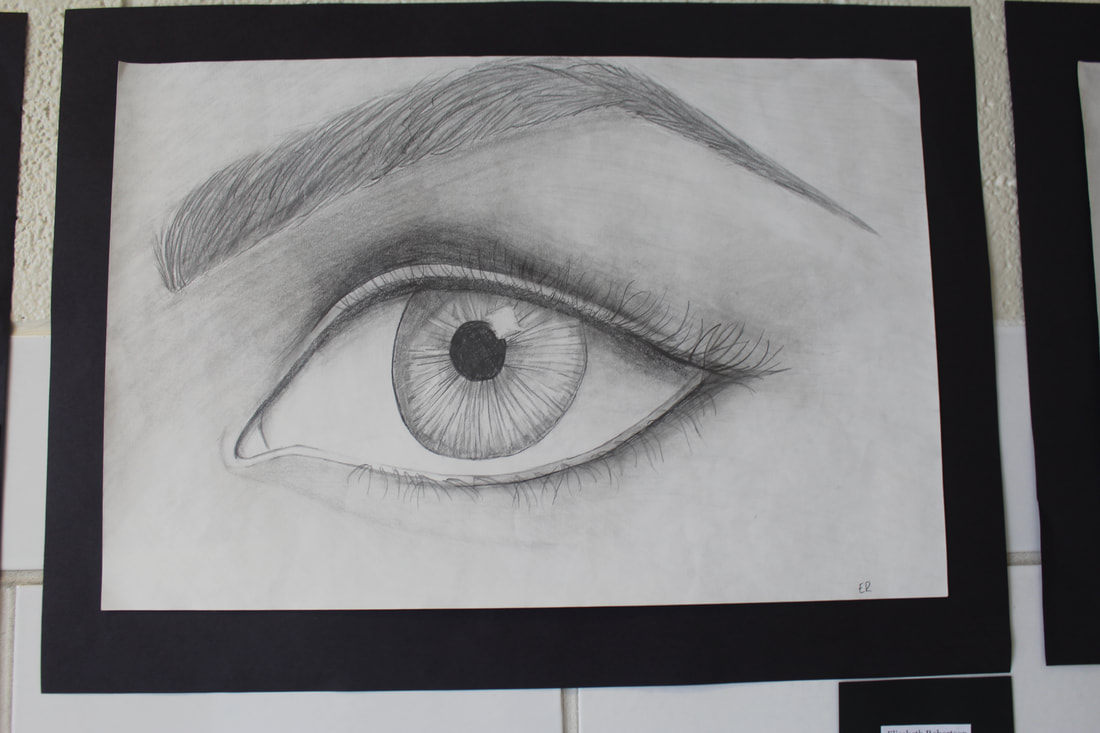
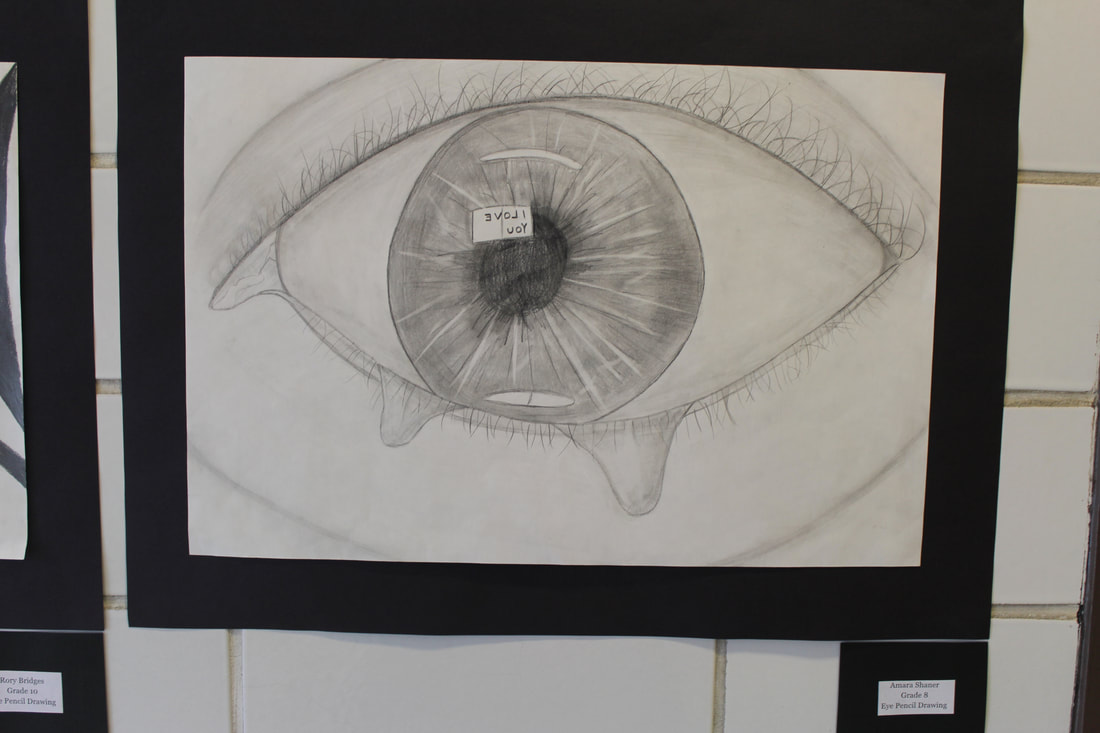
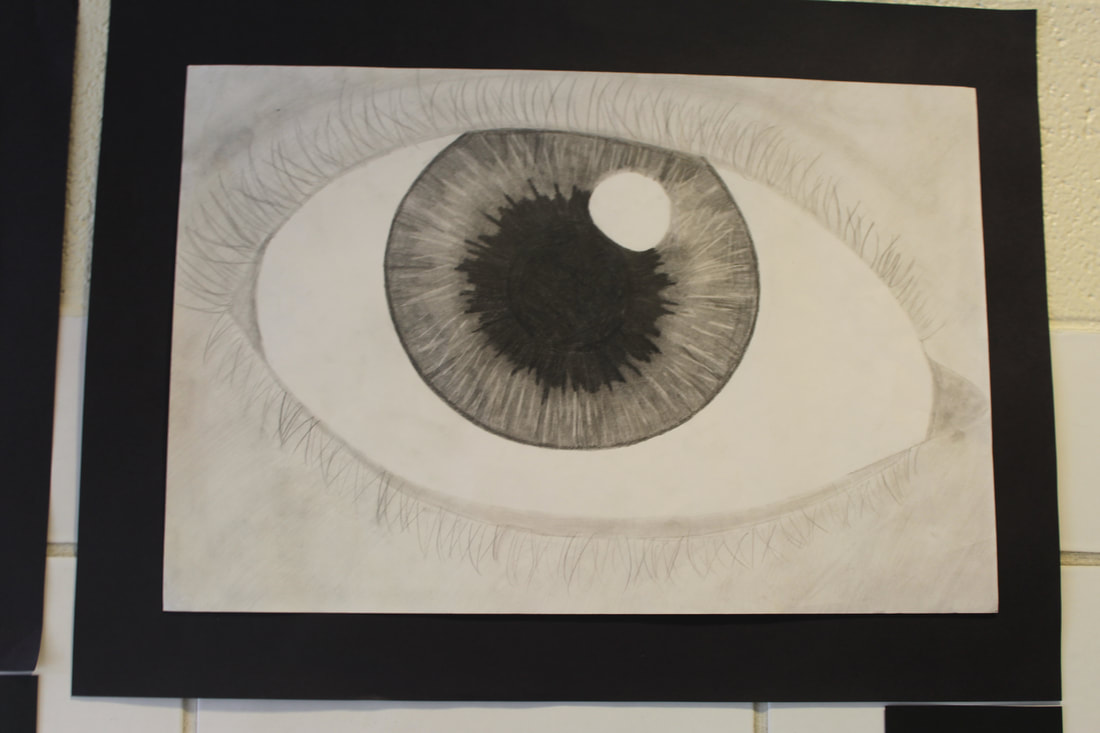
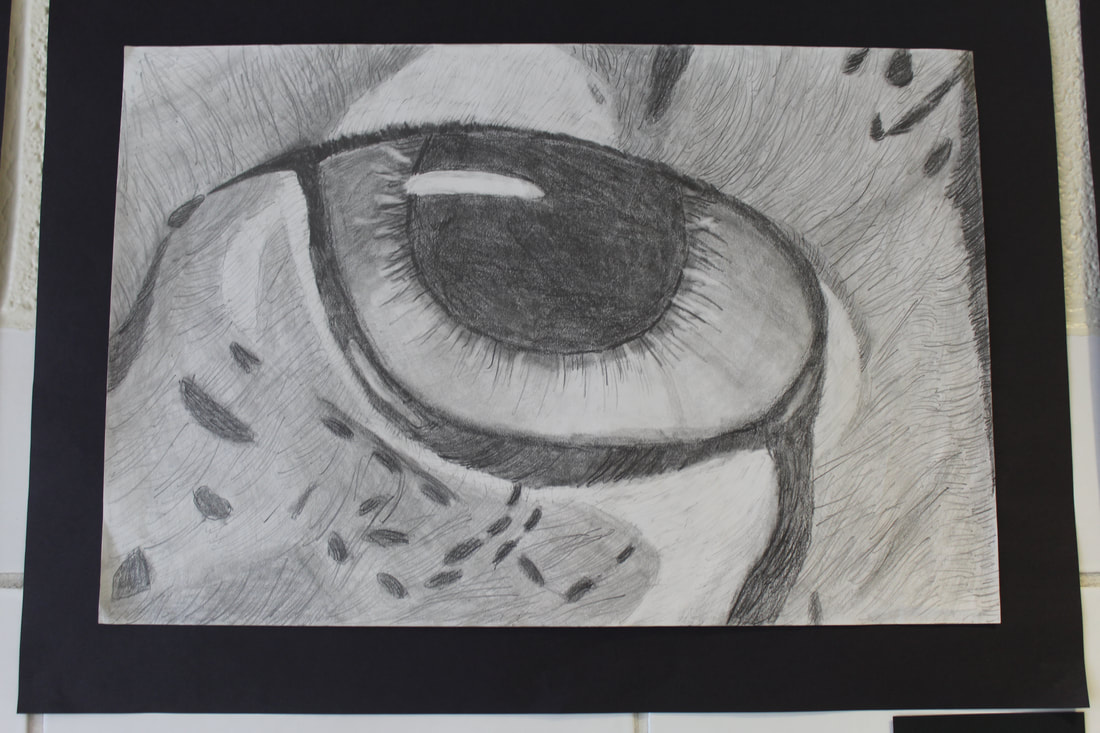
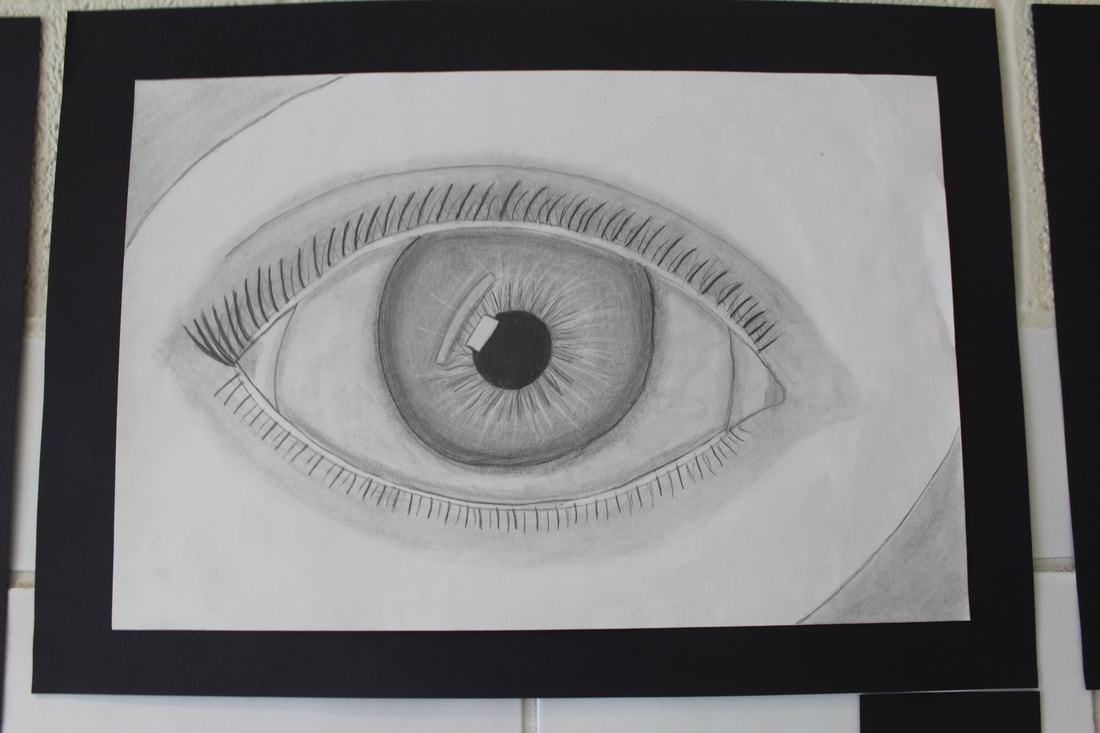
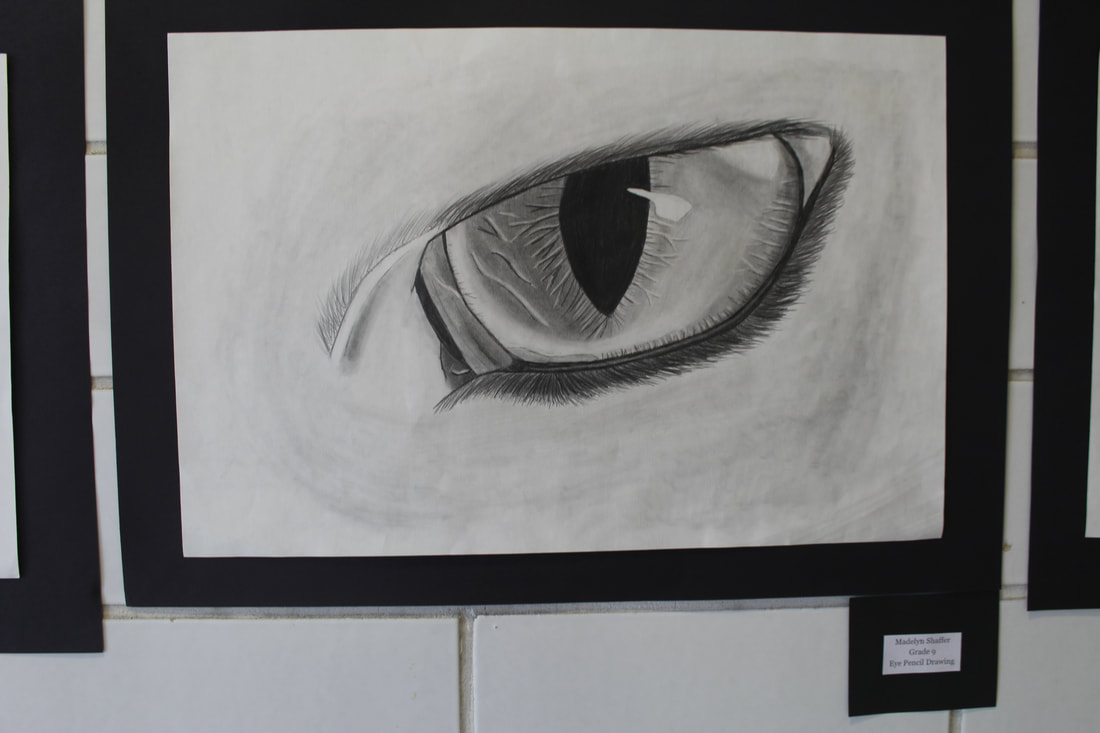
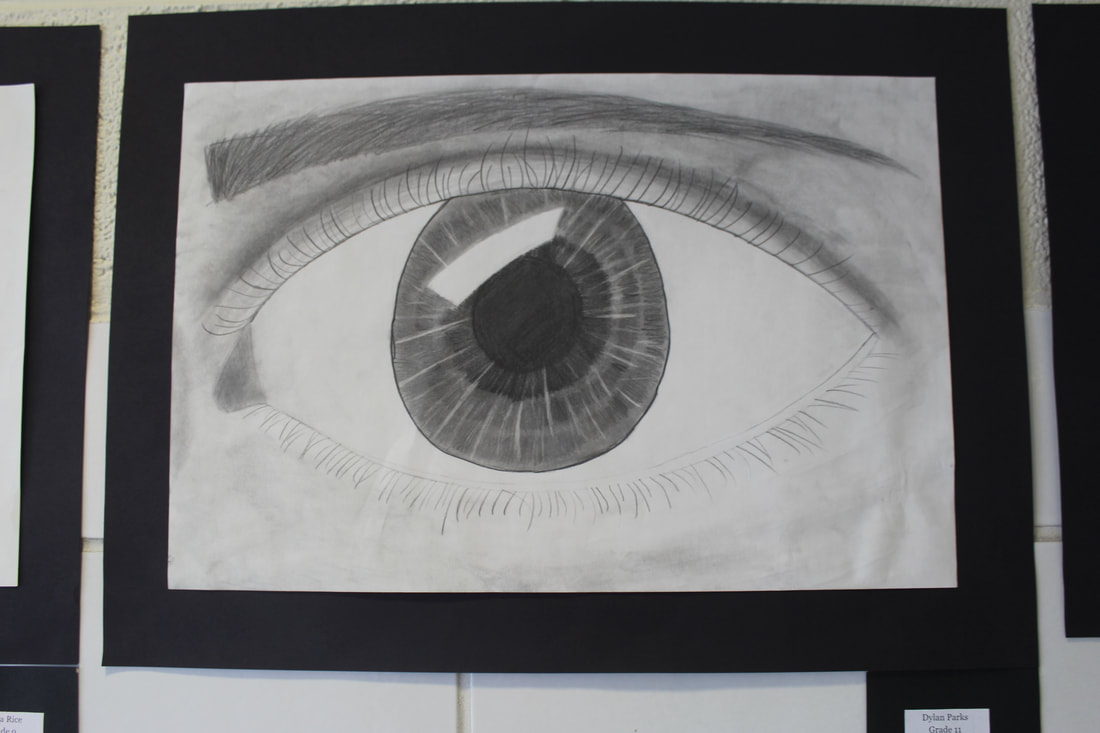
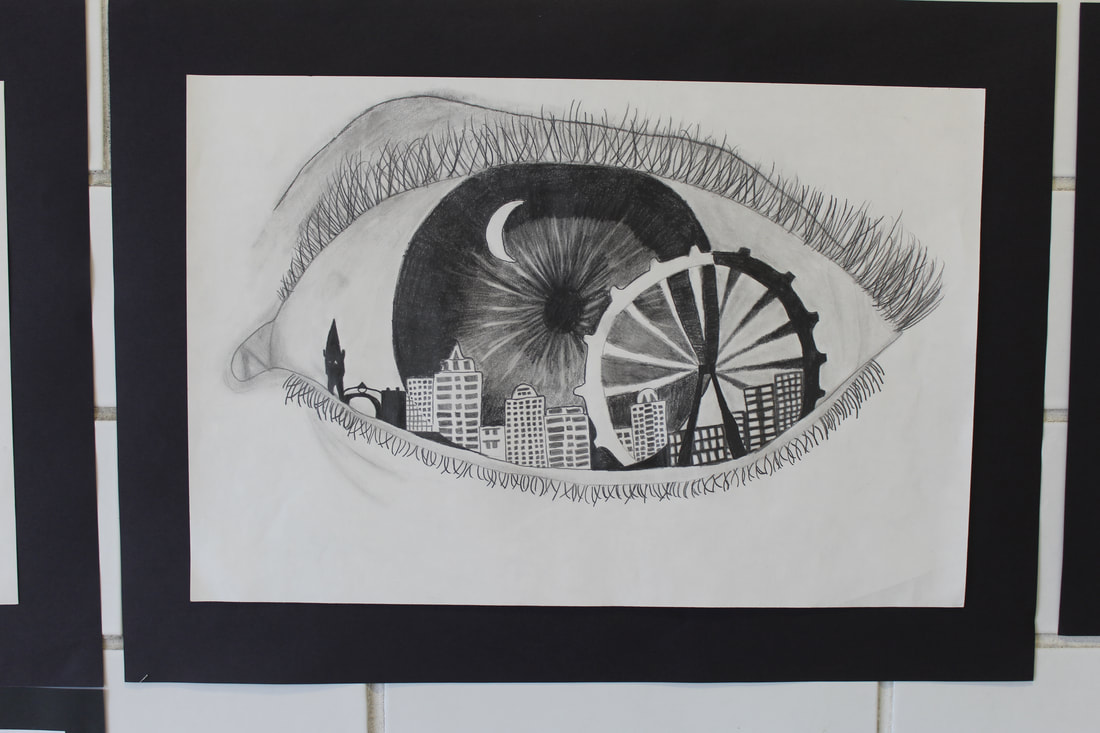
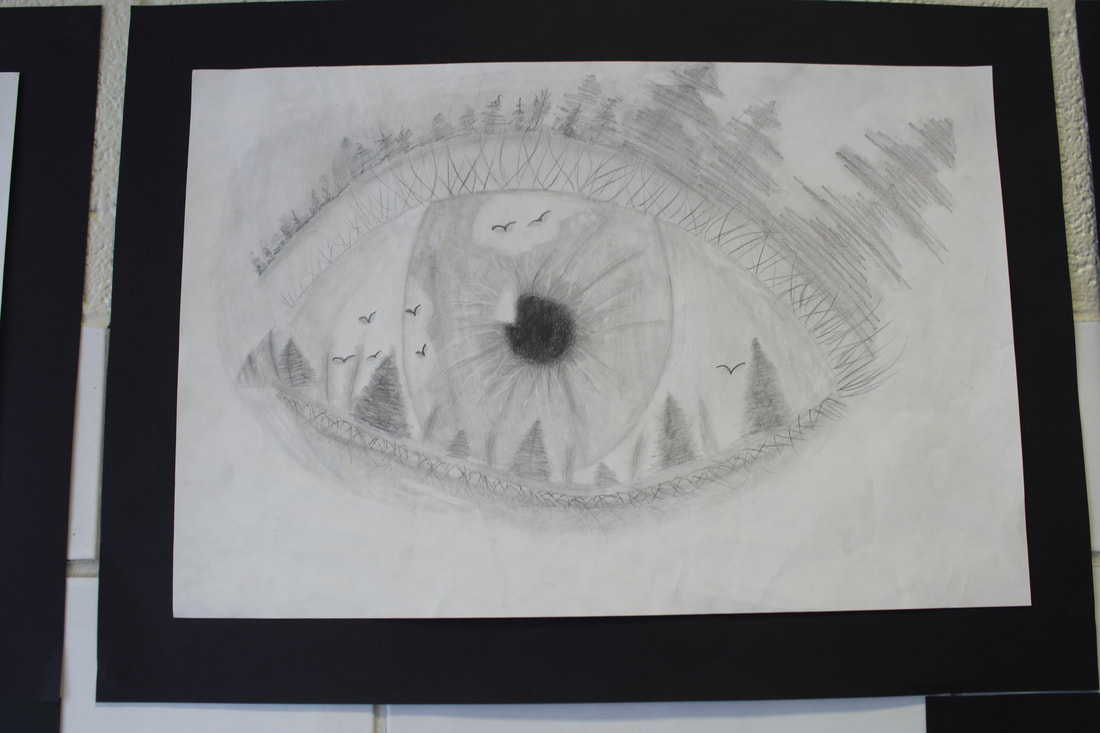
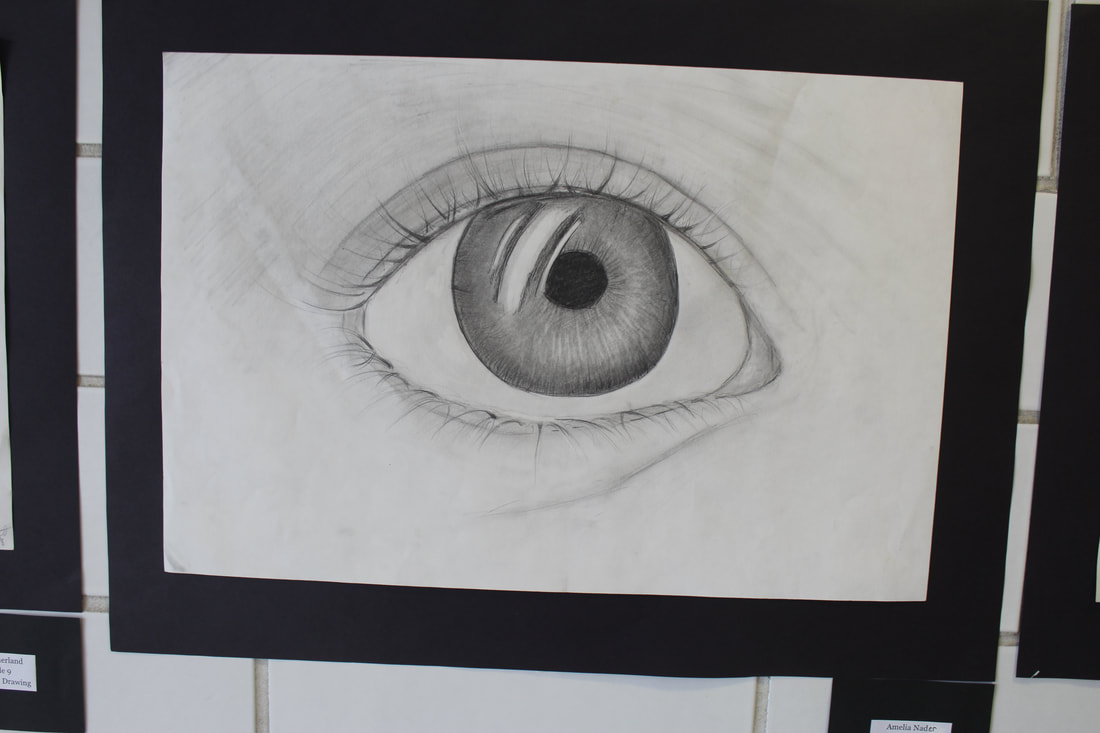
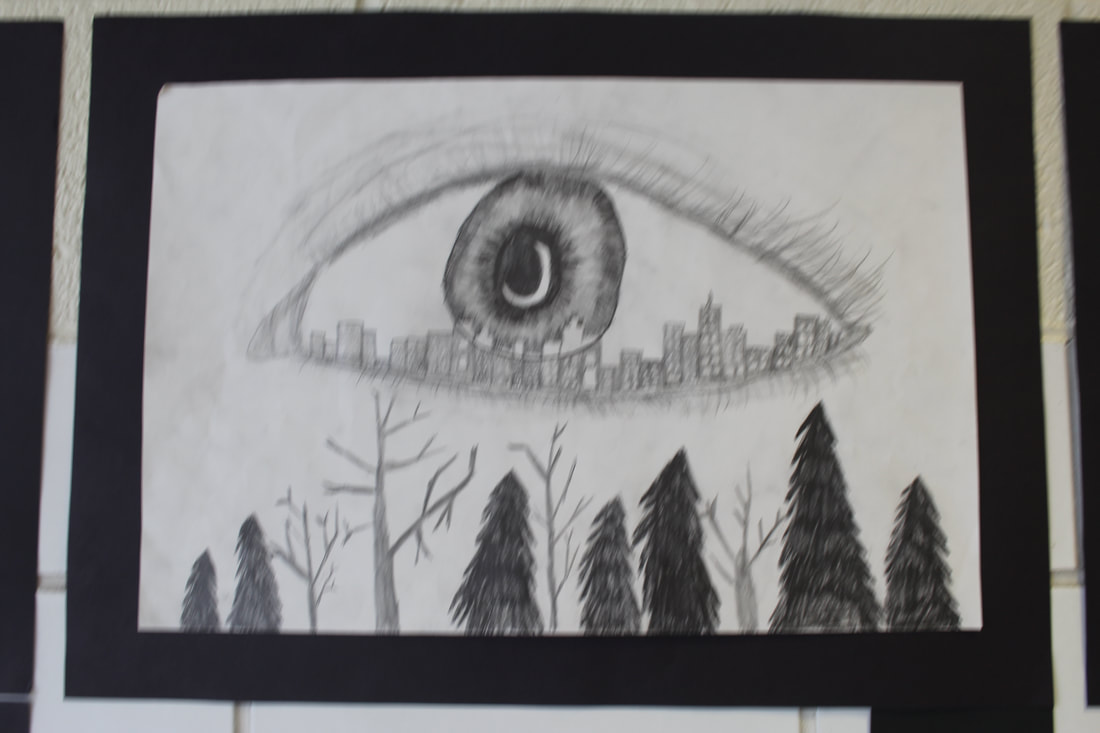
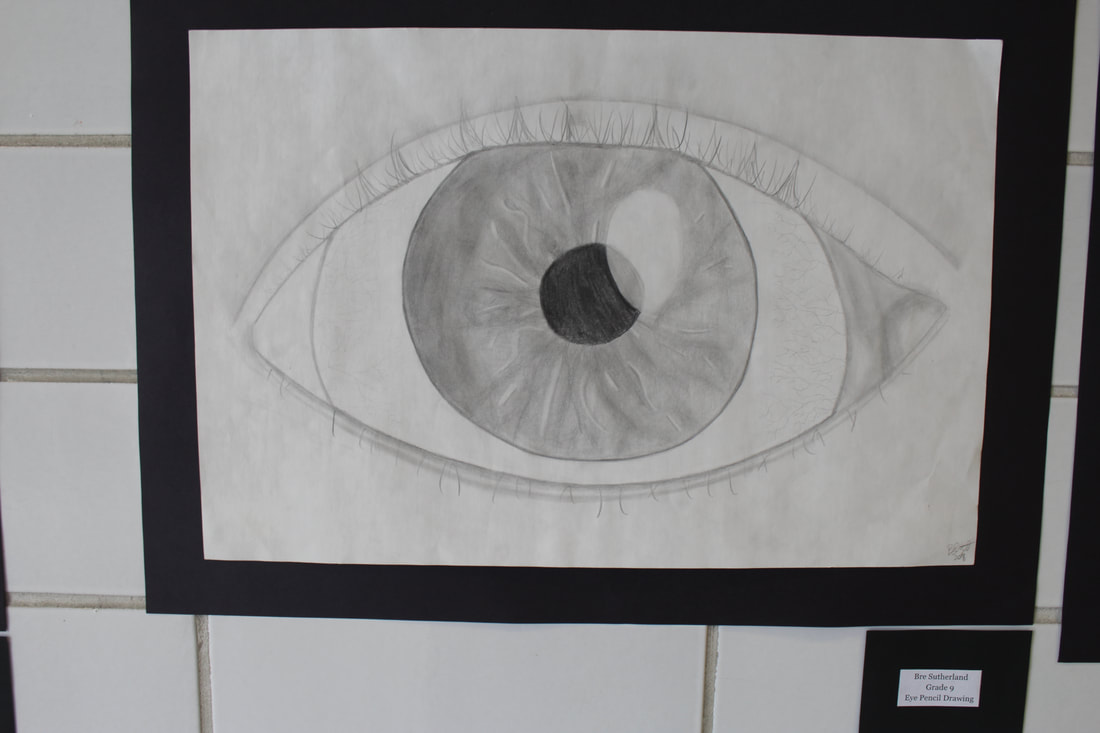
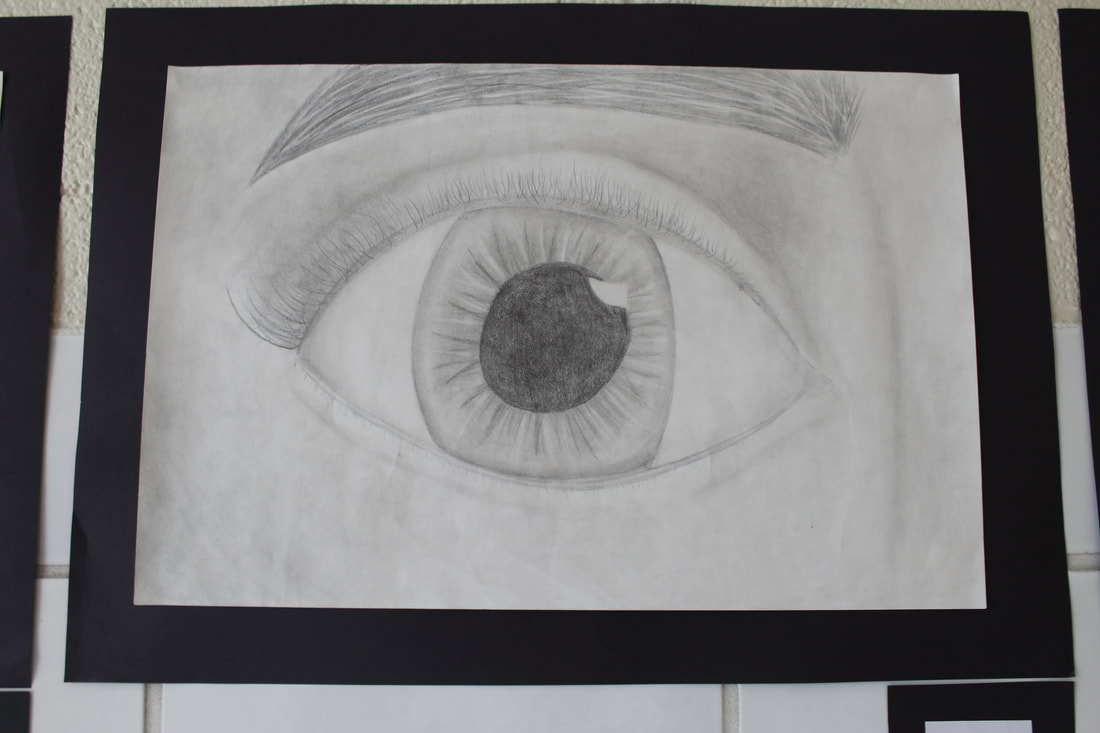
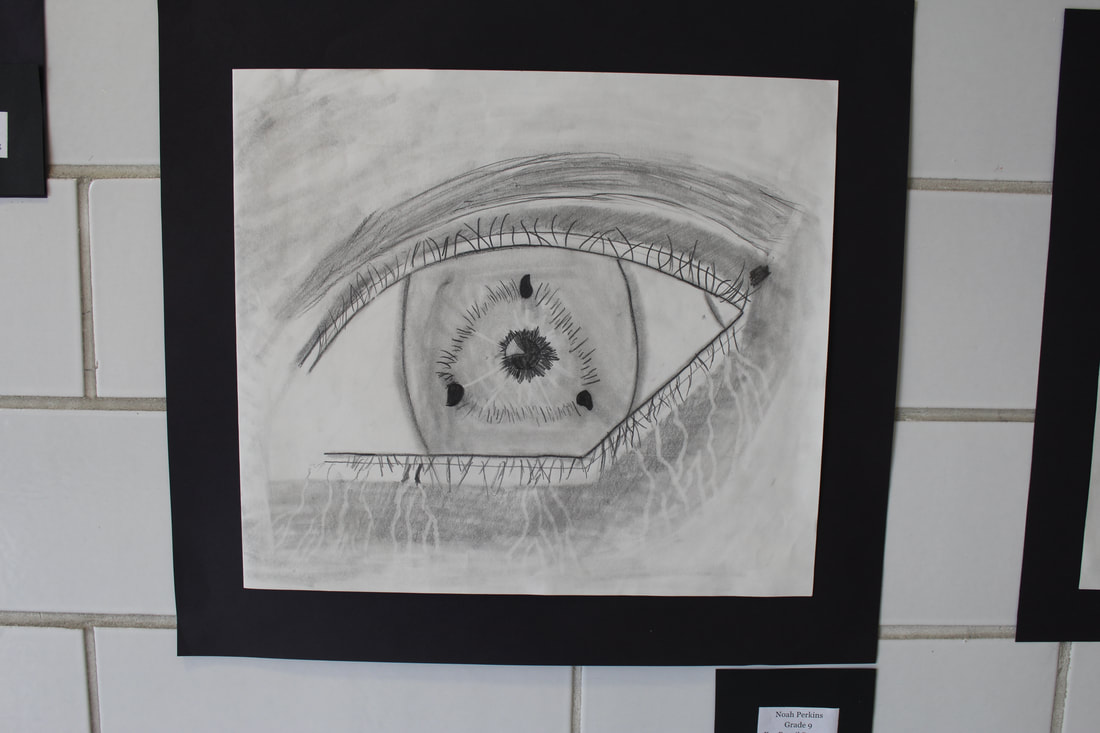
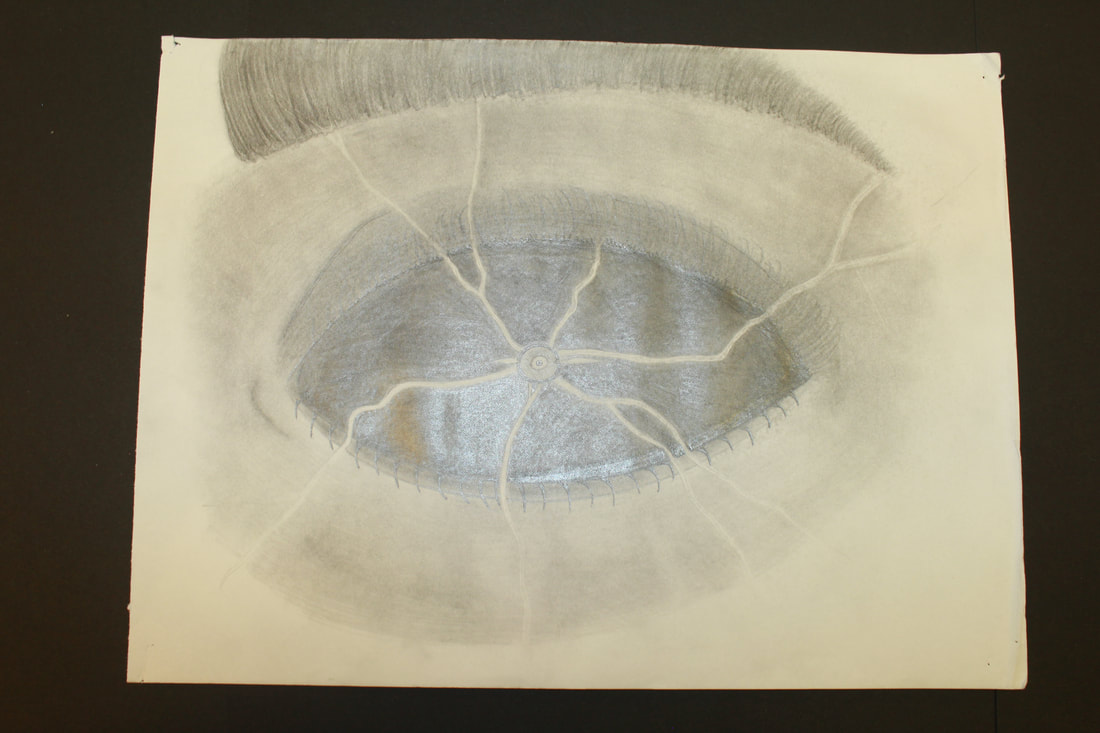
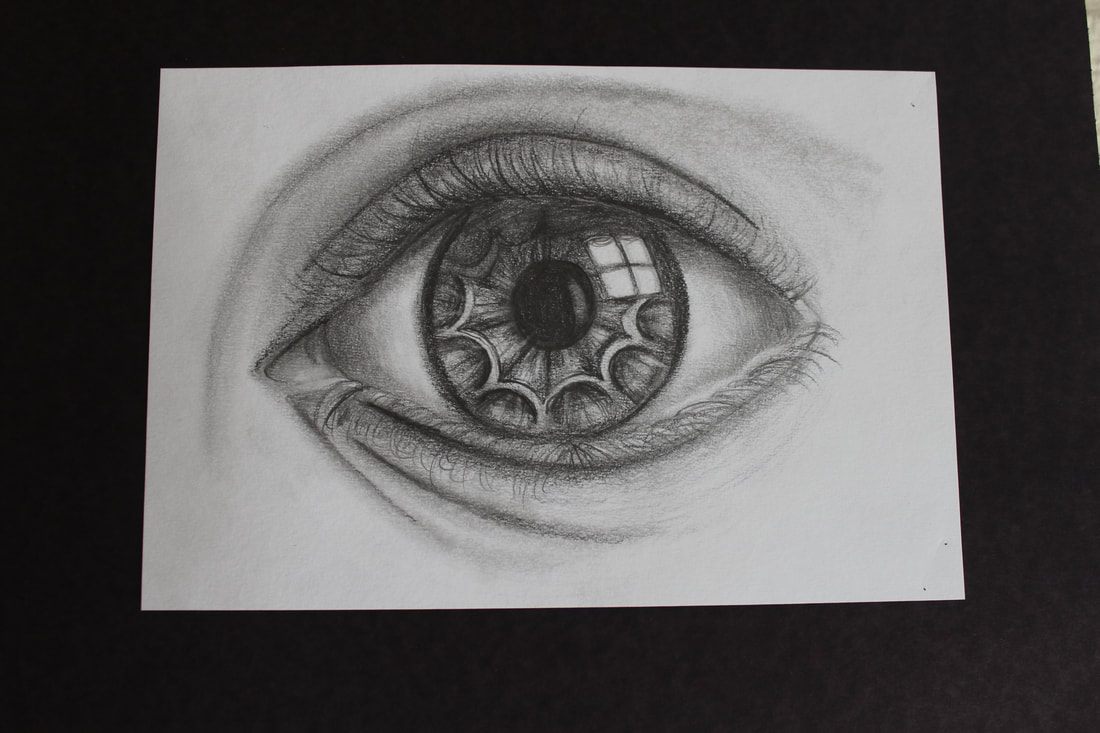
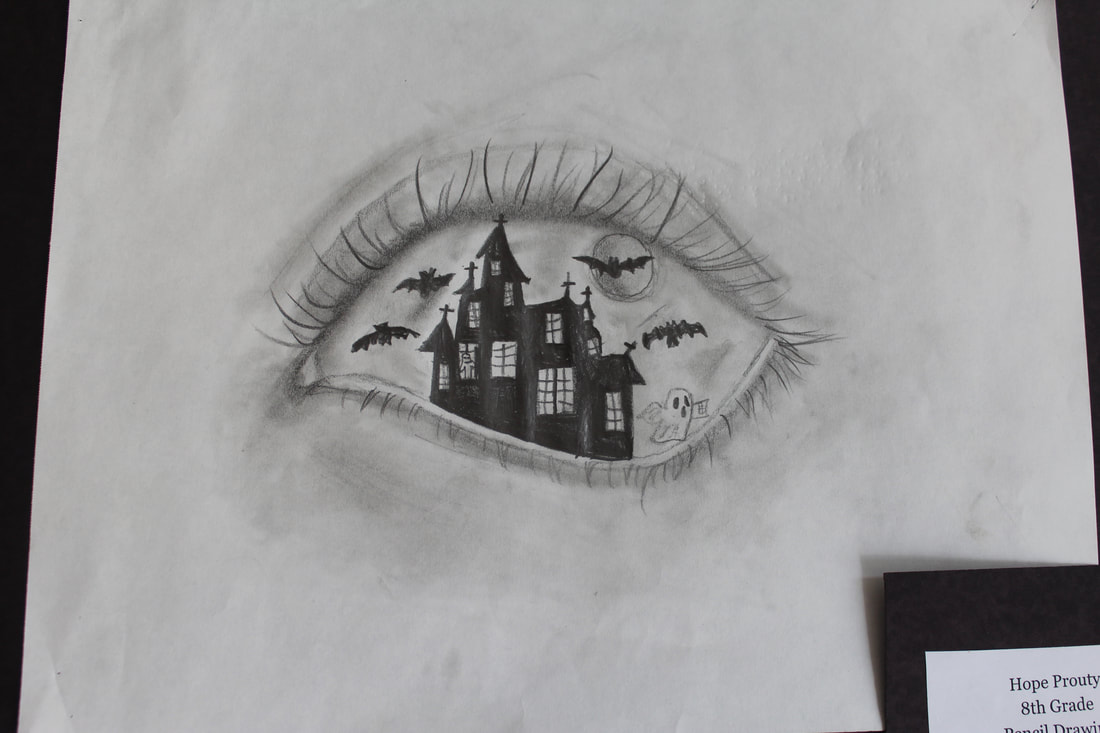
The Eye


Gesture drawing and quick sketches
As a pre-assessment for our figure drawing project, students spent two days in the hall drawing what they could see.

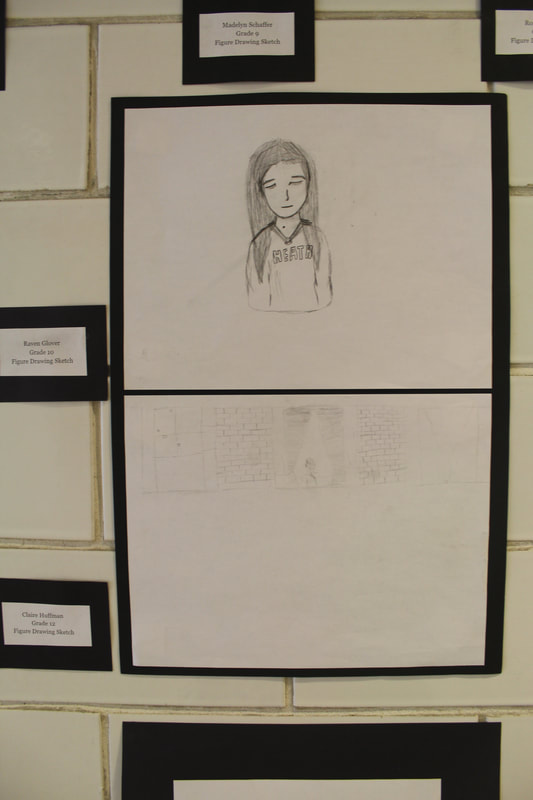
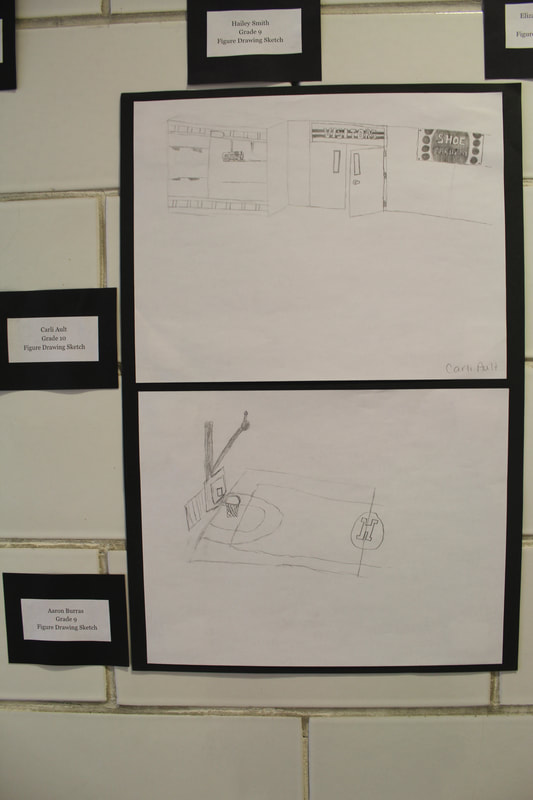
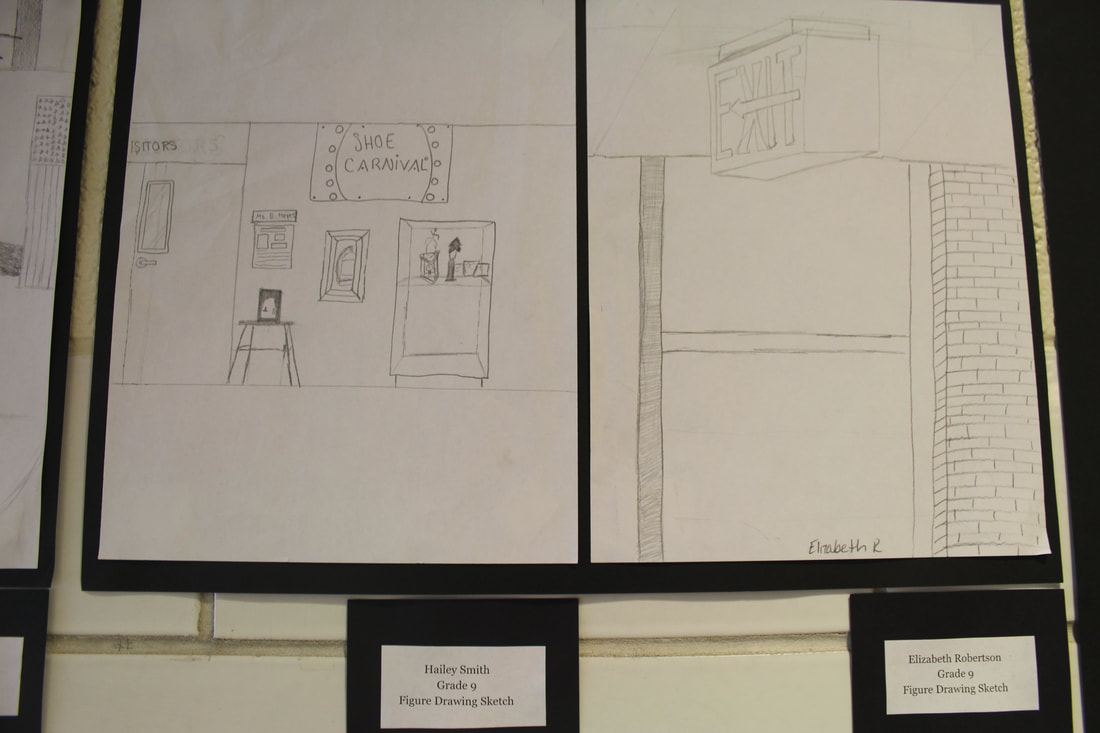
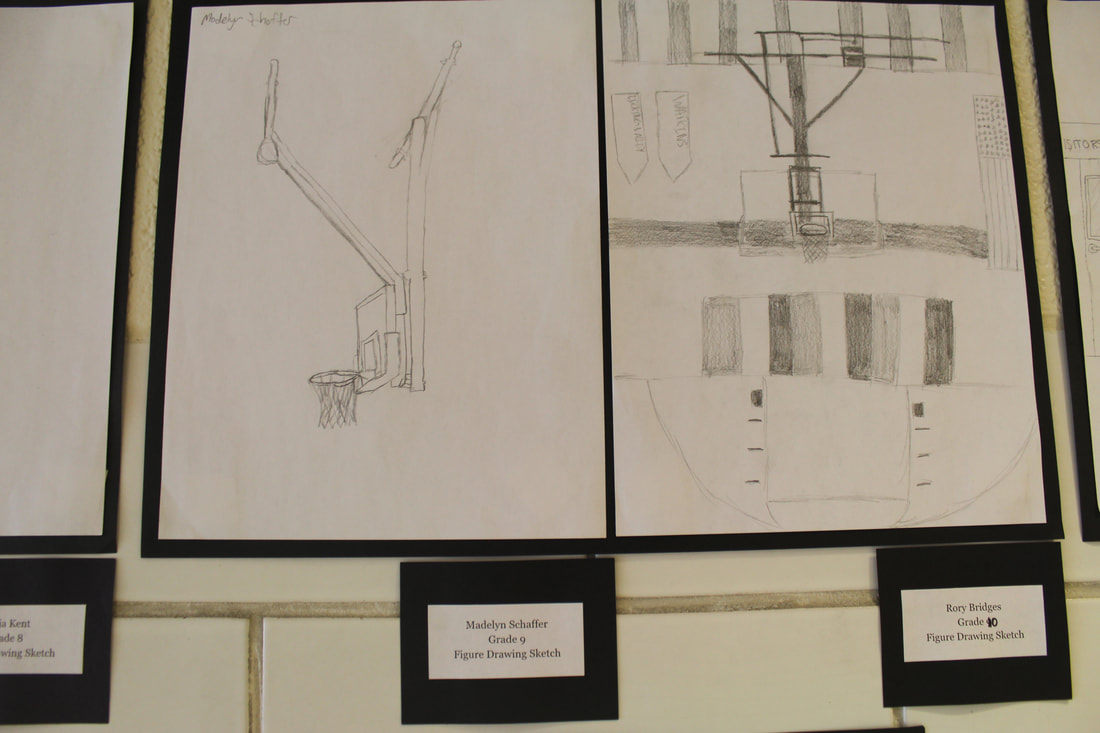
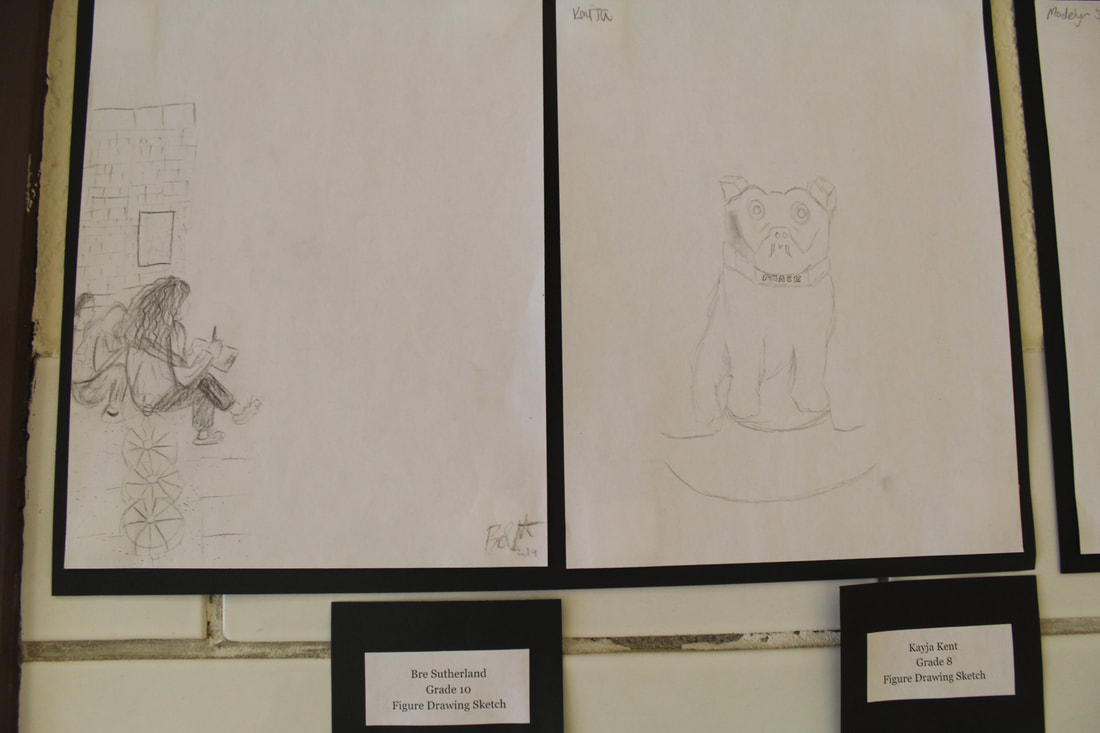
Figure drawings of classmate
For this project students began by learning the proportions of the human body. We started very basic, creating gesture drawings (quick sketches) and learning how to draw a body in simple shapes. From there students worked with their partner to figure out the pose they would be drawing, and then every other day students would switch between being the "drawer" or the "model". This was probably one of the hardest projects yet because they were drawing live, not from a picture, and their subject could move! Students were able to revisit shading skills towards the end to finish off their drawings.
In 2017 I really saw an improvement in the figure drawing because we studied the skeleton first. I think it was a really great lead in both for helping us to understand poses and how the body moves, and also reviewing shading so we understood how to make objects appear 3D.
In 2017 I really saw an improvement in the figure drawing because we studied the skeleton first. I think it was a really great lead in both for helping us to understand poses and how the body moves, and also reviewing shading so we understood how to make objects appear 3D.
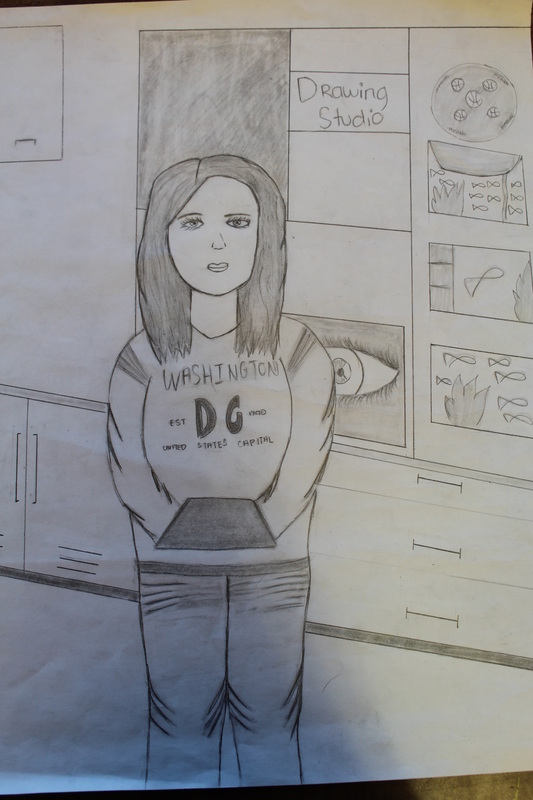

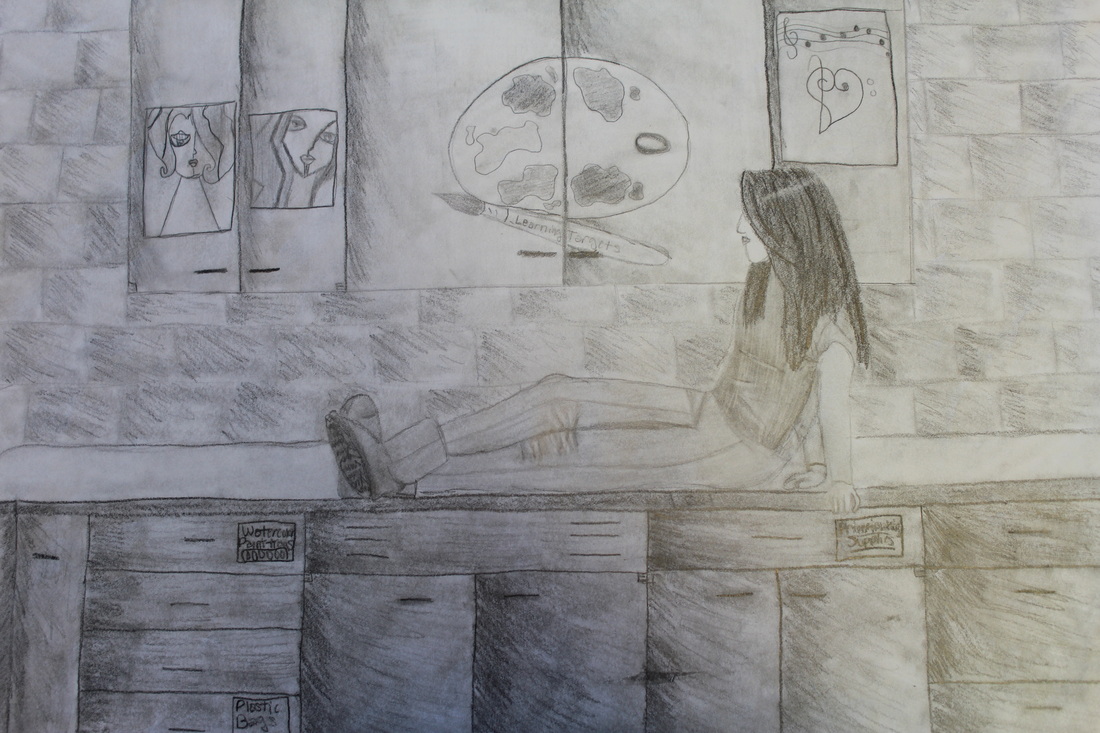
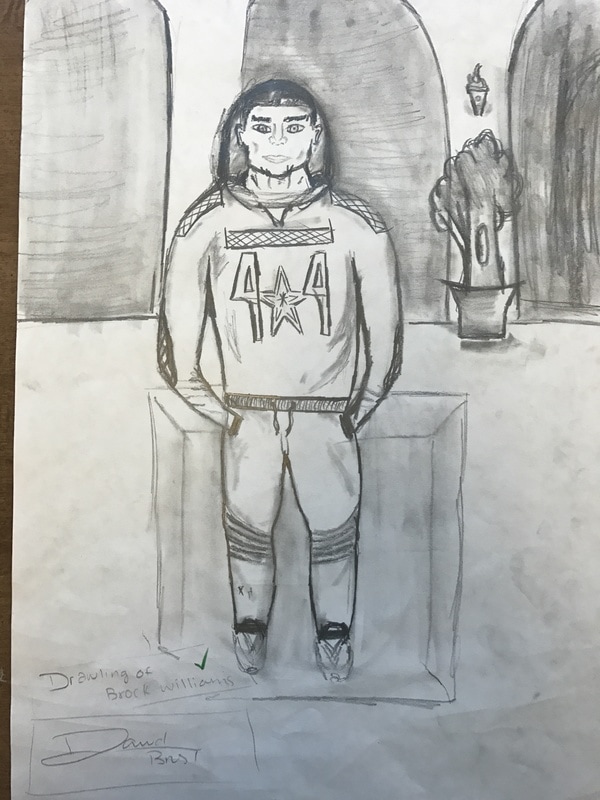
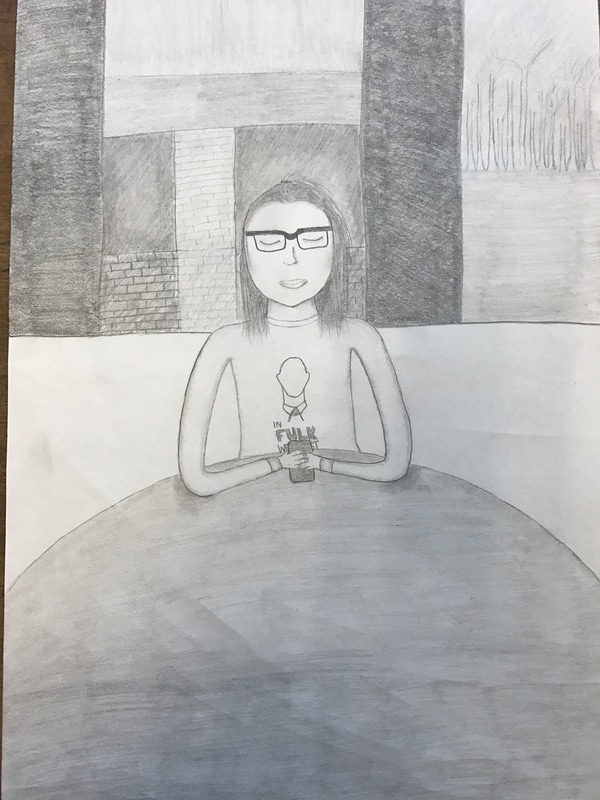
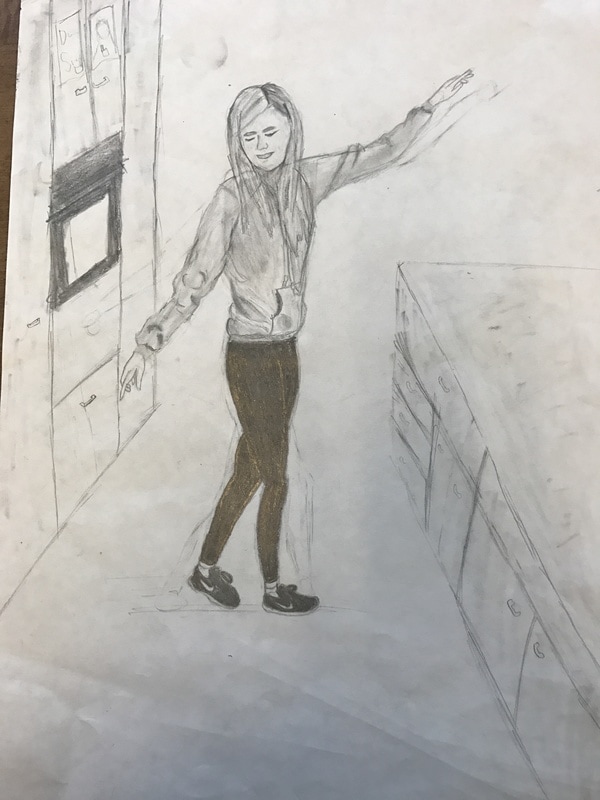
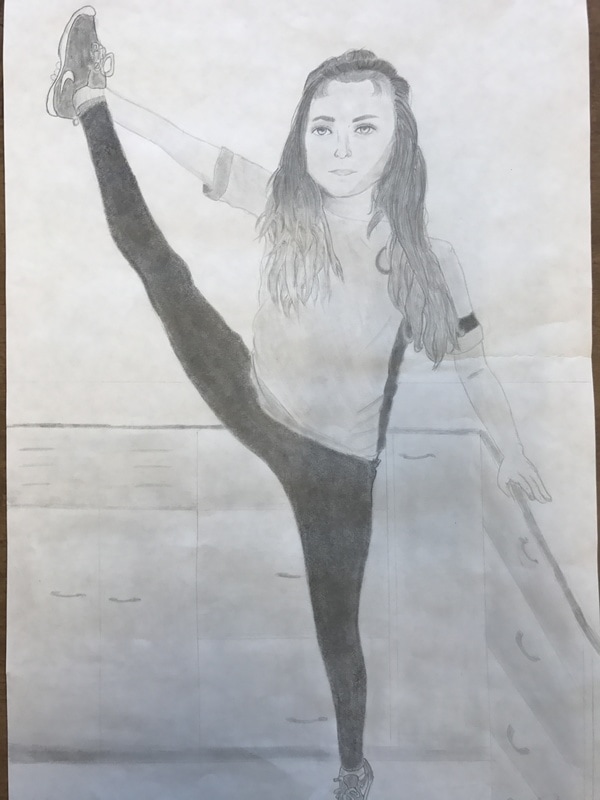
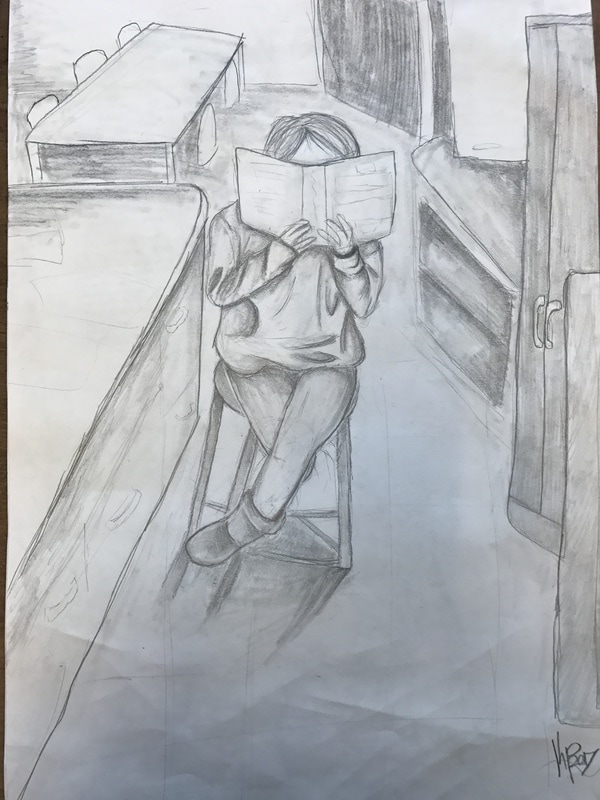
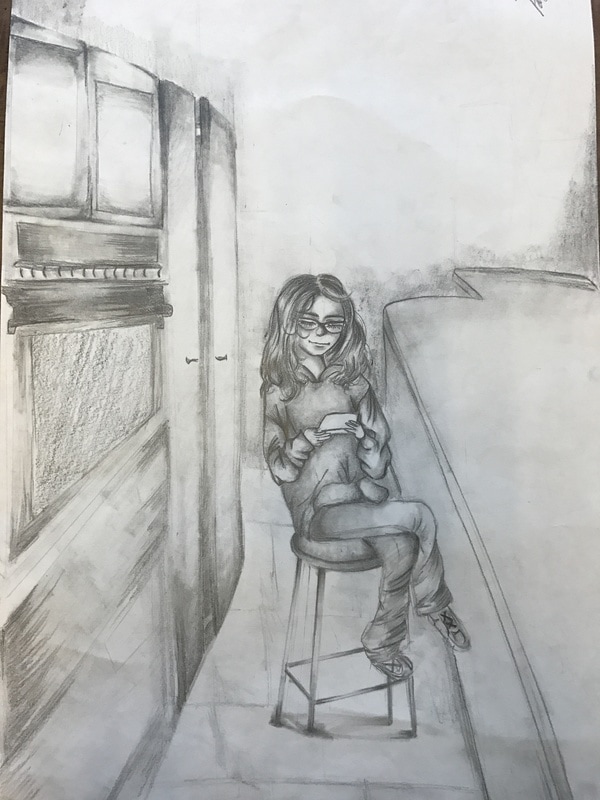
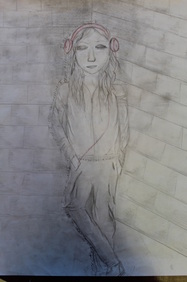
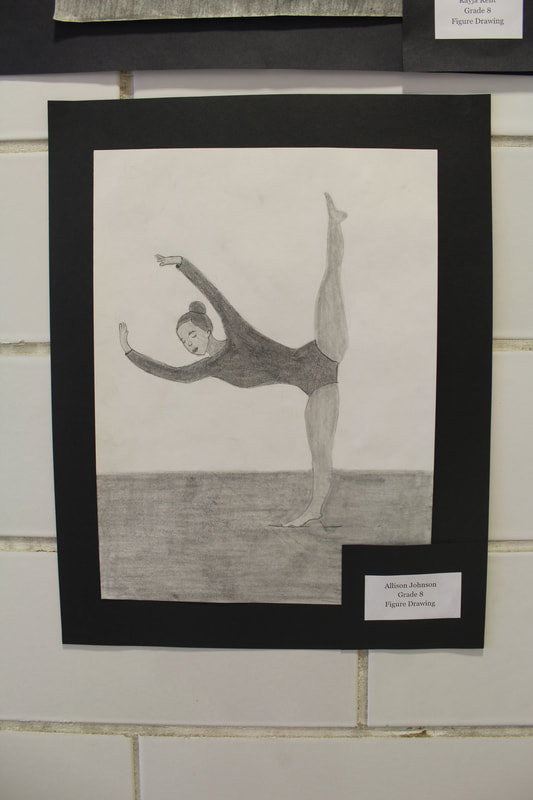
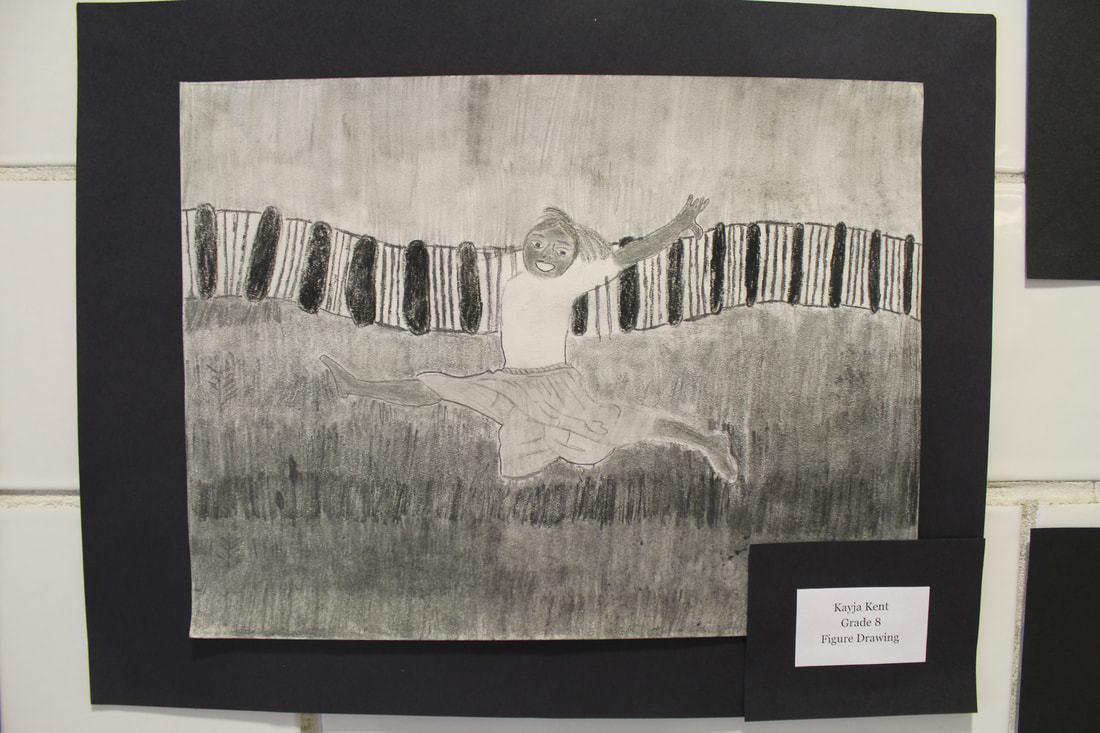
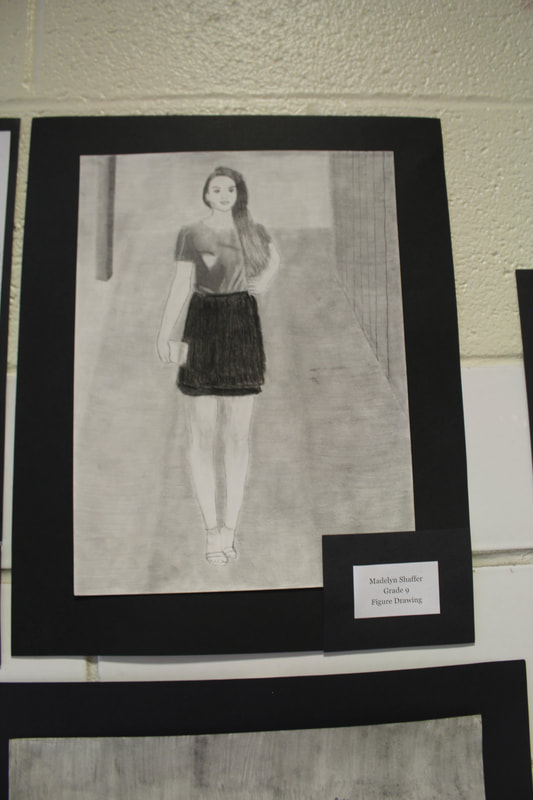
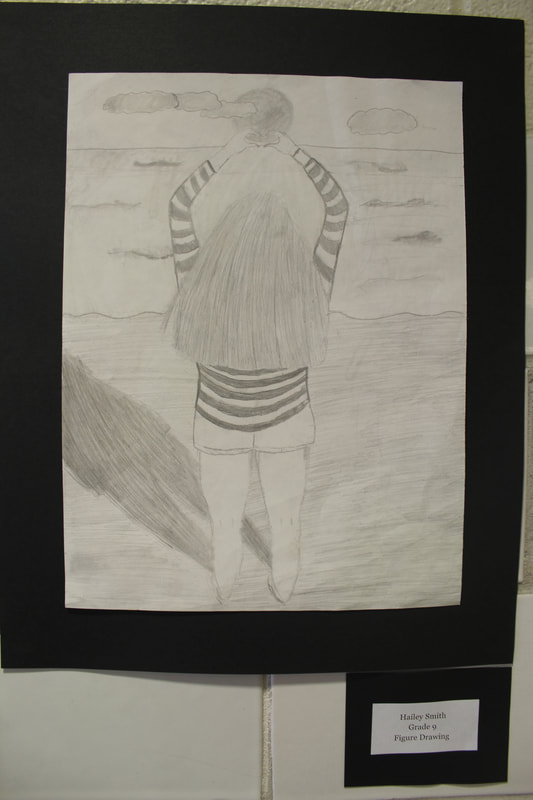
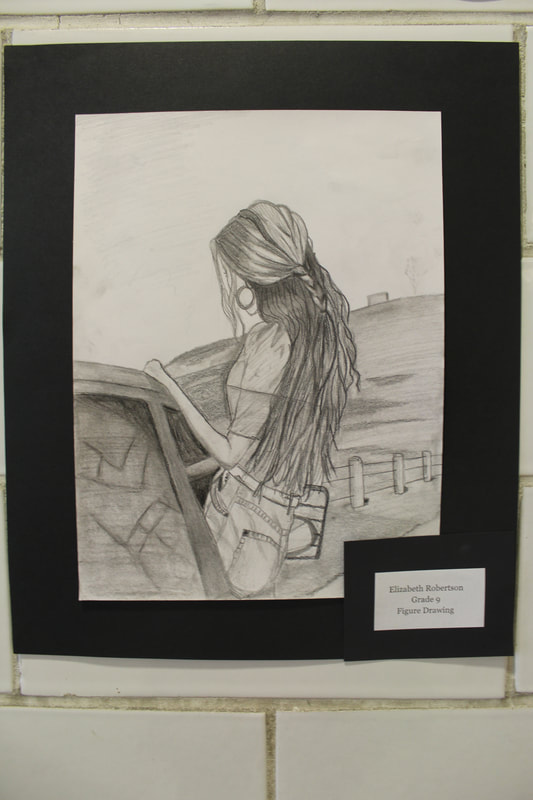
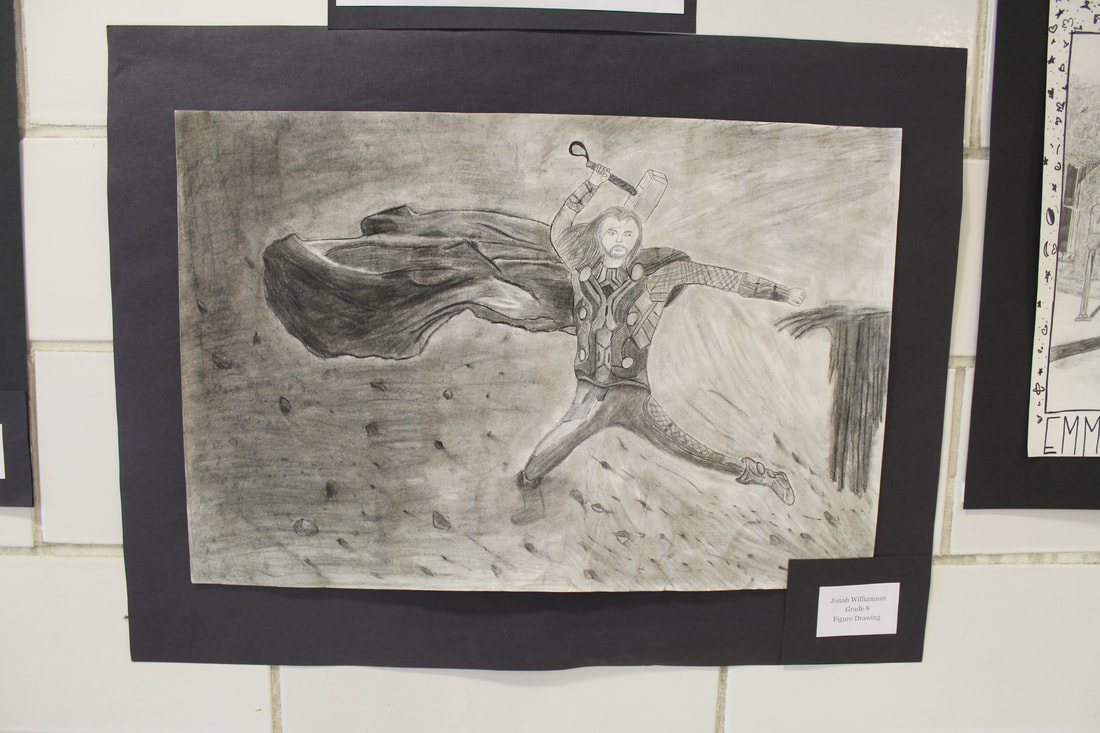
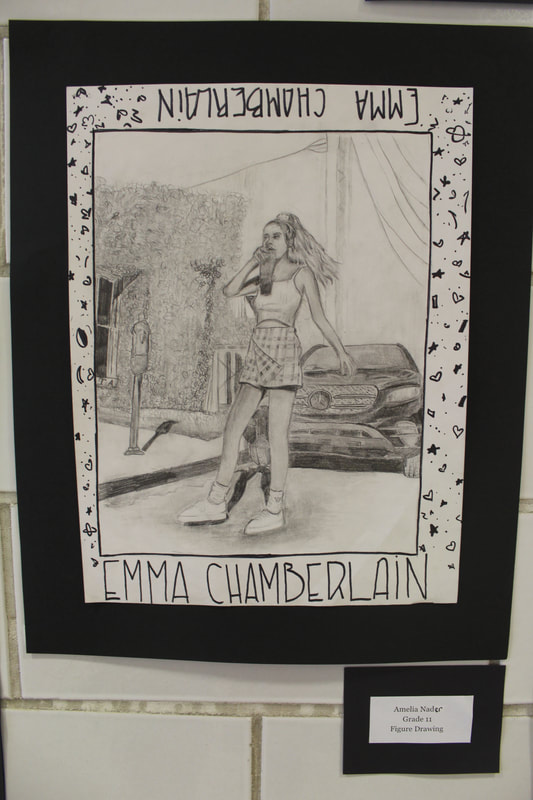
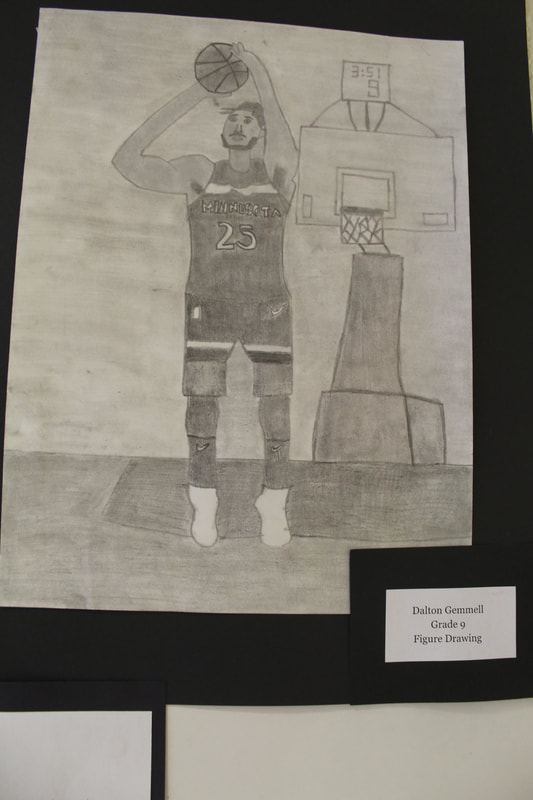
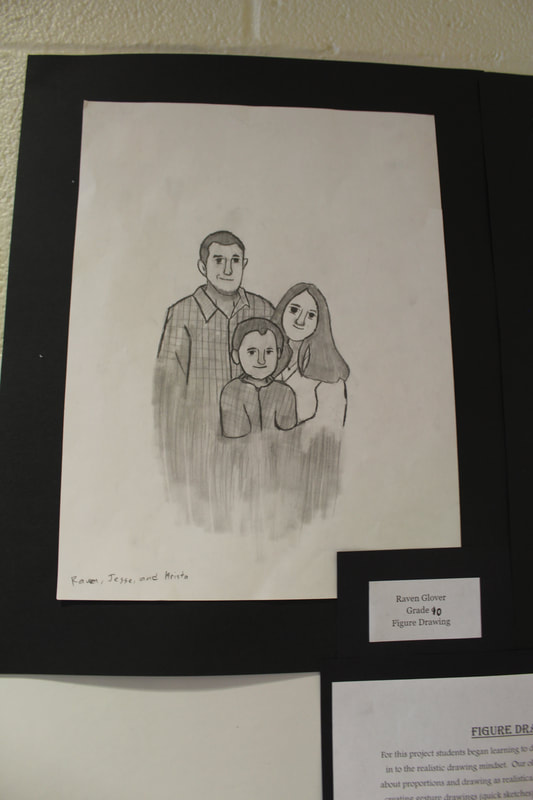
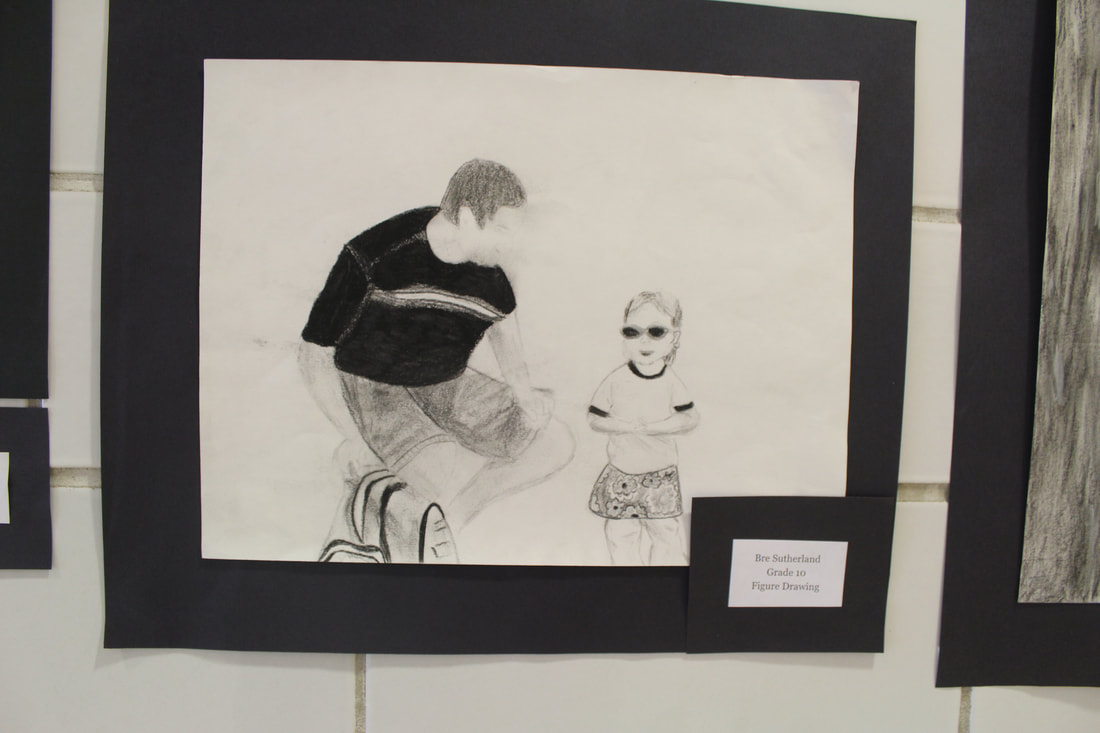
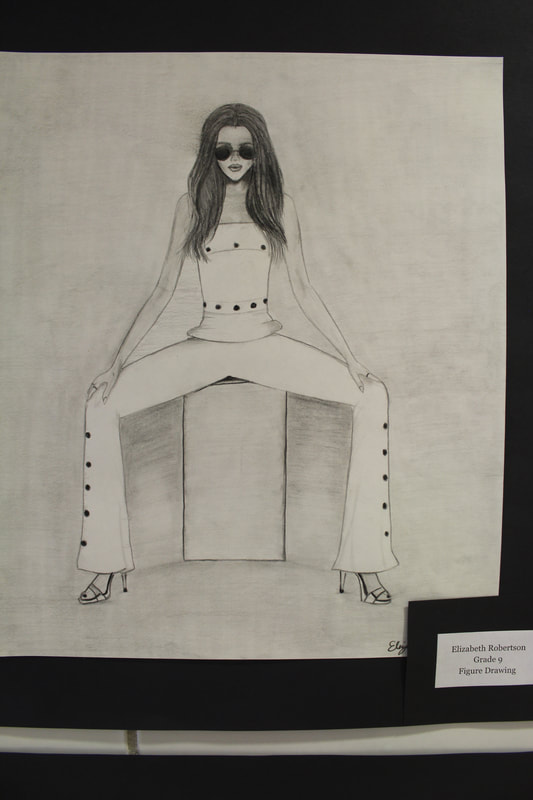
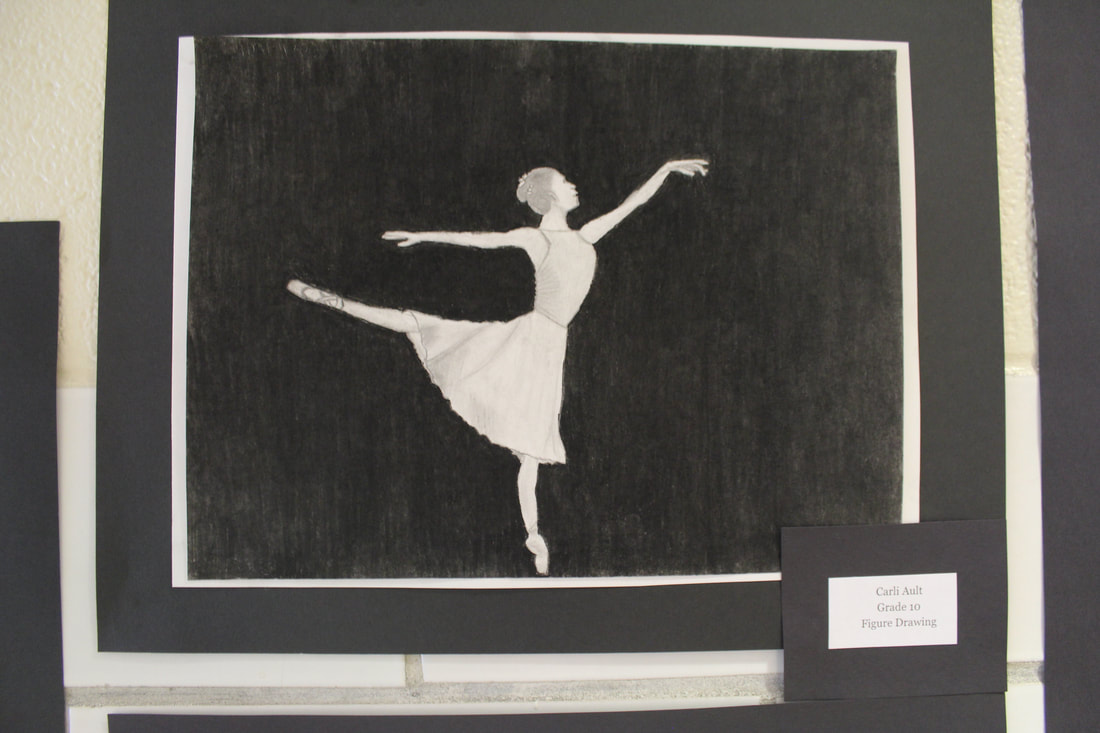
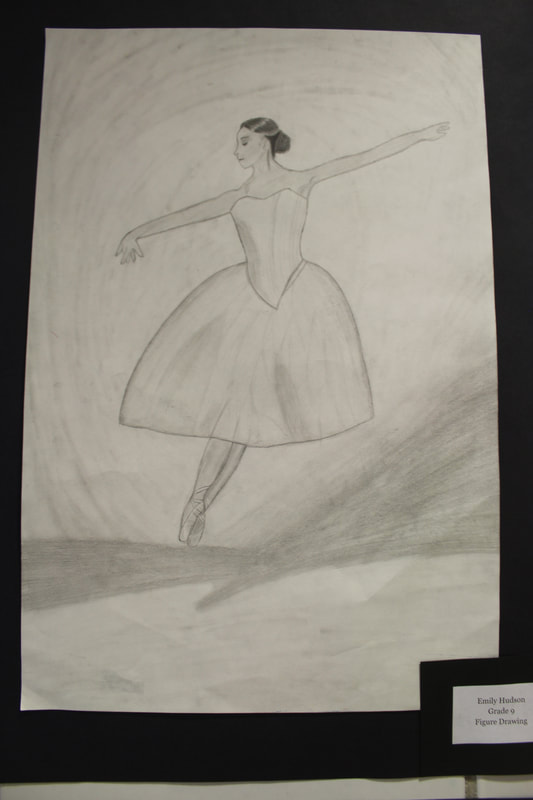
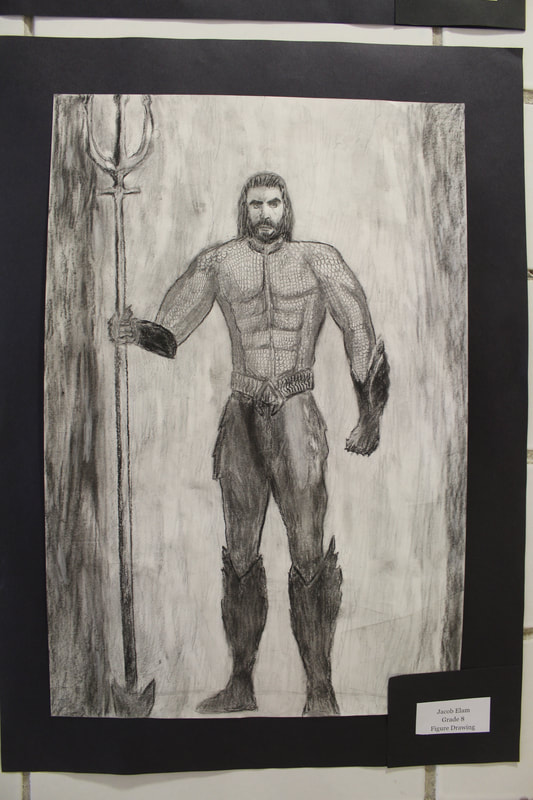
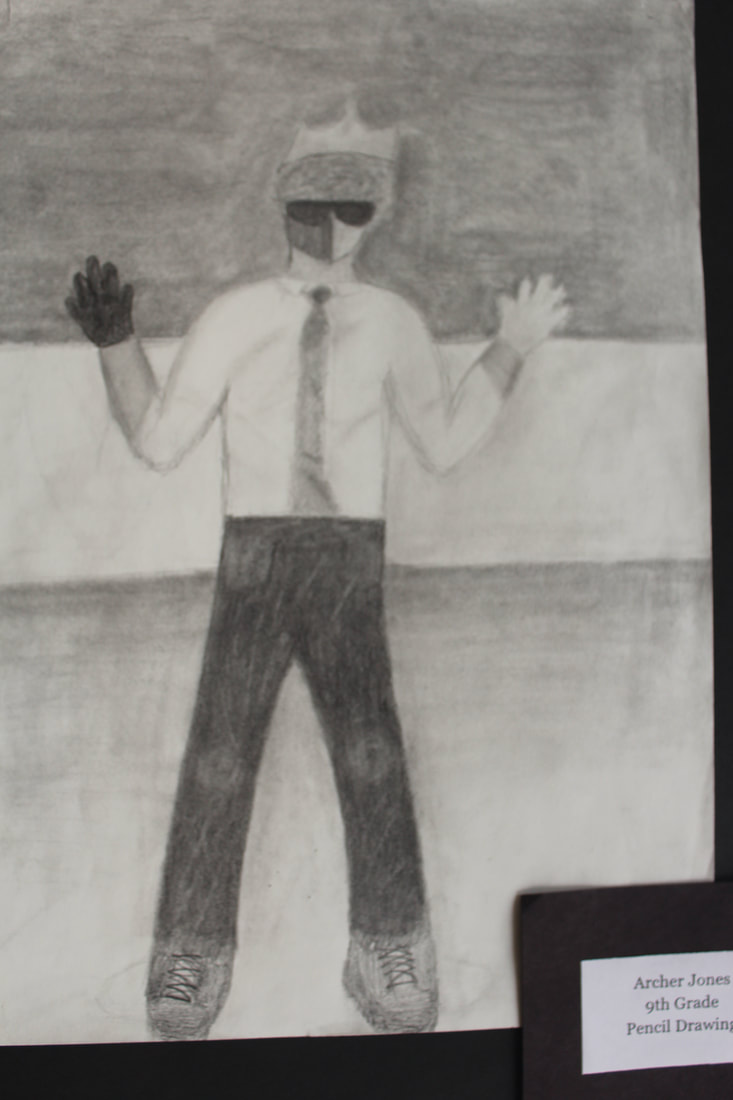
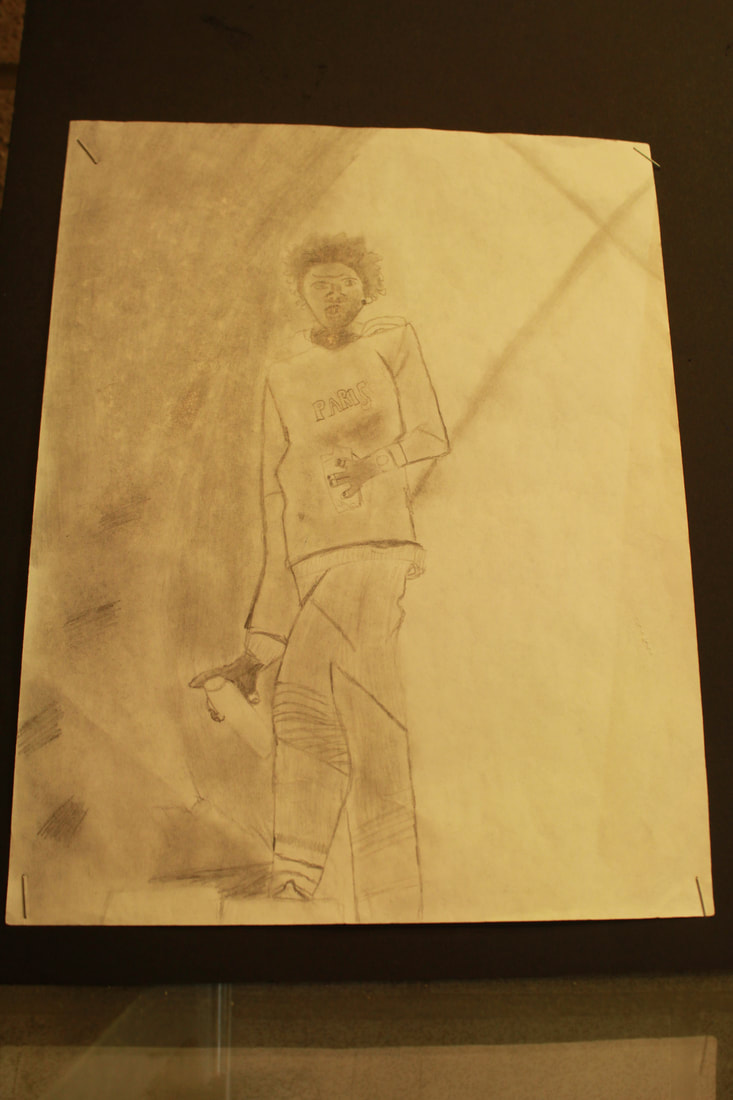
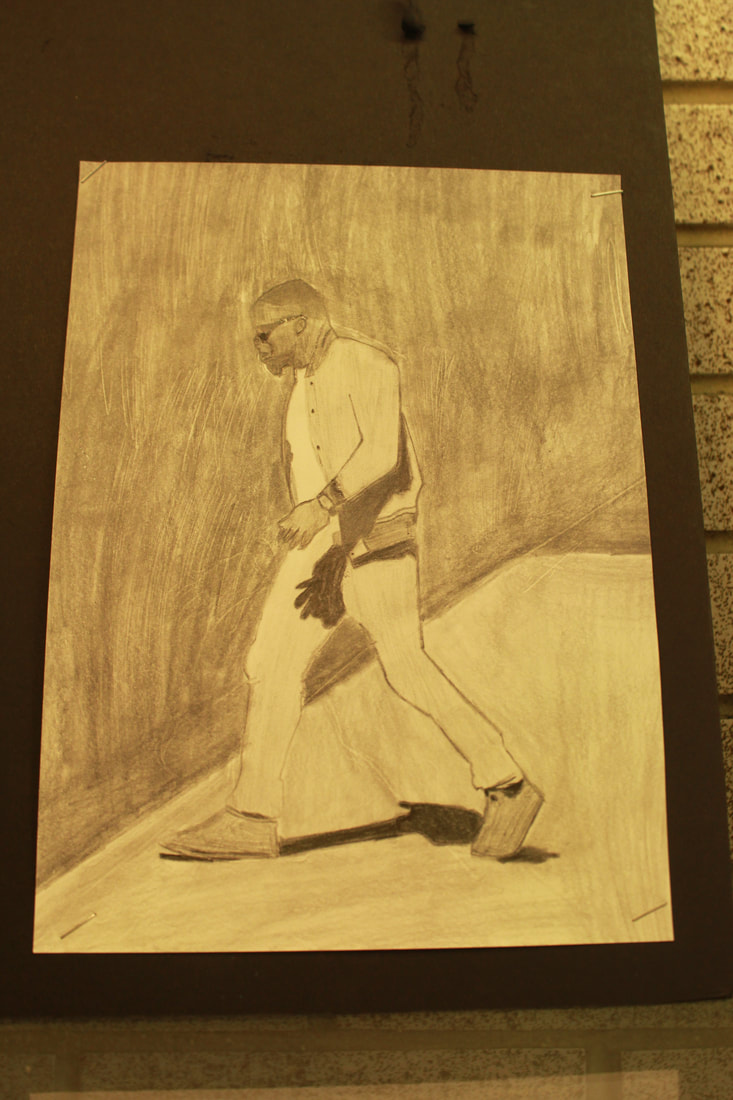
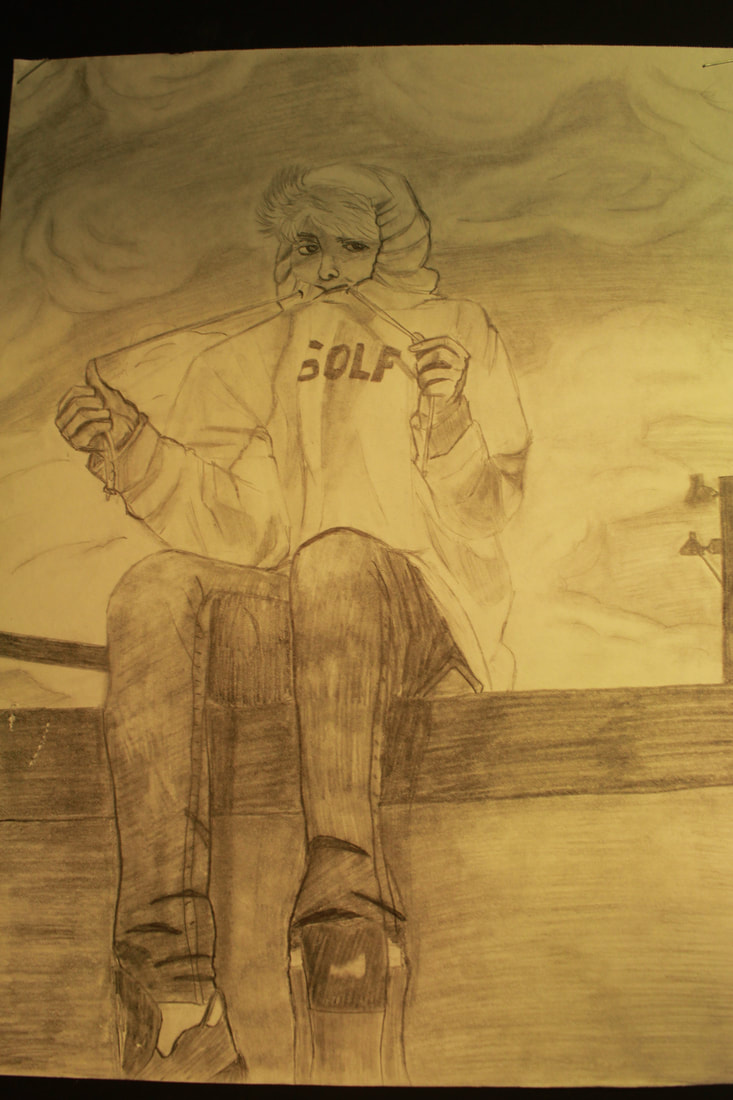
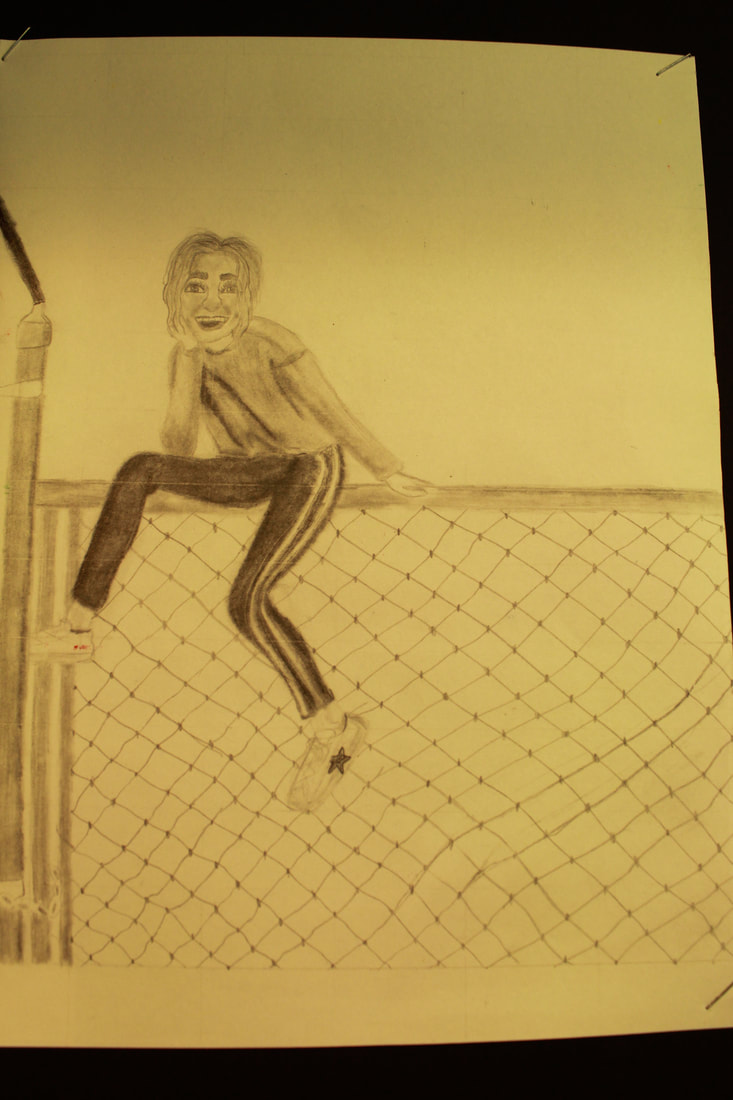
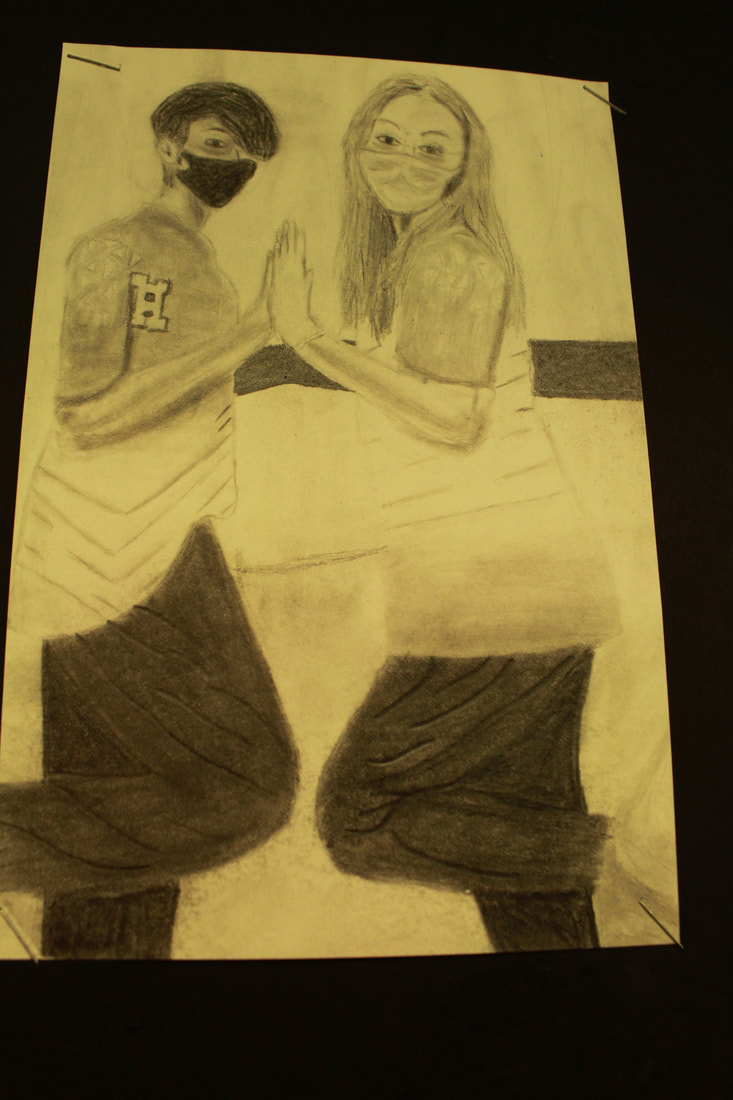
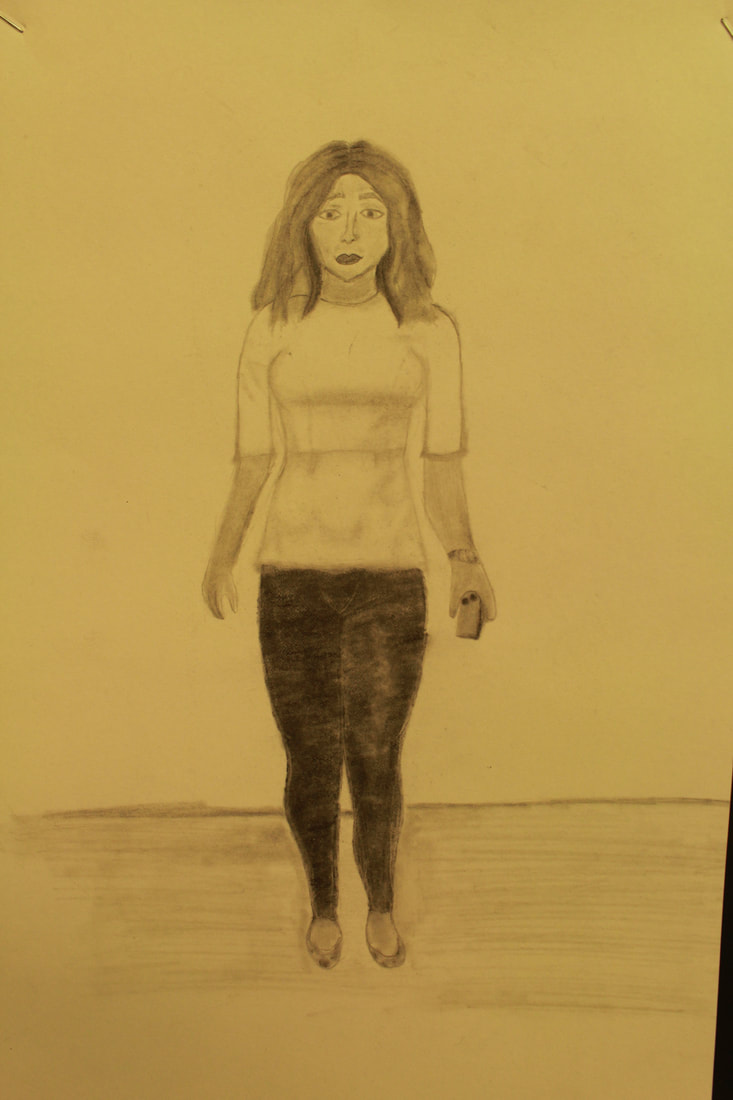
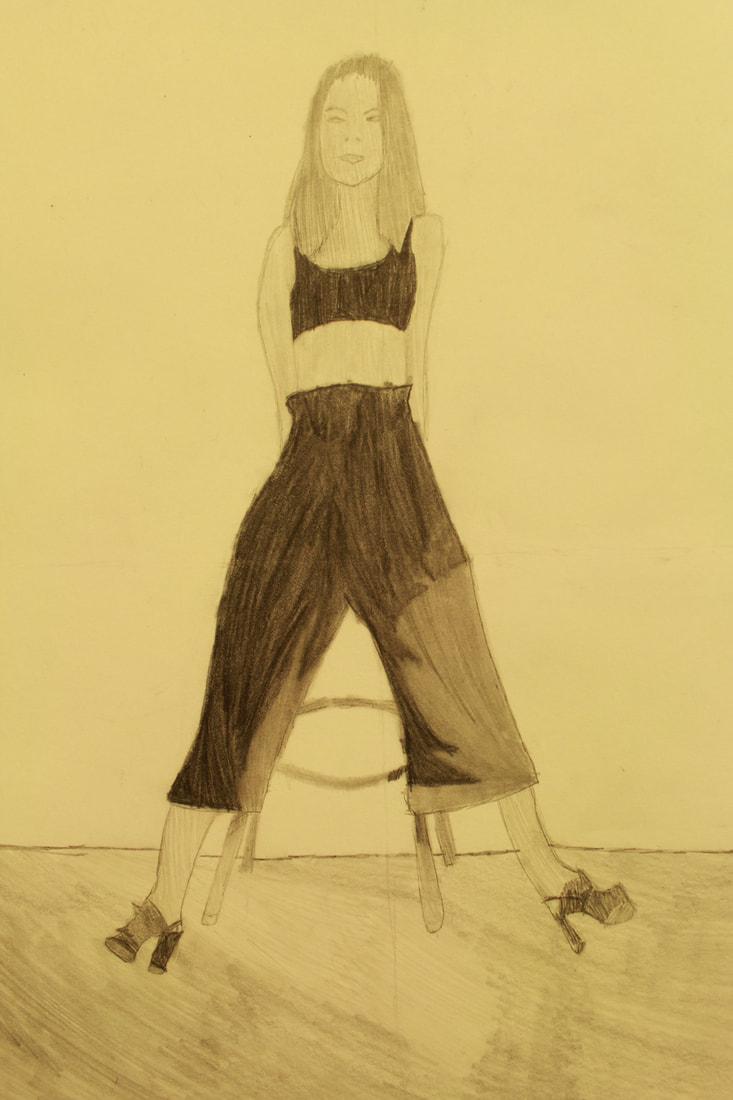
Figure Drawing
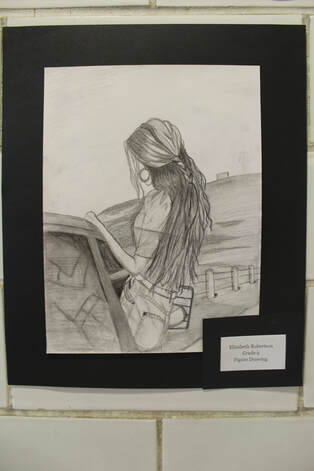
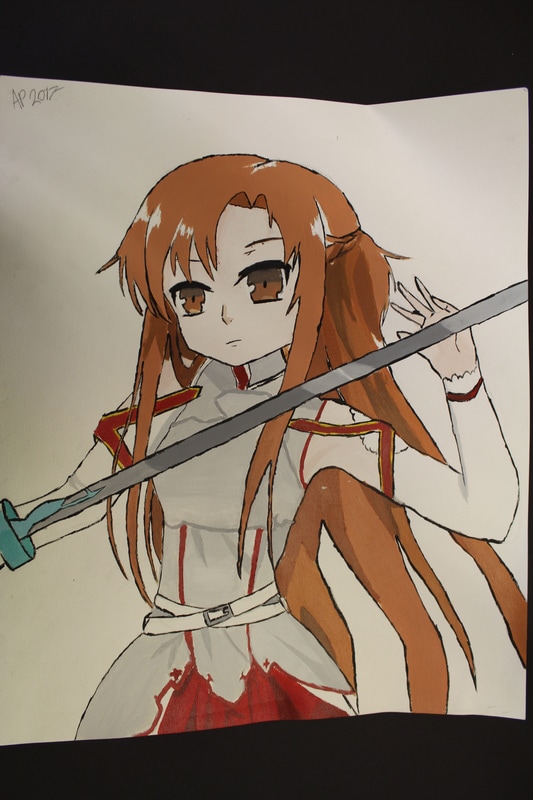
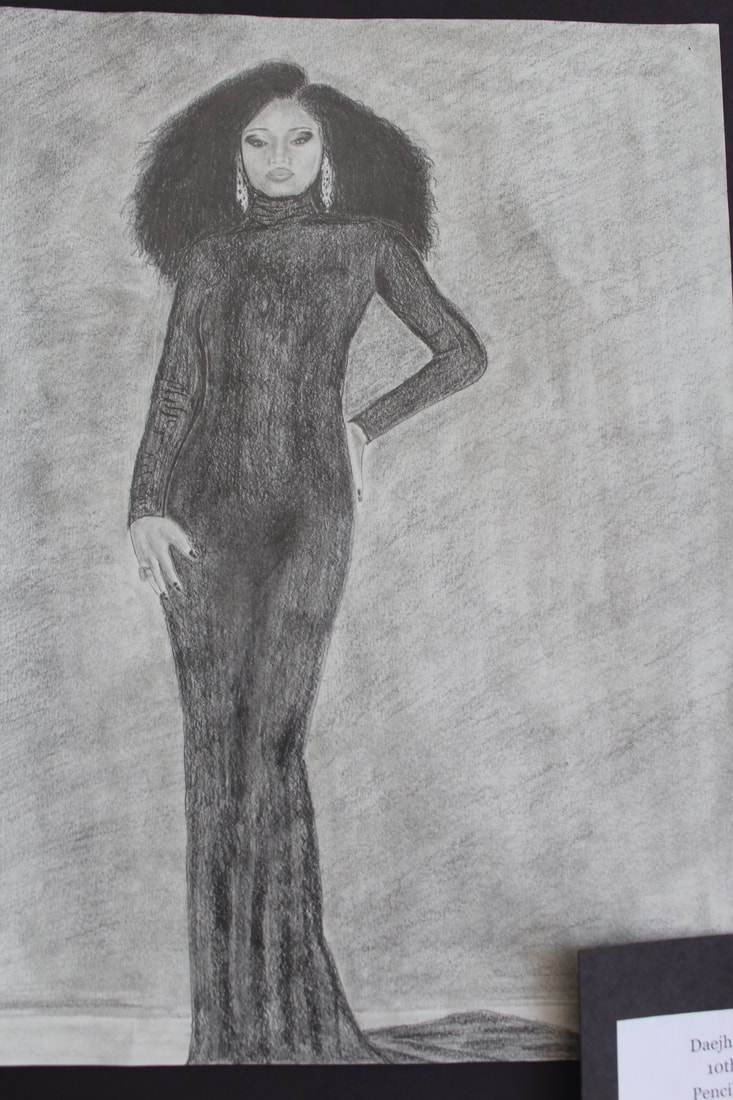
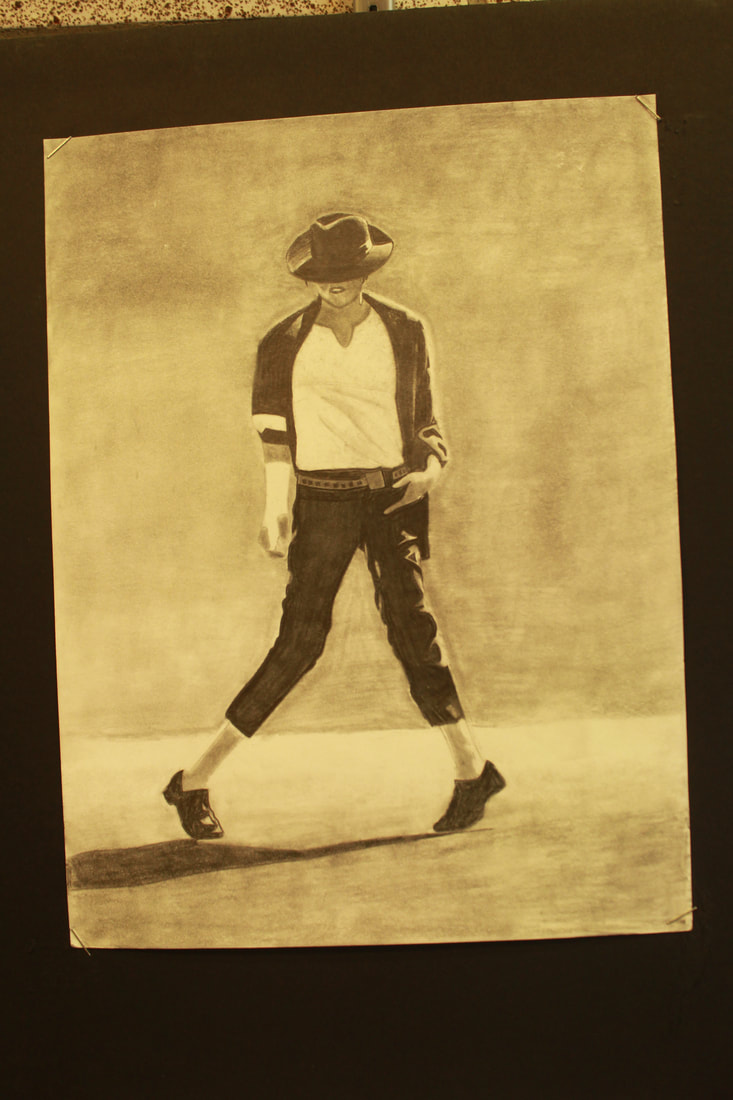
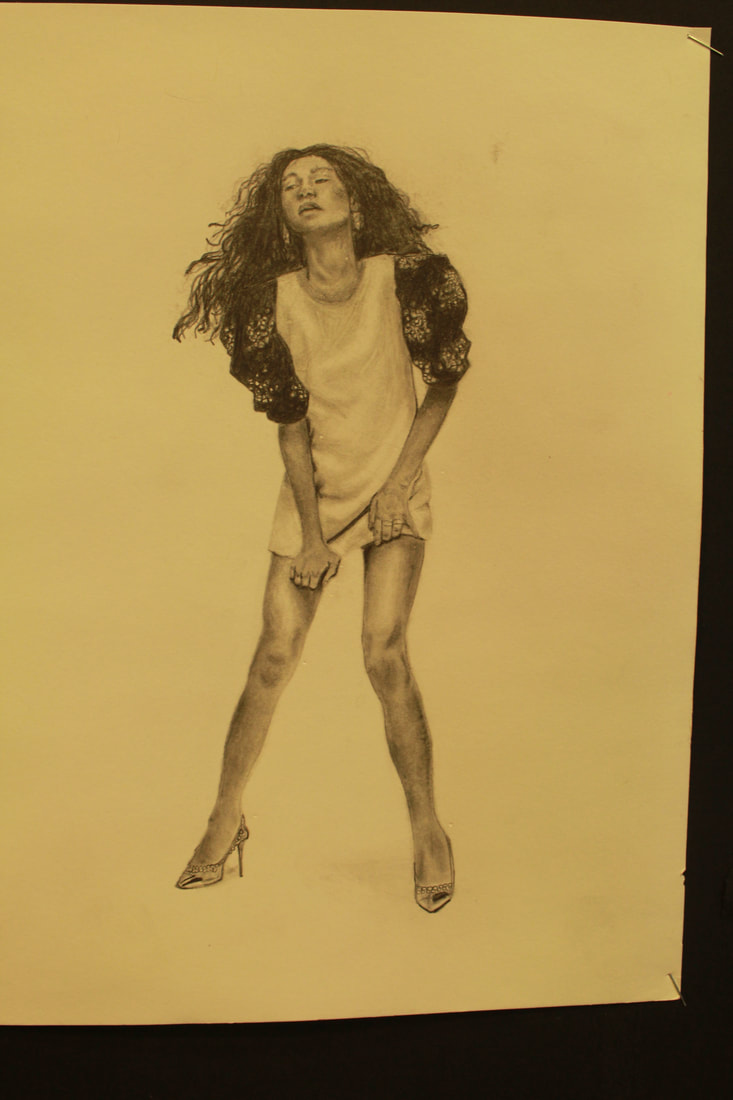
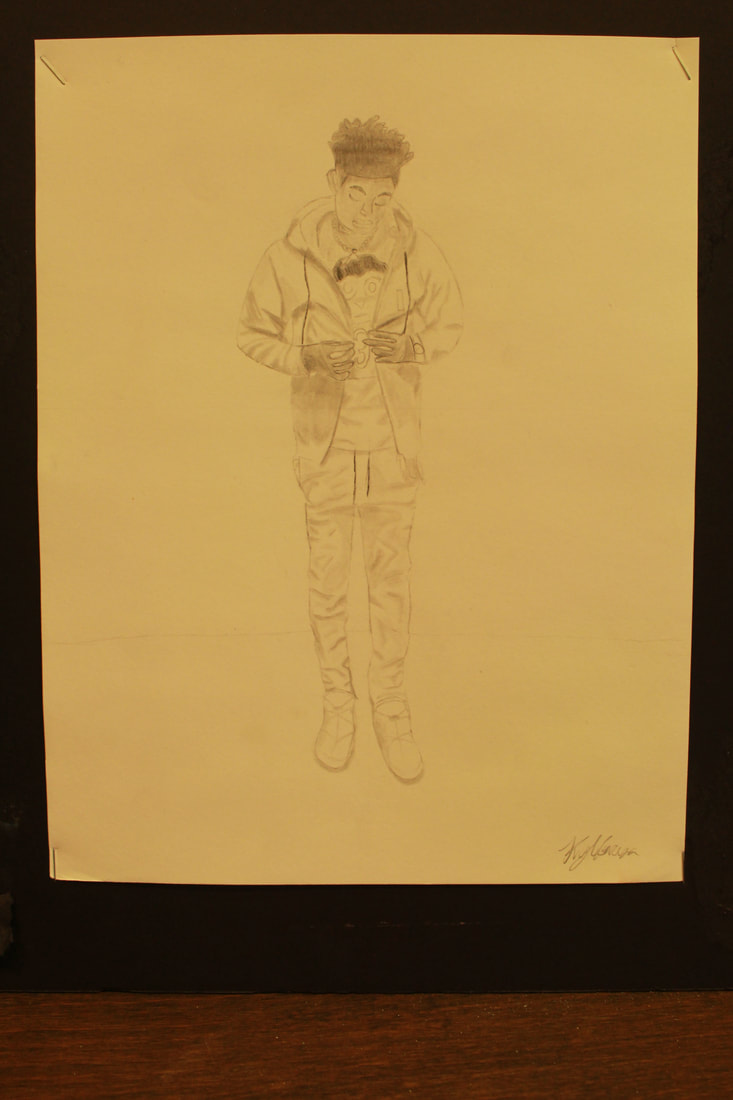
Depending on the class, sometimes we draw our classmates, but with the introduction of more technology we are able to get reference images to draw our friends, family and even celebrities. We start with an intense figure drawing practice which covers everything from gesture drawing, to body proportions, to facial expressions to shading. We talk about organizing an artwork to take up the full space of the paper and also work with both living models, figure models (wooden figures) and also printouts.


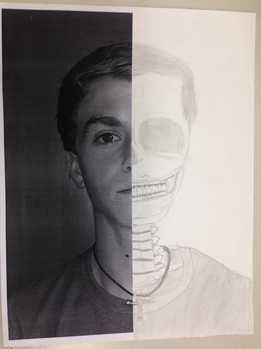
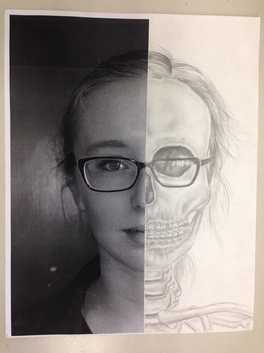
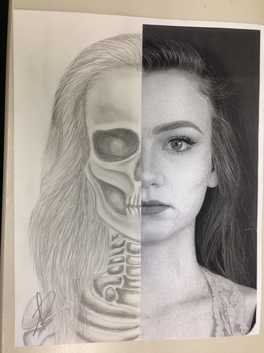
Skull Self-Portraits
For this self-portrait project students had a photograph of themselves printed in black and white then cut in half down the middle. Then they had skull reference sheets to use as reference to fill in the other half of the photograph with a skull shape. We focused on shading trying to achieve lots of different values in our drawings to create depth and realism. We also learned fun facts about the difference between male and female skulls and also just how different each persons skull can look. It also was interesting to us how much the skull governs how your face looks.
|
|
|
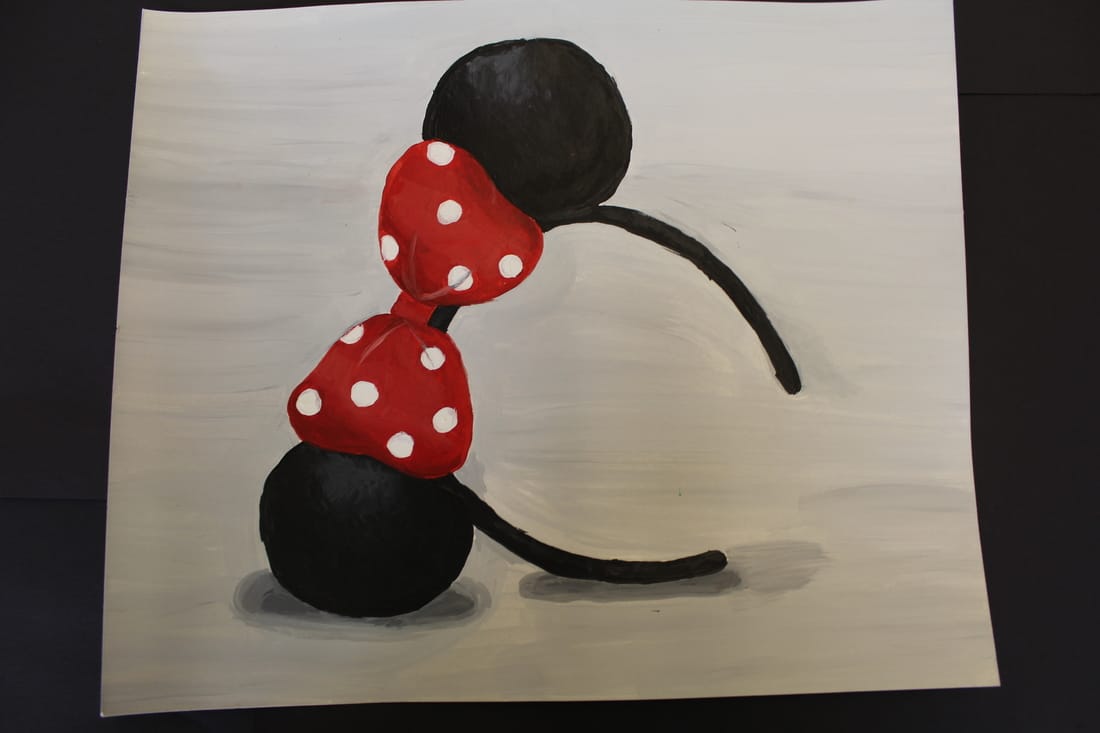
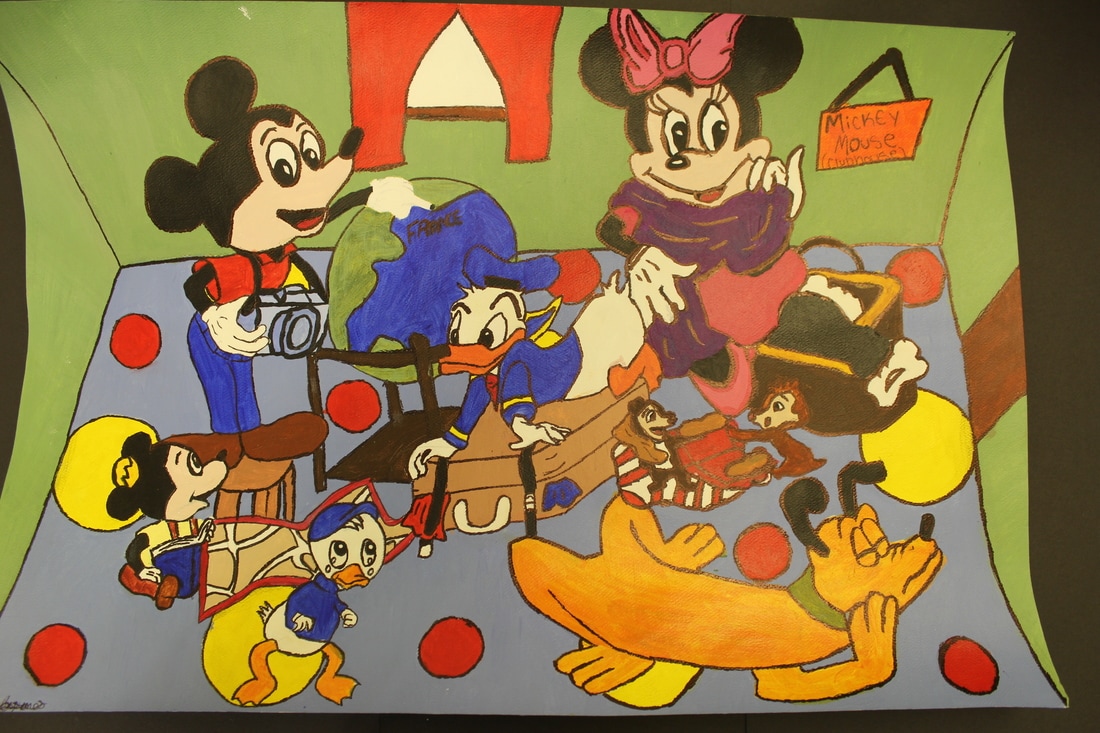
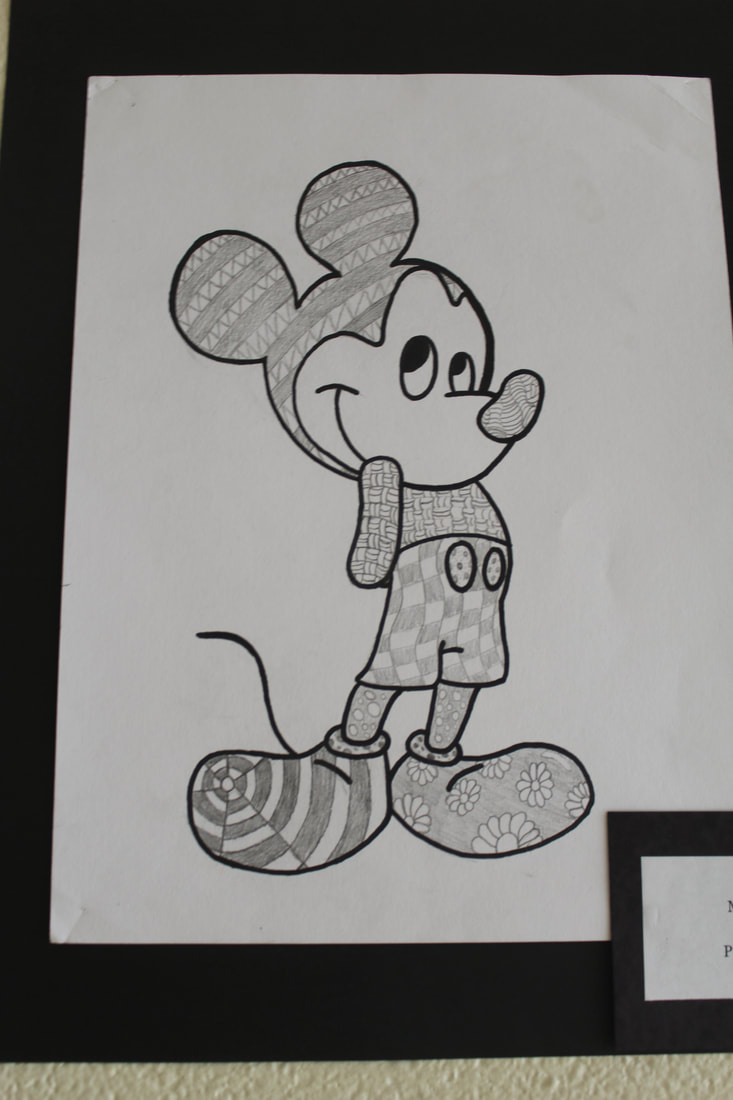
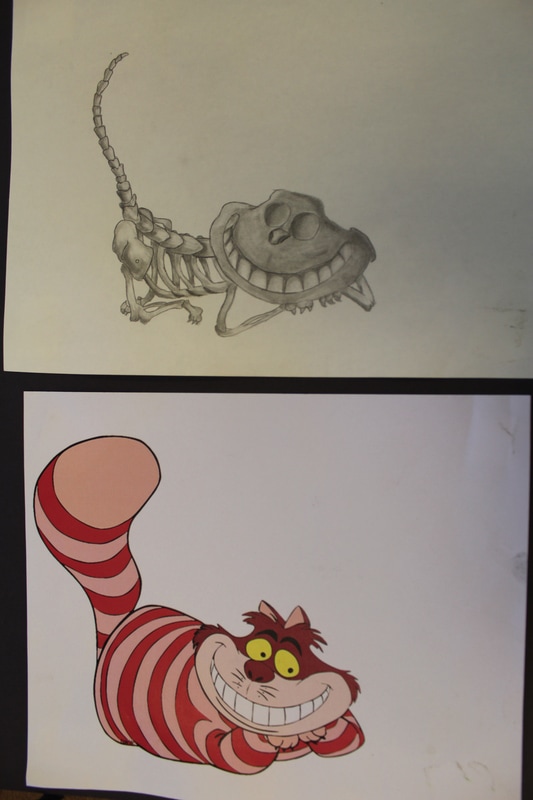
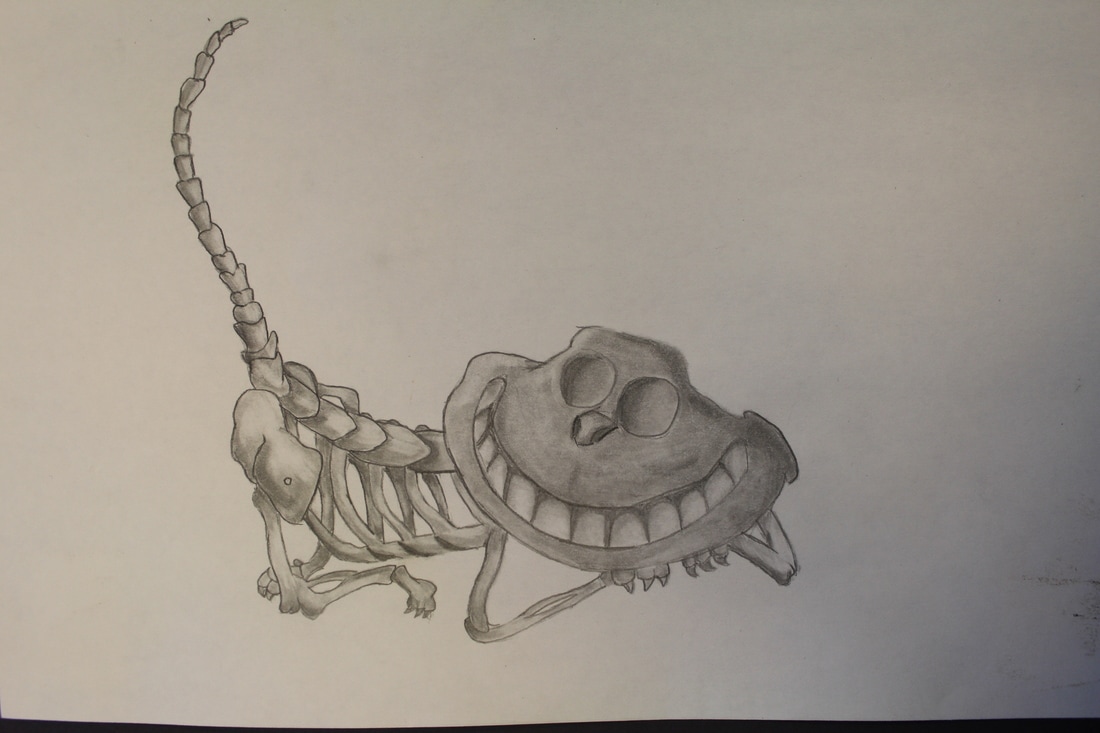
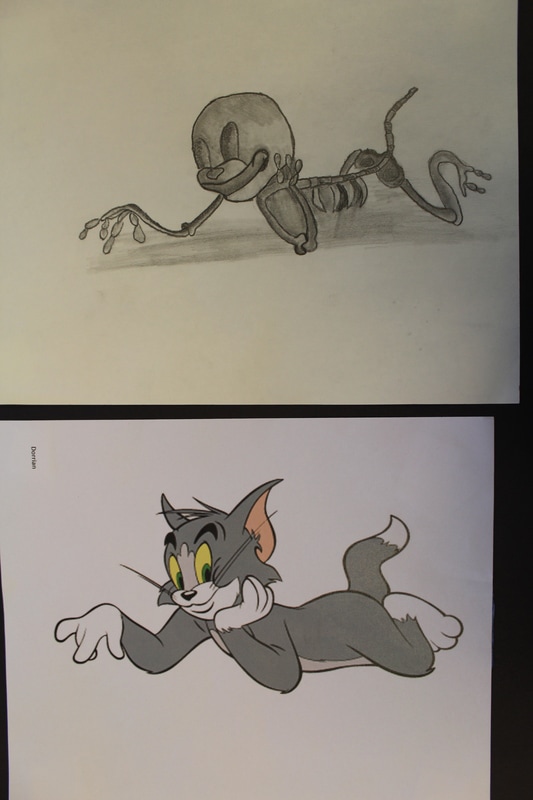
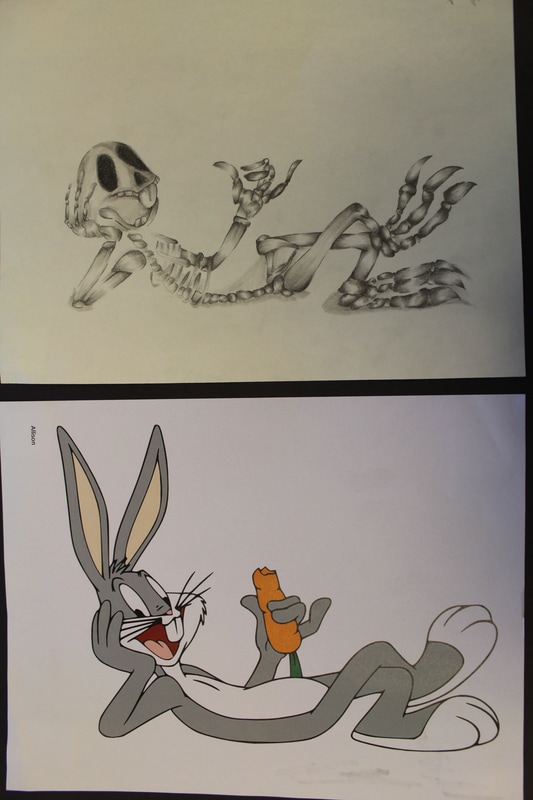
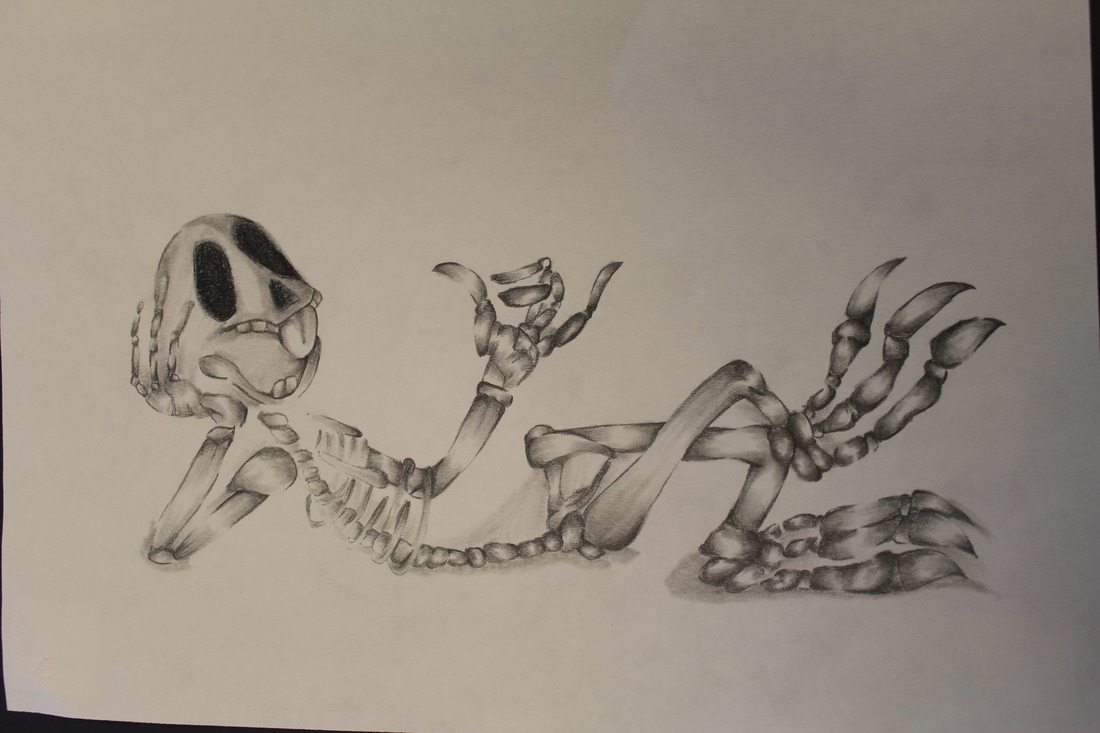
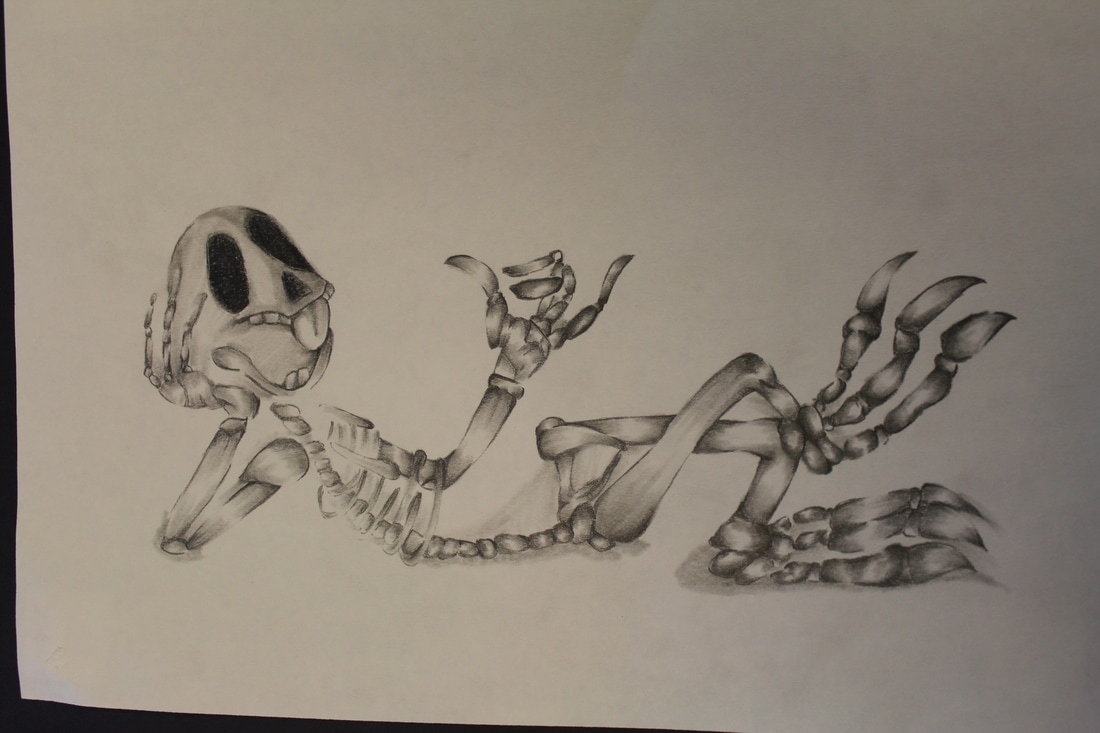
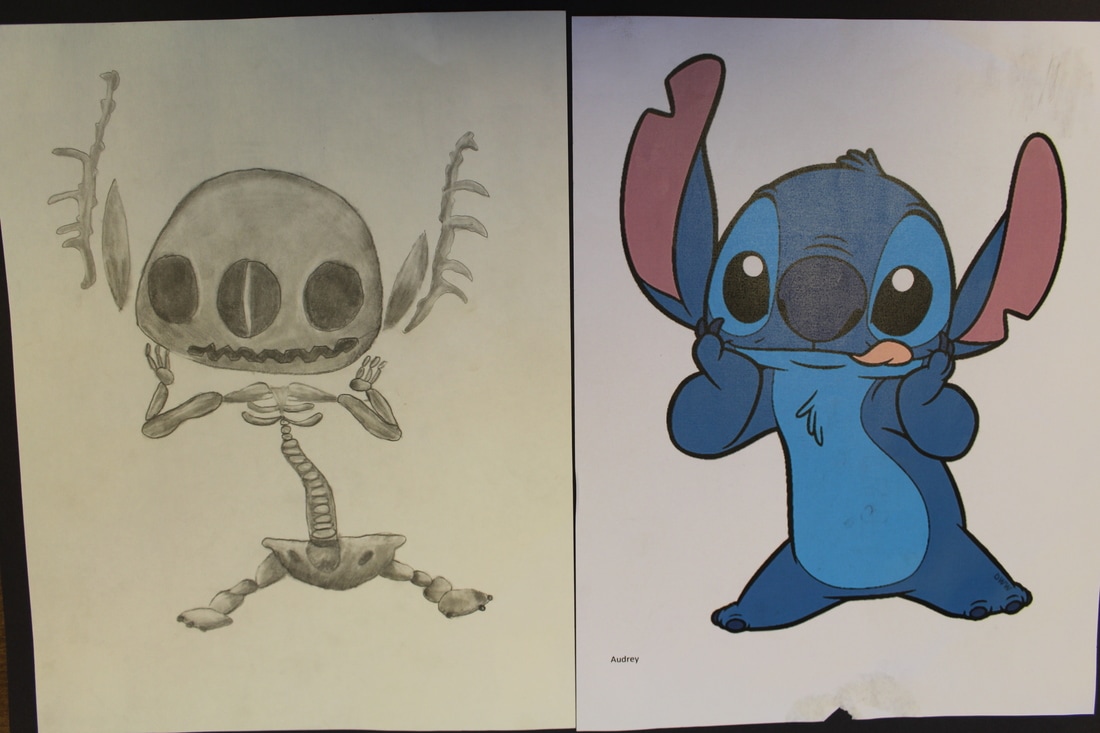
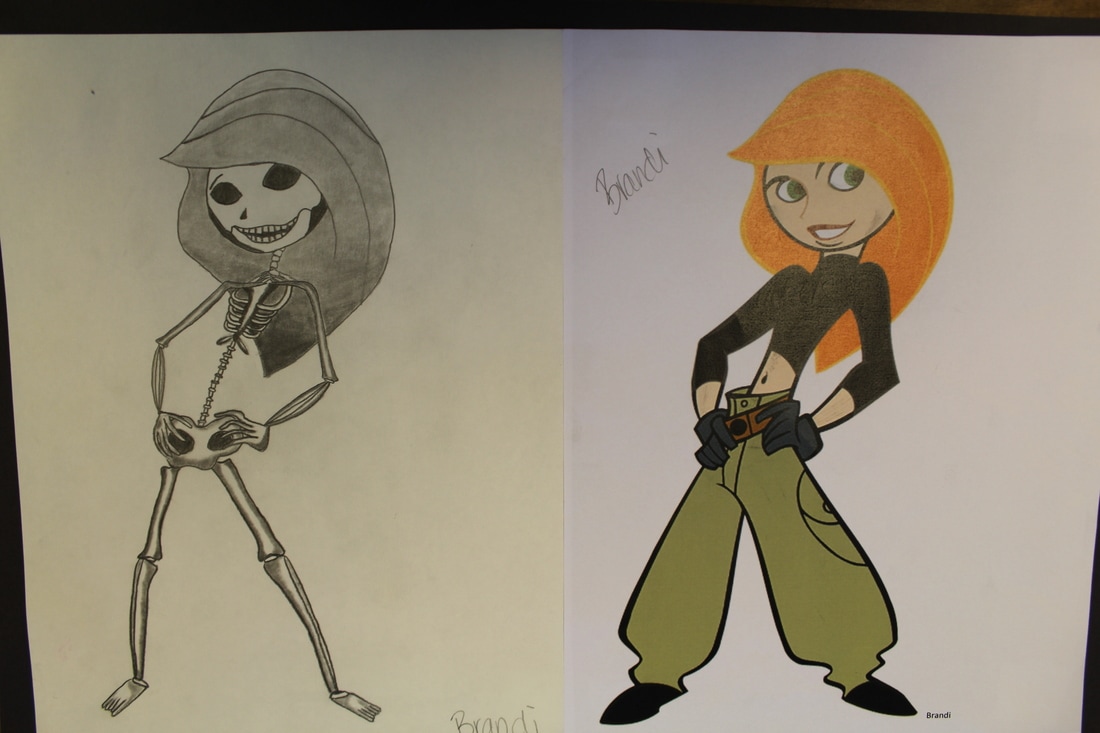
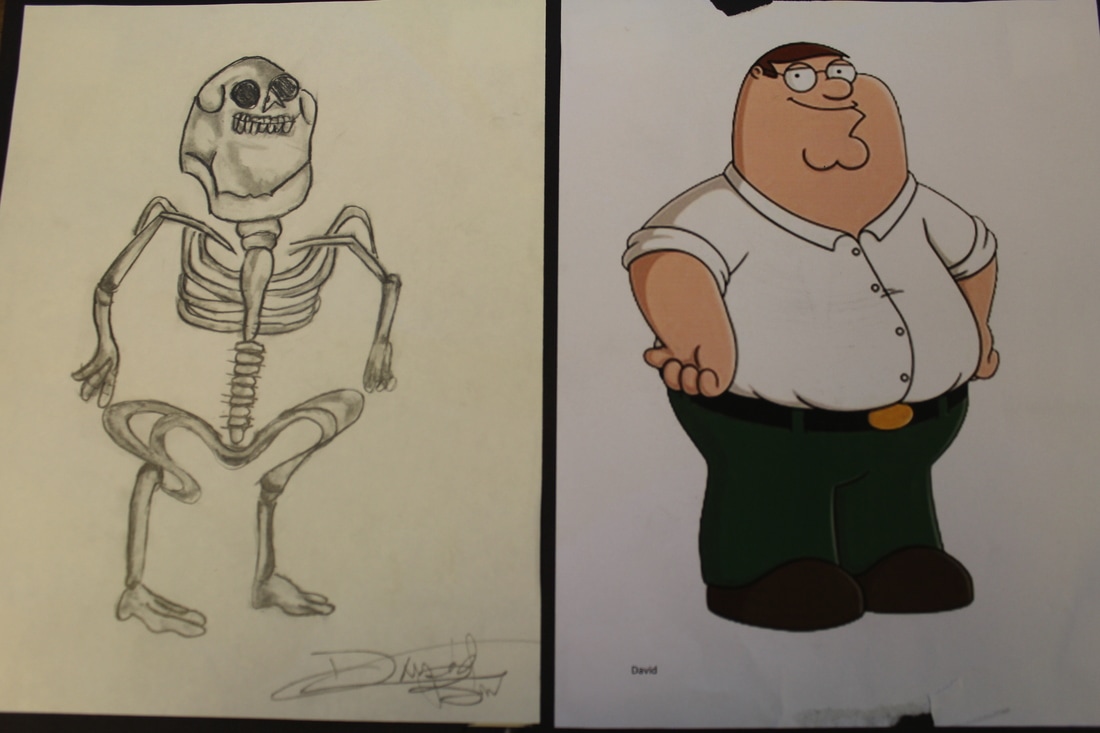
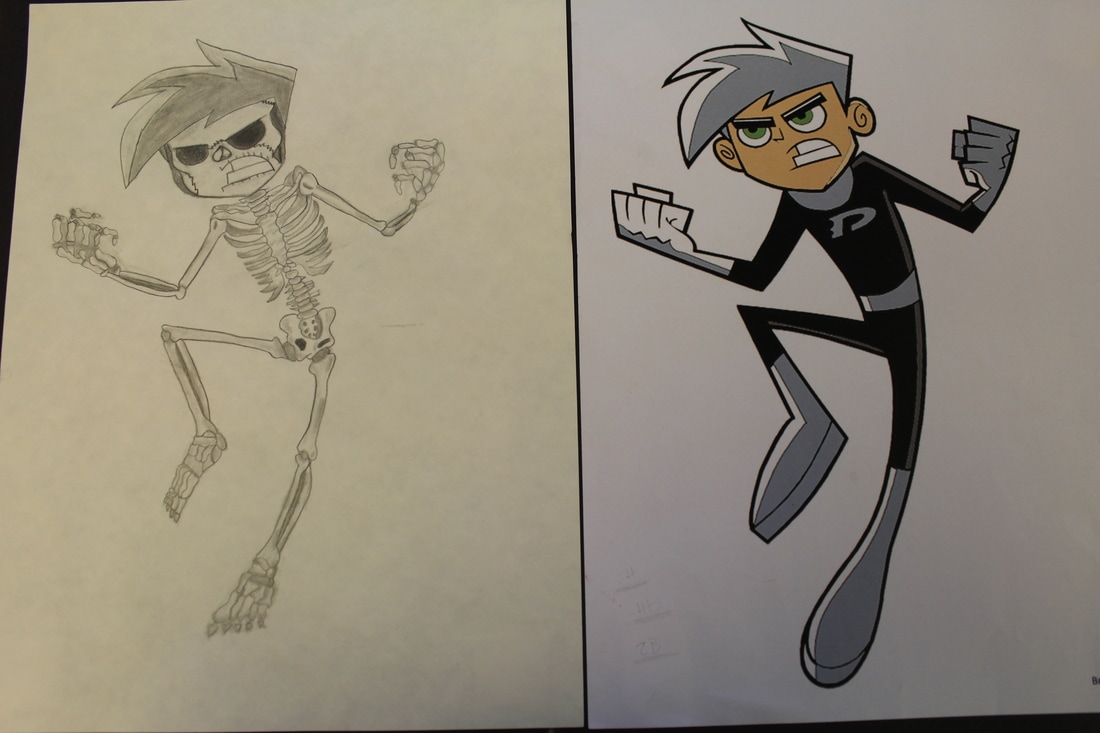
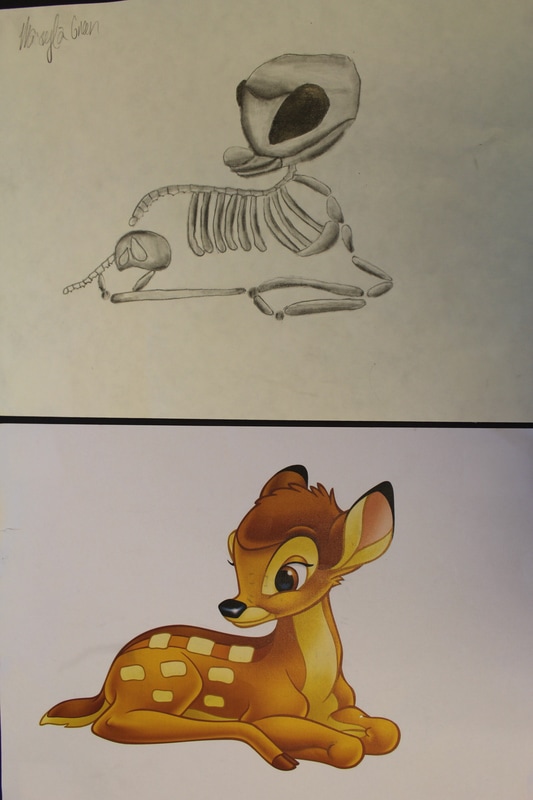
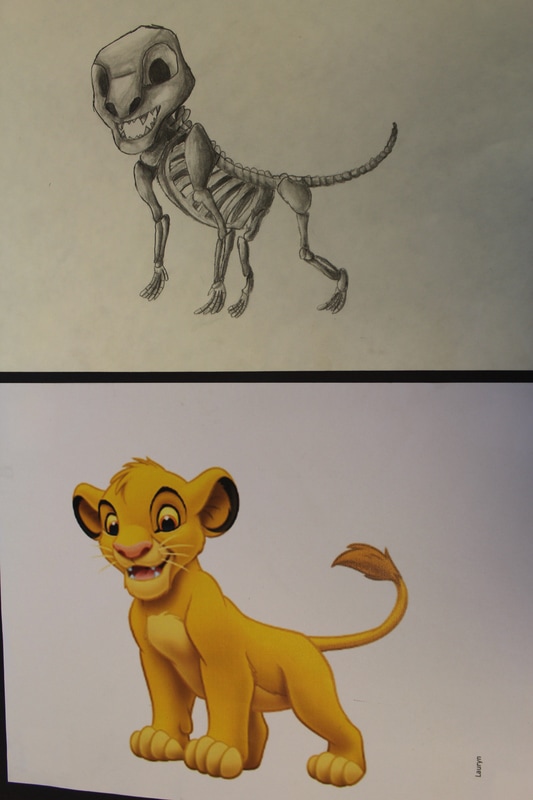
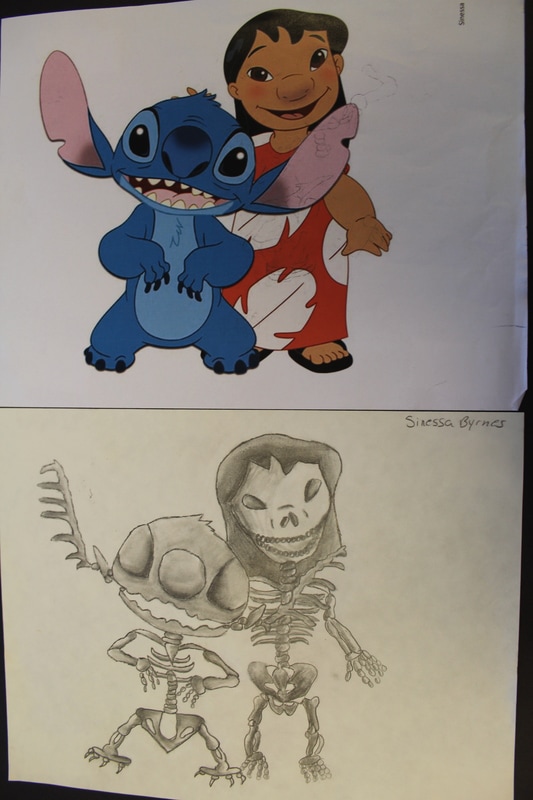
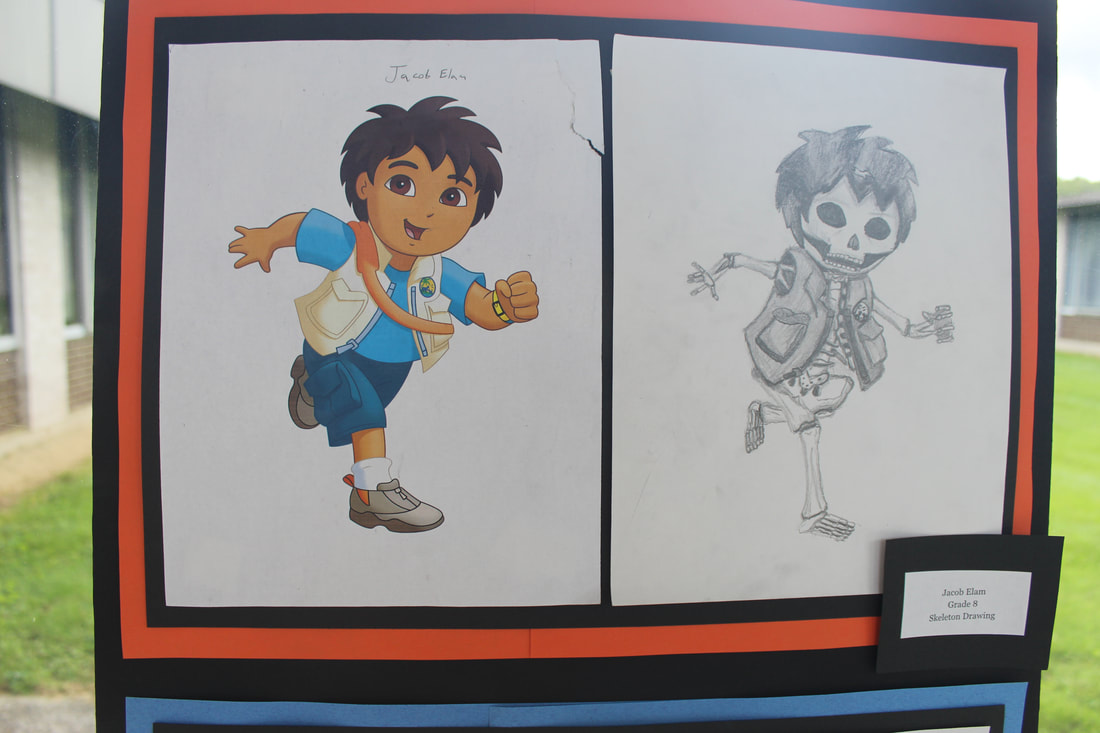
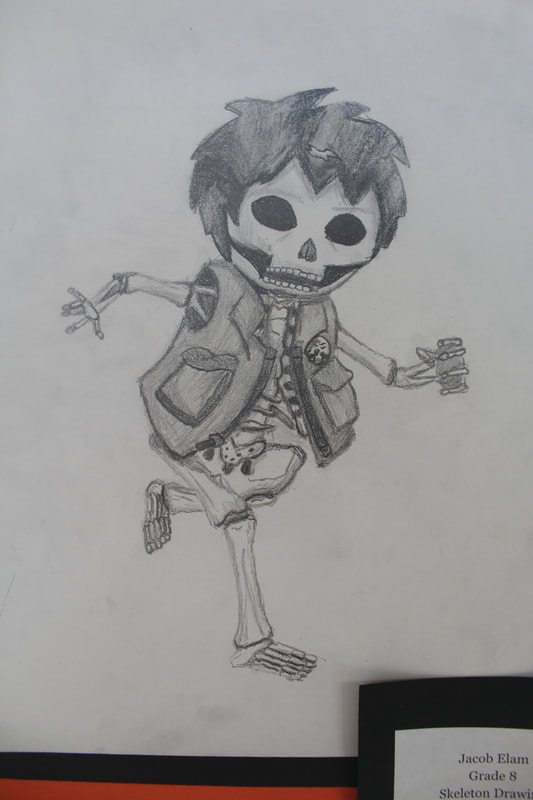
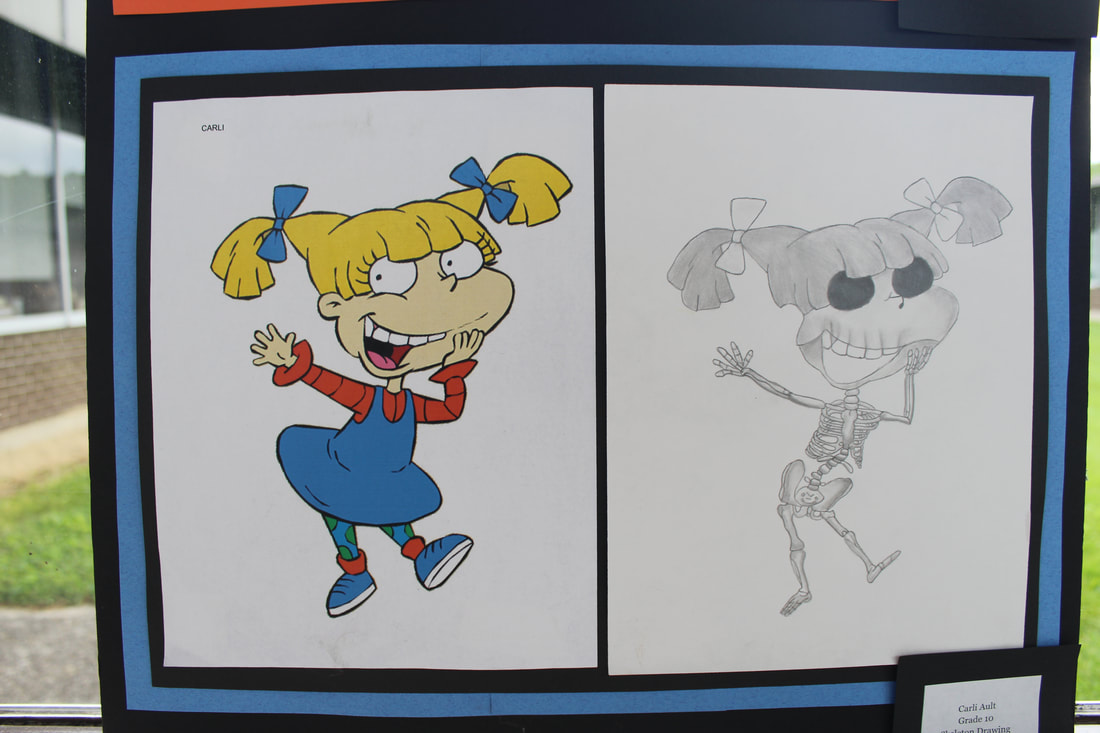
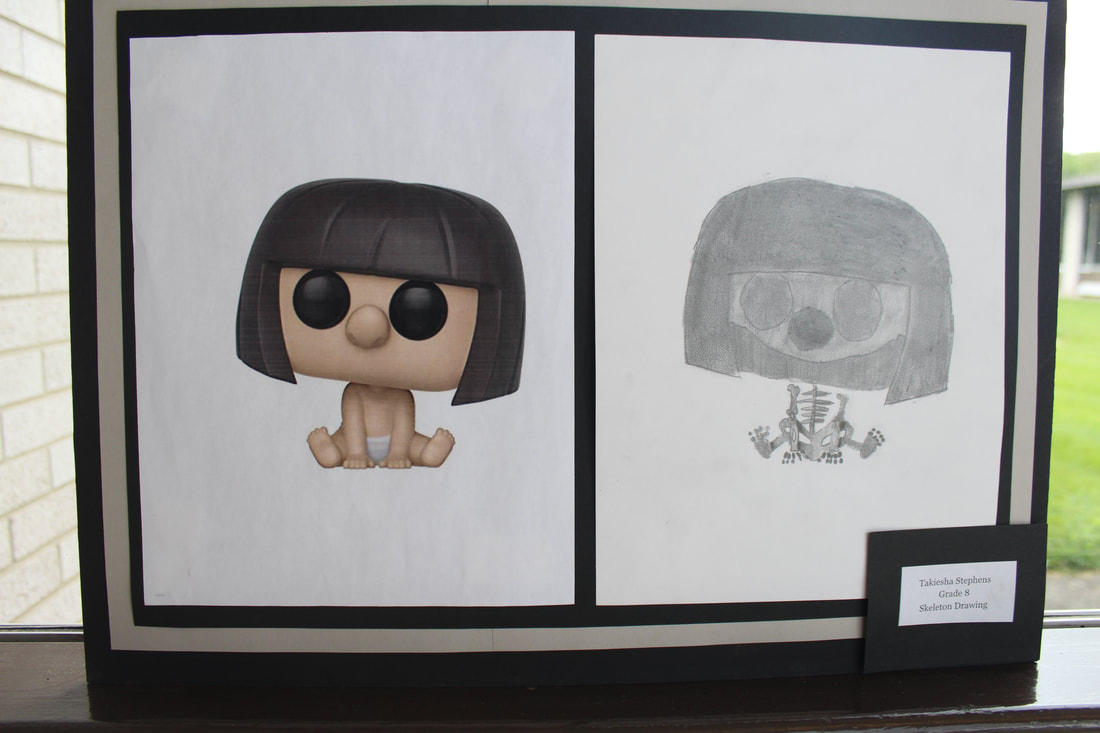
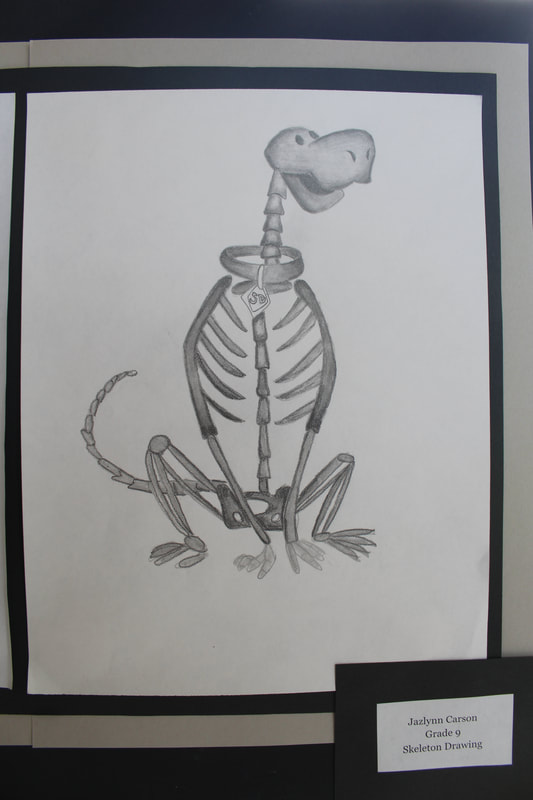
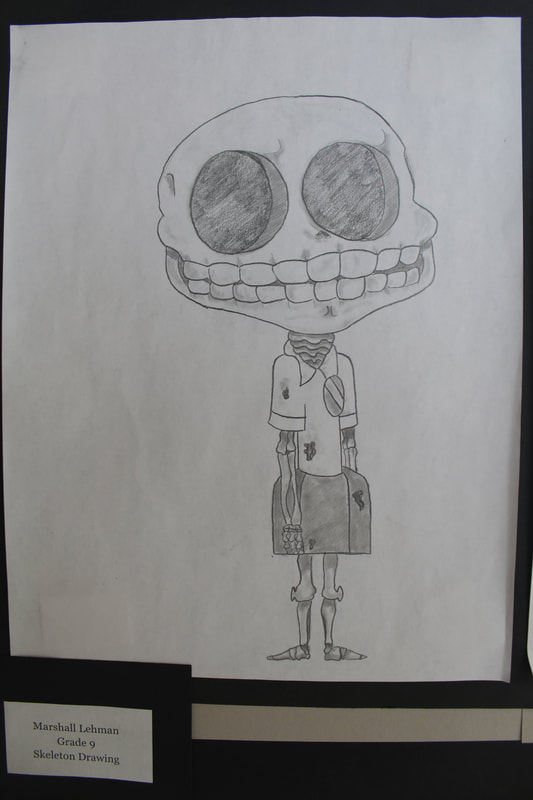
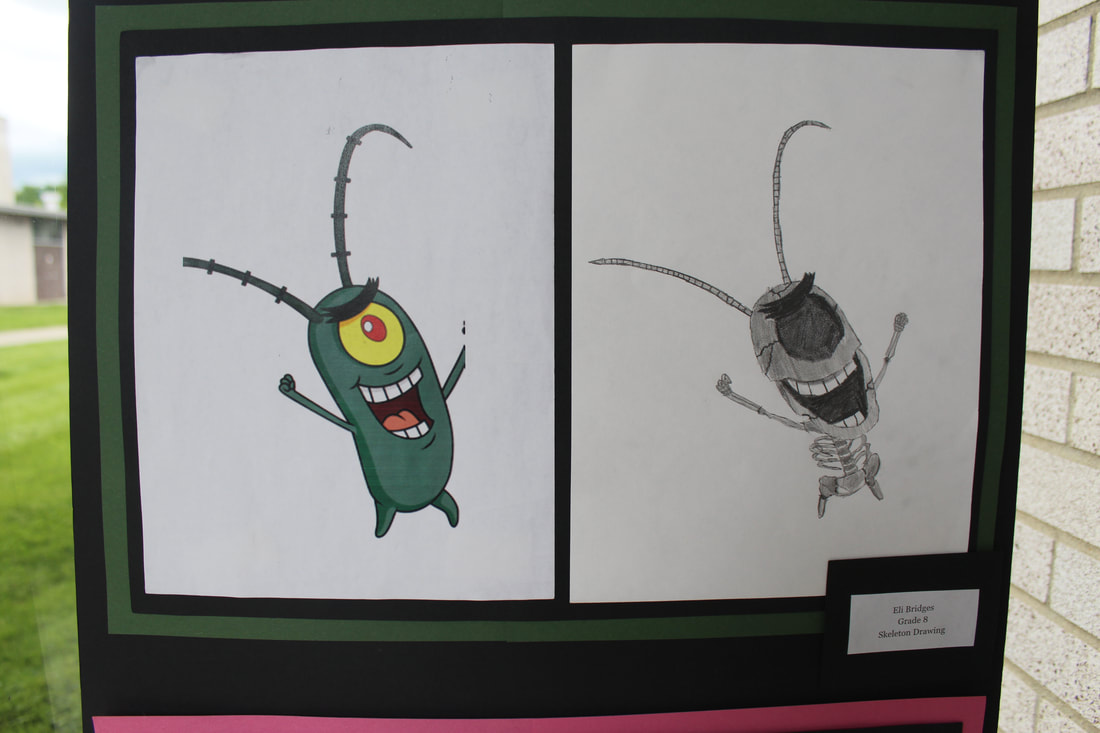
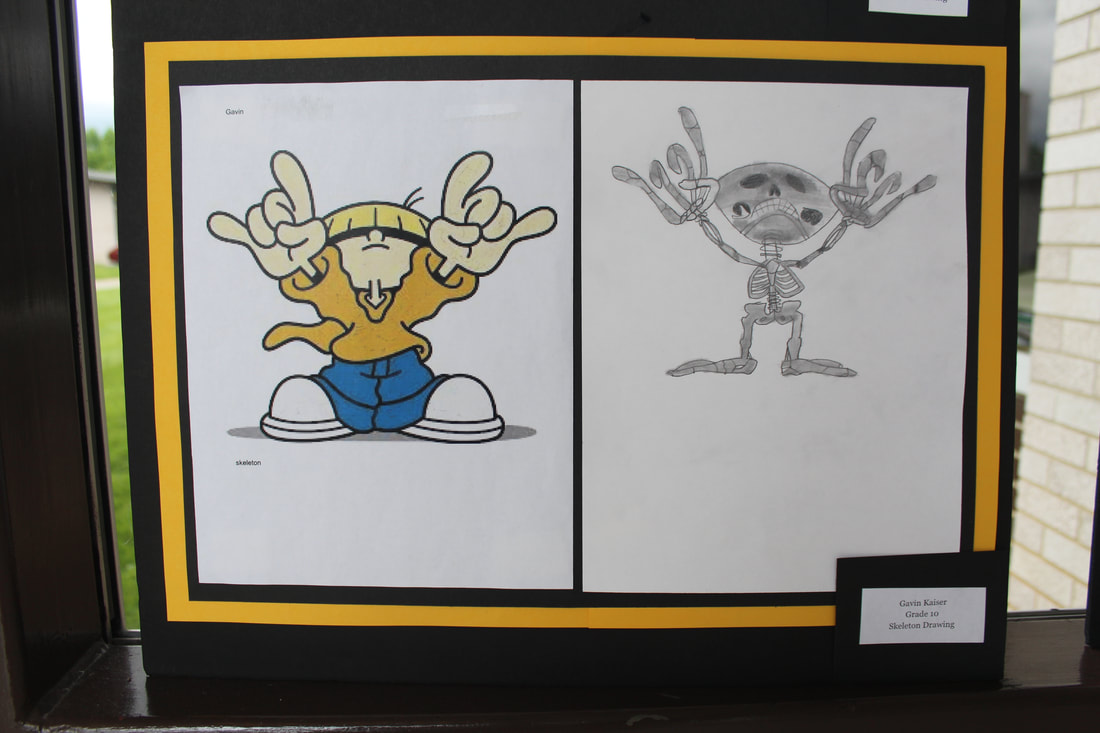
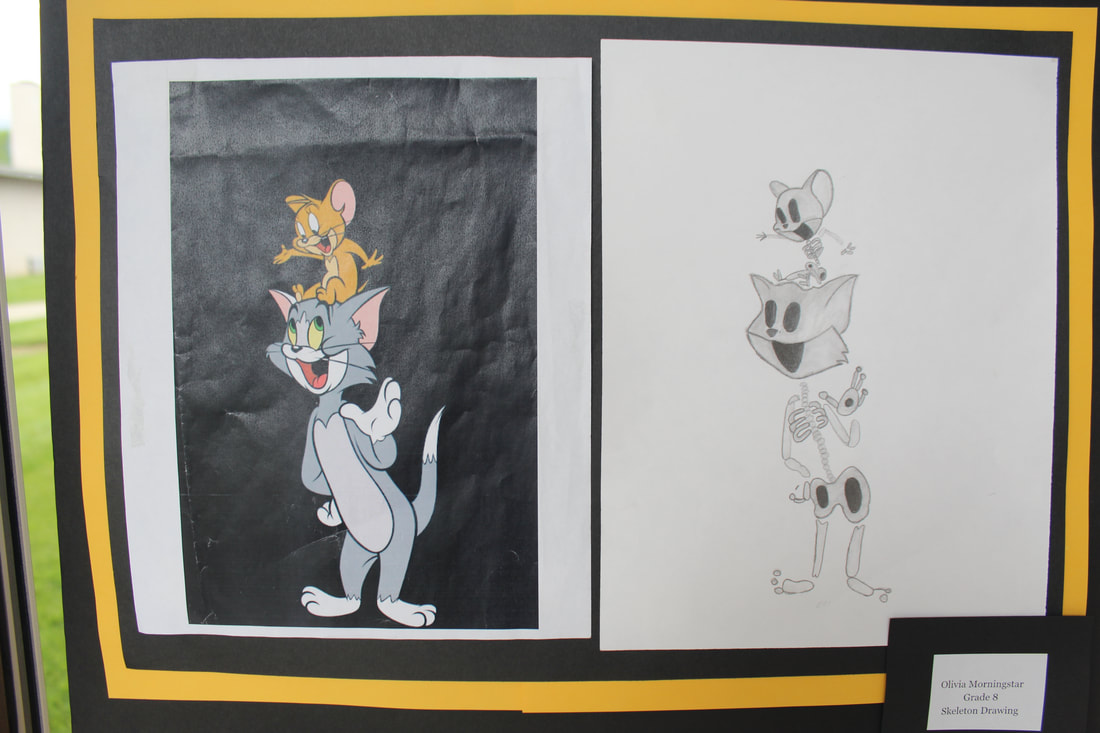
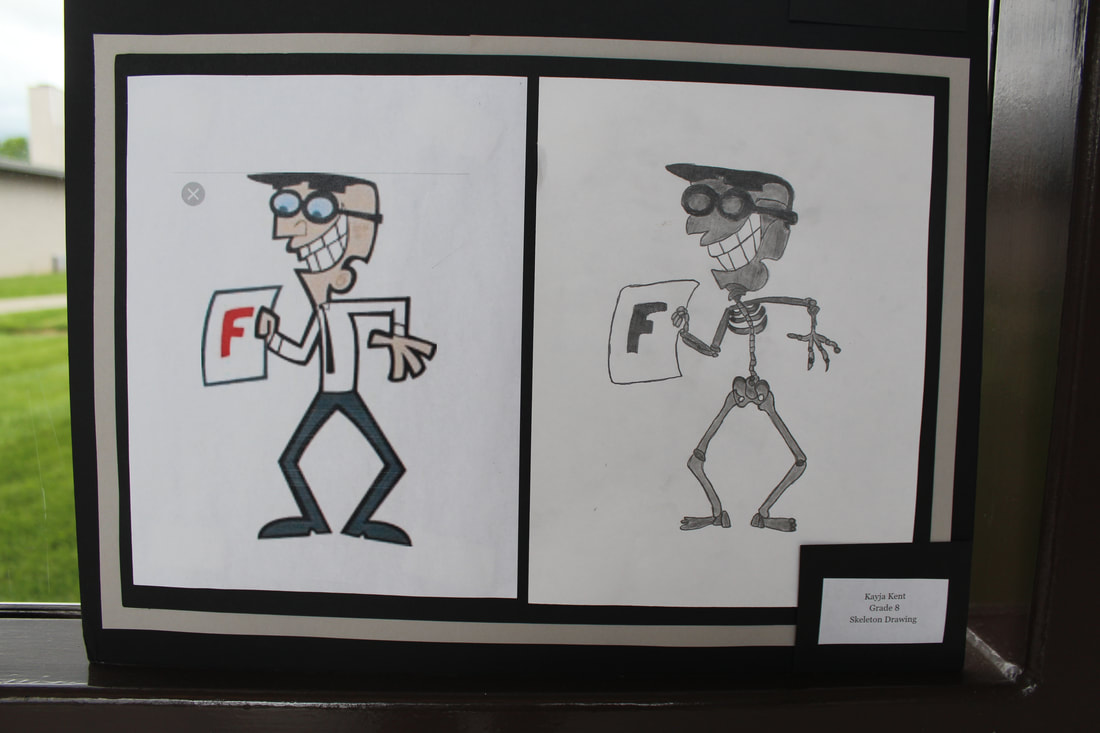
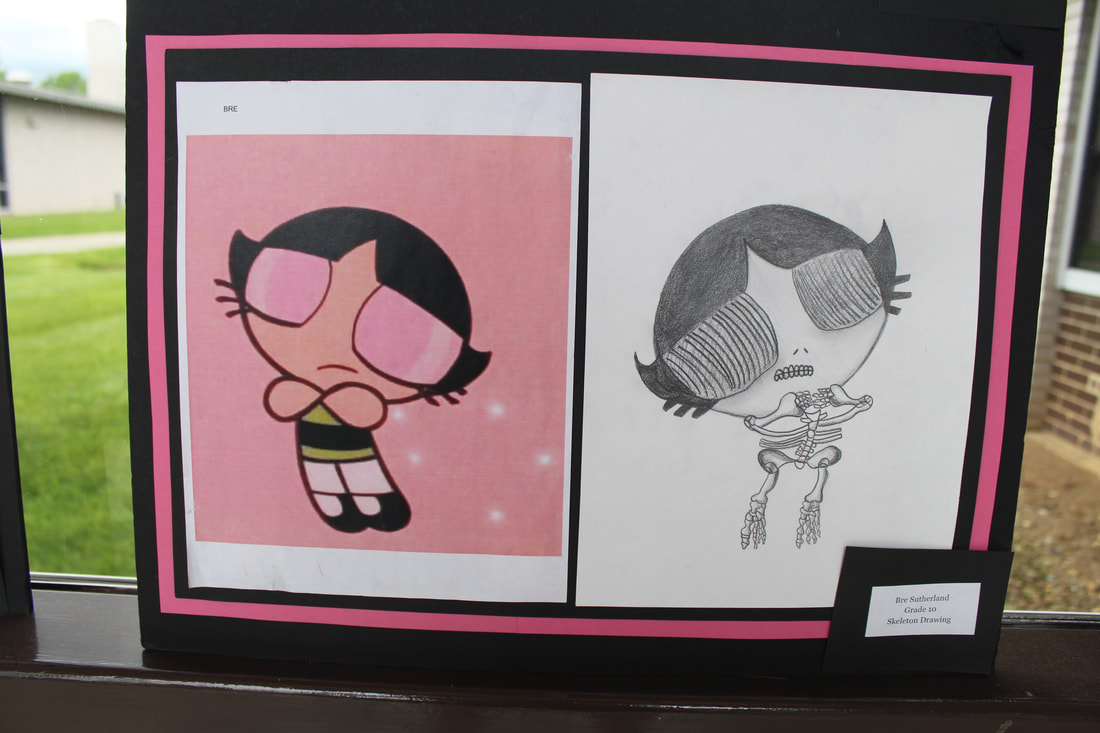
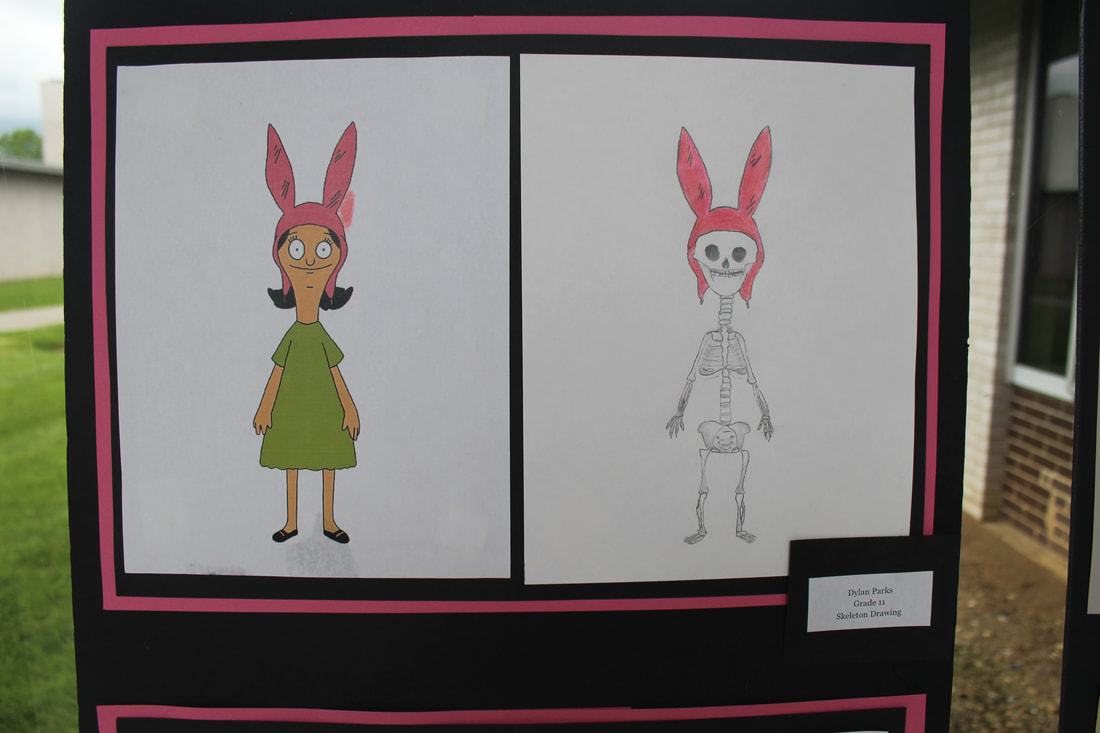
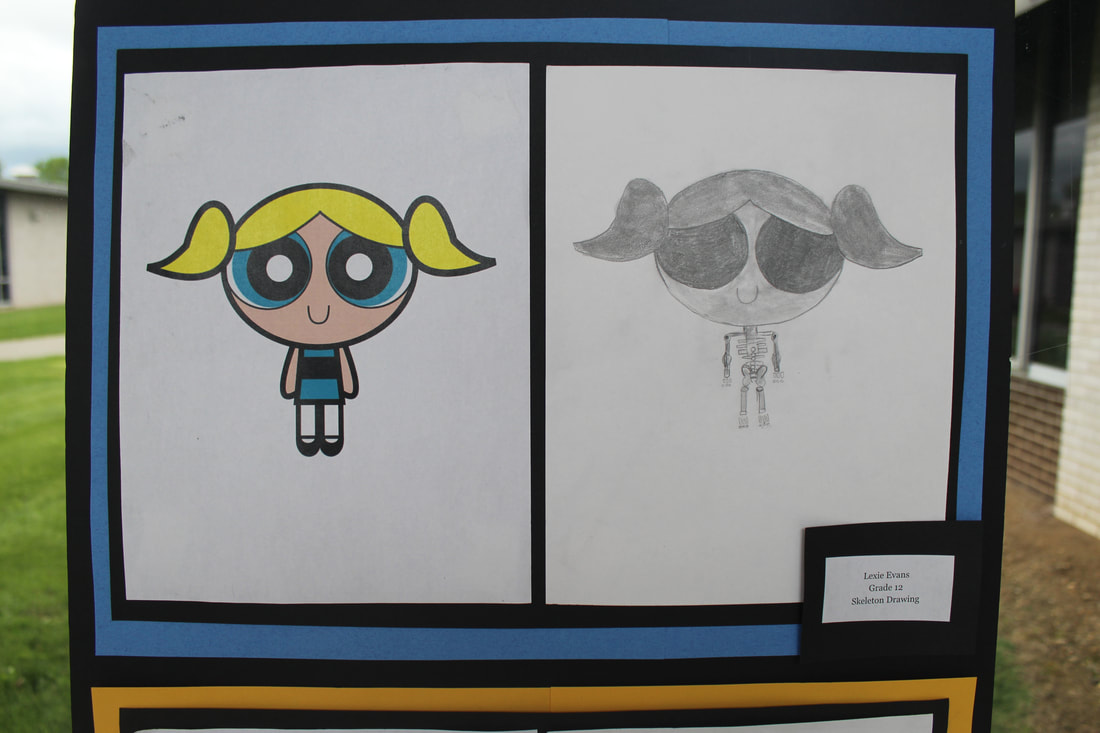
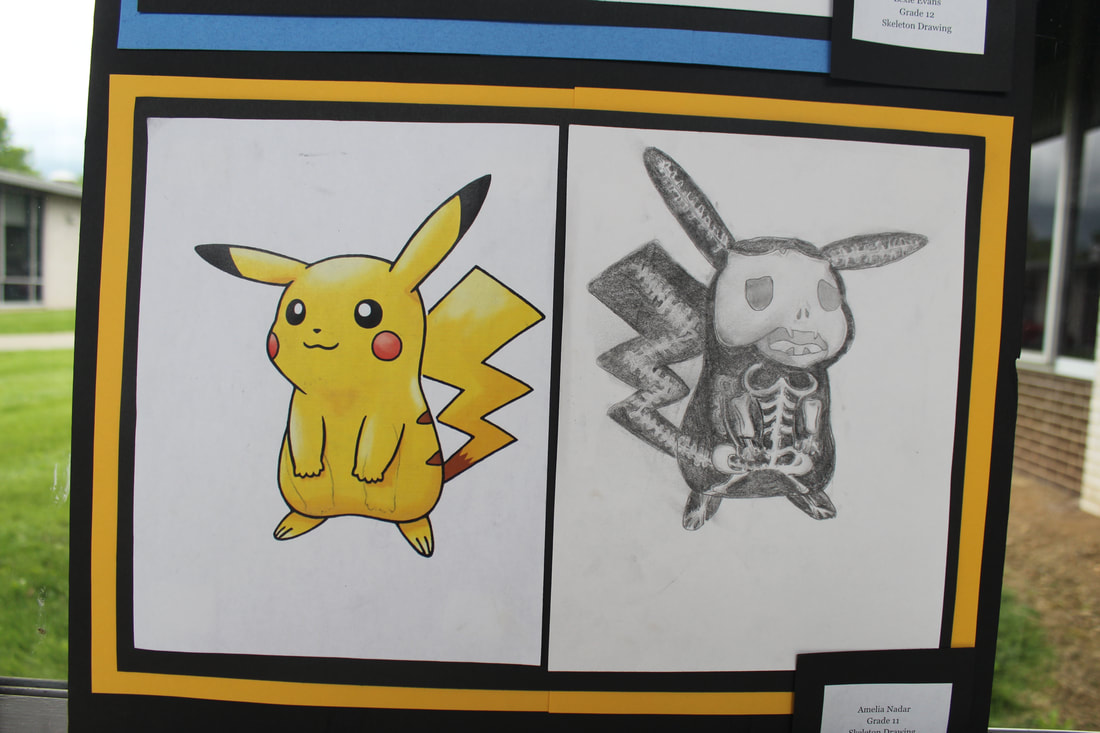
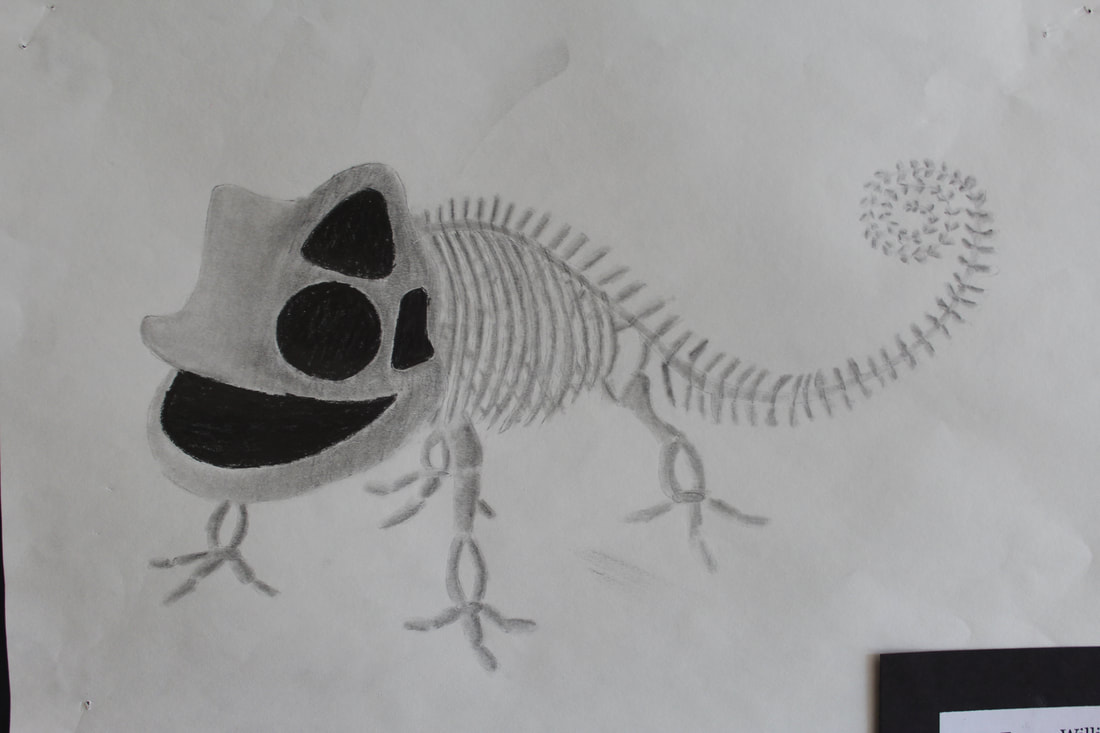
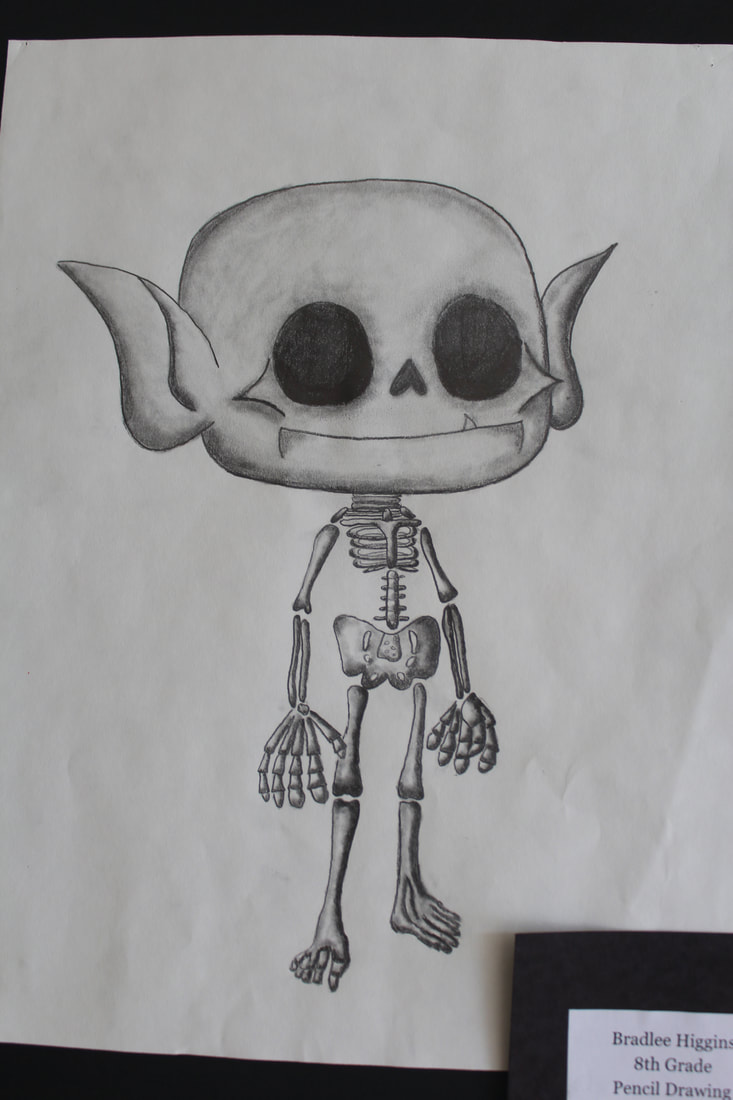
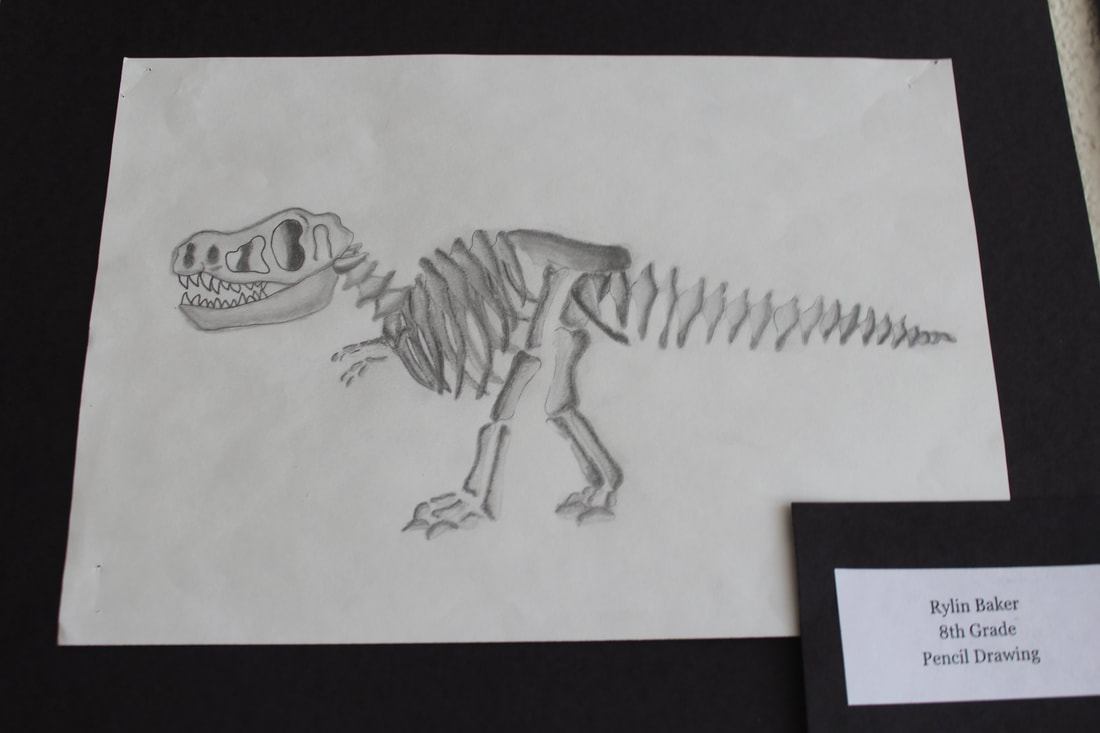
Skeleton cartoons
For this project students set out to create one of their favorite cartoons as a skeleton. This project was designed to help lead in to drawing the human body. It helps to understand what our skeleton looks like to understand why the body looks and moves the way it does when moving into figure drawing. We did research on cartoon characters first, some found it helpful to actually google "mickey as a skeleton" or another cartoon. They were surprised at how many cartoons had been used in skeleton form before for tv shows. For example, if a cartoon character is shocked, the cartoonist usually draws them as a skeleton. Though many have been drawn as skeletons, when we began drawing, many students had to use other resources to figure out what their cartoon character would look like as a skeleton. For example the Cheshire Cat, the student drawing this had to look up a cat skeleton to use for reference. Students really learned a lot about how bones/limbs rotate and move and what areas of the body don't have bones but cartilage instead. After drawing the skeleton students added value by shading with different drawing pencils making the bones appear 3D. They did a great job!


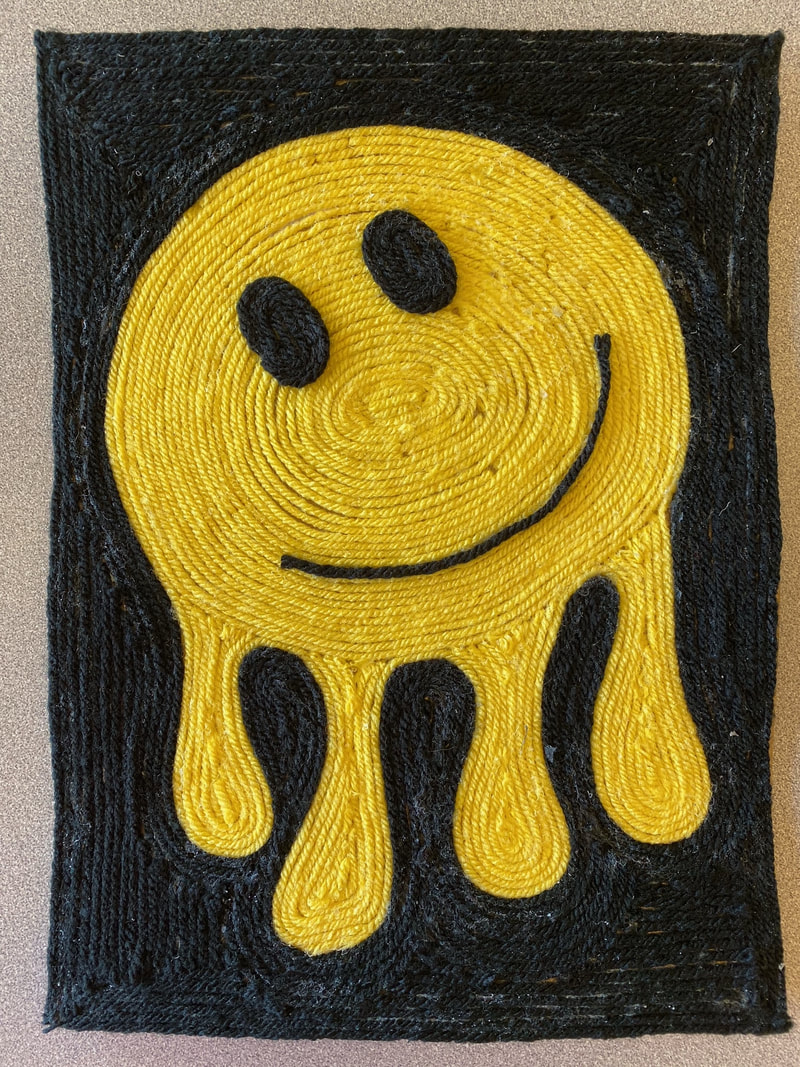
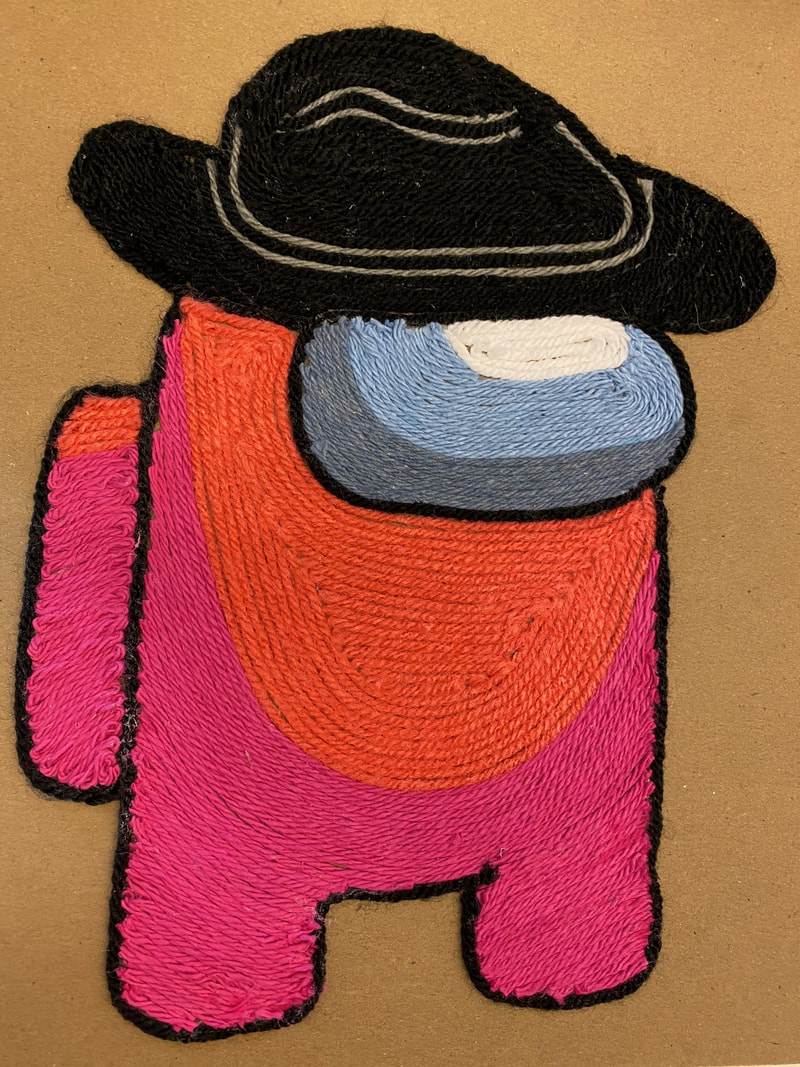
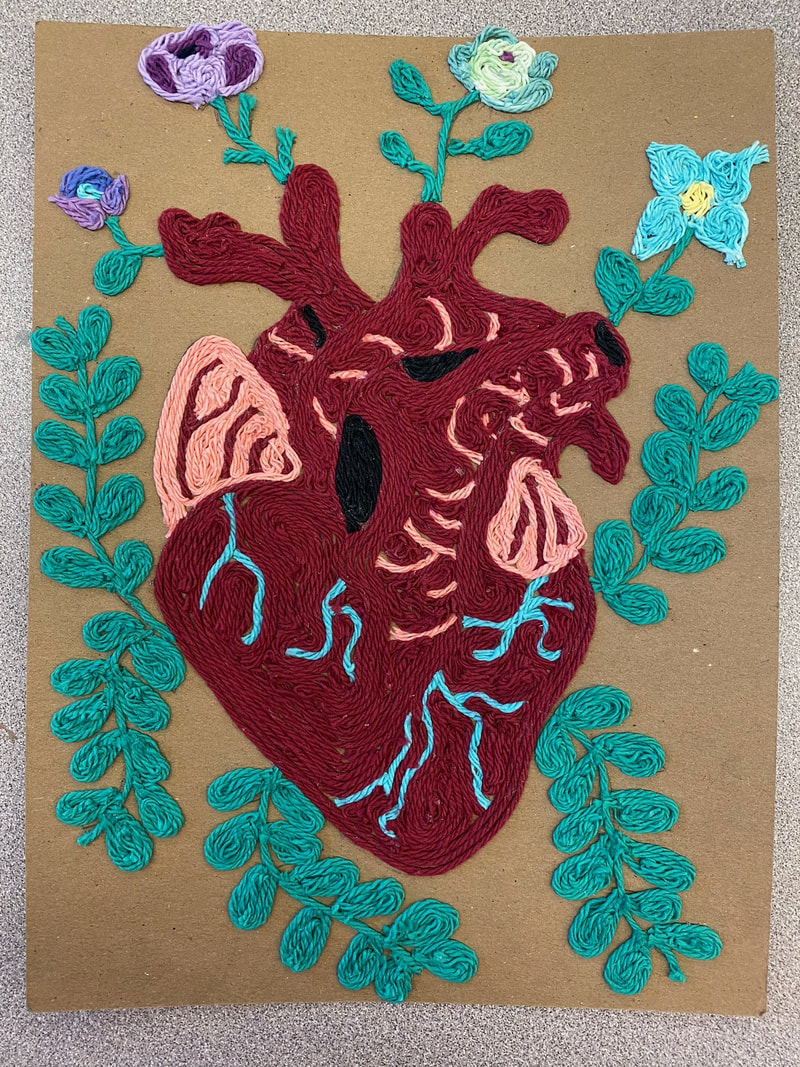
Fabric Arts
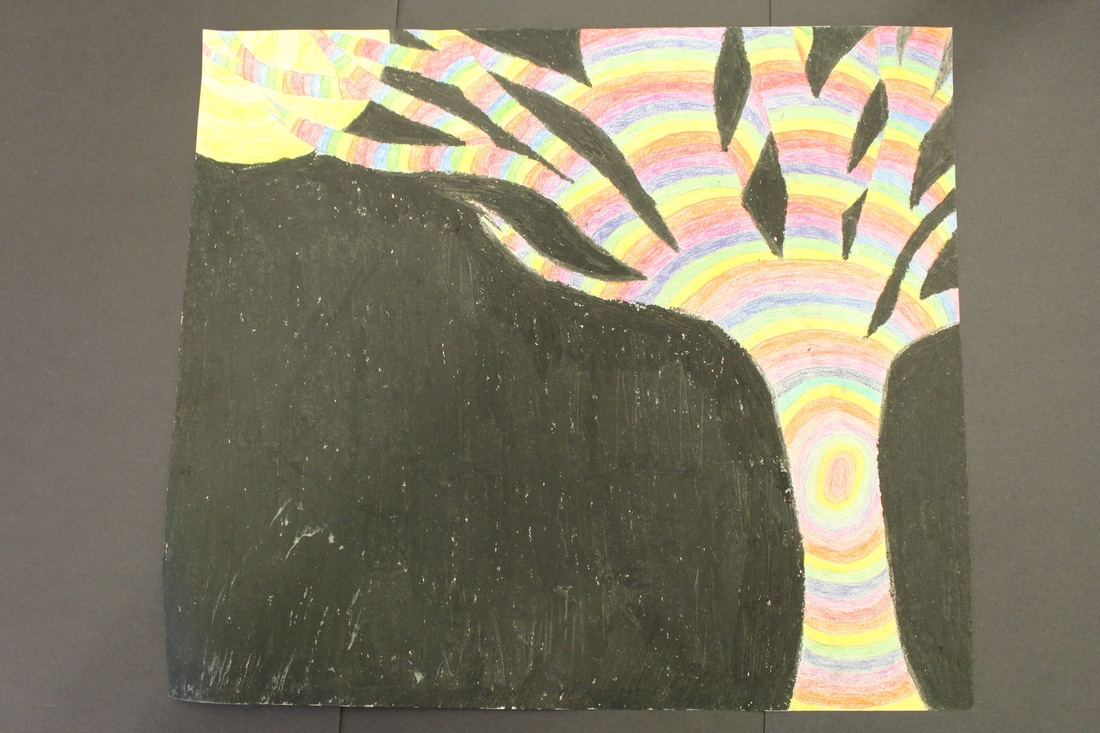
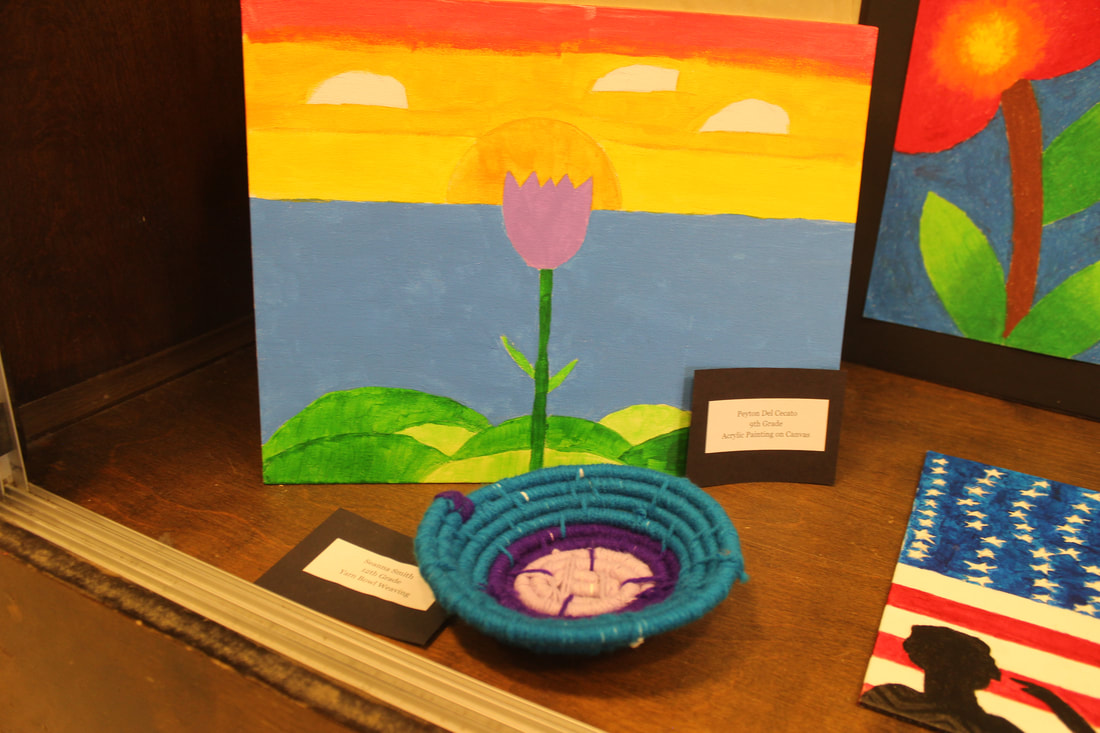
For this unit students learn a little bit about three fabric arts: sewing, batique and loom weaving. We start our fabric arts unit watching well known artists in each of these mediums create. Then we practice hand sewing which is a valuable skill for everyone to learn. We also all do a mini loom weaving with yarn, and then everyone does a crayon/watercolor resist to resemble what is done in the batique fabric dying process. As students experiment with each medium they think about designing their final project and which of the three fabric arts options they would like to work with. Because each project is so labor intensive, they only choose one to work with for their final. I think this is one of the hardest but most rewarding projects we do all year. Students are invested in the learning process because it is something new, and it also is a very tangible project that requires students work with their hands.
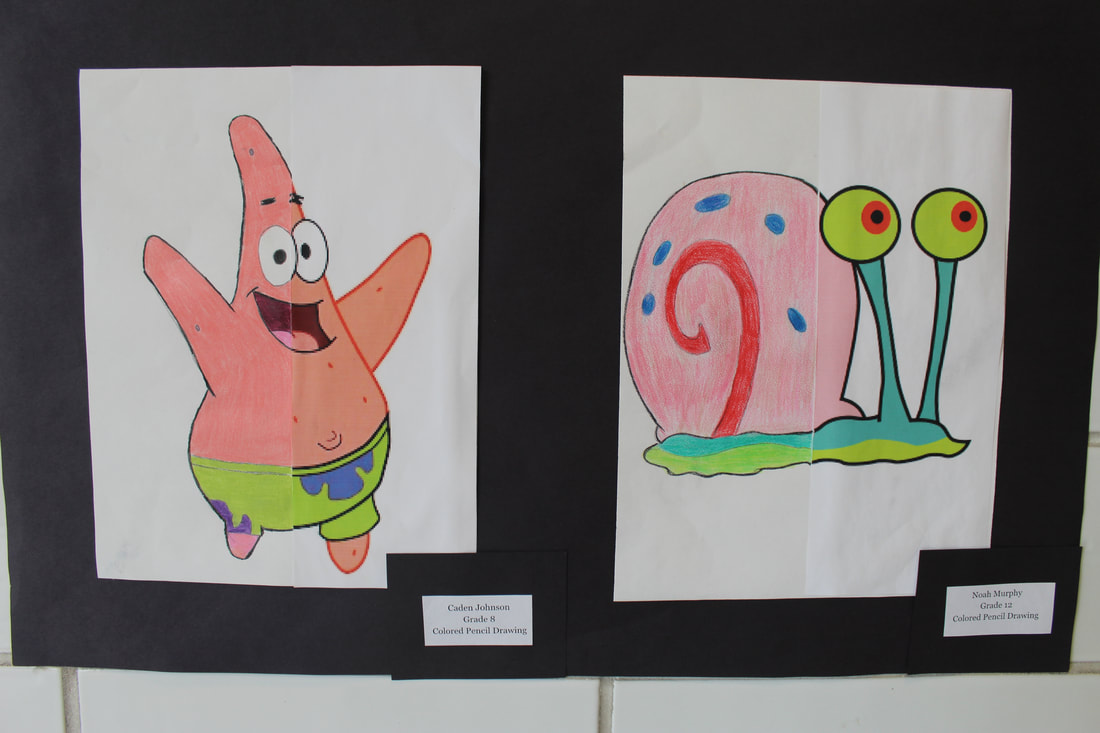
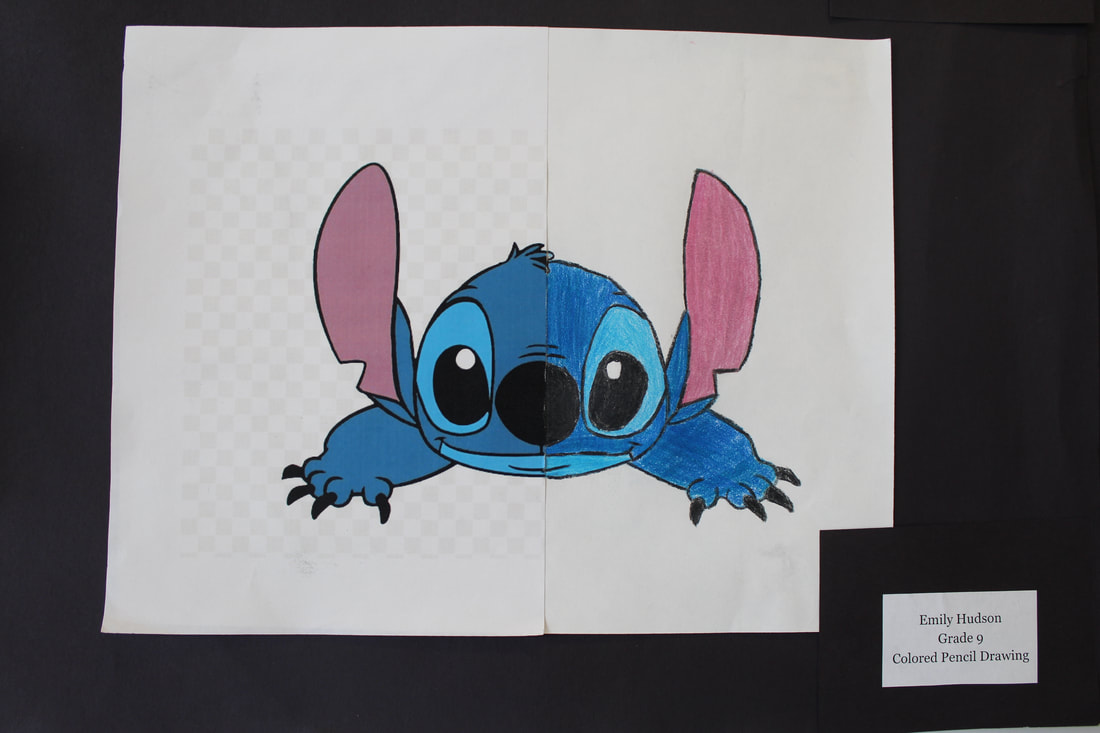
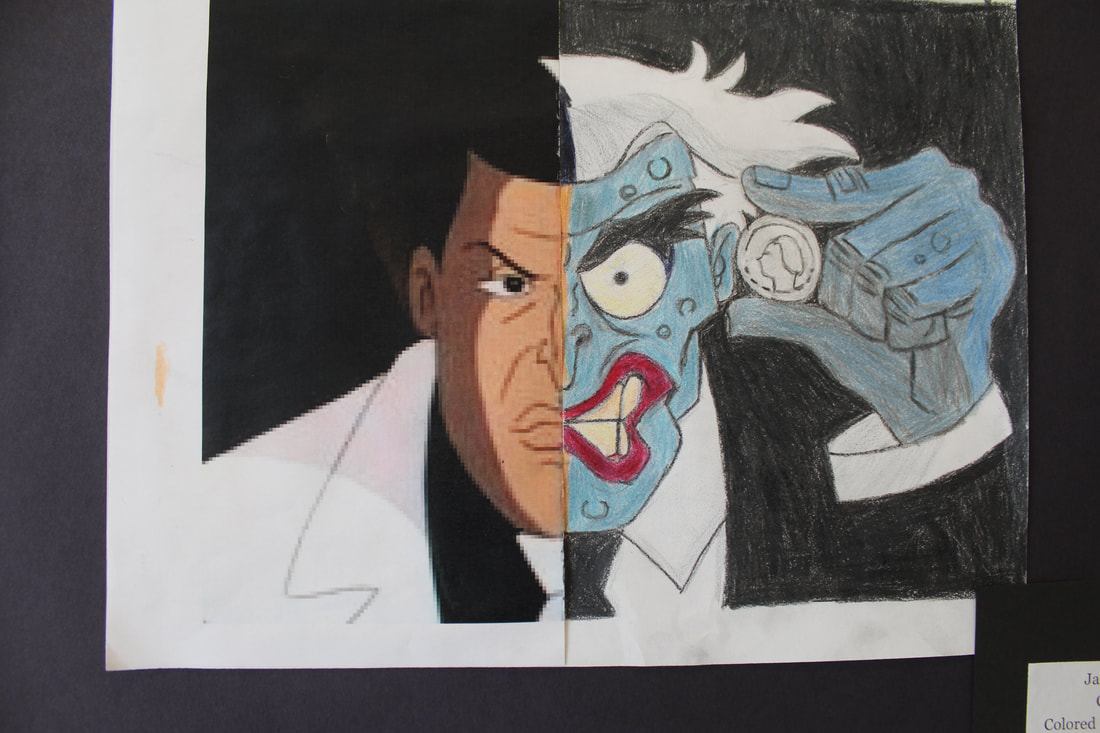
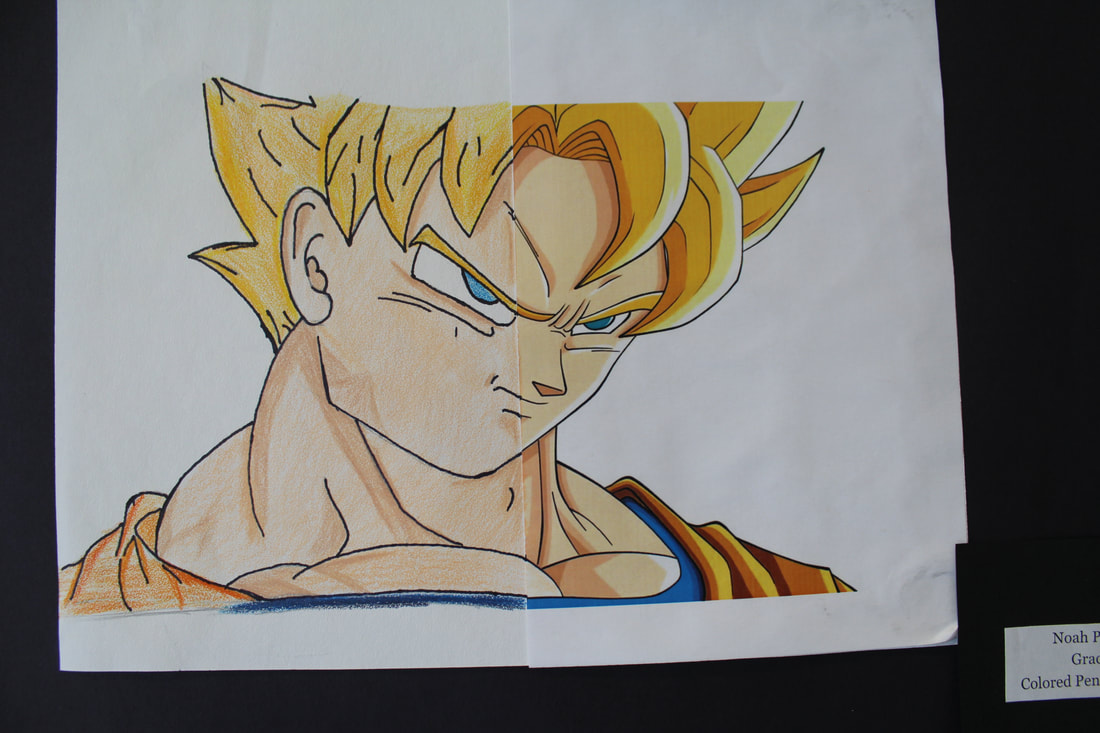
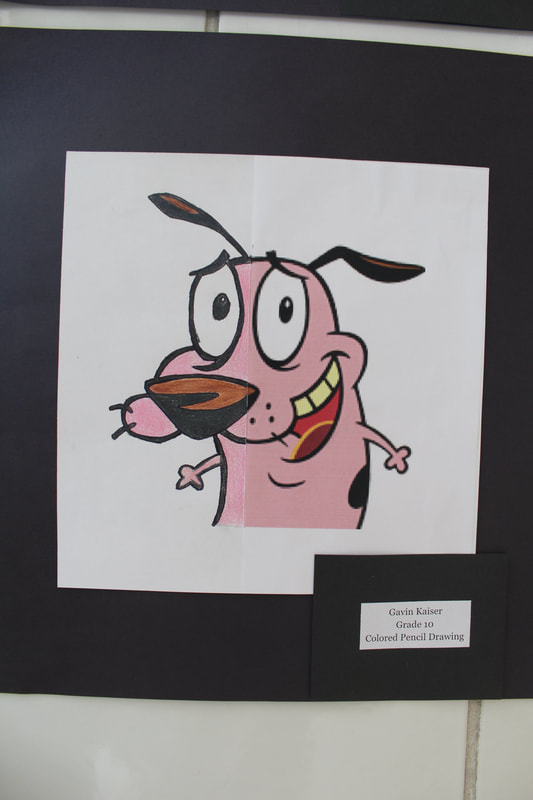
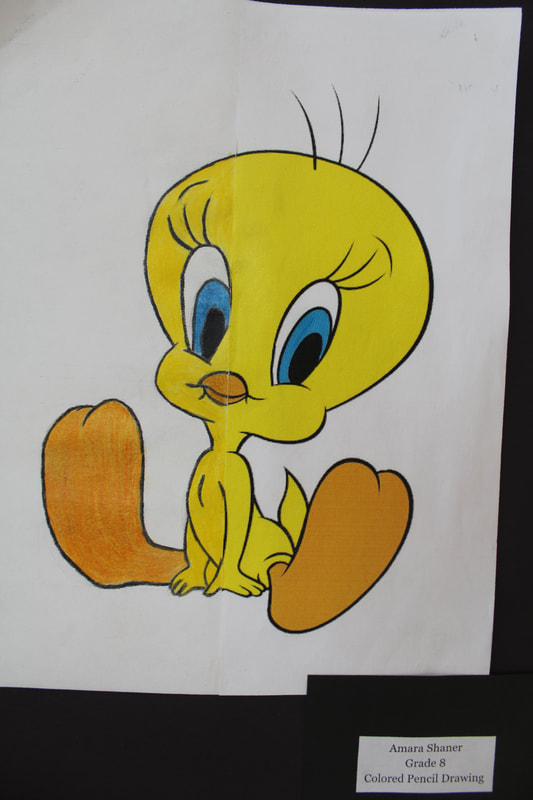
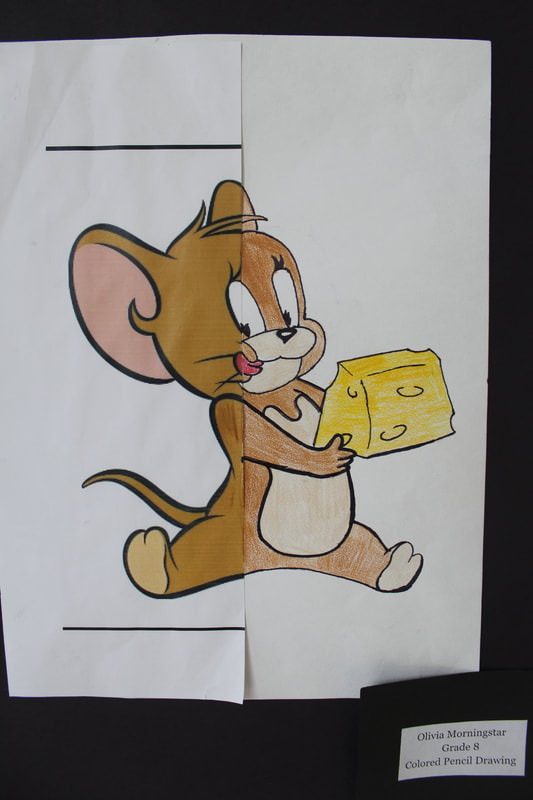
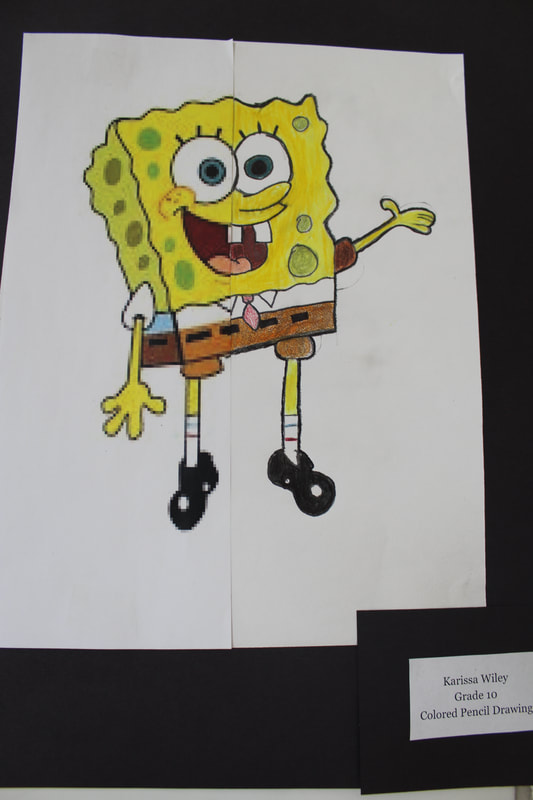
Cartoon splits


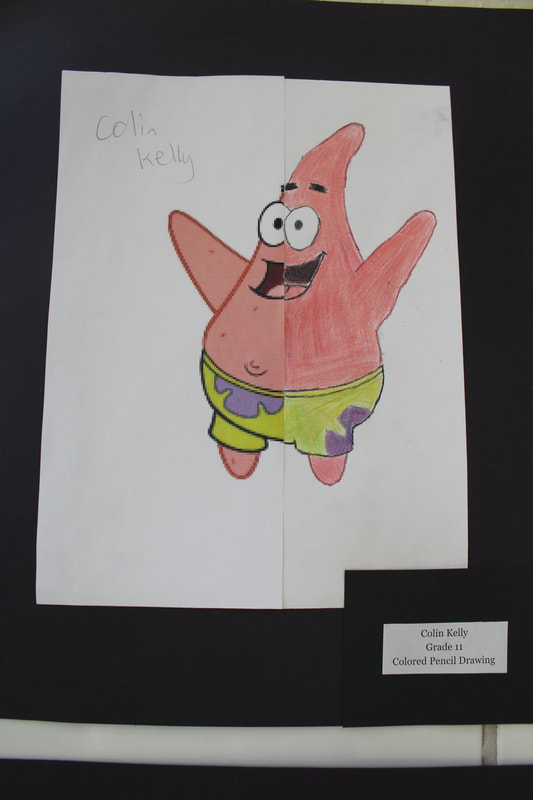
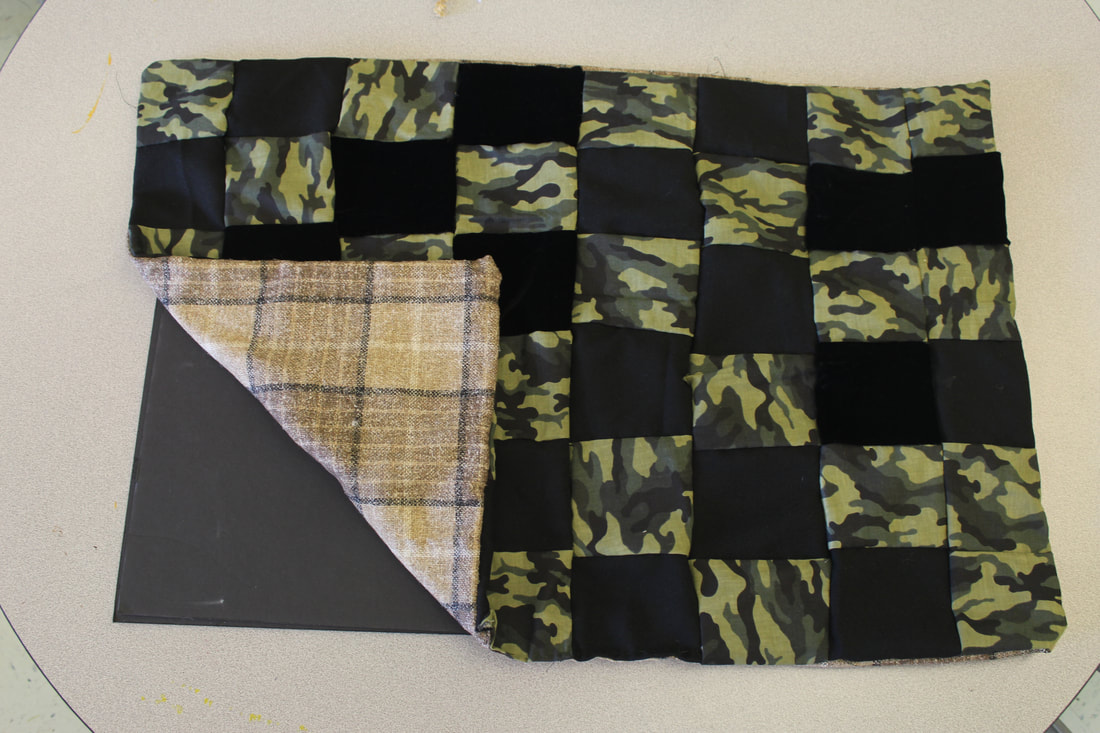
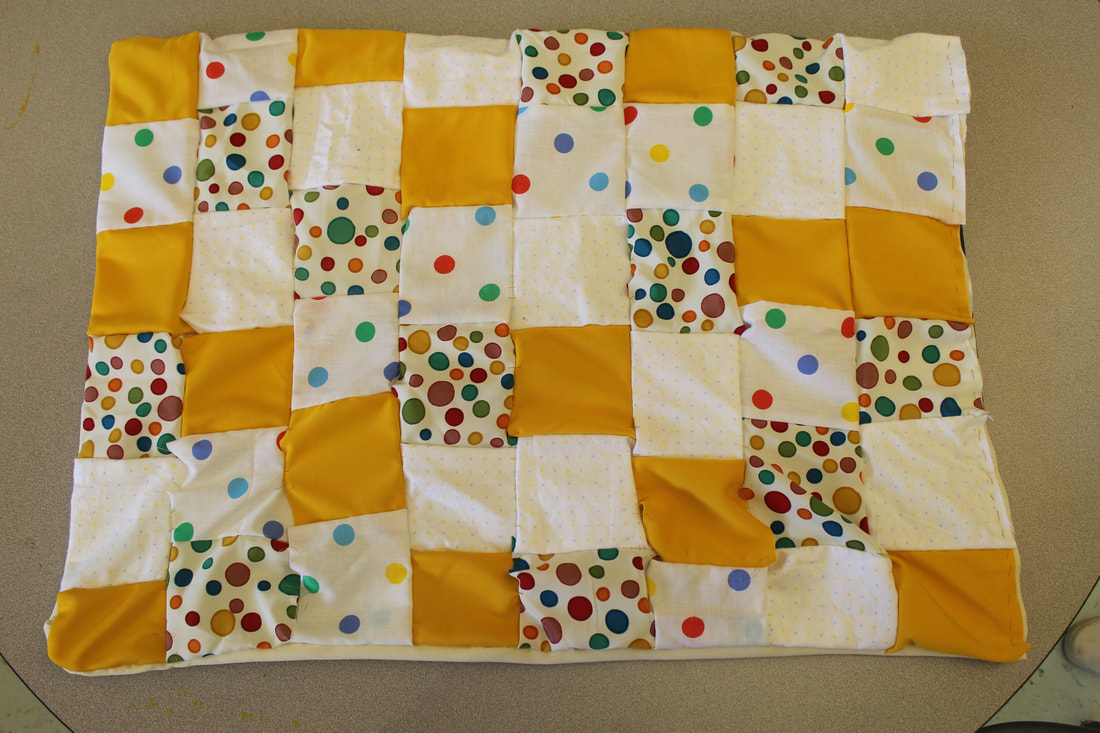
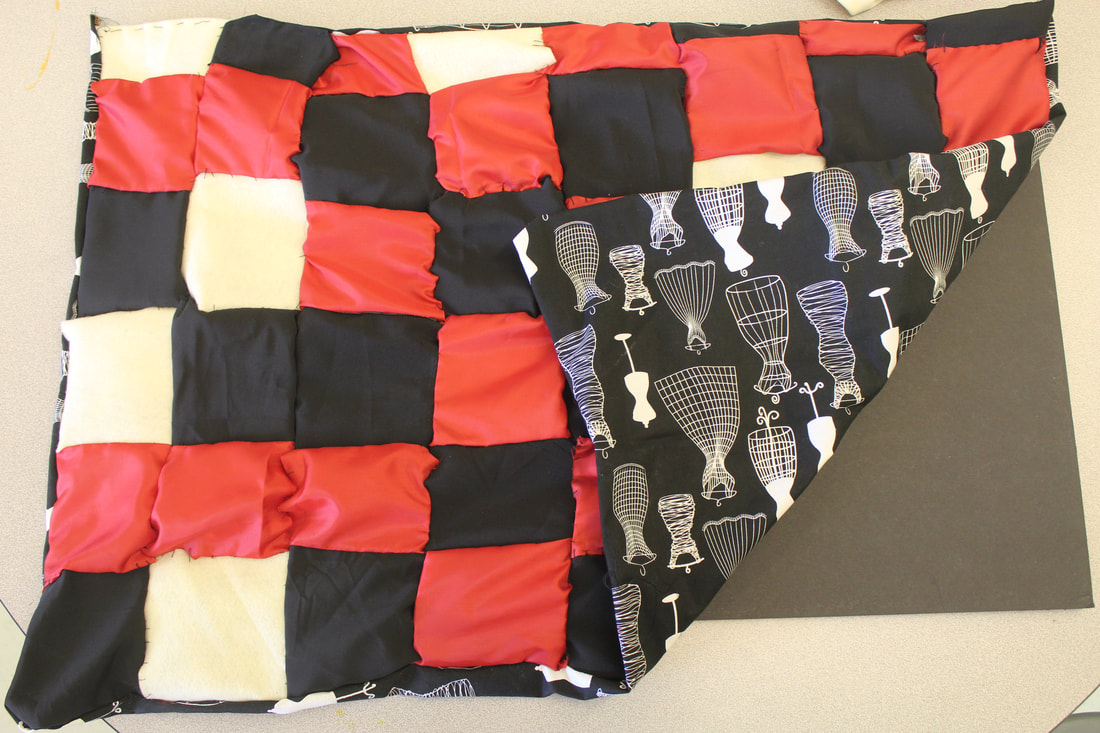
Fabric Arts-Sewing
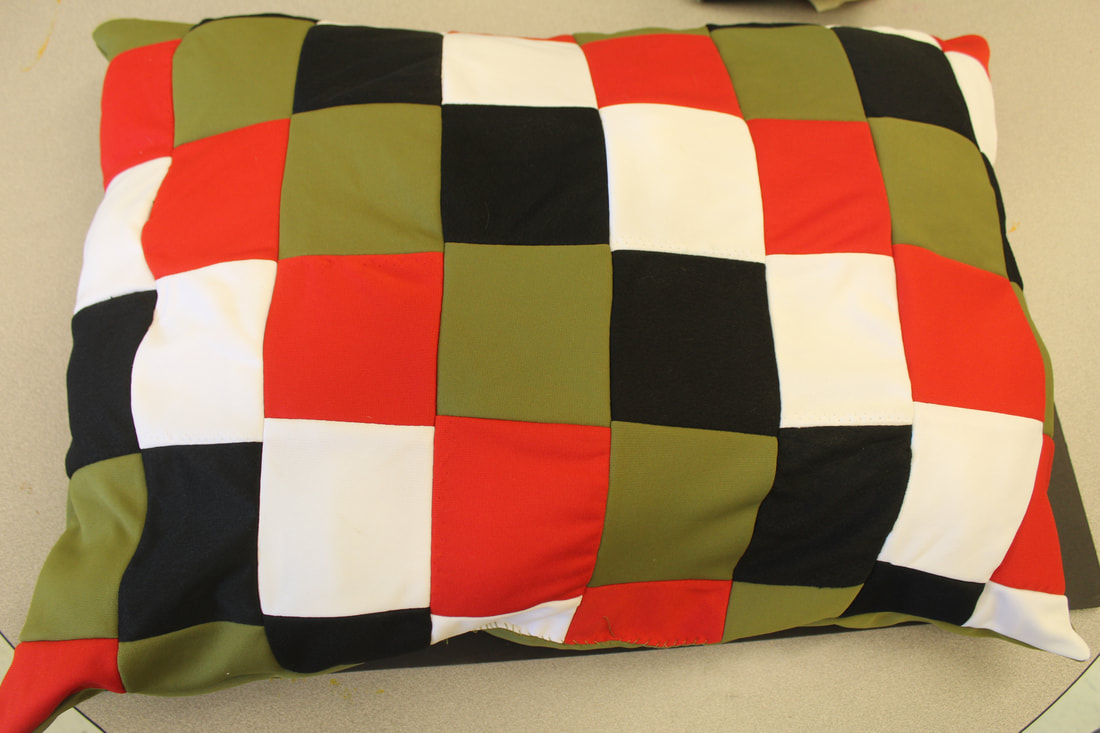
If students choose the sewing project as their final for fabric arts they create a small lap blanket quilt. Students select and cut small squares of fabric and then either use a sewing machine or hand sewing to sew the pieces together. One student even turned his into a pillow (pictured far right). This project though "simple" in design, is difficult do to the labor of sewing.

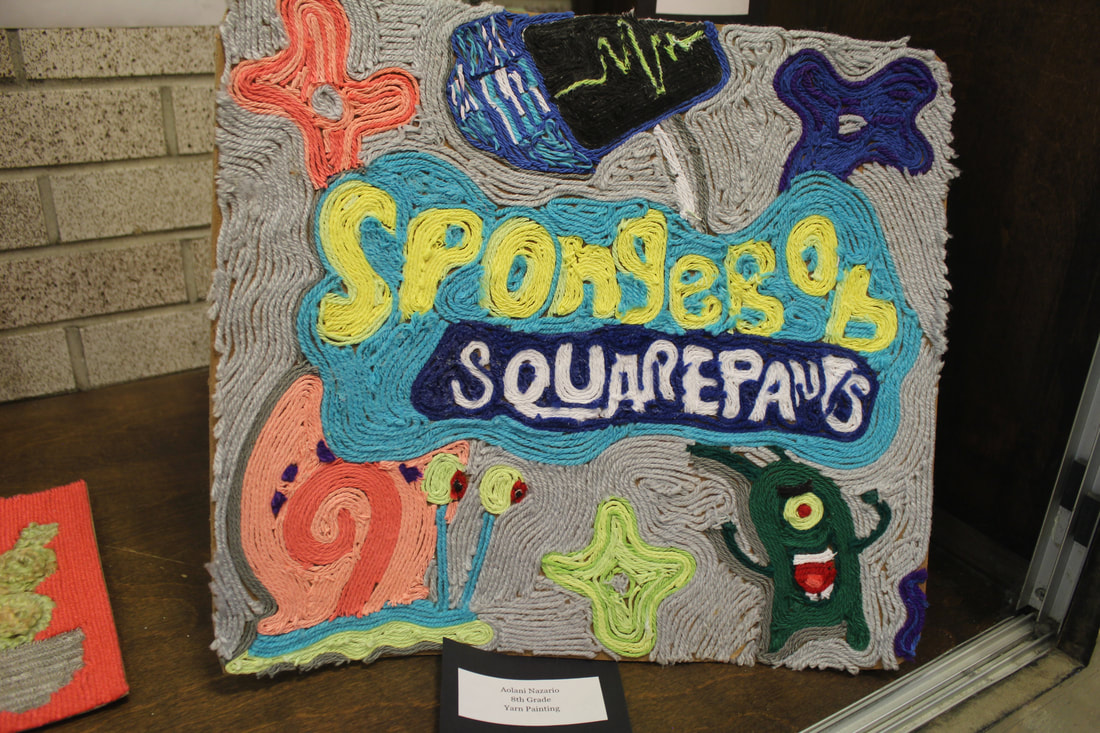
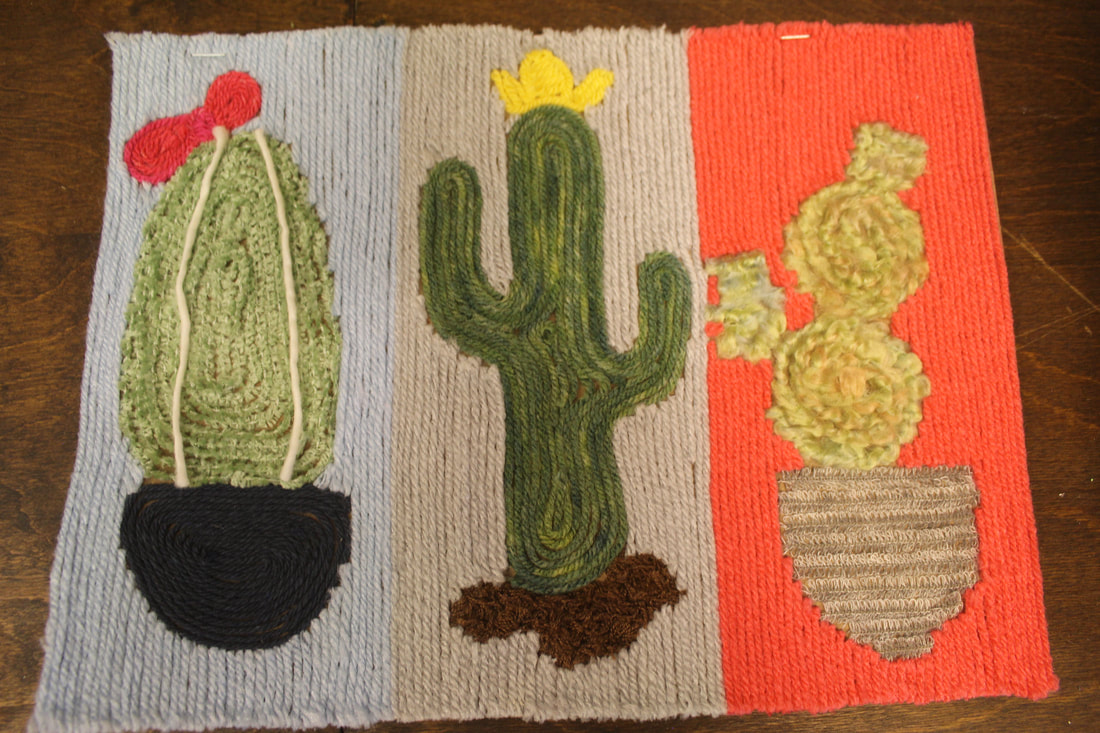
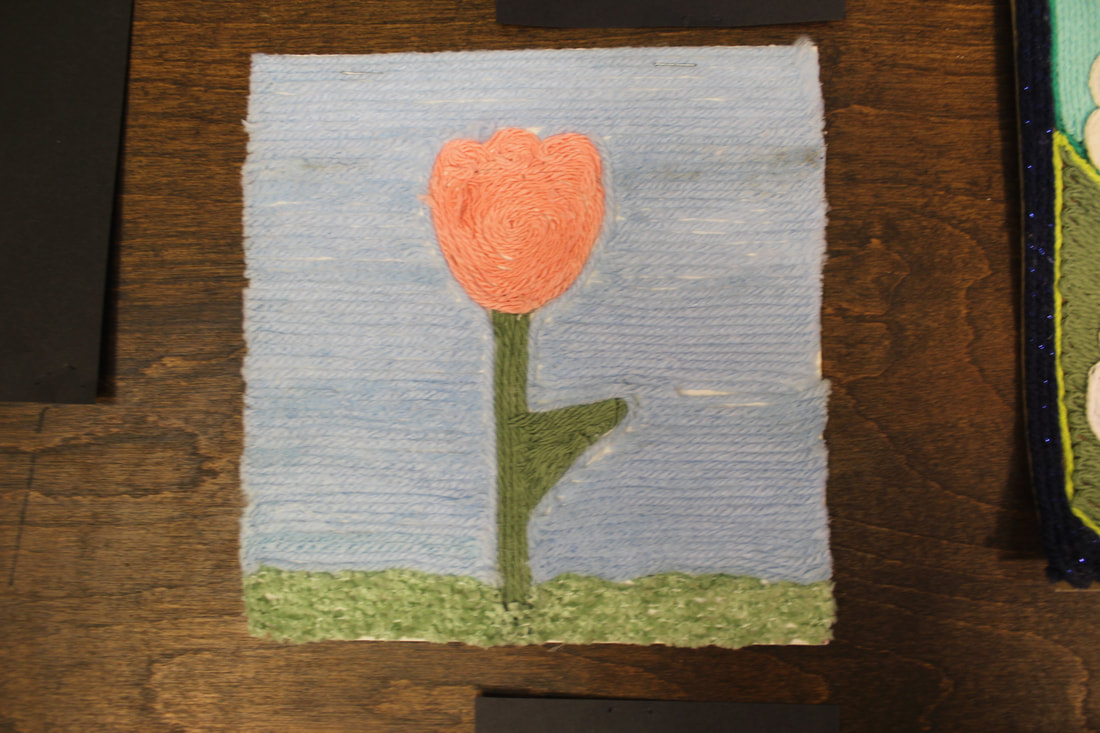
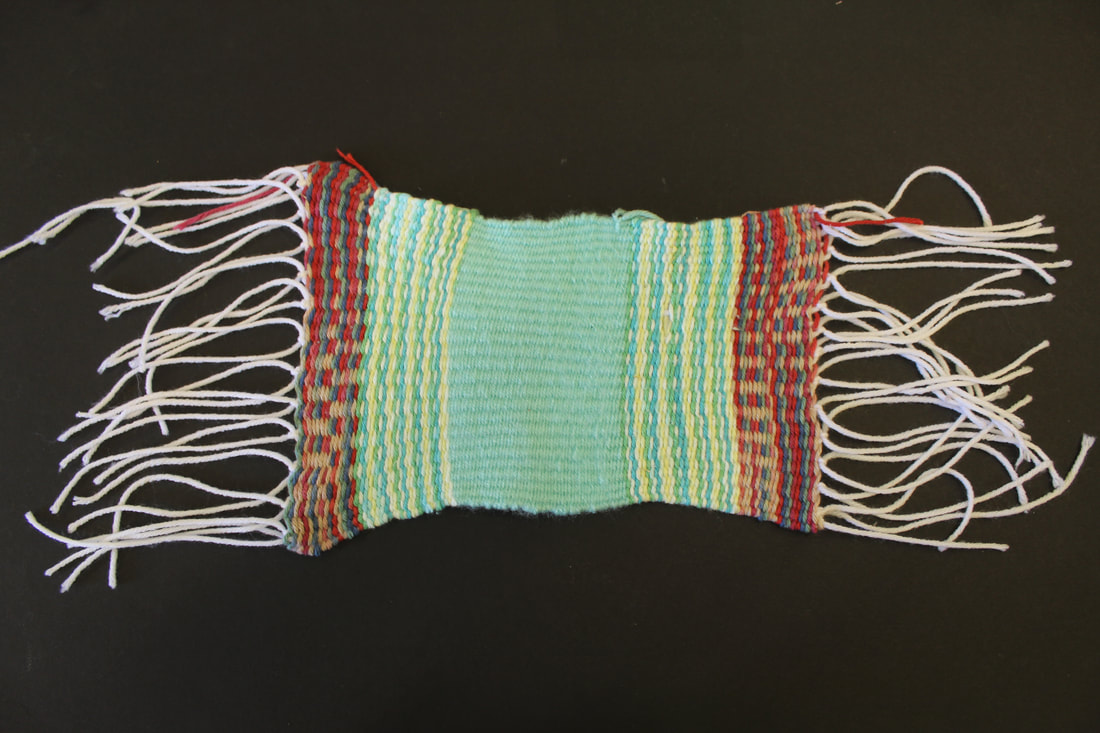
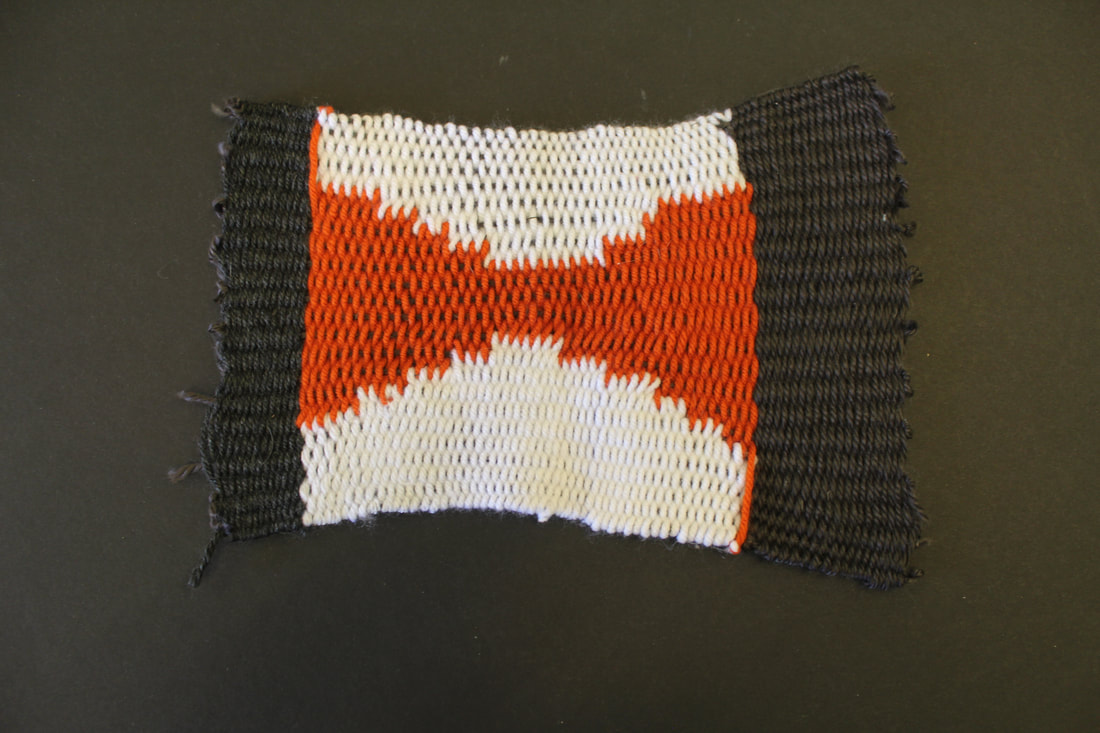
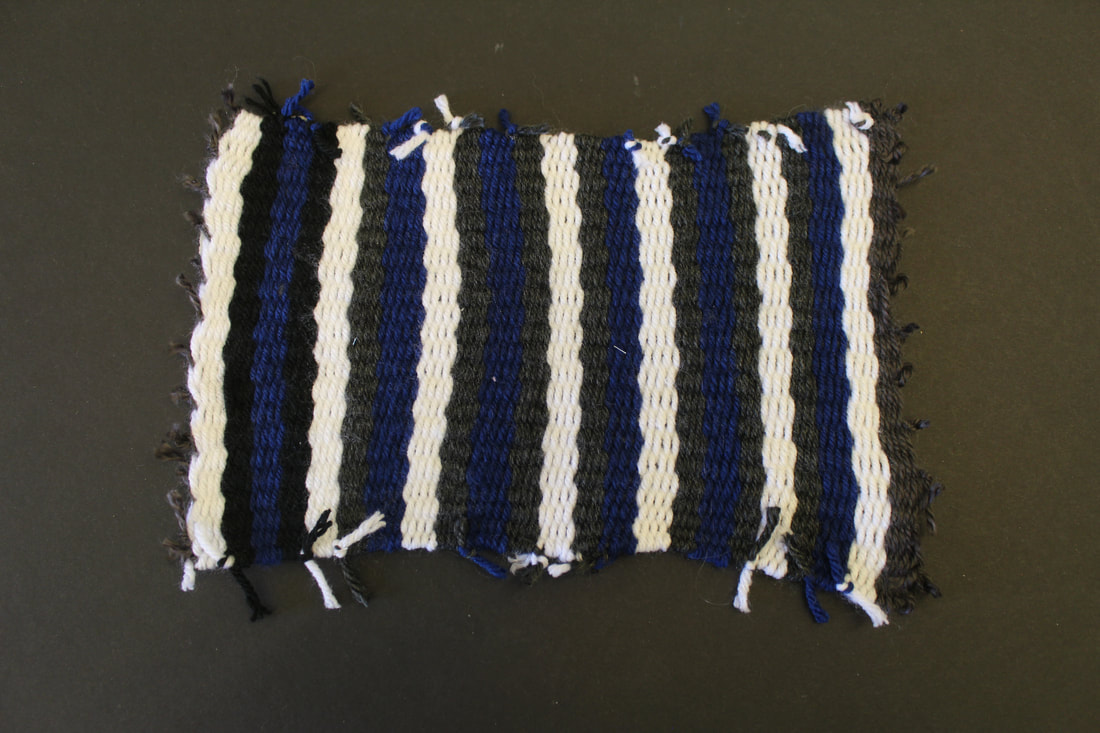
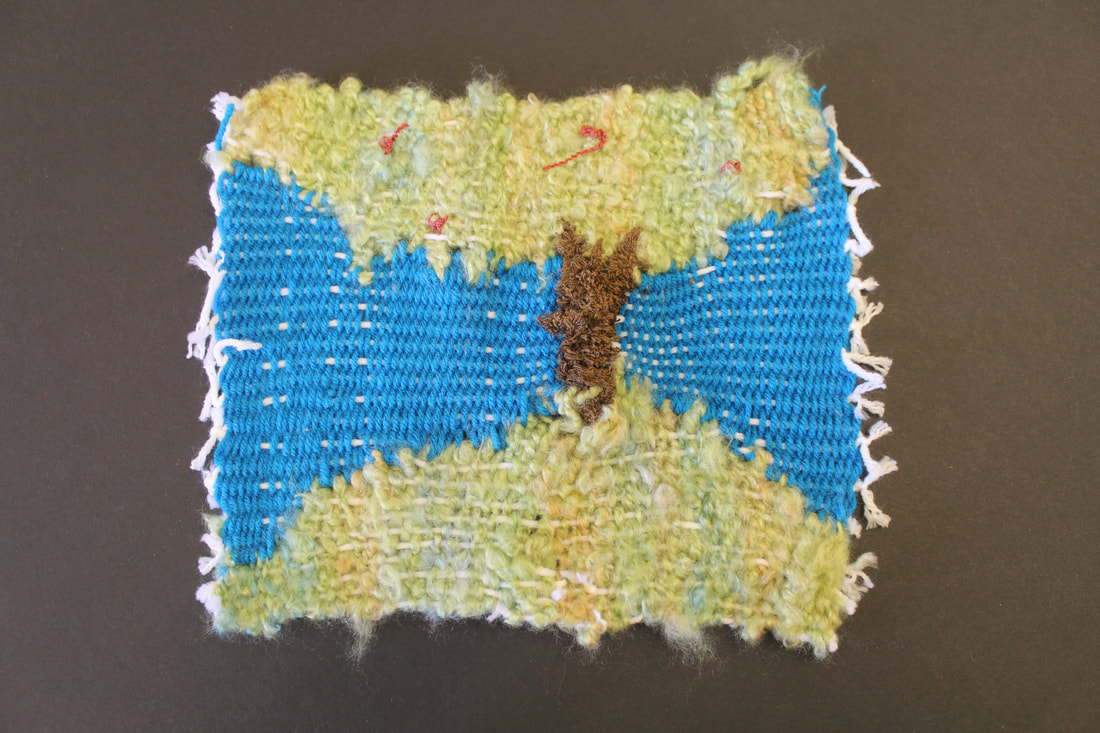
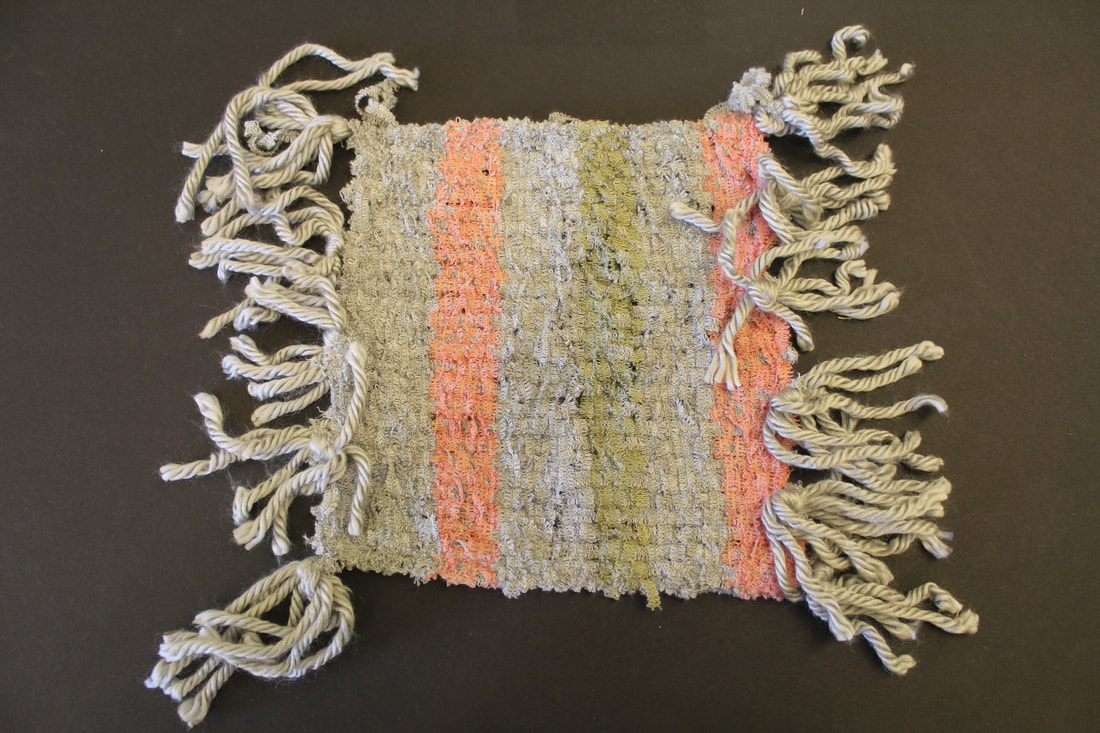
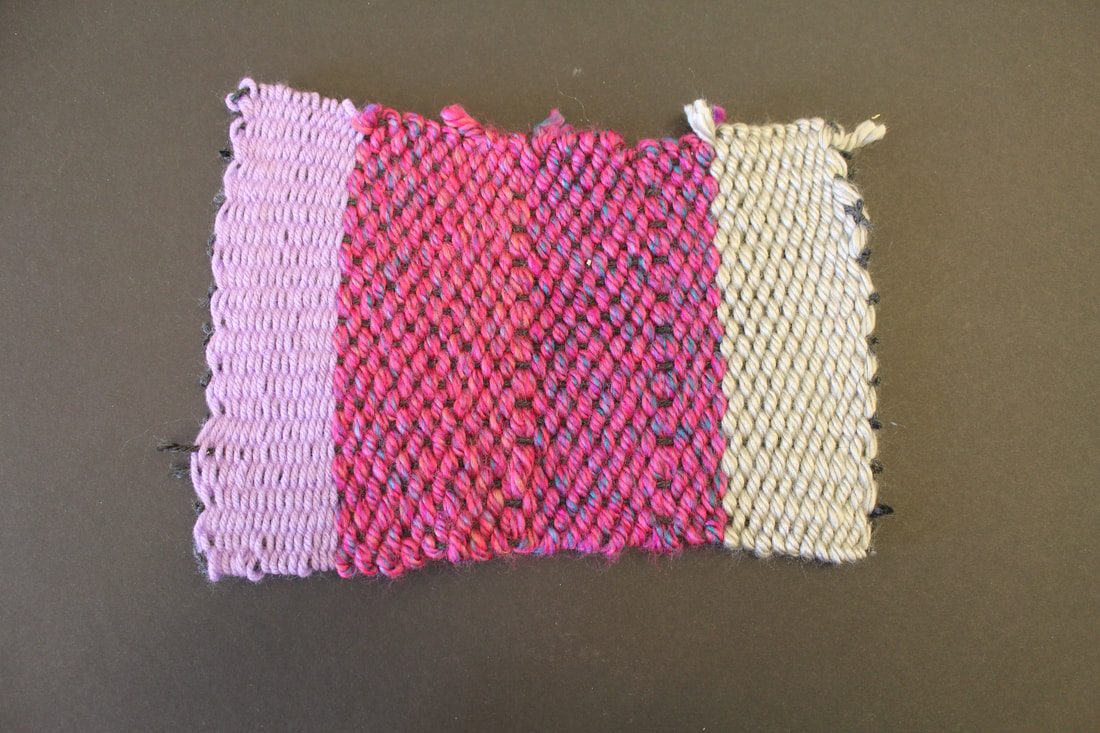
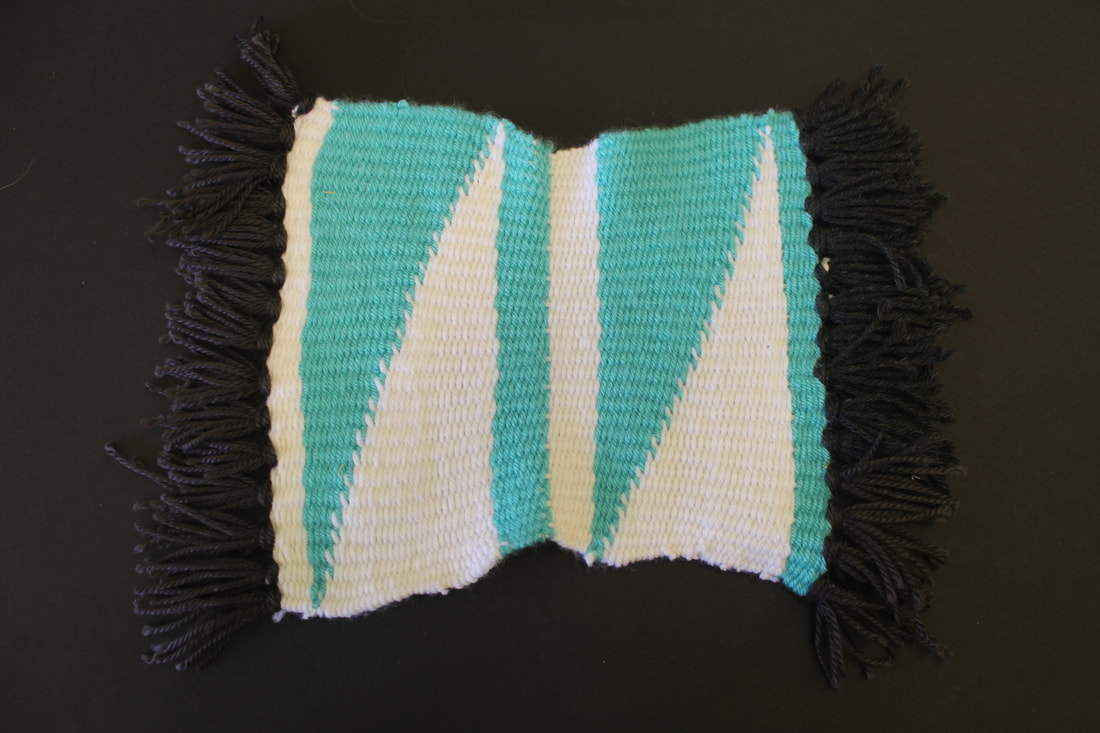
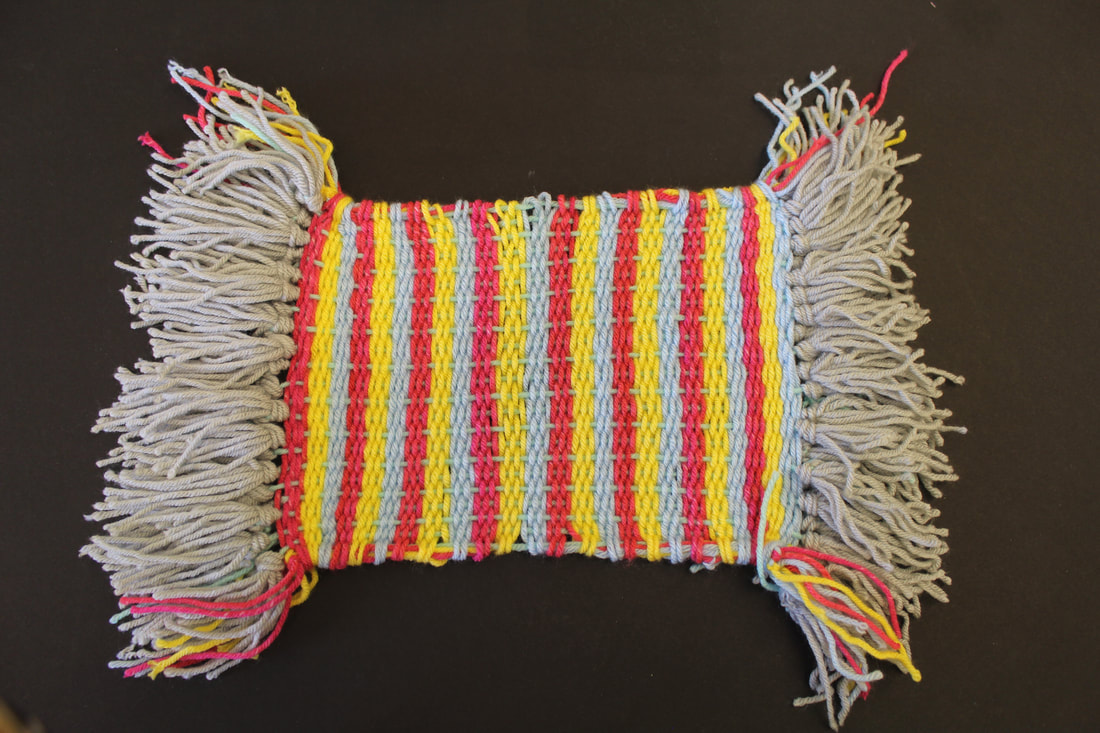
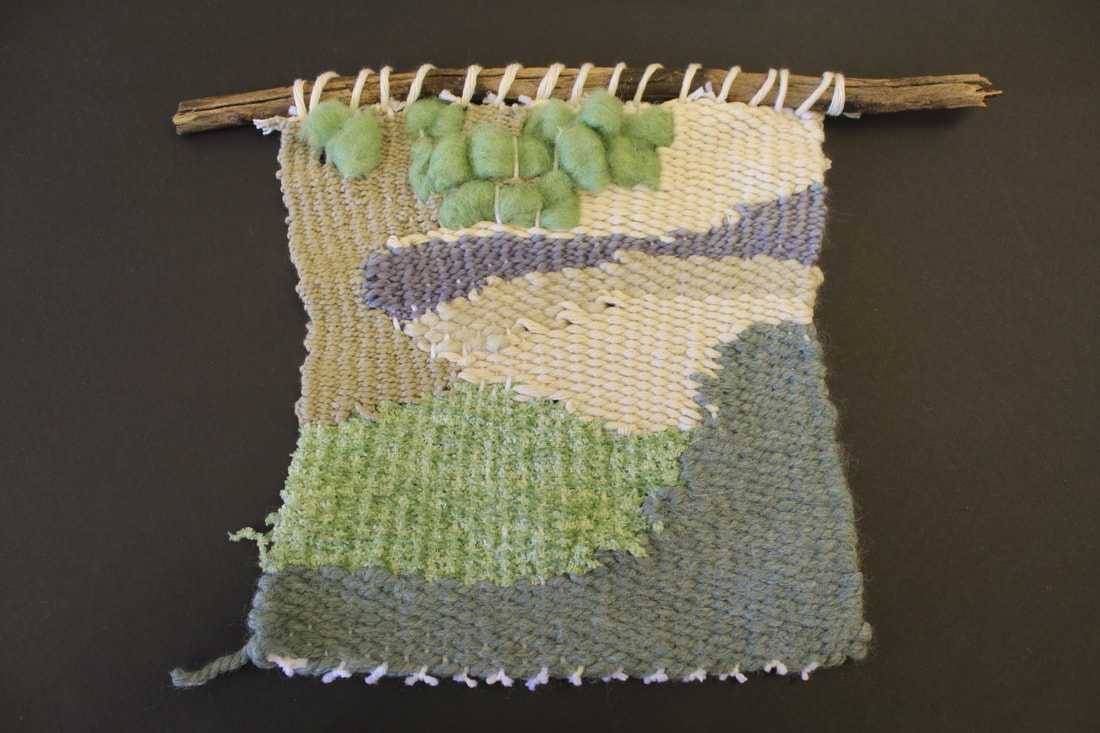
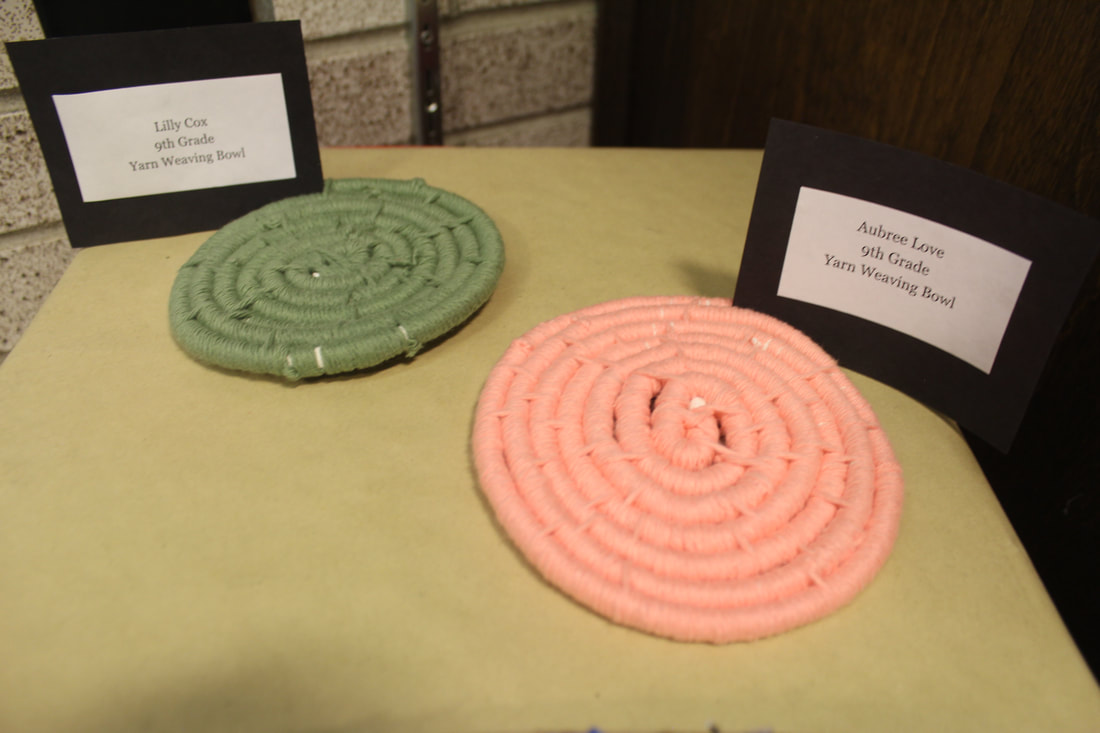
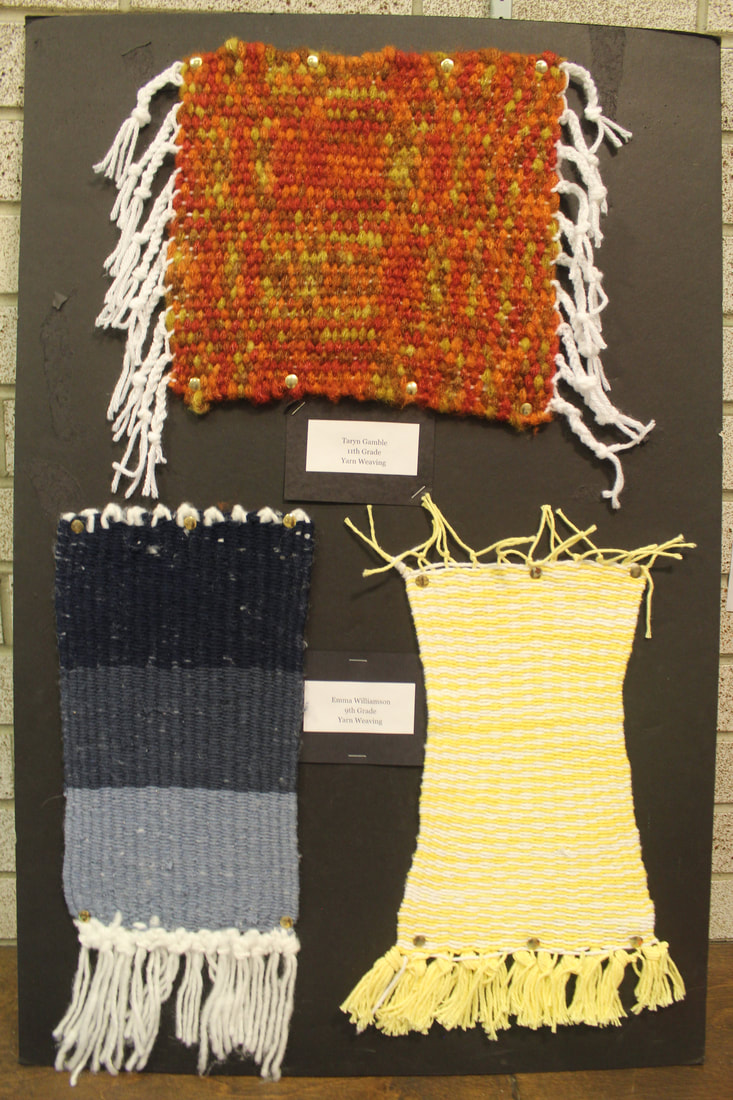
Fabric Arts-Loom weaving

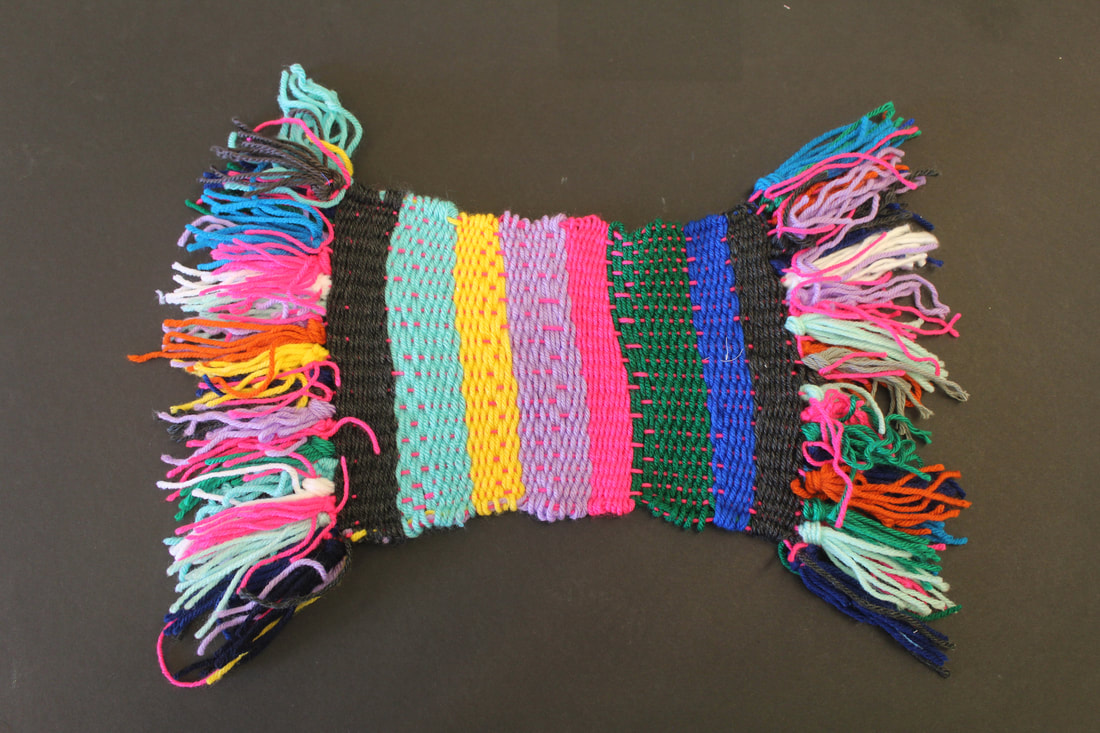
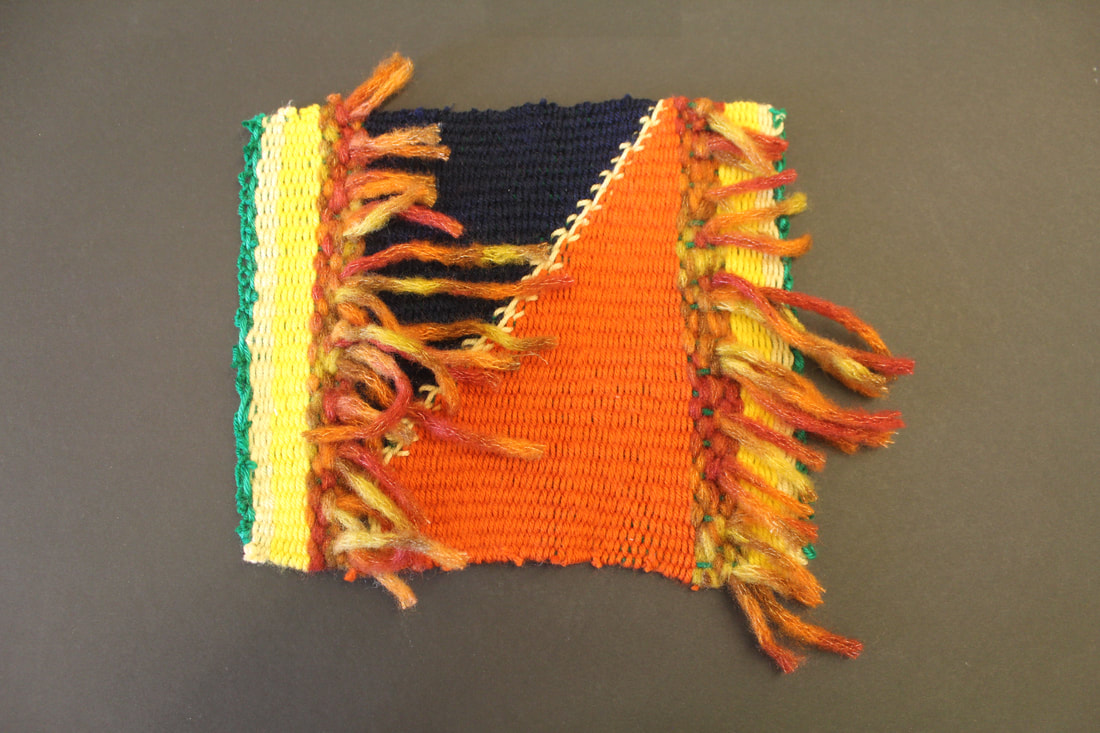
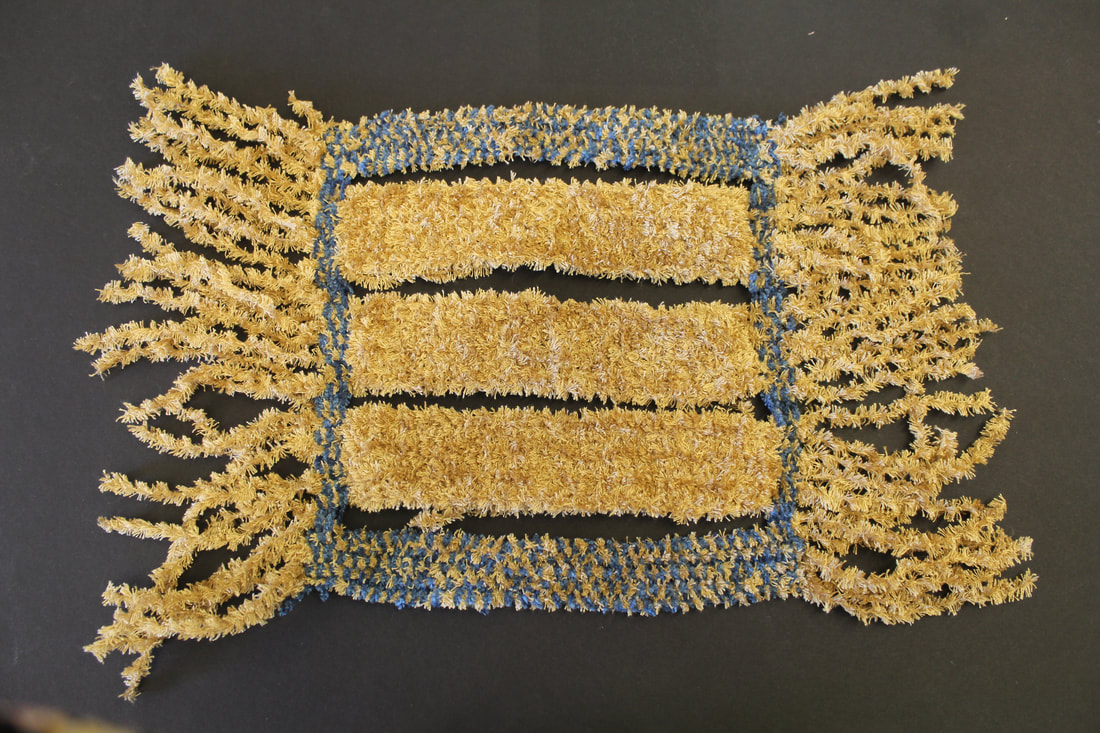
For this fabric arts project students use a cardboard loom and yarn to create a woven fabric art piece. Students selected colors of yarn and created a design. The hardest part of this project is cutting it off the loom and tying it so it doesn't fall apart. The student pictured left even added a branch to her piece to hang it on and it is beautiful.
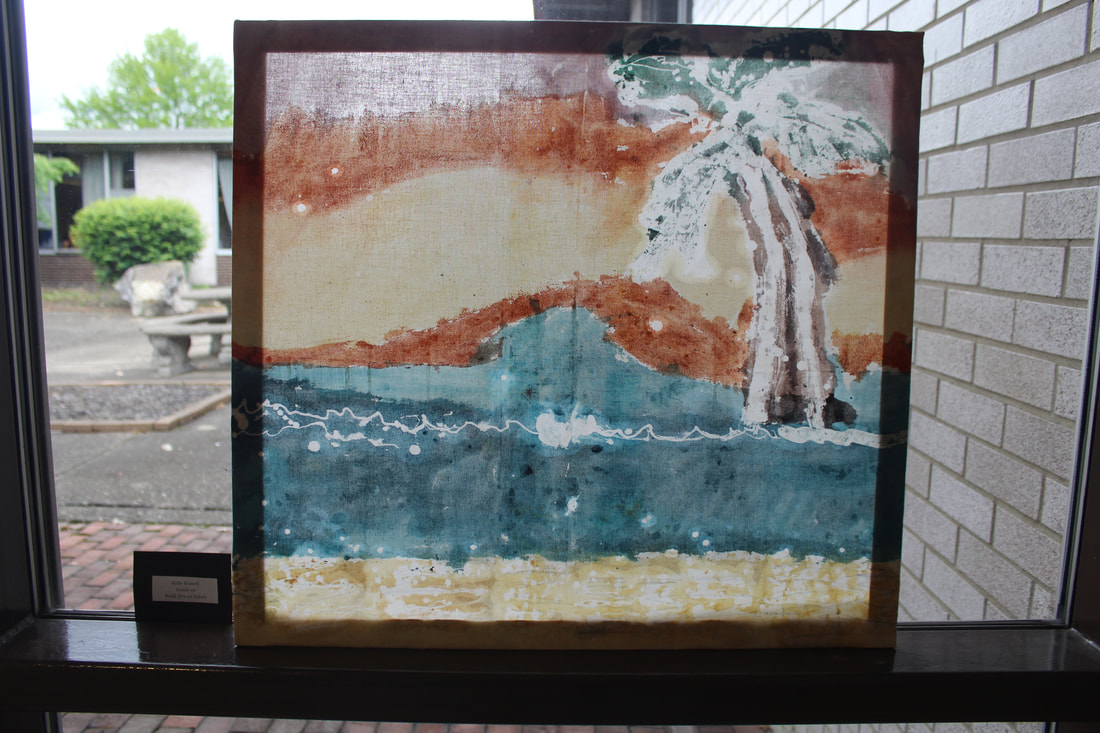
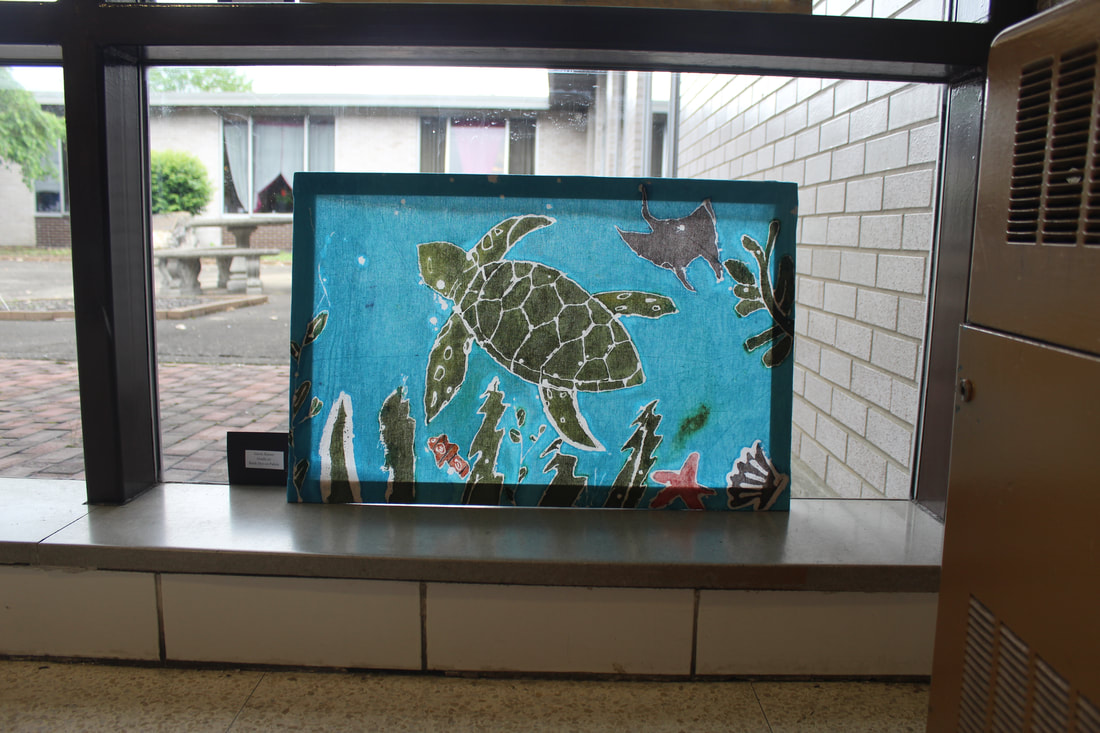
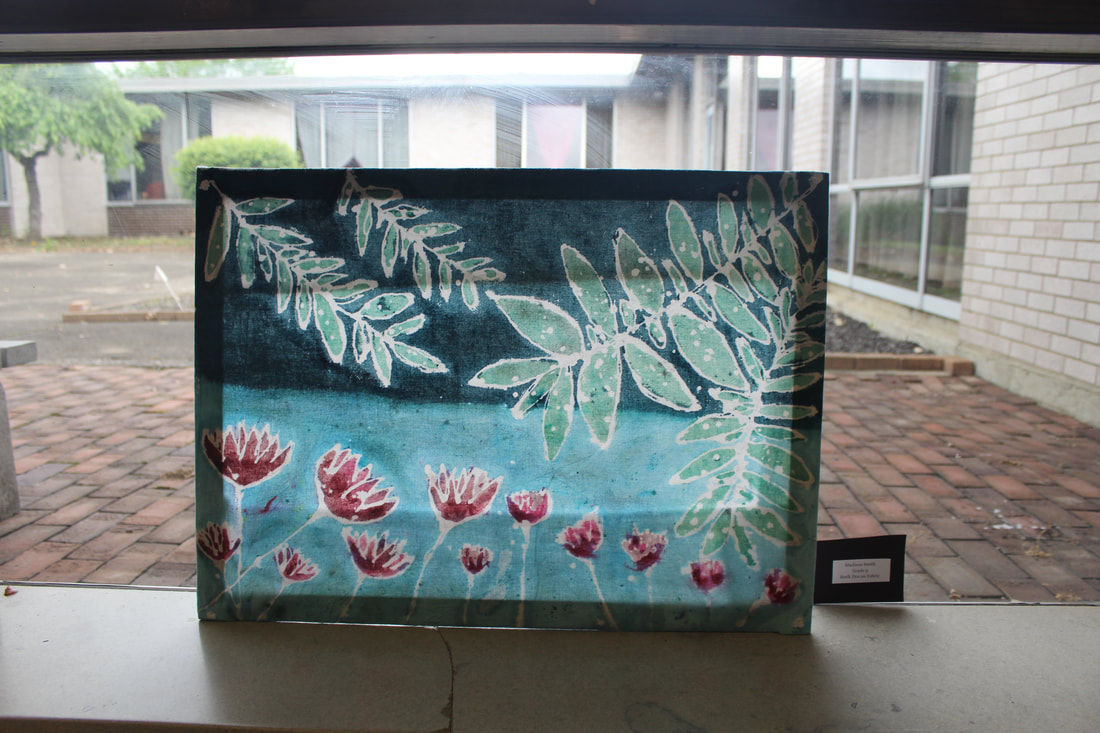
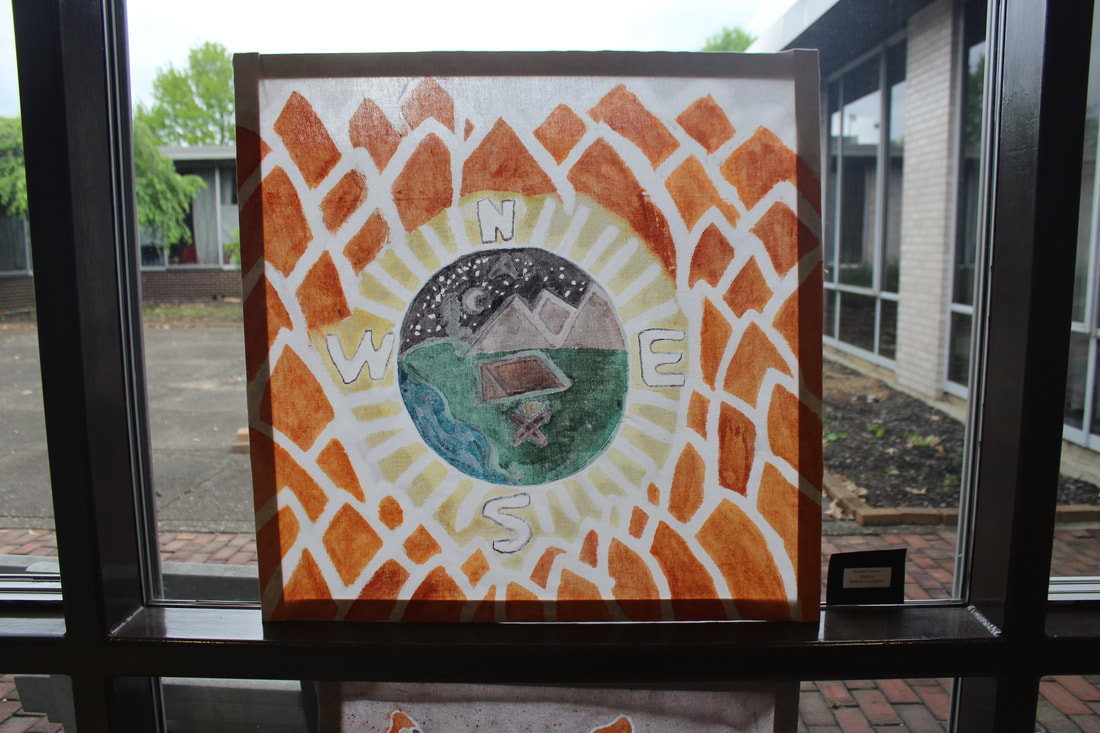
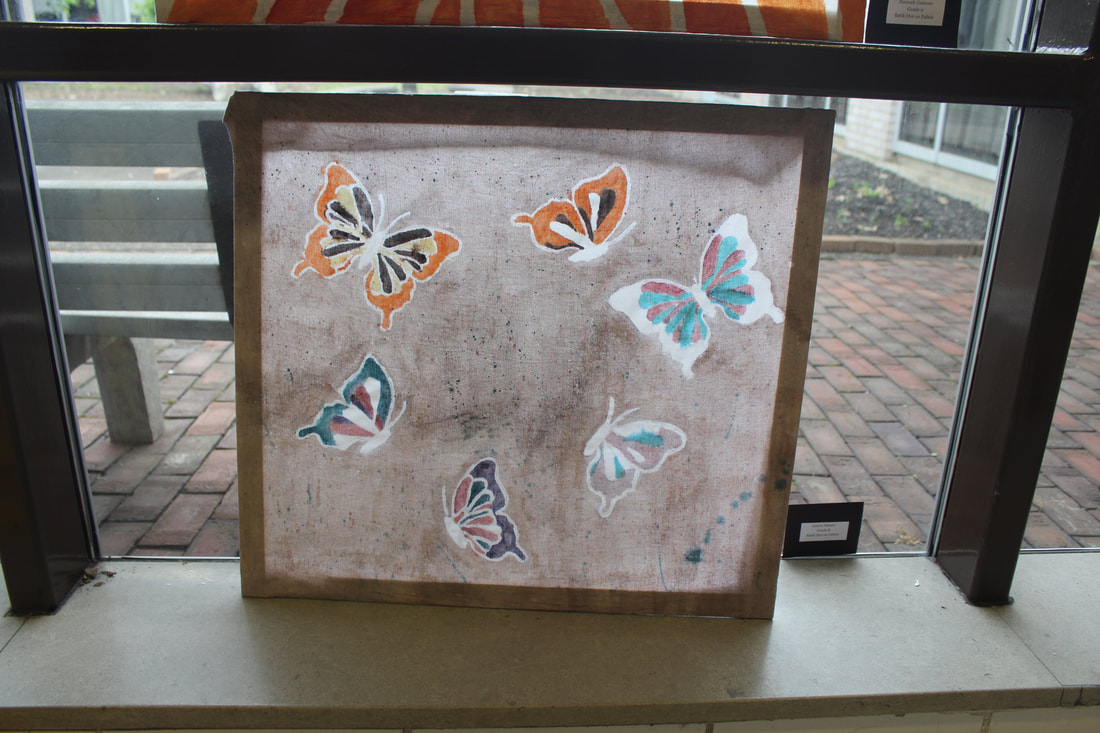
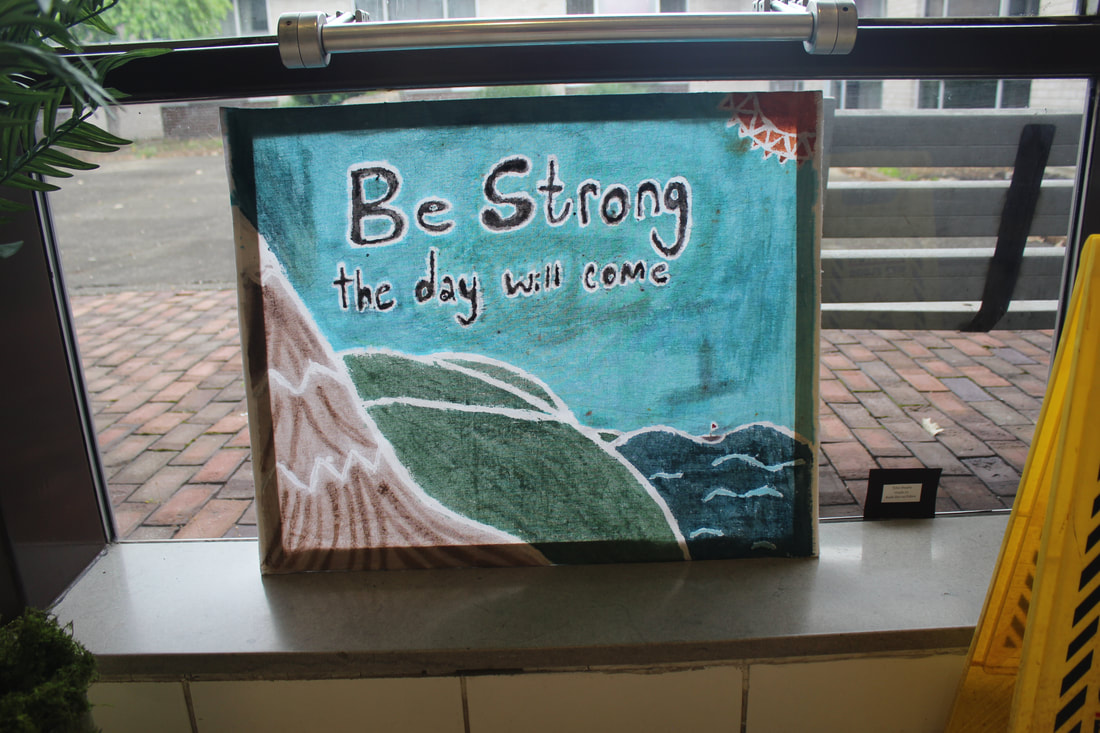
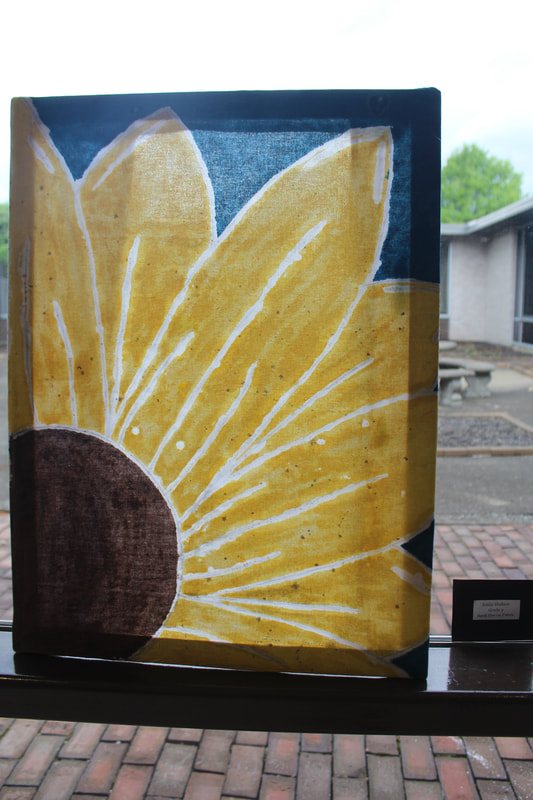
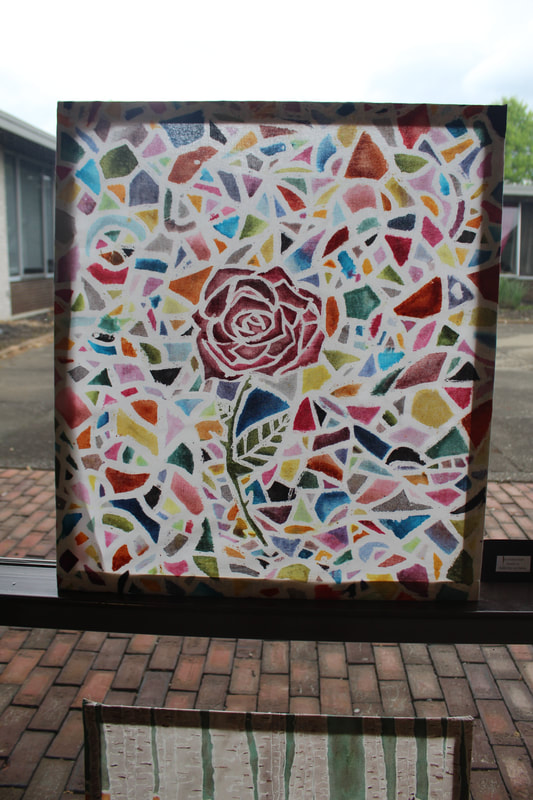
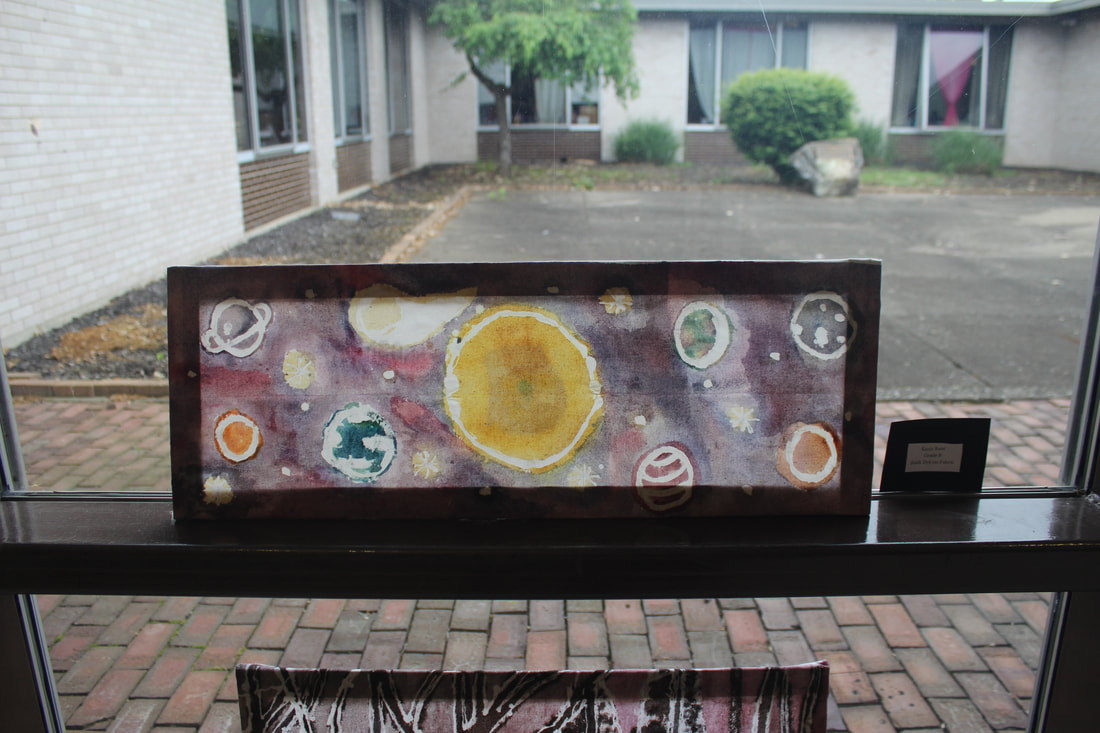
Fabric Arts-Batique
|
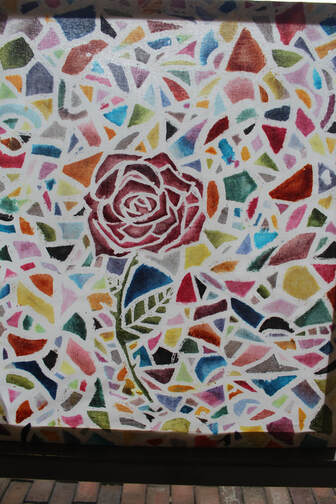
If students select batique as their final fabric arts project students start by creating a design on a piece of fabric with pencil. Next they go over all pencil lines and areas they would like to remain white with melted wax. When the melted wax dries, it creates a resist so the fabric doesn't accept the fabric dye when painted in those areas. Students then mix and paint dyes on their project almost like paint. To remove the wax we use paper and a hot iron which also sets the fabric dye. Students then stretch the fabric on wooden stretchers and create a canvas piece that can be hung or propped up in a window to let the light shine through like we did here at school for our art show. These pieces are beautiful and one of my favorite projects we do in art one.
|